
Samvinna
LIST
FEGURÐ OG VELLÍÐAN
HANDVERK
MENNING OG SAGA
SKEMMTUN
UMHVERFI
MATUR OG DRYKKUR
ÖFUGVERKFRÆÐI
VÍSINDI
ÍÞRÓTTIR
TÆKNI
KLÆÐANLEG TÆKNI
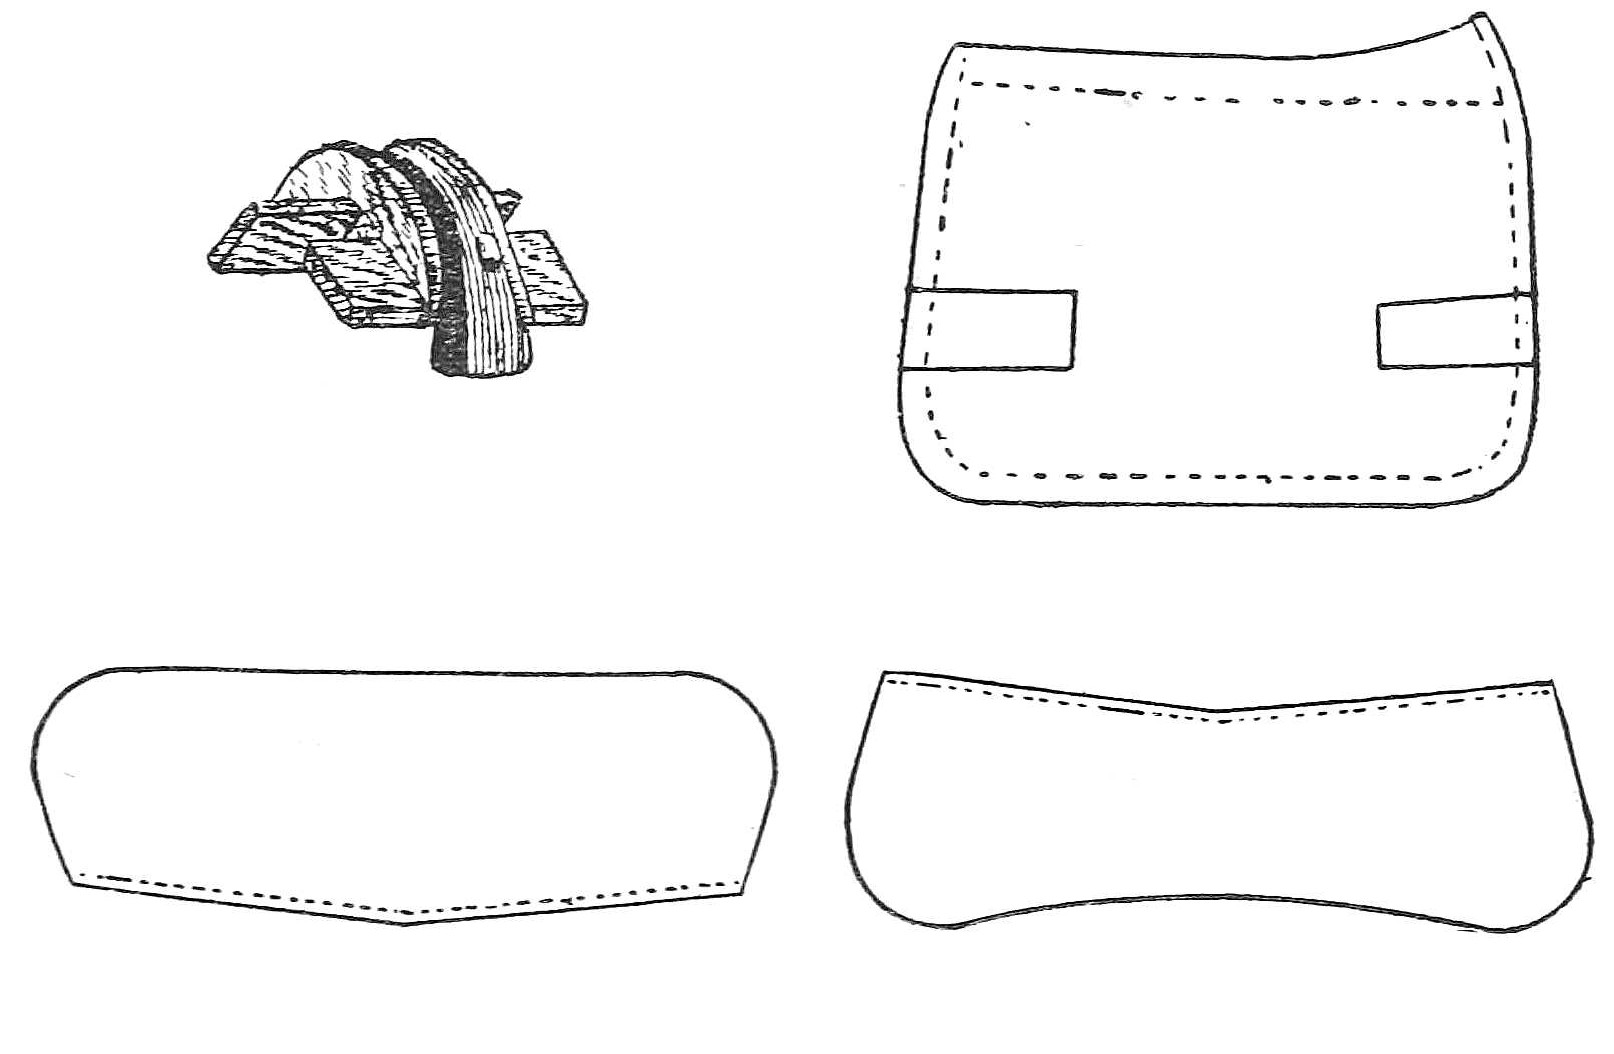
Cart Saddle: a Stuffed Panel, Dock, Flaps, Girths and Housings on a Bought Tree (Hasluck, Harness Making, 1904)
Tex

Búin til af

Tex

13. nóvember 2026FO
0
0
0
0
0

Cart Saddle: a Stuffed Panel, Dock, Flaps, Girths and Housings on a Bought Tree (Hasluck, Harness Making, 1904)

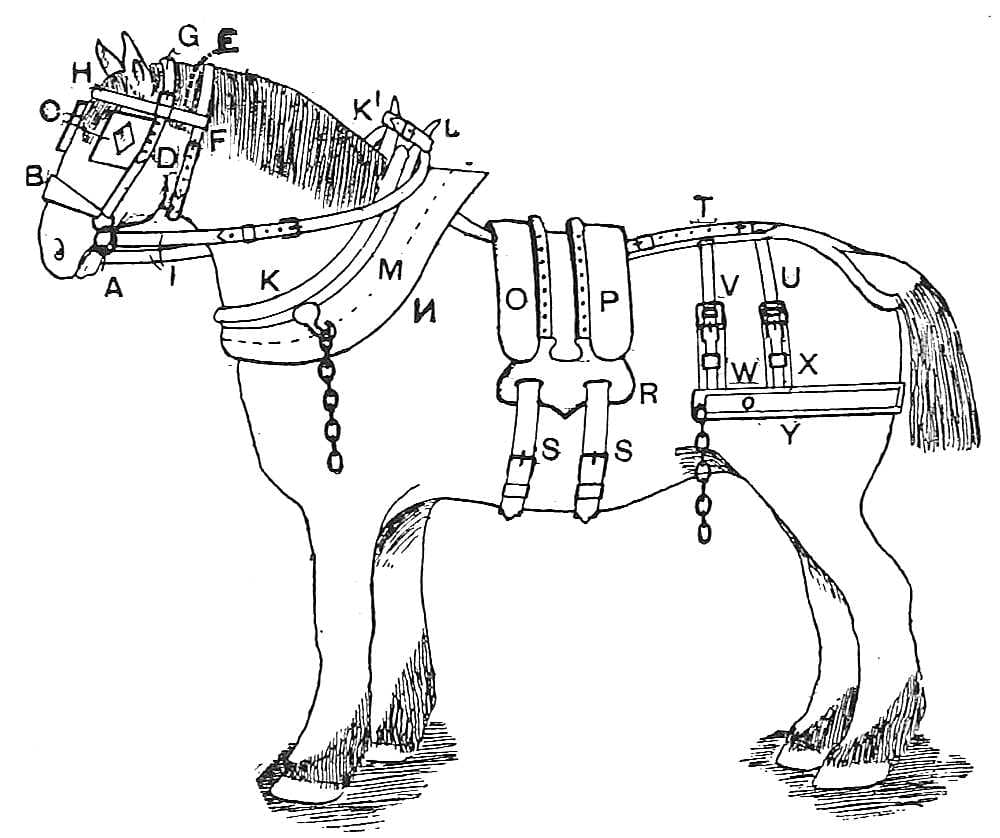
The cart saddle carries the back chain that holds up a cart's shafts. From Paul N. Hasluck's Harness Making (1904): on a bought wooden tree, a panel of lining and basil stuffed with straw and flock, a dock for the crupper, flaps, two girths and two straps, and leather housings nailed over the top. All sizes are his. It follows the cart bridle and collar; the crupper and breeching come next.
Lengra kominn
About 3 days

Leiðbeiningar

1

Girths, straps and housings

Hleð Jupyter-vinnubók…
2

Read Harness Making, ch. VII

"Leave the space between the middle lines of stitches about 2 in. wider in front than at the back to prevent the shoulder-bone of the horse being caught when carrying a weight."
3

Prepare the tree

For a horse about 15½ hands get a tree 14 in across the board through the centre, with an iron plate for the back chain. If the board is very long saw the same length off each end, "never at one end only"; a 1 ft board is always long enough. If the housings are to be nailed at the side, cover the top of the tree with thin leather, nailed under the housing at the lower edge, damped, rubbed down close and nailed at the very top.

Efni fyrir þetta skref:

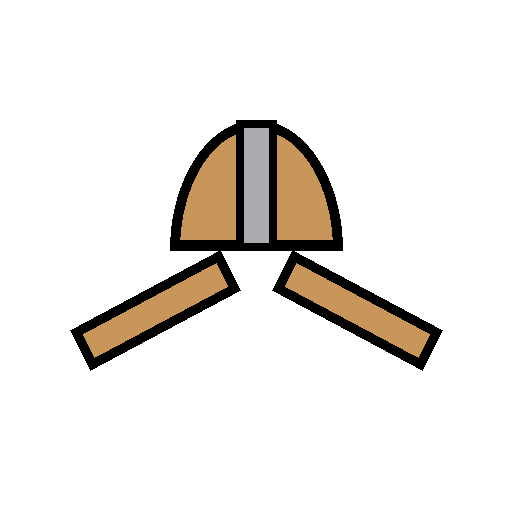
KerruhnakksvirkiKerruhnakksvirki1 stykki
AktygjaleðurAktygjaleður1 stykki
NaglarNaglar1 stykki

Nauðsynleg verkfæri:

HandsögHandsög
MálbandMálband
KlóhamarKlóhamar
SvampurSvampur
4

Cut the panel back

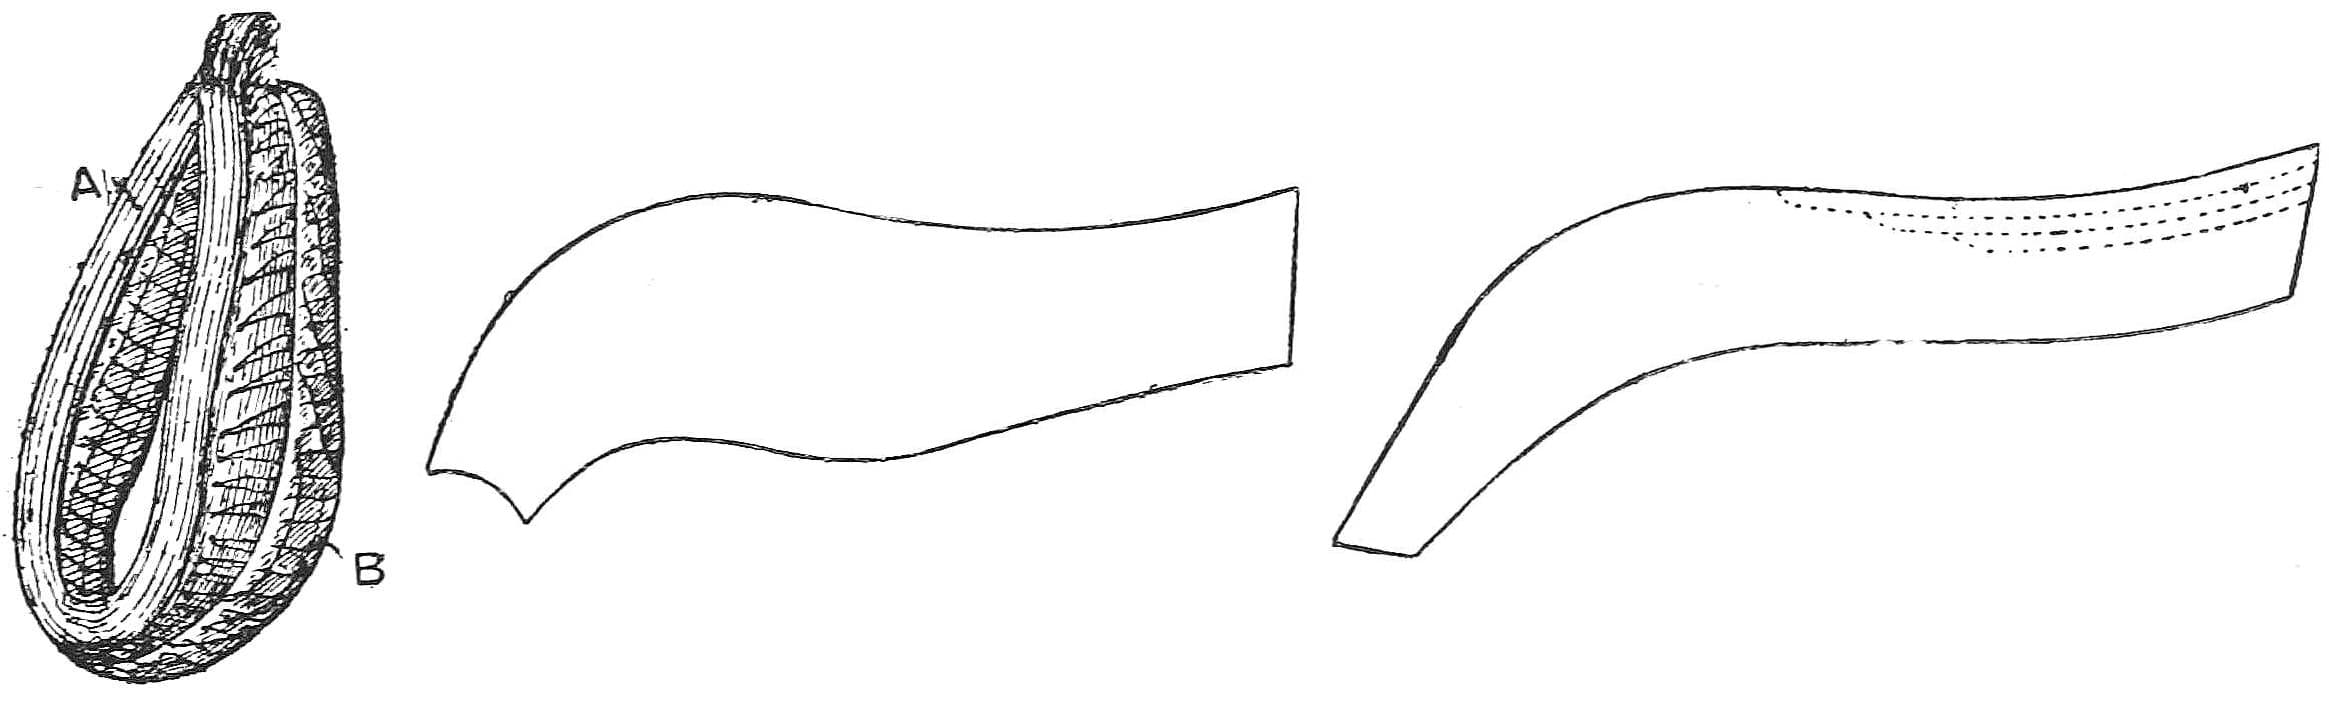
From the middle of each side cut the panel back about ½ in longer than the boards and 2 in wider than the board's central width, with the middle lines 2 in wider apart in front than behind. Cut both sides alike, pattern reversed, whip them together along the centre, and shorten the front by cutting from the point slanting inward and upward. Rub the stitches flat and stitch on a piece of leather about 3 in square at each board position, for nailing the panel on later.

Efni fyrir þetta skref:

AktygjaleðurAktygjaleður1 stykki
LeðurþráðurLeðurþráður1 stykki

Nauðsynleg verkfæri:

LeðurhnífurLeðurhnífur
Tvær söðlasmíðanálarTvær söðlasmíðanálar
SýllSýll
5

Line and face the panel

Lay it on flannel check or linen cut about ½ in larger, slit the lining at the front centre and whip in a widening piece; turn the extra ½ in in and run a coarse stitch round. Whip a basil facing about 2¾ in wide all round the lining, joined in the centre of each side, and cut the lining down round the back to about 2 in wide, so the stuffed panel is thicker in front. Cut the facing back about 1¼ in at the front for about 4½ in and about 2 in at the back. Tack the facing round the back, both inside out, and run it with coarse stitches about three to the inch. Damp the back and the facing with sponge and water.

Efni fyrir þetta skref:

LíndúkurLíndúkur1 stykki
Sauðskinnsleður (basil)Sauðskinnsleður (basil)1 stykki
LeðurþráðurLeðurþráður1 stykki

Nauðsynleg verkfæri:

SkæriSkæri
Tvær söðlasmíðanálarTvær söðlasmíðanálar
SýllSýll
SvampurSvampur
6

Open the gullet

Cut a lengthwise slit in the exact centre of the lining, just big enough to turn the panel. Mark a line each side of the back seam, about 1½ in each side at the back widening to about 2¼ in at the front, and tack the lining tight and flat between them. Wrap a 9 in wisp of straw in hemp, a little thicker than a finger, set its centre in the gullet at the front and stitch the facing tight round it with a spot stitch, to keep the gullet open and off the shoulder. Spot-stitch the lining along the two lines, leaving the slit open for stuffing.

Efni fyrir þetta skref:

RúghálmurRúghálmur1 stykki
HampsnæriHampsnæri1 stykki
LeðurþráðurLeðurþráður1 stykki

Nauðsynleg verkfæri:

SkæriSkæri
Tvær söðlasmíðanálarTvær söðlasmíðanálar
SýllSýll
7

Stuff the panel

Lay it on the bench lining up, held by stout clout nails at the corners, the slit along the bench edge. With straw cut to the panel's length and the stuffing stick, lay a wisp across the front, one across the back, then wisp after wisp along the front until the side is full; no more straw in the ends after the first wisp. Beat it level with the collar mallet. Slide a strip of leather 9 in long into the slit to clear it, lay a thick even layer of carded flock over the straw, press it to the edges and corners, beat it, and level it with the seat-awl, feeling for lumps. Do the other side the same.

Efni fyrir þetta skref:

RúghálmurRúghálmur1 stykki
UllarfyllingUllarfylling1 stykki
NaglarNaglar1 stykki

Nauðsynleg verkfæri:

KragastafurKragastafur
TrésleggjaTrésleggja
SýllSýll
KlóhamarKlóhamar
8

Make and fit the dock

Across the back, from board to board: two 1¾ in tinned rings and leather 1½ in wide doubled to reach half the board's width each side, "better" in four thicknesses running double through the rings. Nail through each end with a clout nail clinched on a piece of iron, one or two in the centre; spot or stitch a row each side; trim, black and rub with tallow. Bore holes with a gimlet halfway between tree and board end, run two fine-pointed staples through the rings and knock them down until about ¾ in shows below; turn and clinch the points. The dock must be slack, with at least the same sweep as the tree.

Efni fyrir þetta skref:

AktygjaleðurAktygjaleður1 stykki
AktygjahringurAktygjahringur2 stykki
NaglarNaglar1 stykki
VírkengurVírkengur2 stykki
LeðurþráðurLeðurþráður1 stykki
LeðurliturLeðurlitur1 stykki
TólgTólg1 stykki

Nauðsynleg verkfæri:

LeðurhnífurLeðurhnífur
KlóhamarKlóhamar
SteðjiSteðji
SkrúfnafarSkrúfnafar
SýllSýll
Tvær söðlasmíðanálarTvær söðlasmíðanálar
9

Make the flaps

Cut two flaps about 9 in deep, ½ in longer at each end at the top than the boards; swell them out at the sides, round the bottom corners and cut a fancy point in the centre of the lower side. Hold each against the board, mark the tree's width, cut slits about ¾ in deep at the marks and turn the leather between them inward. Cut a hole for a 1½ in girth or strap about the middle of each flap opposite the joint of board and tree. Edge flaps and holes, race two or three rows round, black the edges and finish with a hot iron.

Efni fyrir þetta skref:

AktygjaleðurAktygjaleður1 stykki
LeðurliturLeðurlitur1 stykki

Nauðsynleg verkfæri:

LeðurhnífurLeðurhnífur
Gatajárn fyrir leðurGatajárn fyrir leður
KantskurðarjárnKantskurðarjárn
Rákasirkill söðlasmiðsRákasirkill söðlasmiðs
Kantjárn söðlasmiðsKantjárn söðlasmiðs
PrópanbrennariPrópanbrennari
10

Make the girths and straps

Cut them from good leather to the notebook's lengths, 1¼ to 1¾ in wide. Edge the girths, turn down the chapes, point the straps, leaving the best end of each for nailing to the tree. Race two rows along the edges and bevel with a hot iron. Stitch the buckles, make the loops and two running loops, finish the loops on a loop-stick and crease them. Black the edges, hot-bevel, and cut four or five holes in the straps.

Efni fyrir þetta skref:

AktygjaleðurAktygjaleður1 stykki
Járnsylgja með þorniJárnsylgja með þorni2 stykki
LeðurþráðurLeðurþráður1 stykki
LeðurliturLeðurlitur1 stykki

Nauðsynleg verkfæri:

LeðurhnífurLeðurhnífur
KantskurðarjárnKantskurðarjárn
Rákasirkill söðlasmiðsRákasirkill söðlasmiðs
Kantjárn söðlasmiðsKantjárn söðlasmiðs
LykkjustokkurLykkjustokkur
Gatajárn fyrir leðurGatajárn fyrir leður
SýllSýll
Tvær söðlasmíðanálarTvær söðlasmíðanálar
11

Nail on flaps, girths and straps

Set each flap's slit opposite the tree with about an inch of leather on the board, and drive a saddler's tack gently into each end of the board. Put the shorter strap in front and the longer behind through the flap holes from above, square ends out at the top between flap and board, and nail four or five along the flap edge, two through strap and flap, one more in the strap's centre. Fix the girths on the other side the same. Straps on the near side, girths on the off, the longer of each behind. The front of the tree is where the boards rise and converge.

Efni fyrir þetta skref:

NaglarNaglar1 stykki

Nauðsynleg verkfæri:

KlóhamarKlóhamar
12

Fit the panel

Set the front of the panel against the front of the tree, pressed to the top in the centre, and fasten the nailing pieces to the boards with four or five small tacks, close; do the back the same.

Efni fyrir þetta skref:

NaglarNaglar1 stykki

Nauðsynleg verkfæri:

KlóhamarKlóhamar
13

Cut and nail the housings

Cut the housings 5 to 7 in wide, long enough to reach end to end over the tree beside the groove (measure with string), the ends bulged and rounded to be 3 in more along the centre. Narrow the front housing slightly for about 10 in in the centre so it rises there; shape the back housing's nailed side from the corners up to a point in the middle. Race three rows round the edges and run them deep with a beveller. Nail each through the centre, pull it down hard from the centre with the seat-awl, and nail all along about 2 in apart, the edge flush with the tree. Cover the nails with a welt of the same width nailed down, and put seven or eight stitches, nine per inch, at the four ends through the flap.

Efni fyrir þetta skref:

AktygjaleðurAktygjaleður1 stykki
NaglarNaglar1 stykki
LeðurþráðurLeðurþráður1 stykki

Nauðsynleg verkfæri:

LeðurhnífurLeðurhnífur
Rákasirkill söðlasmiðsRákasirkill söðlasmiðs
Kantjárn söðlasmiðsKantjárn söðlasmiðs
PrópanbrennariPrópanbrennari
SýllSýll
KlóhamarKlóhamar
SaumagatajárnSaumagatajárn
Tvær söðlasmíðanálarTvær söðlasmíðanálar
14

Troubleshooting

Cart saddle troubleshooting.

Flow

Loading...
15

History and honest limits

From **Harness Making**, edited by Paul N. Hasluck, Cassell and Company, 1904, chapter VII, "Cart Saddles, Reins, etc." (Project Gutenberg #70169). All sizes are his; the tree is bought, as in the book. Not made here: the brass ovals and brass beading (his leather welt is used instead) and the 2 in strap he gives as an alternative to the dock. The crupper, breeching and the smaller straps from the same chapter are the next blueprint. The heat source for the iron and the metric figures are ours.

Efni

14

Nauðsynleg verkfæri

19

Þessi teikning býr til

CC0 opinbert ríki

Þessi teikning er gefin út undir CC0. Þér er frjálst að afrita, breyta, dreifa og nota þetta verk í hvaða tilgangi sem er, án þess að biðja um leyfi.

Studdu smiðinn með því að kaupa vörur í gegnum teikningu hans þar sem hann fær þóknun smiða sem seljendur ákvarða, eða búðu til nýja endurskoðun á þessari teikningu og tengdu hana sem tengingu í þinni eigin teikningu til að deila tekjum.

Umræða

(0)

Skrá inn til að taka þátt í umræðunni

Hleður athugasemdum...