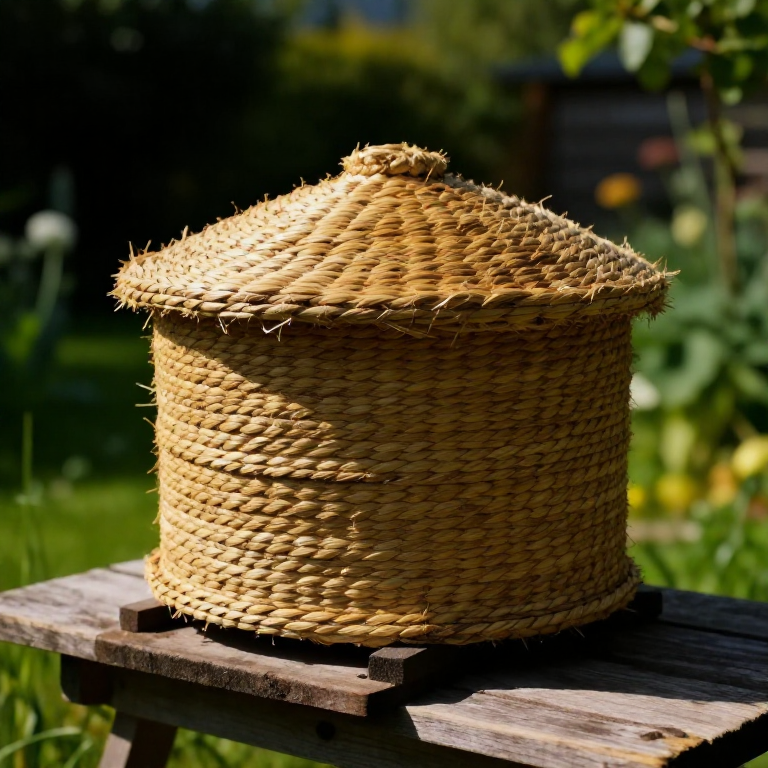
Making a Coiled-Straw Bee Skep — The Traditional Beehive Before Wooden Boxes
Leiðbeiningar
Harvest and clean long rye straw
Harvest and clean long rye straw
Efni fyrir þetta skref:
 Rye Straw1 bundle
Nauðsynleg verkfæri:
 Knife
KnifeSplit and soak the binding cane
Split and soak the binding cane
Efni fyrir þetta skref:
 Split Cane1 bundle
 Water3 liter
Nauðsynleg verkfæri:
KnifeMake the girth gauge
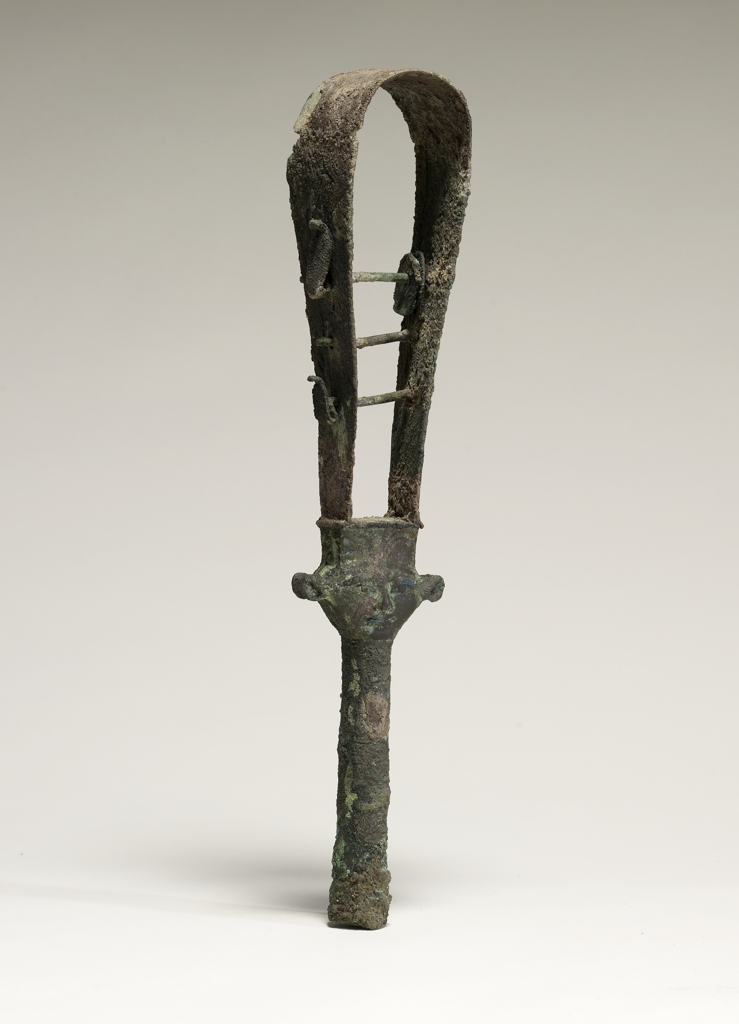
Make the girth gauge
Nauðsynleg verkfæri:
 Skep Girth Gauge
Bind the crown
Bind the crown
Efni fyrir þetta skref:
Rye Straw1 bundleSplit Cane1 meterNauðsynleg verkfæri:
 Awl
AwlFeed straw into an even rope
Feed straw into an even rope
Efni fyrir þetta skref:
Rye Straw1 bundleNauðsynleg verkfæri:
Skep Girth GaugeSew the first coils to the crown
Sew the first coils to the crown
Efni fyrir þetta skref:
Split Cane1 meterNauðsynleg verkfæri:
AwlSpiral outward to start the dome
Spiral outward to start the dome
Efni fyrir þetta skref:
Rye Straw1 bundleSplit Cane1 meterNauðsynleg verkfæri:
AwlBuild the domed wall downward
Build the domed wall downward
Efni fyrir þetta skref:
Rye Straw1 bundleSplit Cane1 meterNauðsynleg verkfæri:
AwlSkep Girth GaugeKeep the courses even
Keep the courses even
Efni fyrir þetta skref:
Rye Straw1 bundleNauðsynleg verkfæri:
AwlWiden to the finished base
Widen to the finished base
Efni fyrir þetta skref:
Rye Straw1 bundleSplit Cane1 meterNauðsynleg verkfæri:
AwlCut the flight entrance
Cut the flight entrance
Nauðsynleg verkfæri:
KnifeFinish and lock the base coil
Finish and lock the base coil
Efni fyrir þetta skref:
Split Cane1 meterNauðsynleg verkfæri:
AwlTrim the skep clean
Trim the skep clean
Nauðsynleg verkfæri:
KnifeClom the outside for weatherproofing
Clom the outside for weatherproofing
Efni fyrir þetta skref:
 Cow Dung2 kg
 Ball Clay1 kg
Cure the finished skep
Cure the finished skep
Efni
6- 1 bundleStaðgengill
- 6 meterStaðgengill
Efni úr tengdum teikningum
Tengd Blueprint
Þessi blueprint deila þekkingu — tækni, efni eða meginreglur
Related blueprints
Other builds that share materials, tools, or techniques with this one.


CC0 opinbert ríki
Þessi teikning er gefin út undir CC0. Þér er frjálst að afrita, breyta, dreifa og nota þetta verk í hvaða tilgangi sem er, án þess að biðja um leyfi.
Studdu smiðinn með því að kaupa vörur í gegnum teikningu hans þar sem hann fær þóknun smiða sem seljendur ákvarða, eða búðu til nýja endurskoðun á þessari teikningu og tengdu hana sem tengingu í þinni eigin teikningu til að deila tekjum.