
Making a Bronze Awl — The Leatherworker's Piercing Tool
The awl is one of the oldest and simplest metal tools — a pointed bronze rod set into a handle, used to punch holes in leather, wood, and bark. Bronze awls appeared alongside the earliest copper tools and remained essential through the entire Bronze Age because no other tool could make a clean, round hole in thick leather for stitching.
An awl is cast as a simple rod in an open stone groove, then one end is hammered to a sharp conical point while the other end is left blunt and set into a wooden or antler handle. The simplicity of the form belies its importance: without the awl, there are no leather bags, no stitched hide clothing, no bound book covers, and no harness for draught animals.
Leiðbeiningar
Cast a bronze rod
Cast a bronze rod
Efni fyrir þetta skref:
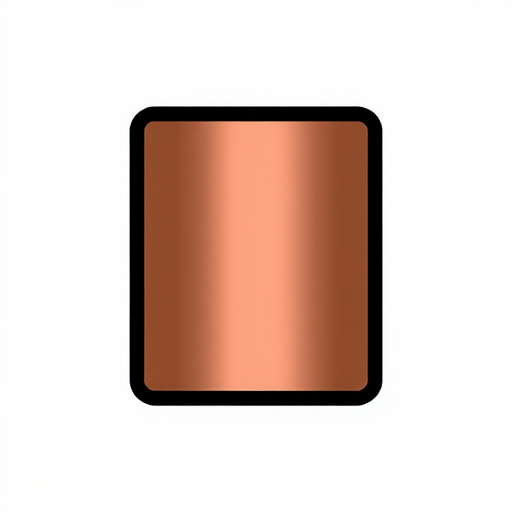
 Copper Sheet (0.5-1mm)36 g
Hammer the point
Hammer the point
Nauðsynleg verkfæri:
 Hammerstone
 Flat Stone Slab
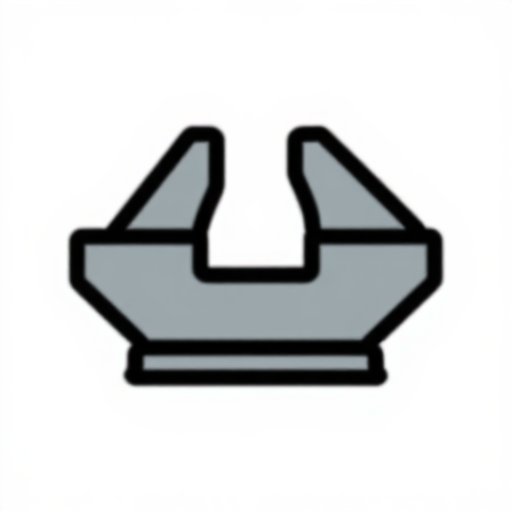
Shape the tang
Shape the tang
Sharpen and polish the point
Sharpen and polish the point
Efni fyrir þetta skref:
 Whetstone1 piece
 Fine Sand50 g
Make the handle
Make the handle
Set the awl into the handle
Set the awl into the handle
Efni
3- Staðgengill
Nauðsynleg verkfæri
2- Staðgengill
- Staðgengill
Efni úr tengdum teikningum
Required Equipment
Equipment this kind of build typically needs — buy from any maker below.
- CriticalWelding Mask·
 MIG Welder
 Auto-Darkening Welding Helmet
 Welding Principles Manual
 Welding Gloves
 Battery Spot Welder
 Welding Fire Watch Kit
 - RecommendedAngle Grinder·
 Die Grinder
 Bench Grinder
 Bench Grinder (6-inch)
 Bench Grinder Wheel Set (6-inch)
 Angle Grinder
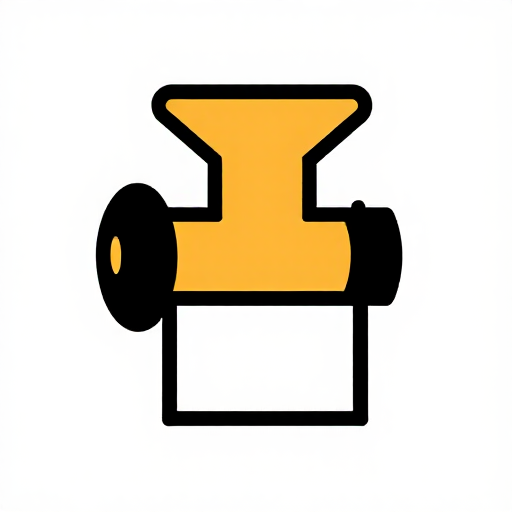 Meat Grinder
 - RecommendedBench Vise·
 Bench Vise (4-inch, Cast Iron)
 Milling Vise (4-inch, Precision)
 Heavy Bench Vice
 Bench Vise
 Milling Vise
 Bench Vise Press Attachment
 - RecommendedDust Mask / Respirator·
 Full-Face Gas Mask (ABEK multi-gas cartridge)
 Dust Mask
 Venetian Mask Blank (Papier-Mache)
 Full-Face Respirator
 Respirator Fit Test Kit
 Respirator with Acid Gas Cartridge
 - RecommendedSafety Glasses·
 Safety Sign (Caution/Warning)
 Splash-Proof Safety Goggles
 Reflective Safety Vest Kit (DIY)
 Chemical Splash Goggles
 Safety Netting for Rockfall
 Steel-Toed Safety Boots
 - RecommendedWork Gloves·
 Boxing Gloves (Training)
 Leather Gauntlet Gloves
 Cotton GlovesWelding Gloves
 Heavy-Duty Gloves
 Leather Work Gloves
 - OptionalFire Extinguisher·
 ABC Fire Extinguisher
 Fire Extinguisher
 - OptionalFirst Aid Kit·
 First Aid Kit
 Mountain First Aid Kit (Altitude)
 Workshop First Aid Kit
 Bow Release Aid
You can swap these in
Can't get one of the materials? Swap it for an equivalent — these work just as well.
- Instead of Fine Sand, try:
 Casting Sand
 Coarse Sand (Construction/Pottery)
 Fine Sand (silica)
 Iron Sand (Satetsu)
 Ilmenite Sand (ground)
 Clean Dry Sand
 - Instead of Flat Stone Slab, try:
 Live Edge Maple Slab
 Sandstone Slab
 Travertine Slab
 - Instead of Copper Sheet (0.5-1mm), try:
 Sheet Copper
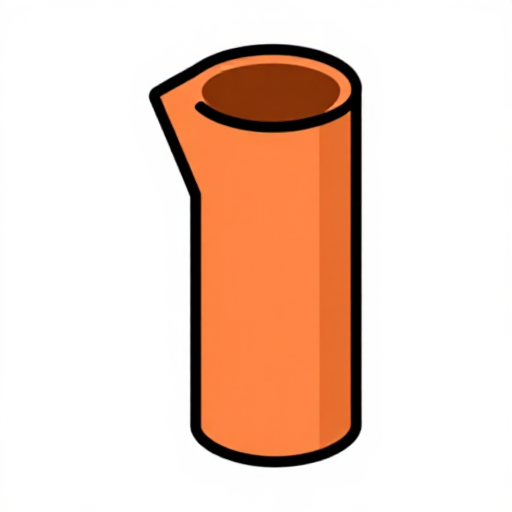 Copper Tube
 Copper Bar (110, 1/2x1x6 inch)
Recommended for this build
Products makers often use with builds like this one.
 CharcoalUsed together and in similar builds
 Sandstone (Abrasive)Used together and in similar builds
 Hardwood SaplingFrequently used with this build's materials
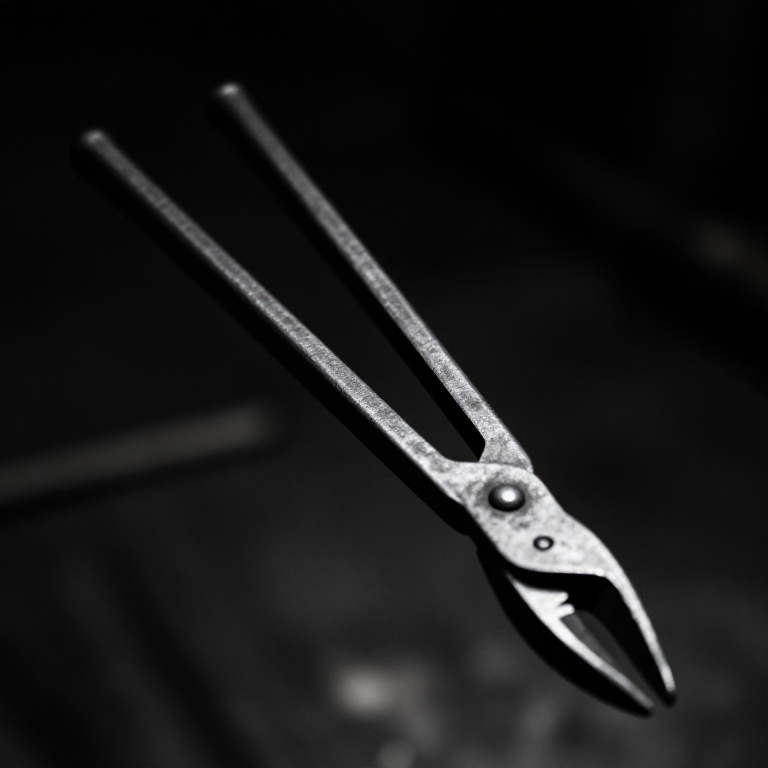
 Long-Handled TongsUsed together and in similar builds
 WaterFrequently used with this build's materials
 Crucible Tongs (long-handled)Used together and in similar builds
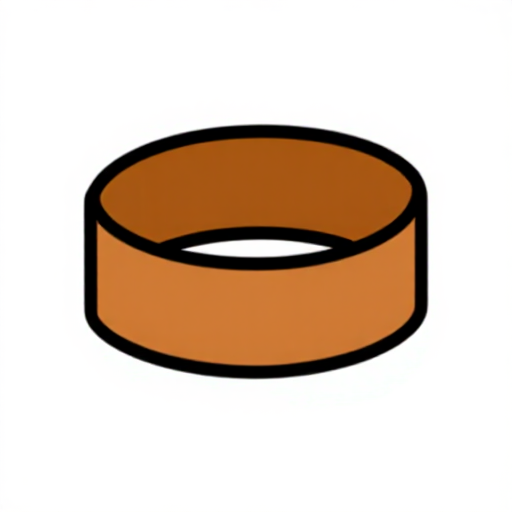 Rawhide StripsUsed together and in similar builds
 Flint KnifeFrequently used with this build's materials
Tengd Blueprint
Þessi blueprint deila þekkingu — tækni, efni eða meginreglur
Related blueprints
Other builds that share materials, tools, or techniques with this one.


CC0 opinbert ríki
Þessi teikning er gefin út undir CC0. Þér er frjálst að afrita, breyta, dreifa og nota þetta verk í hvaða tilgangi sem er, án þess að biðja um leyfi.
Studdu smiðinn með því að kaupa vörur í gegnum teikningu hans þar sem hann fær þóknun smiða sem seljendur ákvarða, eða búðu til nýja endurskoðun á þessari teikningu og tengdu hana sem tengingu í þinni eigin teikningu til að deila tekjum.