LIST
FEGURÐ OG VELLÍÐAN
HANDVERK
MENNING OG SAGA
SKEMMTUN
UMHVERFI
MATUR OG DRYKKUR
ÖFUGVERKFRÆÐI
VÍSINDI
ÍÞRÓTTIR
TÆKNI
KLÆÐANLEG TÆKNI

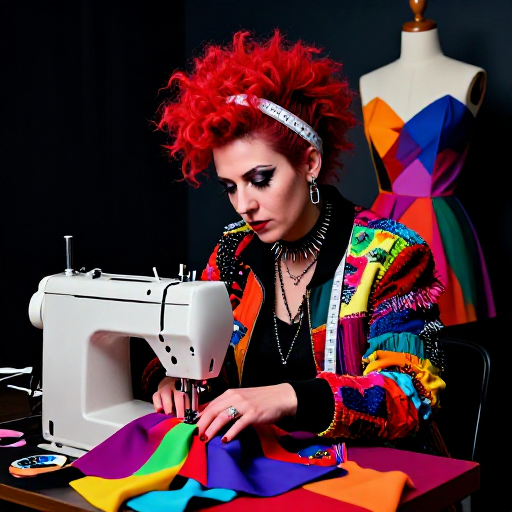

Order of Work: Why a Garment Is Assembled in a Particular Sequence
Instructions give a sequence, and it usually looks arbitrary. It is not: almost every step is in its position because doing it later would be difficult, and some steps become impossible.
The governing principle is ACCESS. Work on a flat piece is easy; work inside a tube is hard. So everything that can be done while the garment is still flat is done before the seams that close it — which is why a shirt's front bands, pockets and even the collar go on before the side seams.
Understanding that turns the instruction sheet from a list to be obeyed into a plan that can be varied. And it lets you spot, before starting, the step that is going to be awkward.
Miðlungs
3 hours
Leiðbeiningar
1
1
Flat first: everything that can be done before closing a seam
Flat first: everything that can be done before closing a seam
Interfacing, darts, pockets, buttonholes, topstitching, decorative work, embroidery — all of it is far easier on a flat piece lying on a table than on a piece already joined into a tube.
Buttonholes especially. A buttonhole worked on a flat front band is straightforward; the same buttonhole after the shoulder and side seams are sewn means wrestling a whole garment through a machine.
So read the whole instruction sheet before starting and note which steps are flat-work. If an instruction has you close a seam and then do flat work on the other side of it, that is usually worth reordering — which you can only see if you read ahead.
Efni fyrir þetta skref:
 Bómullardúkur1 stykki
 Millifóður1 stykki
Nauðsynleg verkfæri:
 Saumavél
 Bólstrað strauborð
2
2
Press each seam before you cross it
Press each seam before you cross it
Once a second seam crosses the first, the first can no longer be pressed properly — the iron cannot reach into the corner and the allowances are trapped.
So the sequence is: sew a seam, press it, then sew the next. That feels slow and involves a great deal of walking to the ironing board, and it is the difference between a homemade-looking garment and one that is not.
The same applies to FINISHING the raw edges. An allowance is easy to overlock, zigzag or bind while the seam is open and accessible, and awkward once it is enclosed by a lining or a facing.
Efni fyrir þetta skref:
Bómullardúkur1 stykki Bómullarþráður1 stykki
Nauðsynleg verkfæri:
 GufustraujárnBólstrað strauborðSaumavél
3
3
Leave one seam open as long as you can
Leave one seam open as long as you can
Many garments are assembled with one side seam left open until near the end — often the left one — precisely so that the whole thing can still be laid flat for the awkward steps.
That is why a shirt collar goes on before the side seams, and why a waistband is often attached with one end still open. The choice of WHICH seam to leave is made by asking what still needs flat access.
The cost is that the garment cannot be tried on properly until that seam is closed, so fitting has to have been settled earlier — on the toile. The two habits support each other, and skipping the toile is what forces early assembly and awkward late steps.
Efni fyrir þetta skref:
Bómullardúkur1 stykkiBómullarþráður1 stykkiNauðsynleg verkfæri:
Saumavél SaumaprjónarBólstrað strauborð
4
4
Hems and buttons last, and try it on first
Hems and buttons last, and try it on first
The hem goes last because its position depends on everything above it. A shoulder taken up by 10 mm raises the hem by 10 mm, and a hem finished before that is 10 mm short for ever.
Hang the finished garment for a day before marking the hem, especially anything cut on the bias or with a bias-ish flare. The cloth settles and lengthens, and a hem marked before it settles goes uneven afterwards — the grain rung's point arriving at the end of the process.
Buttons go on after the buttonholes are cut and the garment is tried on, so their positions are marked THROUGH the finished buttonholes. Marking them from the pattern instead is how a front ends up not quite lining up.
Efni fyrir þetta skref:
Bómullardúkur1 stykkiBómullarþráður1 stykkiNauðsynleg verkfæri:
 SaumnálSaumaprjónar
 Klæðskerakrít
 Málband
Efni
3- 4 stykkiStaðgengill
- Millifóður10% þóknun1 stykkiStaðgengill
- 3 stykkiStaðgengill
Tengd Blueprint
Þessi blueprint deila þekkingu — tækni, efni eða meginreglur
CC0 opinbert ríki
Þessi teikning er gefin út undir CC0. Þér er frjálst að afrita, breyta, dreifa og nota þetta verk í hvaða tilgangi sem er, án þess að biðja um leyfi.
Studdu smiðinn með því að kaupa vörur í gegnum teikningu hans þar sem hann fær þóknun smiða sem seljendur ákvarða, eða búðu til nýja endurskoðun á þessari teikningu og tengdu hana sem tengingu í þinni eigin teikningu til að deila tekjum.