LIST
FEGURÐ OG VELLÍÐAN
HANDVERK
MENNING OG SAGA
SKEMMTUN
UMHVERFI
MATUR OG DRYKKUR
GRÆN FRAMTÍÐ
ÖFUGVERKFRÆÐI
VÍSINDI
ÍÞRÓTTIR
TÆKNI
KLÆÐANLEG TÆKNI
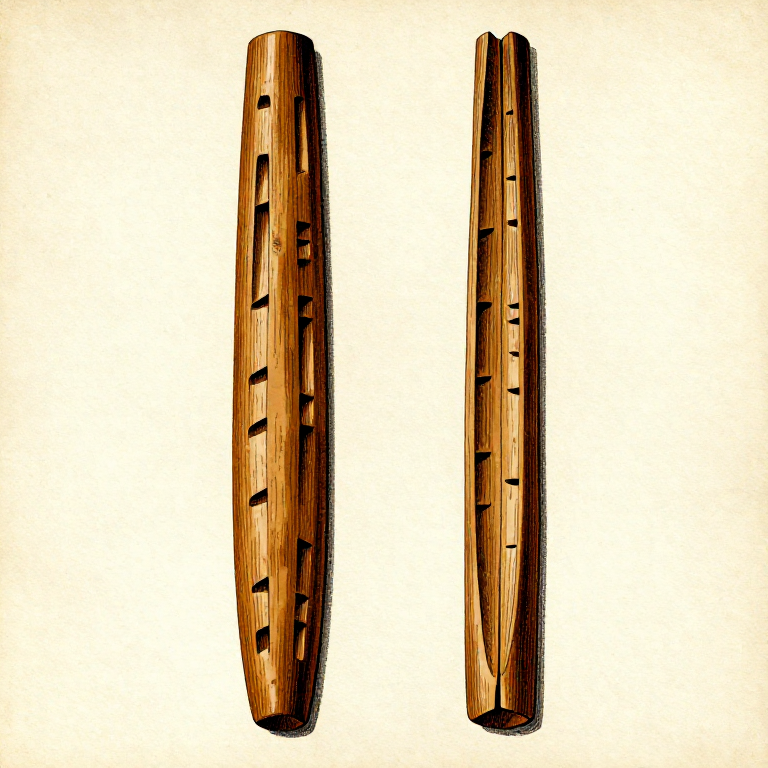
Carving a Tally Stick — Humanity's Oldest Record-Keeping Technology
A tally stick is a piece of bone or wood into which notches are cut to record quantities — one of the earliest information technologies ever invented. The oldest known tally is the Lebombo bone from South Africa, a baboon fibula with 29 notches dating to approximately 43,000 years ago, likely tracking a lunar cycle. The Ishango bone from the Democratic Republic of the Congo (approximately 20,000 years old) shows grouped notch patterns that may represent prime numbers or a six-month lunar calendar. These are not primitive scratches — they represent the birth of abstract numerical thinking, the ability to encode quantity into a physical medium and retrieve it later. Tally sticks served countless practical purposes: counting game killed, days elapsed, trade debts owed, livestock owned, and seasonal cycles. The split tally took this further — a notched stick split lengthwise creates two matching halves, each held by one party to a transaction. Neither half can be forged because the notches on both pieces must align perfectly when rejoined. This system was so reliable that the English Exchequer used split tallies as official financial records from the 12th century until 1826. This blueprint teaches the craft of carving tally sticks using prehistoric tools, including simple counting tallies, grouped tallies for larger numbers, and the split-tally system for two-party records.
Byrjandi
30-60 minutes
Leiðbeiningar
1
1
Select a Suitable Piece of Wood
Select a Suitable Piece of Wood
Choose a straight, knot-free piece of hardwood approximately 20 to 40 cm long and 2 to 3 cm in diameter. Willow, hazel, ash, and birch all work well. The wood should be dry enough to hold clean notch cuts — green wood fibres tear rather than cut cleanly, producing fuzzy notches that are hard to read. If only green wood is available, let the cut piece dry for a few days in warm air before carving. Flatten one face slightly by scraping with a flint blade to create a smooth recording surface. The flat face should be at least 1.5 cm wide to accommodate clear, legible notches.
Efni fyrir þetta skref:
 Hardwood Sapling1 piece
2
2
Prepare the Recording Surface
Prepare the Recording Surface
Remove the bark from the selected stick using the edge of a flint knife, scraping along the grain. Smooth the exposed wood by scraping firmly with the flint blade held perpendicular to the surface, drawing it toward you. The goal is a pale, clean surface where notch marks will be clearly visible. If the stick is round, flatten one face to create a stable carving surface — hold the stick against a flat stone slab and scrape the high side until a flat section at least 1.5 cm wide runs the length of the stick.
Nauðsynleg verkfæri:
 Flint Knife
3
3
Learn the Basic Notch-Cutting Technique
Learn the Basic Notch-Cutting Technique
Hold the stick firmly in your non-dominant hand, braced against your thigh or a flat stone for stability. Place the flint blade edge perpendicular to the long axis of the stick and press firmly while rocking the blade slightly to score a clean V-shaped notch. Each notch should be 2 to 3 mm deep and 2 to 3 mm wide — deep enough to be seen and felt with a fingertip but not so deep that it weakens the stick. Cut two angled strokes that meet at the bottom to form a V, then flick out the chip of wood. Practice on a scrap piece until you can produce uniform, evenly spaced notches.
Nauðsynleg verkfæri:
Flint Knife4
4
Cut a Simple Counting Tally
Cut a Simple Counting Tally
Starting 2 cm from one end of the stick, cut a row of evenly spaced notches along the flat face — one notch for each item being counted. Space the notches 4 to 5 mm apart so each is individually distinct. A 30 cm stick with 5 mm spacing can hold approximately 50 notches. Carve slowly and count carefully — an extra notch cannot be uncut, but a missing notch can always be added later. This simple one-for-one tally is the foundation of all tally systems and is how most prehistoric tallies functioned.
Nauðsynleg verkfæri:
Flint Knife5
5
Create a Grouped Tally for Larger Numbers
Create a Grouped Tally for Larger Numbers
For counting larger quantities, group notches in clusters of five — four short vertical notches followed by one longer diagonal notch that crosses through them, similar to the modern tally mark system. Leave a gap of 3 to 4 mm between each group of five. This grouping system allows rapid visual counting: instead of individually counting 37 notches, you instantly see 7 complete groups (35) plus 2 singles. Evidence from the Ishango bone suggests prehistoric people used grouping systems at least 20,000 years ago. Alternatively, use different notch sizes: small notches for ones, medium notches for fives, and large notches for tens.
Nauðsynleg verkfæri:
Flint Knife6
6
Carve Category Markers
Carve Category Markers
Different types of notch marks can encode different categories of information on the same stick. Use V-notches for one category (e.g., deer killed), straight cross-cuts for another (e.g., fish caught), and small round pits (drilled with a bone awl tip) for a third (e.g., days elapsed). Separate the categories with a deep horizontal line across the full width of the stick. Label each section with a distinctive symbol scratched into the wood — a simple pictogram that identifies what is being counted. This multi-category system turns a single stick into a comprehensive record.
Nauðsynleg verkfæri:
Flint Knife Bone Awl
7
7
Make a Split Tally for Two-Party Records
Make a Split Tally for Two-Party Records
For recording a transaction or agreement between two people, prepare a longer stick (30 to 40 cm) and carve the agreed notches across its full width so they span both the flat face and the rounded back. Then carefully split the stick lengthwise down the centre using a flint knife as a wedge, tapping it gently with a stone. The split should run through the middle of every notch, creating two halves that each show the same pattern. One half (the stock) is kept by the creditor, the other half (the foil) by the debtor. To verify the record later, hold the two halves together — the notches must align perfectly. Any attempt to add or remove notches on one half is immediately visible because the wood grain and notch alignment will not match.
Efni fyrir þetta skref:
Hardwood Sapling1 pieceNauðsynleg verkfæri:
Flint Knife8
8
Mark Ownership and Date Indicators
Mark Ownership and Date Indicators
At one end of the tally stick, carve a distinctive personal mark — a simple symbol unique to the owner that identifies whose record this is. At the other end, carve a seasonal or calendar indicator: a circle for a full moon, a half-circle for a half moon, or notch groups that record the month. These end marks transform an anonymous notched stick into a dated, attributed record. If making a split tally, the personal marks of both parties should be carved at opposite ends before splitting, so each half carries both identities.
Nauðsynleg verkfæri:
Flint Knife9
9
Darken the Notches for Visibility
Darken the Notches for Visibility
To make the notches more visible and permanent, rub charcoal dust or soot into the cut marks. The black pigment fills the V-shaped grooves and contrasts sharply against the pale wood surface, making each notch easy to read even in dim light. Alternatively, hold the notched face briefly over a smoky fire — the smoke residue settles into the cuts and stains them dark. Wipe the flat surface clean with a piece of leather, leaving the pigment only in the grooves. This technique was used on many archaeological tally bones, which show dark-stained notches against lighter bone.
Efni fyrir þetta skref:
 Charcoal1 piece
10
10
Preserve the Tally Stick
Preserve the Tally Stick
A well-carved tally stick on hardwood will last for years without treatment, but rubbing a thin coat of animal fat into the wood extends its life by preventing moisture absorption and cracking. Store tally sticks in a dry place — a leather pouch, a niche in a rock shelter wall, or hung from a cord inside a dwelling. For long-term records, bone tallies are more durable than wood — the Lebombo bone has survived over 40,000 years. If you have access to large animal bones, the same notch-cutting techniques work on bone using a sharp flint burin or the tip of a flint blade pressed firmly and drawn repeatedly to score through the hard surface.
Efni fyrir þetta skref:
 Animal Fat10 g
Efni
3- 2 pieceStaðgengill
- Staðgengill
Efni úr tengdum teikningum
Tengd Blueprint
Þessi blueprint deila þekkingu — tækni, efni eða meginreglur
Related blueprints
Other builds that share materials, tools, or techniques with this one.
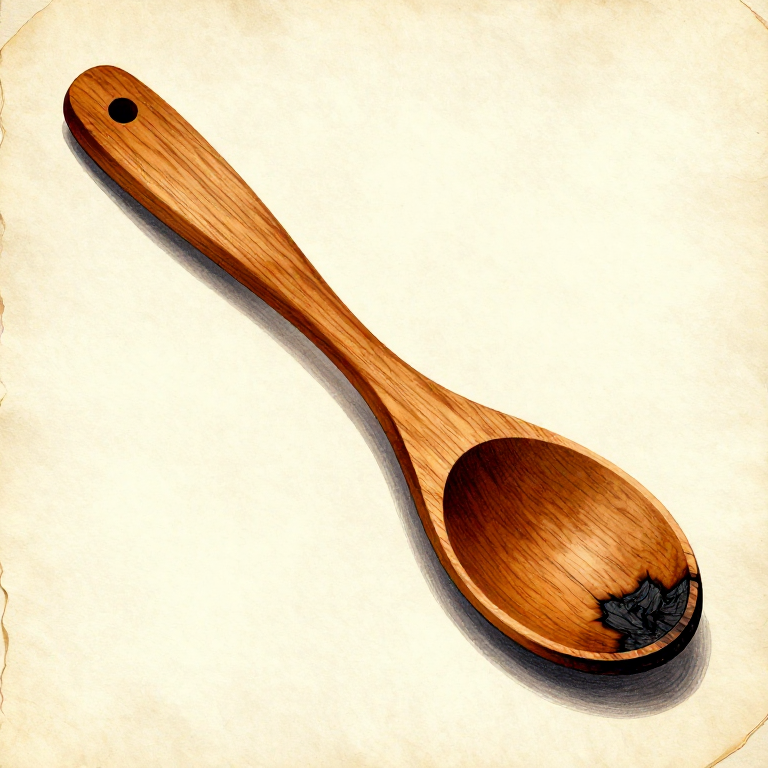
Carving a Wooden Spoon with Stone Tools and Ember Hollowing — The Universal Kitchen Toolwoodworking
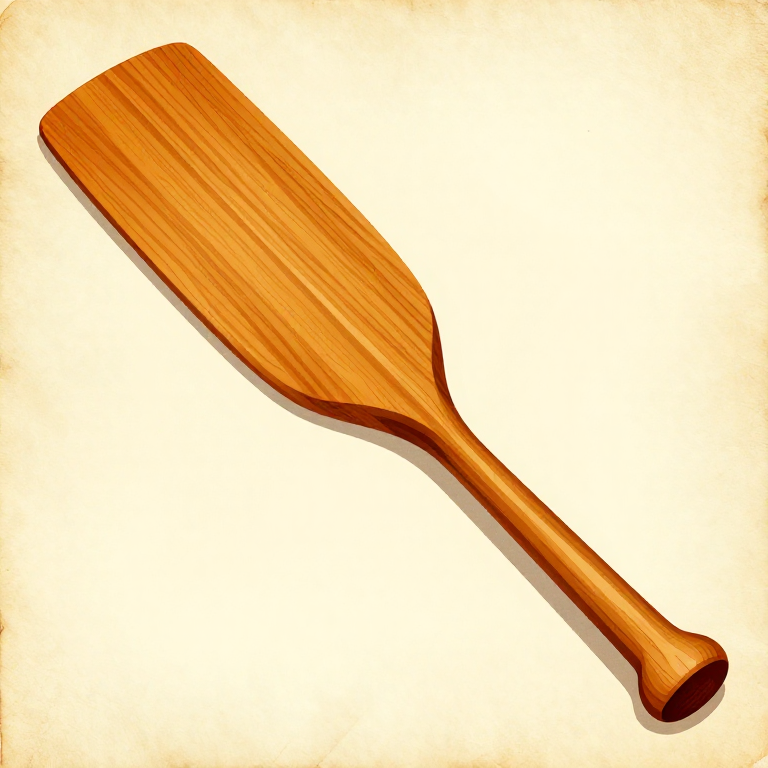
Carving a Wooden Paddle from a Single Piece of Hardwood — Prehistoric Watercraft Propulsionwoodworking
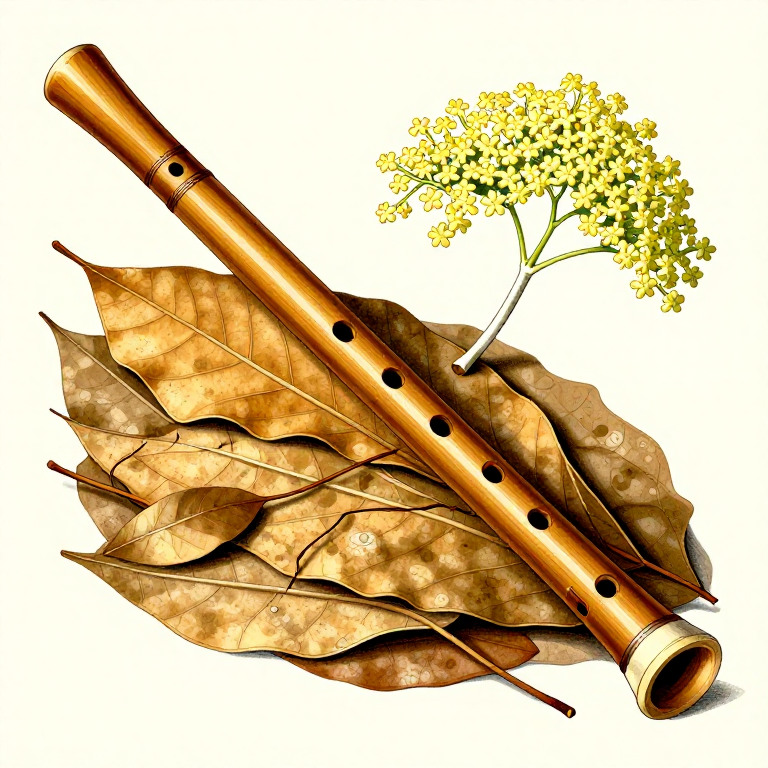
Carving an Elder Branch Flutewoodworking
Building a Wattle-and-Daub Wall — The Universal Prehistoric Construction Techniquewoodworking
Making a Deer Antler Knife Handle — Drill, Shape, and Epoxy a Hidden-Tang Gripwoodworking
Carving a Wooden Bowl by Ember Burning — Hollowing Without Metal Toolswoodworking
CC0 opinbert ríki
Þessi teikning er gefin út undir CC0. Þér er frjálst að afrita, breyta, dreifa og nota þetta verk í hvaða tilgangi sem er, án þess að biðja um leyfi.
Studdu smiðinn með því að kaupa vörur í gegnum teikningu hans þar sem hann fær þóknun smiða sem seljendur ákvarða, eða búðu til nýja endurskoðun á þessari teikningu og tengdu hana sem tengingu í þinni eigin teikningu til að deila tekjum.