LIST
FEGURÐ OG VELLÍÐAN
HANDVERK
MENNING OG SAGA
SKEMMTUN
UMHVERFI
MATUR OG DRYKKUR
ÖFUGVERKFRÆÐI
VÍSINDI
ÍÞRÓTTIR
TÆKNI
KLÆÐANLEG TÆKNI
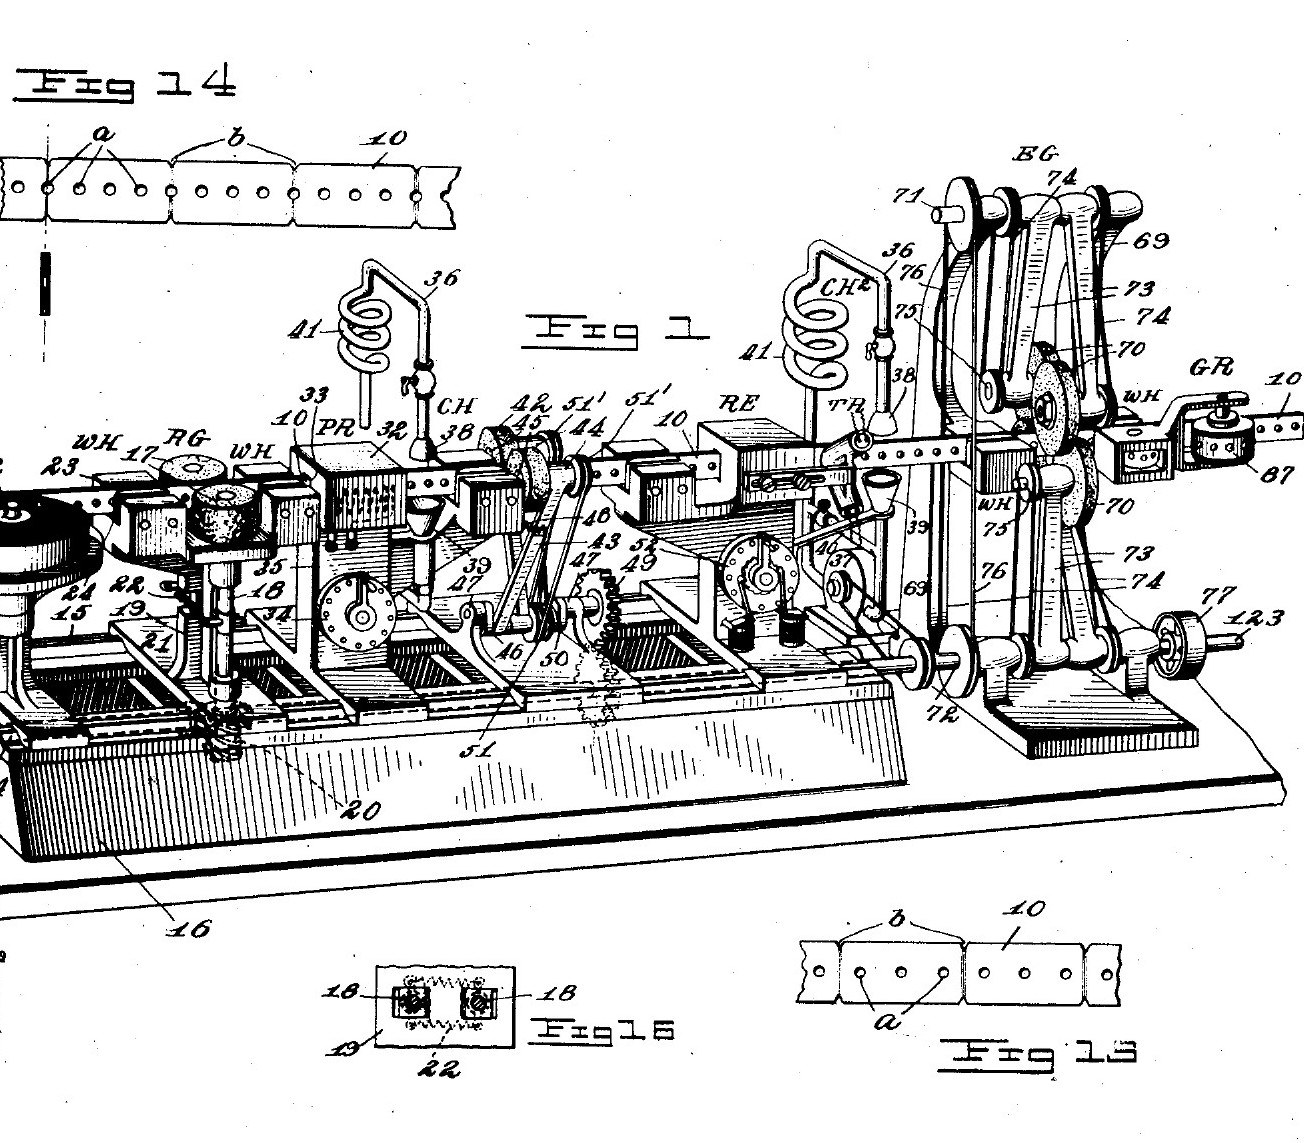
J. P. Tarbox · Public domain (US patent)


Razor Blades from a Continuous Steel Strip (Tarbox 1915)
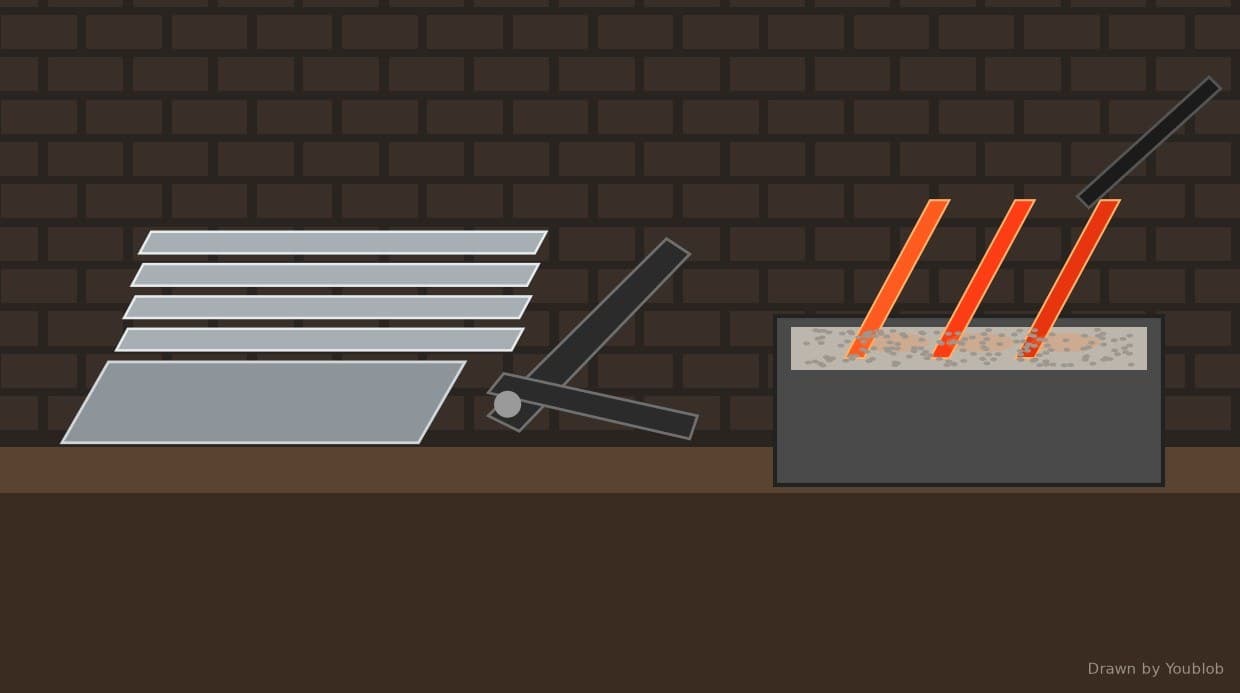
Safety razor blades are made without ever cutting the steel into loose pieces first. A long strip, blade-wide and blade-thick, is punched and notched at every blade length. It then runs through grinding, hardening, tempering, edge grinding, stropping and wrapping, and only at the end is it snapped apart into blades. John Tarbox's machine even set the temper itself, with a selenium cell that watched the colour of the steel.
Source: J. P. Tarbox, US 1,165,037 (1915). The patent gives no temperatures, steel grade or blade sizes. Picture: Tarbox's drawing of the whole line.
Lengra kominn
Continuous line
Leiðbeiningar
1
1
Punch and weaken the strip
Punch and weaken the strip
Start from steel rolled into long strip as wide and as thick as the blade. Punch holes along it to suit the razor holder: a Gillette-type holder has three projections. At every blade length, weaken the strip by notching both edges, thinning it across, or punching a hole on the line.
Efni fyrir þetta skref:
 Kolefnisstálborði1 strip
Nauðsynleg verkfæri:
 Stönsunarpressa
2
2
Rough-grind the faces
Rough-grind the faces
Feed the strip by its holes between a pair of grinding wheels, one on each side, to remove the surface irregularities.
Nauðsynleg verkfæri:
 Slípiskífa
3
3
Harden: heat and chill
Harden: heat and chill
Run it through an electric tunnel heater, then straight into a chilling bath of oil or water.
Nauðsynleg verkfæri:
 Pípuofn
 Herðsluker með olíu
4
4
Rub off the oxide
Rub off the oxide
Pass it between emery wheels to rub the oxide off the chilled strip, so its temper colour can be seen when it is reheated.
Nauðsynleg verkfæri:
Slípiskífa5
5
Temper to straw colour
Temper to straw colour
Reheat it in a second, smaller tunnel heater and chill it again. Tarbox held the colour at the temper wanted, for example straw, by letting a selenium cell compare the strip with a coloured standard disk and adjust the heater.
Nauðsynleg verkfæri:
PípuofnHerðsluker með olíu6
6
Grind and strop the edges
Grind and strop the edges
Grind both edges at once between four grinding wheels, hone if wanted, then pass the strip between strop wheels faced with stropping material.
Nauðsynleg verkfæri:
Slípiskífa Leðurstrokkari
7
7
Wrap, break apart and pack
Wrap, break apart and pack
Wrap the strip spirally in paraffined paper. Then snap it at each weakened line over notched wheels, alternately from each side, and count and pack the blades.
Nauðsynleg verkfæri:
 Vaxpappír
Efni
1- 1 stripStaðgengill
Þessi teikning býr til

Tengd Blueprint
Þessi blueprint deila þekkingu — tækni, efni eða meginreglur
CC0 opinbert ríki
Þessi teikning er gefin út undir CC0. Þér er frjálst að afrita, breyta, dreifa og nota þetta verk í hvaða tilgangi sem er, án þess að biðja um leyfi.
Studdu smiðinn með því að kaupa vörur í gegnum teikningu hans þar sem hann fær þóknun smiða sem seljendur ákvarða, eða búðu til nýja endurskoðun á þessari teikningu og tengdu hana sem tengingu í þinni eigin teikningu til að deila tekjum.