Collaborazione
ARTE
BELLEZZA E BENESSERE
MESTIERE
CULTURA E STORIA
DIVERTIMENTO
AMBIENTE
CIBO E BEVANDE
INGEGNERIA INVERSA
SCIENZE
SPORT
TECNOLOGIA
INDOSSABILI
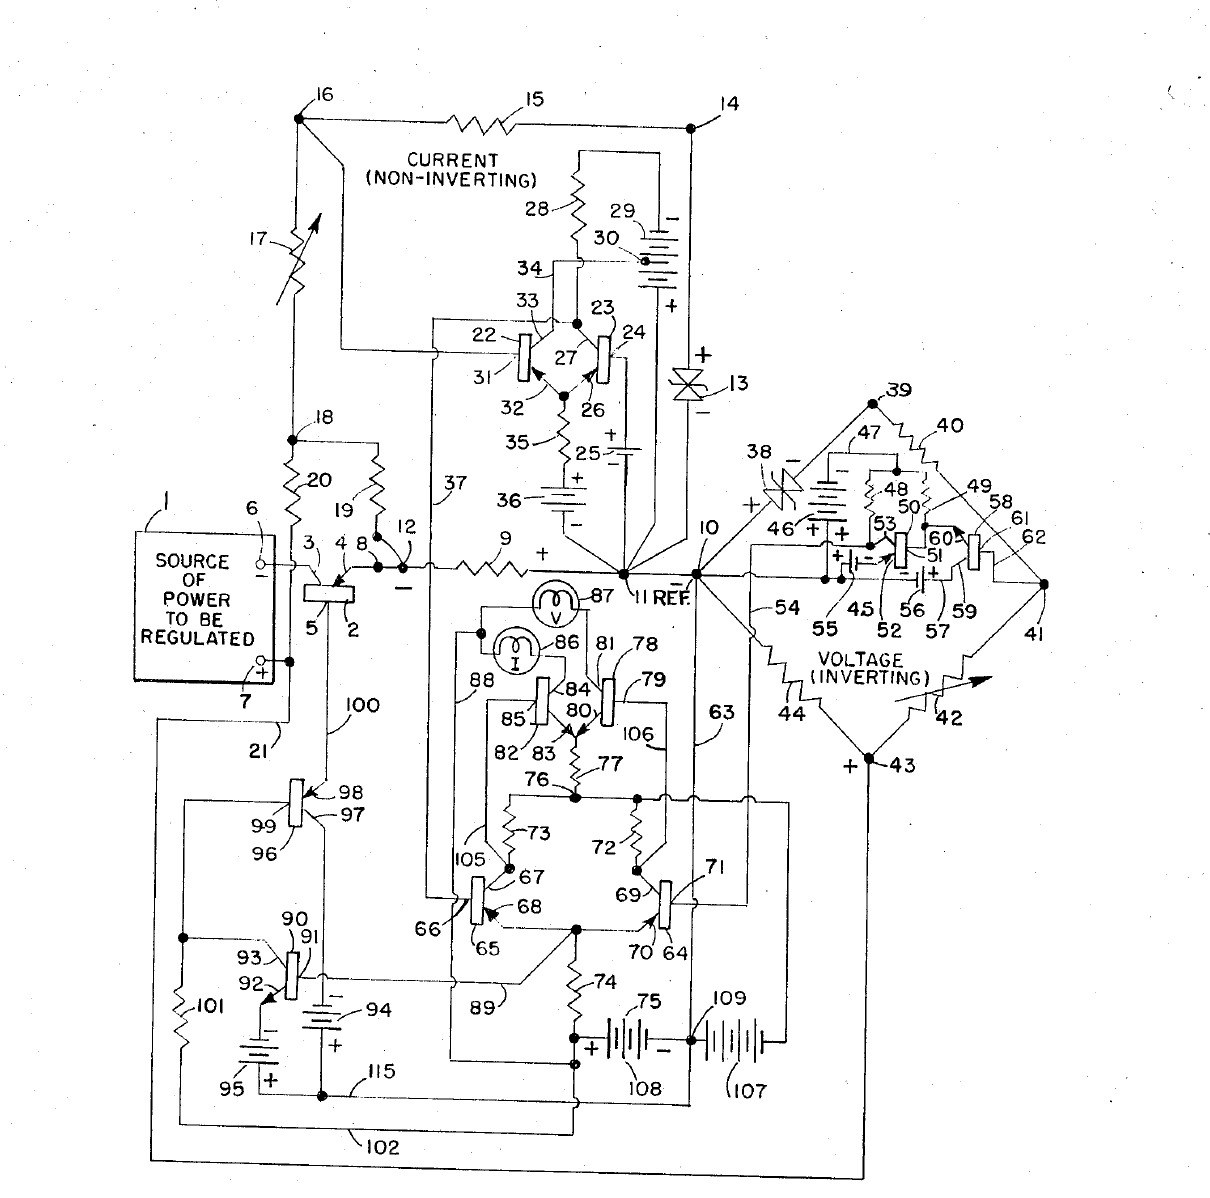


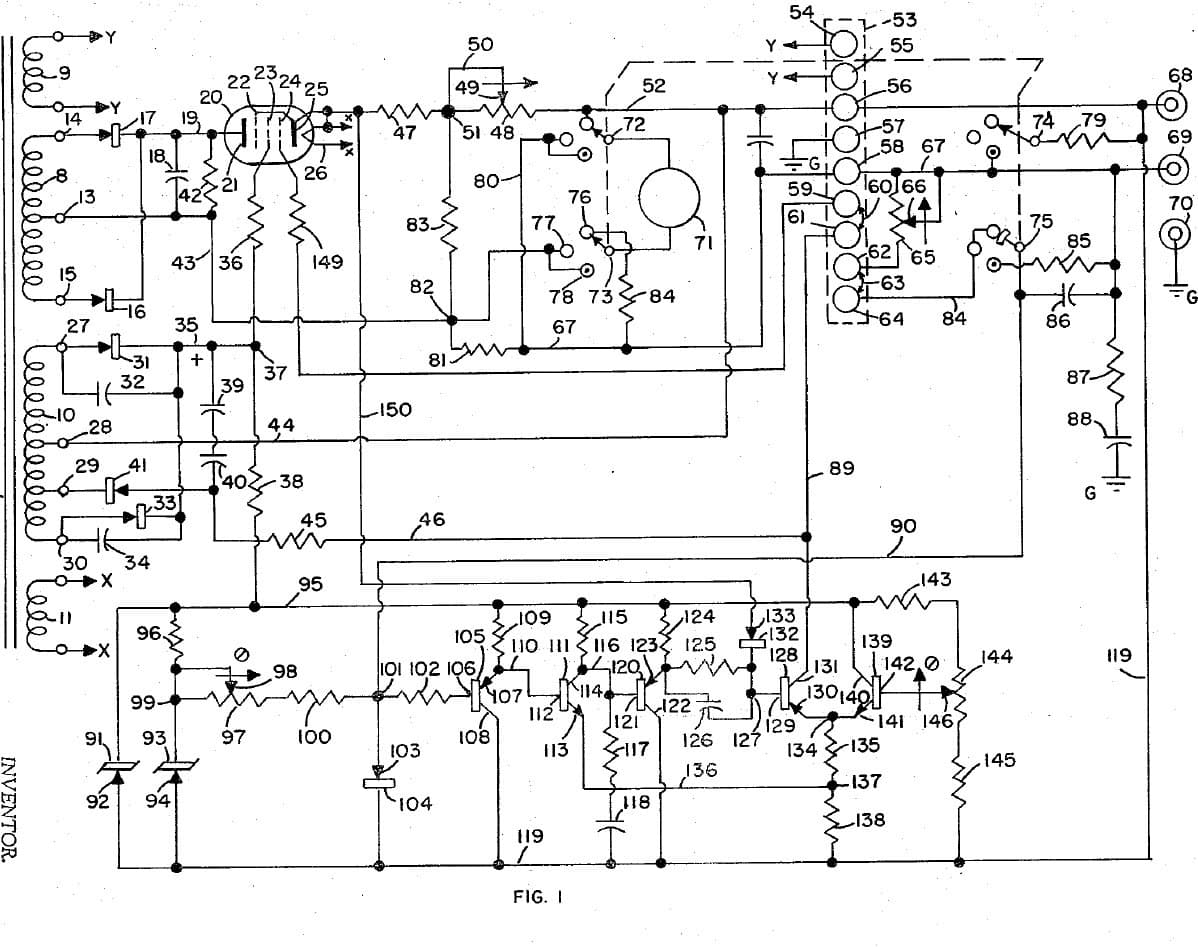
Adjustable Bench Power Supply: Constant Voltage / Constant Current with Cross-Over Lamps (Gately, Forbro, US 3,303,411, 1967)
An all-transistor bench supply with two knobs: one sets the voltage, the other the current. It holds the set voltage until the load tries to draw more than the set current, then switches at once to holding the current, and back again, with no in-between state. Two lamps show which mode is in control.
Result: an adjustable constant-voltage / constant-current DC supply with mode lamps.
Source: J. R. Gately (Forbro Design), US 3,303,411 (1967). Unknown: all component values and ratings. Builds on the same inventor's 1966 current-limited supply. Picture: the patent drawing.
Avanzato
Unknown
Istruzioni
1
1
Build the raw supplies
Build the raw supplies
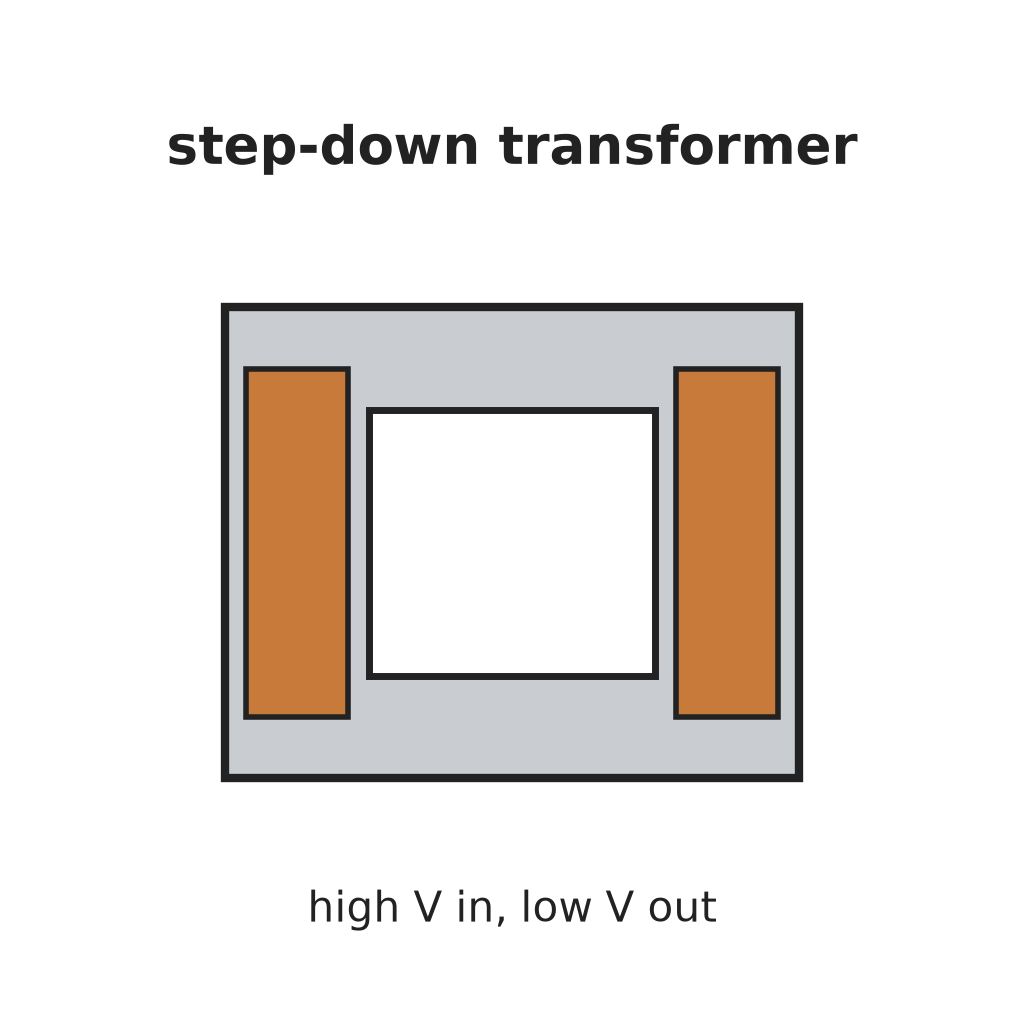
In a case, wire the cord through a switch and fuse to two power transformers, each with rectifiers and a filter: one gives the main power to be regulated, the other the bias supplies, held steady by Zener diodes. Not given: the voltages. Ours: the case, switch and fuse.
Materiali per questo passaggio:
 Contenitore in alluminio1 pezzo
 Cavo flessibile con spina1 pezzo
 Interruttore a levetta1 pezzo
 Fusibile1 pezzo
 Trasformatore riduttore2 pezzi
 Diodo6 rectifiers
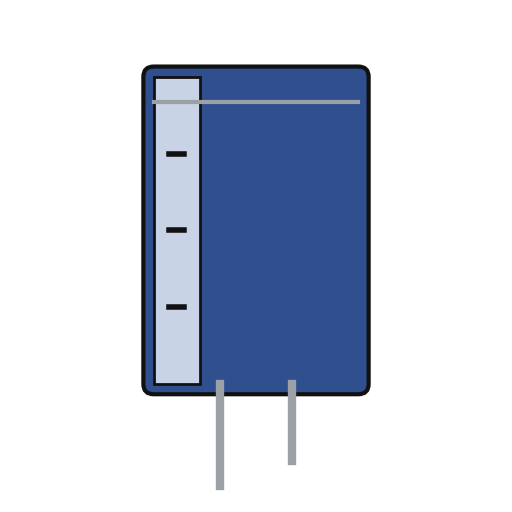 Condensatore elettrolitico3 filters
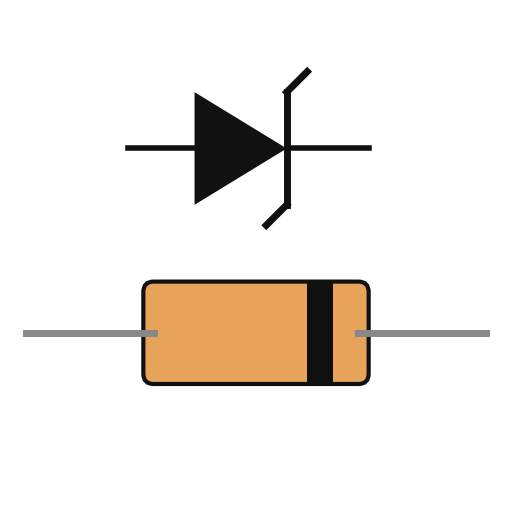 Diodo Zener2 bias
Strumenti necessari:
 Trapano a mano
 Set di cacciaviti
2
2
Fit the pass transistor and current bridge
Fit the pass transistor and current bridge
Put a power transistor on a heat sink in series with the output: collector to the negative supply, emitter through a current-sensing resistor to the negative output terminal. Make the current bridge from the sensing resistor, a reference Zener, a reference resistor and the adjustable current-control resistor: the output current is proportional to its setting. A small trimming resistor sets the maximum current. Not given: the values.
Materiali per questo passaggio:
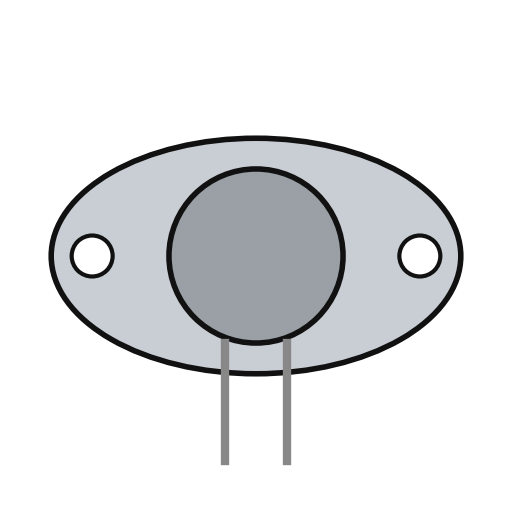 Transistor di potenza1 series pass
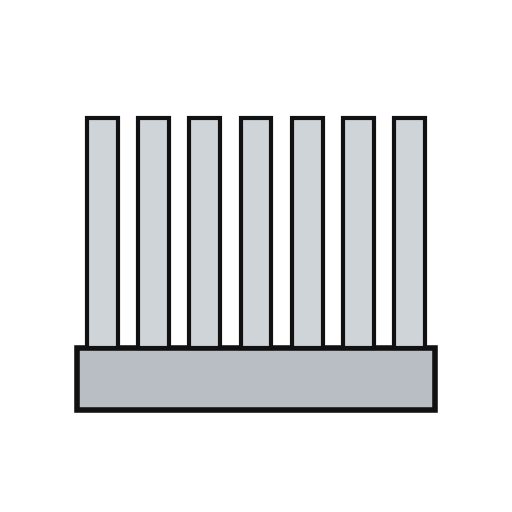 Dissipatore di calore1 pezzoDiodo Zener1 current reference
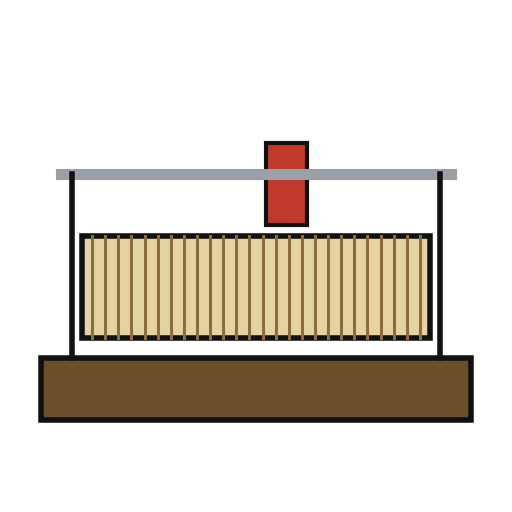 Reostato1 current control
 Resistenza1 sensing, reference, trim set
 Boccola da pannello2 output + and -
Strumenti necessari:
 Saldatore a stagno
3
3
Build the voltage bridge
Build the voltage bridge
Make the voltage bridge from a reference Zener, a reference resistor, the adjustable voltage-control resistor and the load itself across the output. A small trimming resistor sets the maximum voltage. Add two resistors that feed the current bridge enough extra to cover the voltage bridge's own current and any voltmeter across the output, so low currents are still held exactly.
Materiali per questo passaggio:
Diodo Zener1 voltage referenceReostato1 voltage controlResistenza1 reference, trim, compensation setStrumenti necessari:
Saldatore a stagno4
4
Build the amplifiers and cross-over
Build the amplifiers and cross-over
Give each bridge an error amplifier. Feed the two amplified errors to the bases of a pair of transistors sharing one emitter resistor: whichever base is the more negative takes control and cuts the other off, so the supply is always cleanly in voltage mode or current mode. Amplify the shared emitter signal through two more transistors to drive the pass transistor's base. Add an emitter-follower clamp on the bias line. Not given: the transistor types.
Materiali per questo passaggio:
 Circuito stampato1 pezzo
 Assortimento di transistor1 error amplifiers, cross-over pair, drivers, clampResistenza1 set
 Potenziometro1 clamp divider
 Filo per saldatura1 as needed
Strumenti necessari:
Saldatore a stagno5
5
Fit the mode lamps and use it
Fit the mode lamps and use it
From the cross-over pair, drive two lamp transistors, each lighting one lamp: one for voltage mode, one for current mode. In use, set the voltage and the current limit. With a light load the voltage lamp is lit and the voltage holds; if the load tries to draw more than the set current, the supply switches to holding the current and the current lamp lights.
Materiali per questo passaggio:
Assortimento di transistor1 two lamp drivers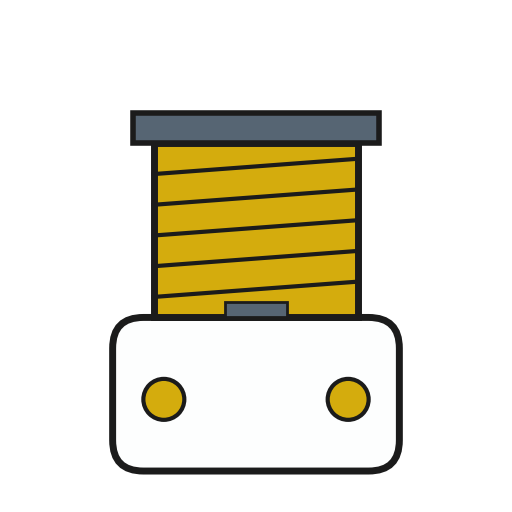 Portalampada2 pezzi
 Lampadina2 pezzi
Strumenti necessari:
Set di cacciavitiMateriali
19- 1 pezzoSegnaposto
- 1 pezzoSegnaposto
- Segnaposto
- 1 pezzoSegnaposto
- 2 pezziSegnaposto
- 6 rectifiersSegnaposto
- 3 filtersSegnaposto
- 1 voltage referenceSegnaposto
- 1 series passSegnaposto
- 1 pezzoSegnaposto
- 1 voltage controlSegnaposto
- 1 setSegnaposto
- Segnaposto
- 1 pezzoSegnaposto
- 1 two lamp driversSegnaposto
- Segnaposto
- 1 as neededSegnaposto
- 2 pezziSegnaposto
- 2 pezziSegnaposto
Strumenti richiesti
3- Segnaposto
- Segnaposto
- 2 vendors sell this, none ship to you yetSegnaposto
Questo progetto realizza

Blueprint correlati
Questi blueprint condividono conoscenze — tecniche, materiali o principi
CC0 Pubblico dominio
Questo progetto è rilasciato sotto CC0. Sei libero di copiare, modificare, distribuire e utilizzare quest'opera per qualsiasi scopo, senza chiedere permesso.
Supporta il Maker acquistando prodotti tramite il suo progetto dove guadagna una Commissione Maker stabilita dai venditori, oppure crea una nuova iterazione di questo progetto e includilo come collegamento nel tuo progetto per condividere i ricavi.