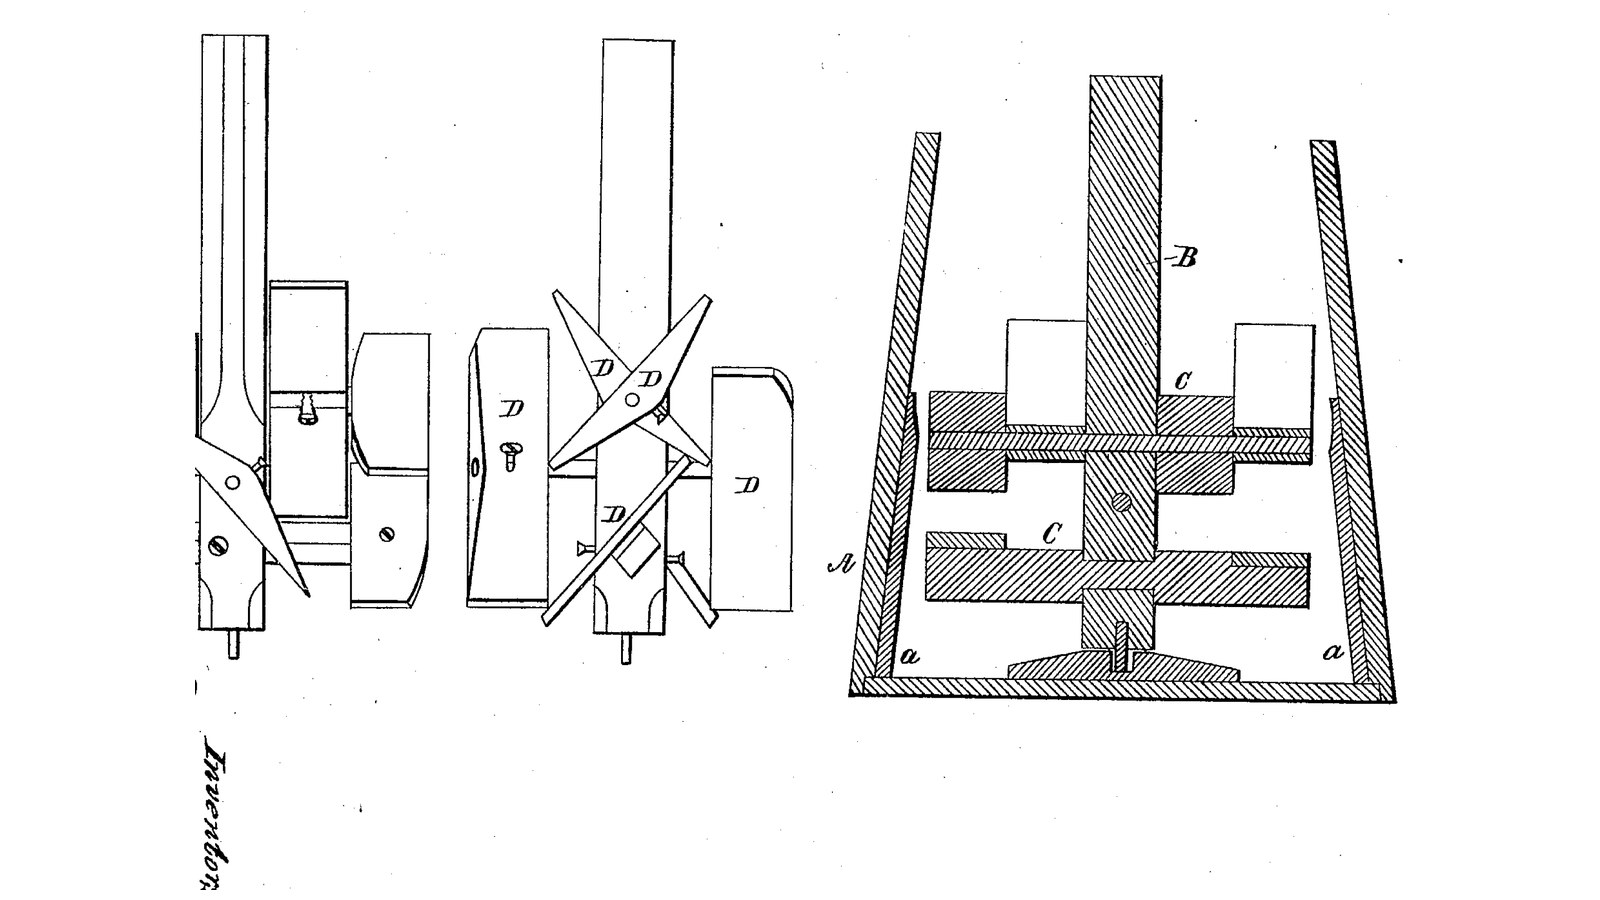

Set-Wing Dasher Churn: Wings on Two Cross Rods Through the Staff Are Set by Screws to Lift or Press the Cream
Istruzioni
Setting the wings
Setting the wings
Paddles sloping opposite ways, five months before
Paddles sloping opposite ways, five months before
Read US 32,814
Read US 32,814
Churn A and strips a
Churn A and strips a
Materiali per questo passaggio:
 Secchio da 20 litri1 pezzo
 Tavola di legno duro1 pezzo
 Viti da legno12 pezzi
 Sigillante siliconico1 pezzo
 Lastra di HDPE1 pezzo
Strumenti necessari:
 Sega circolare da banco
 Trapano a batteria
 Serie di punte da trapano
 Set di cacciaviti
 Bussola
 Seghetto alternativo
 Set di punte a lancia
Print the step
Print the step
Print the wings D (four)
Print the wings D (four)
Staff B, rods C and wings D
Staff B, rods C and wings D
Materiali per questo passaggio:
Tavola di legno duro1 pezzo Barra di acciaio inossidabile2 pezzi
 Filamento PETG1 pezzo
 Viti da metallo4 pezzi
 Piatto di acciaio dolce1 pezzo
 Tasselli di legno duro1 pezzo
 Coppiglia1 pezzo
Strumenti necessari:
 Stampante 3D a filamento (FDM)Sega circolare da banco
 Tornio per legnoTrapano a batteriaSerie di punte da trapano
 Seghetto per metalli
 Lime (lima a mano)Set di cacciaviti
The build in 3D
The build in 3D
Churn
Churn
Materiali per questo passaggio:
 Panna da montare12 l
 Sale marino grosso1 pezzo
 Acqua1 pezzo
Strumenti necessari:
 Termometro a sonda permanente
 Cronometro
 Bilancia digitale da cucina
 Grande ciotola da impasto in acciaio inossidabileSet di cacciaviti
Troubleshooting
Troubleshooting
Flow
History and honest limits
History and honest limits
Materiali
14- 1 pezzoSegnaposto
- 1 pezzoSegnaposto
- 12 pezziSegnaposto
- 1 pezzoSegnaposto
- 1 pezzoSegnaposto
- Segnaposto
- 1 pezzoSegnaposto
- 4 pezziSegnaposto
- 1 pezzoSegnaposto
- 1 pezzoSegnaposto
- 1 pezzoSegnaposto
- 12 lSegnaposto
- 1 pezzoSegnaposto
- 1 pezzoSegnaposto
Strumenti richiesti
15- 1 vendor sell this, none ship to you yetSegnaposto
- 1 vendor sell this, none ship to you yetSegnaposto
- Segnaposto
- Segnaposto
- Segnaposto
- 1 vendor sell this, none ship to you yetSegnaposto
- Segnaposto
- Segnaposto
- Segnaposto
- Segnaposto
- Segnaposto
- Segnaposto
- Segnaposto
- Segnaposto
File di progetto
3Questo progetto realizza


Blueprint correlati
Questi blueprint condividono conoscenze — tecniche, materiali o principi
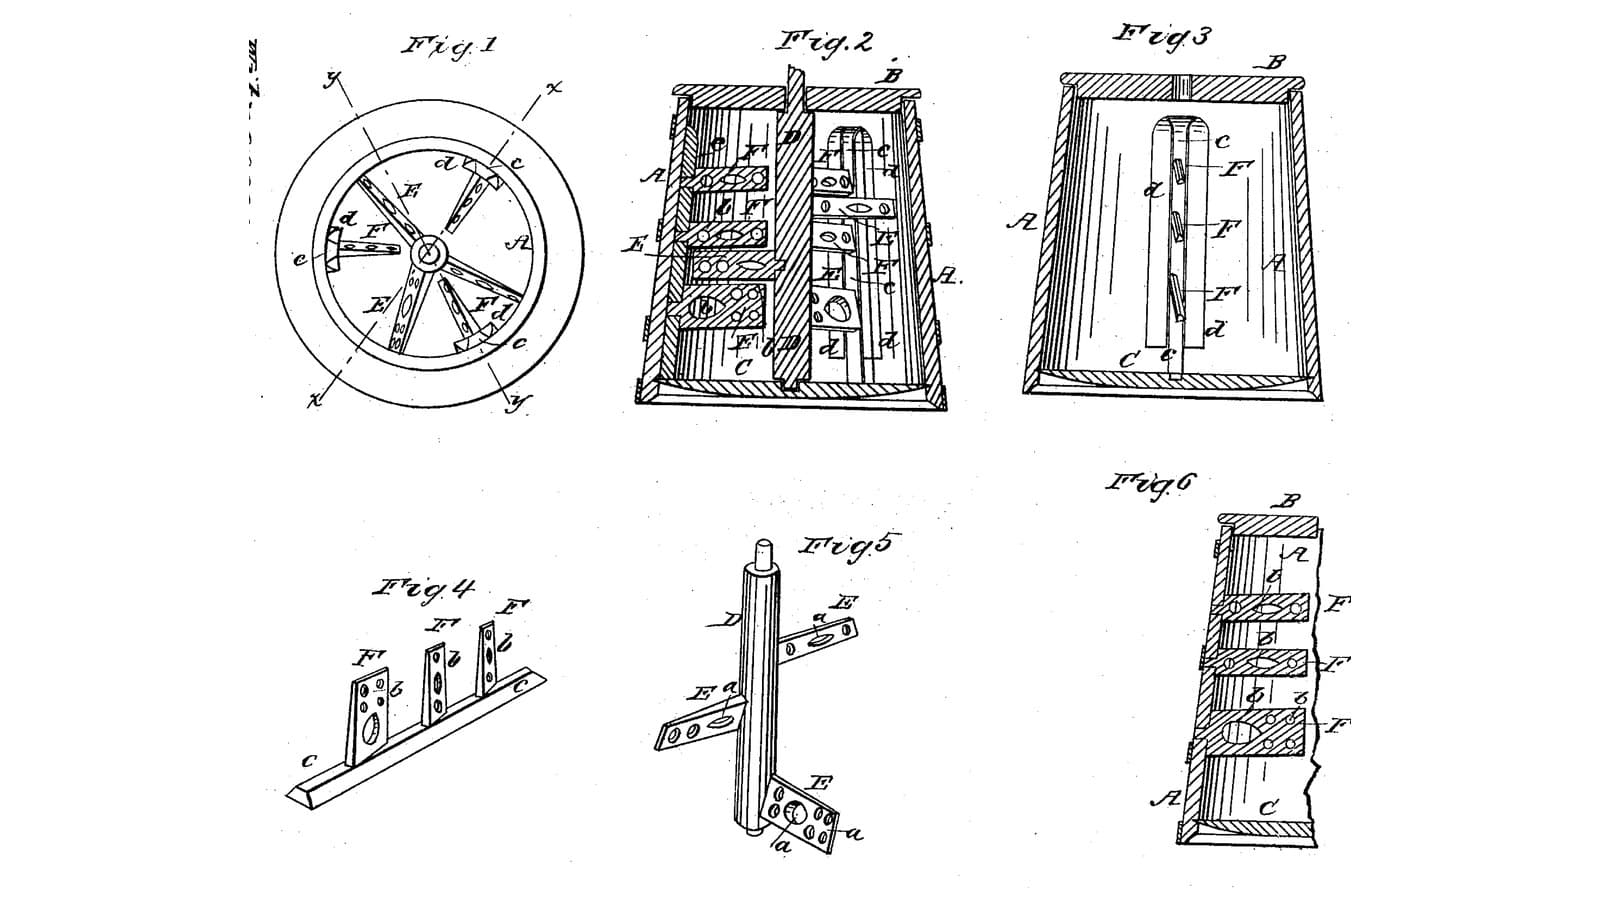
Opposed Perforated-Paddle Churn: Sloping Holed Paddles on a Geared Shaft Pass Between Paddles Sloping the Other Way on Slide Bars
di Buttercup
Lavorazione del legno
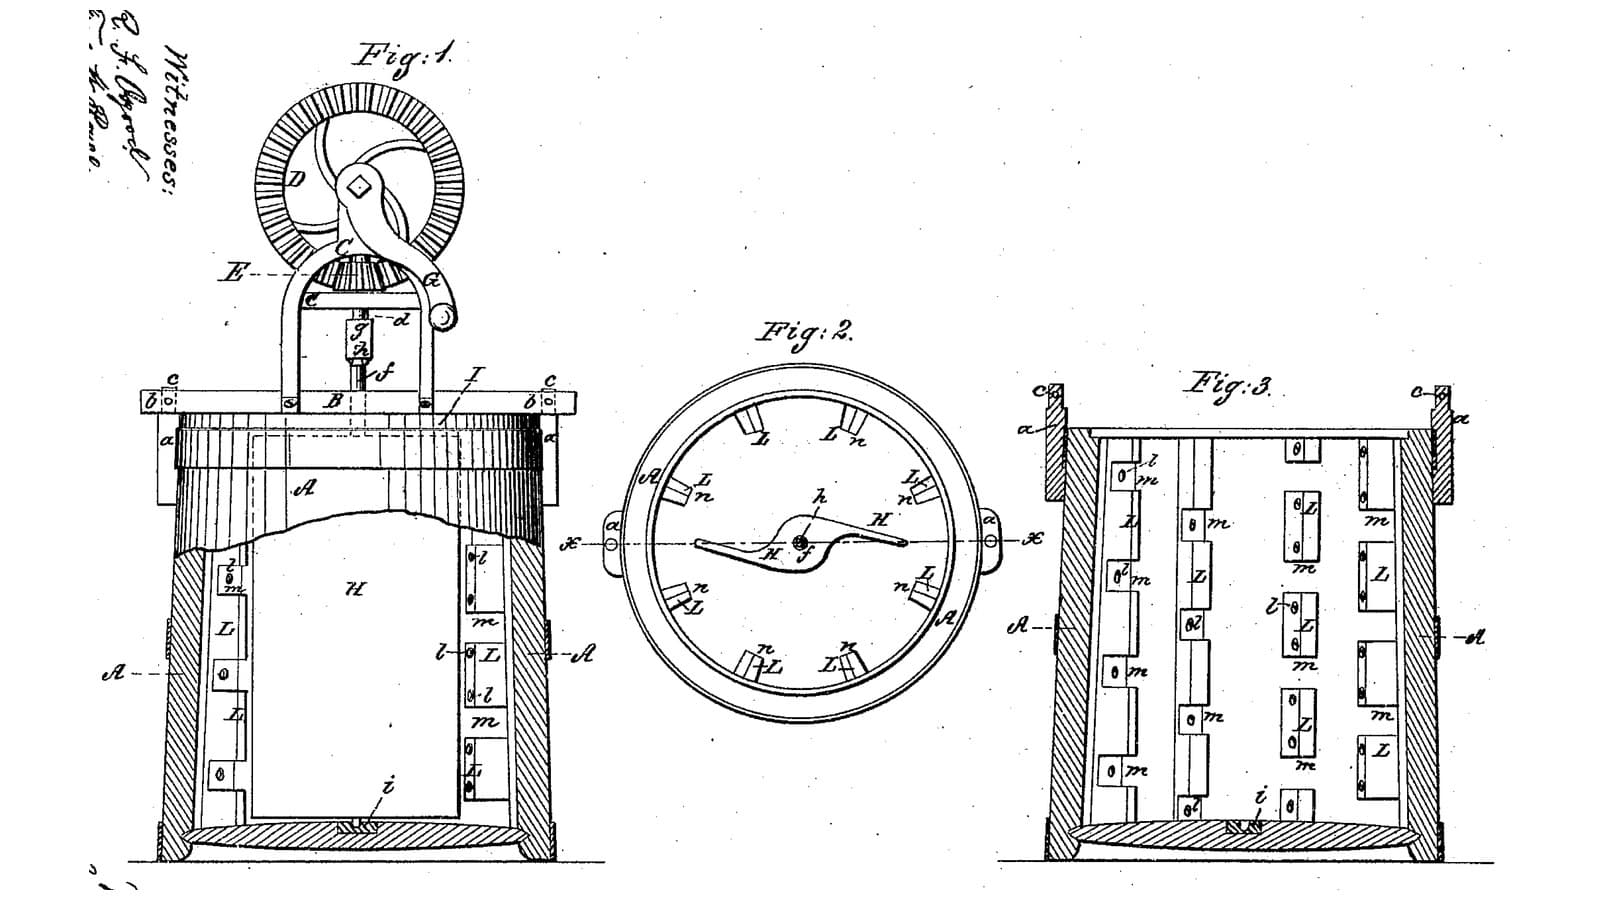
Notched-Rib Churn: A Solid S-Winged Dasher Turns Inside Upright Ribs Whose Notches Alternate, Crossing the Cream's Currents
di Buttercup
Lavorazione del legno
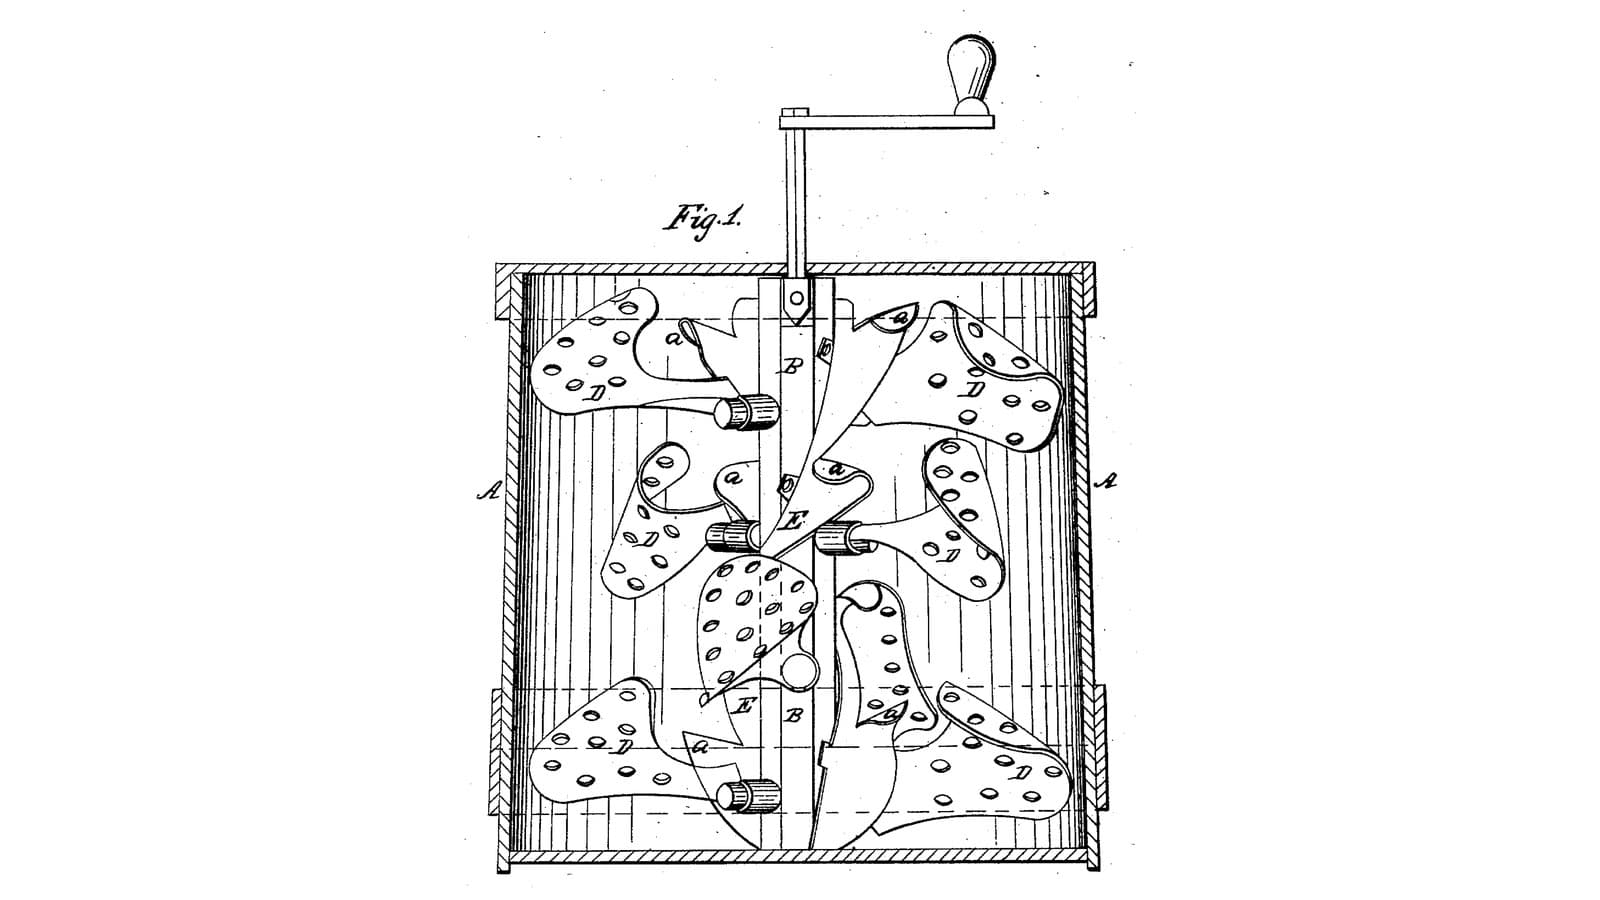
Spiral-Flange Perforated Dasher Churn: Curved Holed Dashers Fling the Cream Out, a Spiral Flange With Vanes Drives It Back Down
di Buttercup
Lavorazione del legno

Churning Butter from Cream — The 5,000-Year-Old Fat Separation
di TheChef
MESTIERE
CC0 Pubblico dominio
Questo progetto è rilasciato sotto CC0. Sei libero di copiare, modificare, distribuire e utilizzare quest'opera per qualsiasi scopo, senza chiedere permesso.
Supporta il Maker acquistando prodotti tramite il suo progetto dove guadagna una Commissione Maker stabilita dai venditori, oppure crea una nuova iterazione di questo progetto e includilo come collegamento nel tuo progetto per condividere i ricavi.