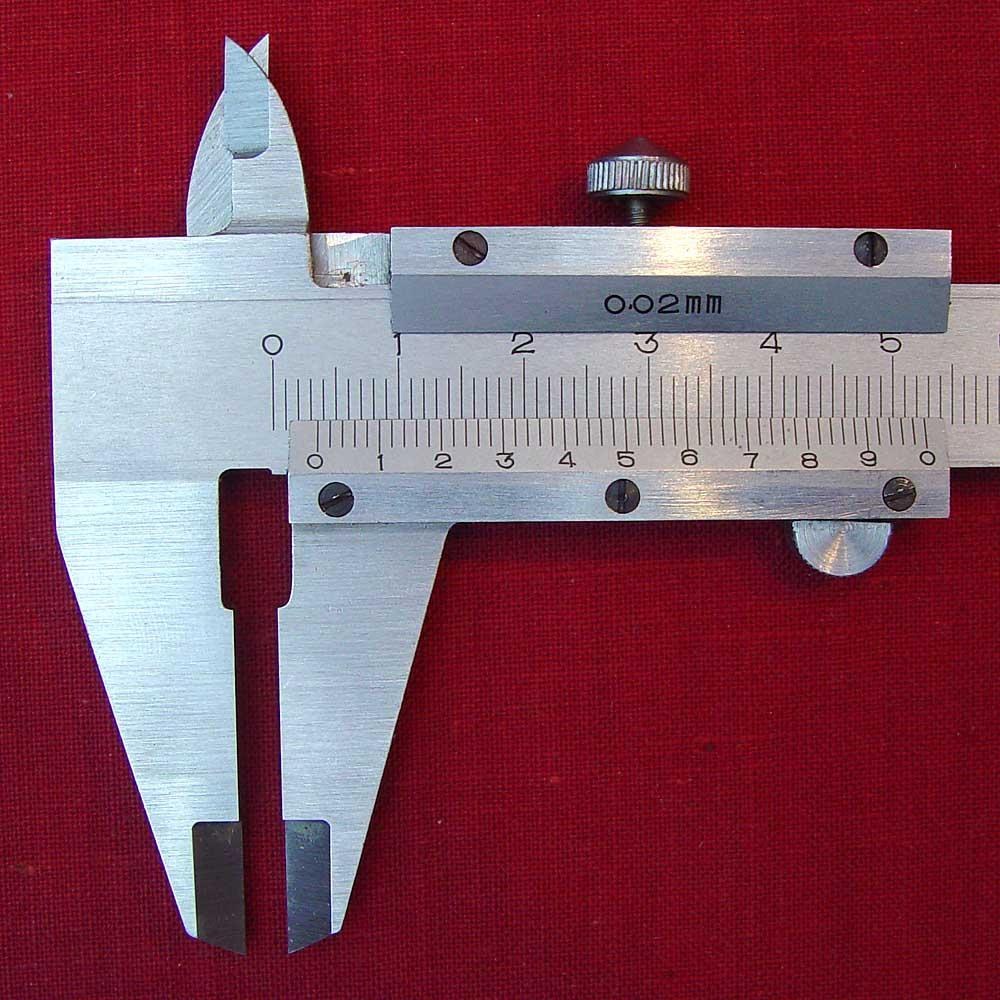


Vernier Caliper
The vernier is a piece of arithmetic you can hold. It reads a fraction of a division without any fine mechanism at all — no screw, no gears, no lens. Two scales of slightly different spacing do the whole job.
Joseph R. Brown of Providence, Rhode Island put a pocket vernier caliper on the market in 1851, reading to one thousandth of an inch. It was the first vernier caliper made in quantity at a price a working machinist could pay, and it is the ancestor of the caliper in every toolbox today.
Two honest qualifications. First, the principle is not Brown's: Pierre Vernier published it at Brussels in 1631, and it was already two centuries old. Second, Brown's caliper is usually described as “later patented”, but no patent number for it can be verified. What is documented is the 1851 commercial circular. The invention that really made it possible was Brown's own dividing engine of 1850 — the machine that could cut accurate graduations in the first place. You cannot sell a precise scale until you can make one cheaply.
Istruzioni
Write down the trick before you build it
Write down the trick before you build it
The vernier idea in one line: make the second scale's divisions slightly smaller than the first's, and the position where two marks line up tells you the fraction.
Draw a main scale on card
Draw a main scale on card
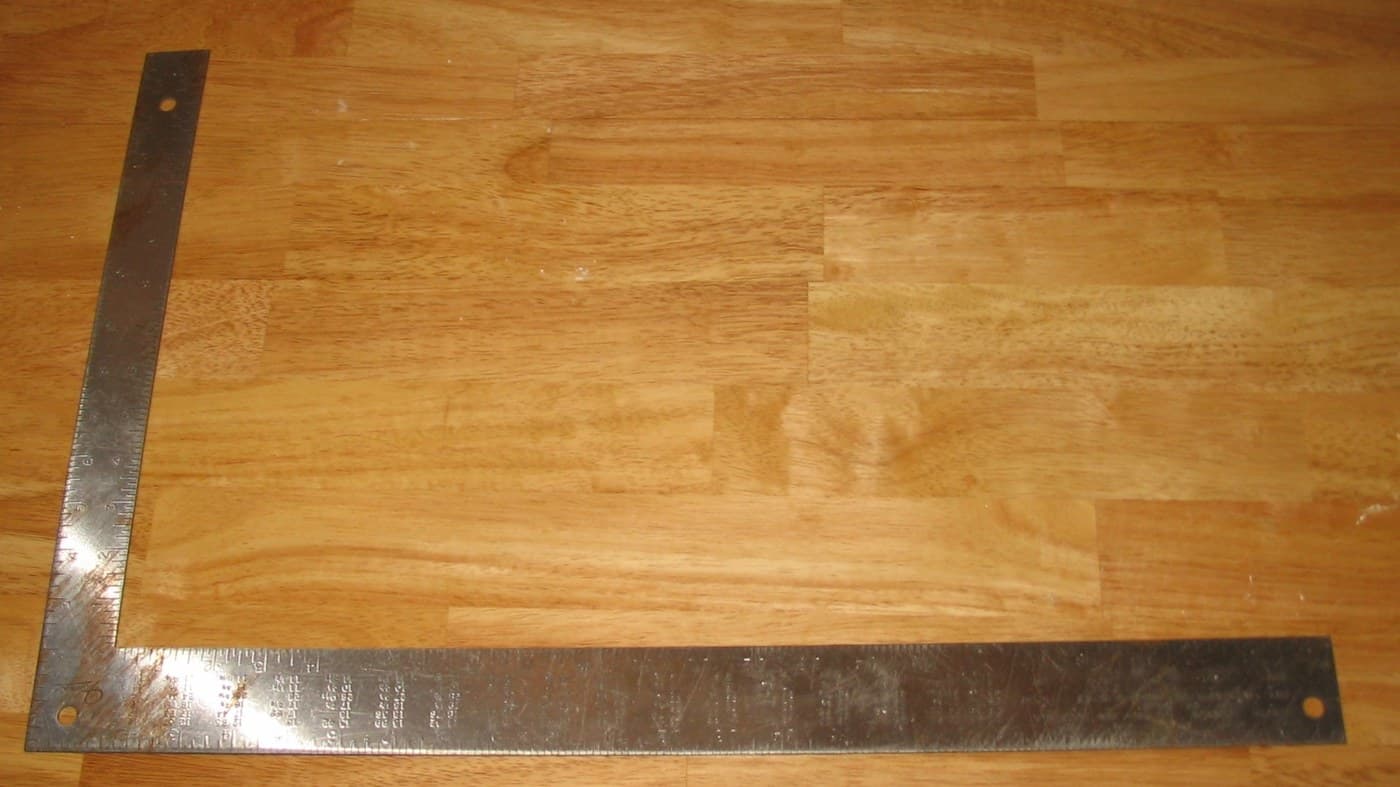
Draw a 200 mm line on card stock and mark it every 1 mm with the steel rule.
Materiali per questo passaggio:
 Cartoncino1 foglio
Strumenti necessari:
 Righello
 Pennarello indelebile
Draw a vernier scale of 9 mm in 10 parts
Draw a vernier scale of 9 mm in 10 parts
On a second card strip, mark a 9 mm length and divide it into 10 equal parts of 0.9 mm.
Materiali per questo passaggio:
Cartoncino1 foglioStrumenti necessari:
RighelloPennarello indelebileCut both strips out
Cut both strips out
Cut the two strips so the vernier strip slides along the main scale.
Materiali per questo passaggio:
Cartoncino1 foglioStrumenti necessari:
 Forbici
Read a whole number of millimetres
Read a whole number of millimetres
Slide the vernier zero to 37 mm. The reading is the last main mark passed by the vernier zero — here, 37.
Read the tenth
Read the tenth
Slide the vernier zero to 37.4 mm. Find which vernier mark lines up exactly with a main mark. Its number is the first decimal.
Prove why it works
Prove why it works
Each vernier division is 0.1 mm short of a main division. After n divisions the shortfall is n × 0.1 mm. Alignment at n means the offset is n tenths. Write the algebra out.
Materiali per questo passaggio:
 Carta millimetrata1 foglio
Read the real caliper
Read the real caliper
Close the vernier caliper fully. Confirm the two zeros align. If not, note the zero error and subtract it from every reading you take.
Strumenti necessari:
 Calibro a corsoio
Measure a brass rod three ways
Measure a brass rod three ways
Measure the rod with the steel rule, the vernier caliper and the micrometer. Record all three.
Materiali per questo passaggio:
 Barra di ottone1 pezzo
Strumenti necessari:
RighelloCalibro a corsoio Micrometro
Compare against the digital caliper
Compare against the digital caliper
Measure the same rod with the digital caliper. Note that it agrees with the vernier and adds no accuracy — it only removes the reading skill.
Materiali per questo passaggio:
Barra di ottone1 pezzoStrumenti necessari:
 Calibro digitale da 6 pollici
Measure the same rod ten times
Measure the same rod ten times
Take ten independent vernier readings of the rod, releasing fully between each. Record all ten.
Materiali per questo passaggio:
Barra di ottone1 pezzoCarta millimetrata1 foglioStrumenti necessari:
Calibro a corsoioCalculate your spread
Calculate your spread
Subtract the smallest reading from the largest. That spread — not the instrument's stated resolution — is your real measuring uncertainty.
Materiali per questo passaggio:
Carta millimetrata1 foglioFeel the force error
Feel the force error
Measure the rod once squeezing hard and once barely touching. The difference is why the micrometer got a friction thimble and the caliper never did.
Materiali per questo passaggio:
Barra di ottone1 pezzoStrumenti necessari:
Calibro a corsoioMicrometroMeasure an inside diameter and a depth
Measure an inside diameter and a depth
Use the caliper's inside jaws and depth rod on a cardboard tube or a hole in the board. One tool, three kinds of measurement — that is why it sold.
Materiali per questo passaggio:
 Tavola di legno piatta1 pezzo
Strumenti necessari:
Calibro a corsoioHistory & Context
History & Context
Pierre Vernier, La construction, l'usage, et les propriétés du quadrant nouveau de mathématiques, Brussels, 1631. The scale is his, and it is 220 years older than the caliper that carries it.
Joseph R. Brown (1810-1876), Providence, Rhode Island. Brown & Sharpe advertised a pocket vernier caliper reading to 0.001 inch in an 1851 circular. Many secondary sources add that it was “later patented”; no number for it can be verified, so this blueprint claims none. The firm's better-documented achievement of the previous year is the dividing engine of 1850, which cut accurate graduations automatically — without it, a cheap accurate scale is impossible, because hand-dividing a scale was skilled work costing more than the tool.
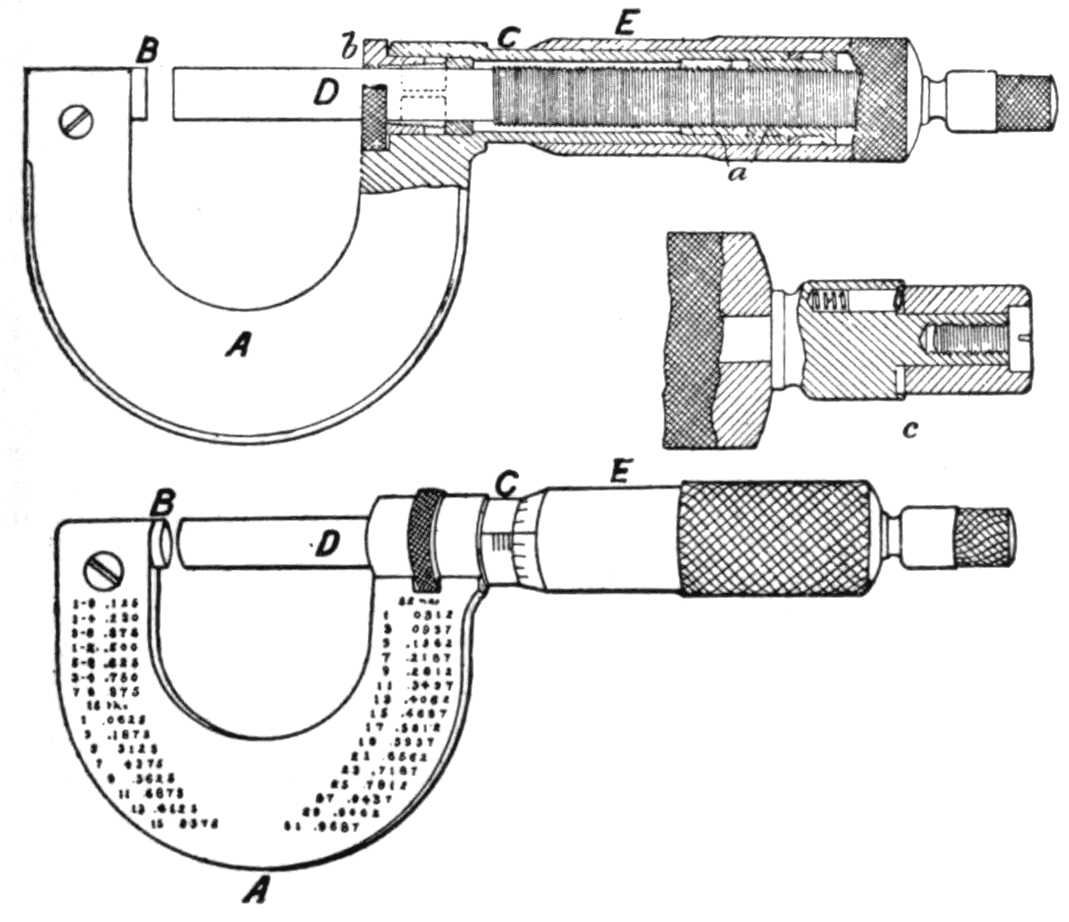
Why a caliper and not a micrometer. A vernier caliper measures outside, inside and depth, over a long range, with no moving screw to wear. A micrometer beats it for resolution and repeatability over a short range. Both were on sale in the same shops by 1870 and neither replaced the other; batch 35's Palmer micrometer is the other half of this pair.
The honest limit of a vernier. Reading to 0.02 mm does not mean measuring to 0.02 mm. Jaw wear, measuring force and the operator's eye all enter, which is exactly what step 11 makes visible. A stated resolution is a property of the scale; accuracy is a property of the whole system including you.
Materiali
4- 1 foglioSegnaposto
- 1 foglioSegnaposto
- 1 pezzoSegnaposto
- 1 pezzoSegnaposto
Materiali dei progetti collegati
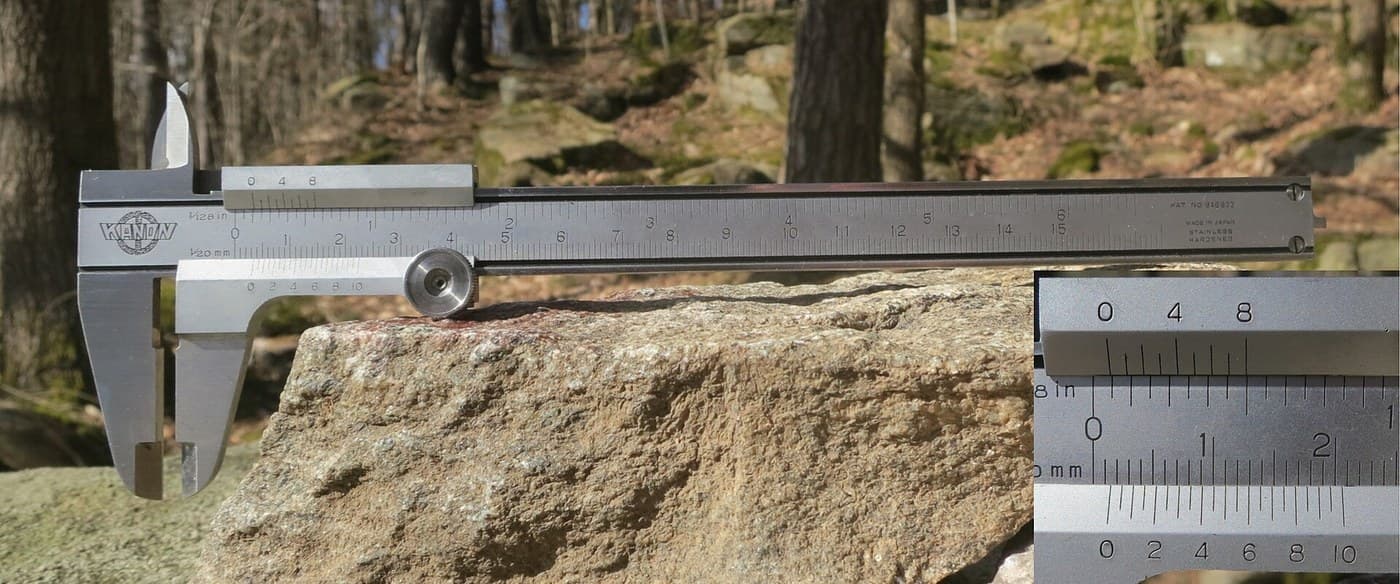


Blueprint correlati
Questi blueprint condividono conoscenze — tecniche, materiali o principi
CC0 Pubblico dominio
Questo progetto è rilasciato sotto CC0. Sei libero di copiare, modificare, distribuire e utilizzare quest'opera per qualsiasi scopo, senza chiedere permesso.
Supporta il Maker acquistando prodotti tramite il suo progetto dove guadagna una Commissione Maker stabilita dai venditori, oppure crea una nuova iterazione di questo progetto e includilo come collegamento nel tuo progetto per condividere i ricavi.