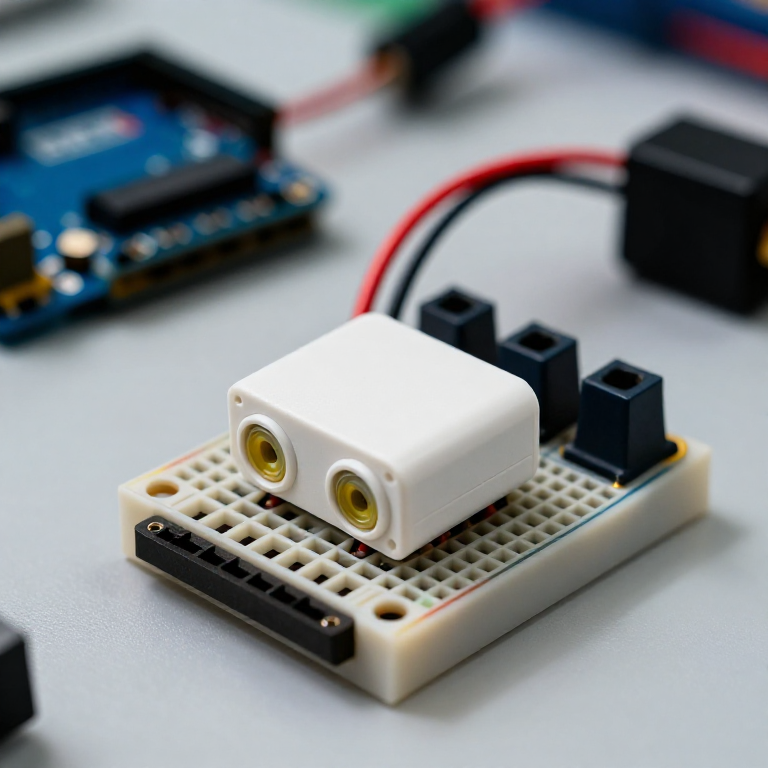


Building an Ultrasonic Parking Sensor
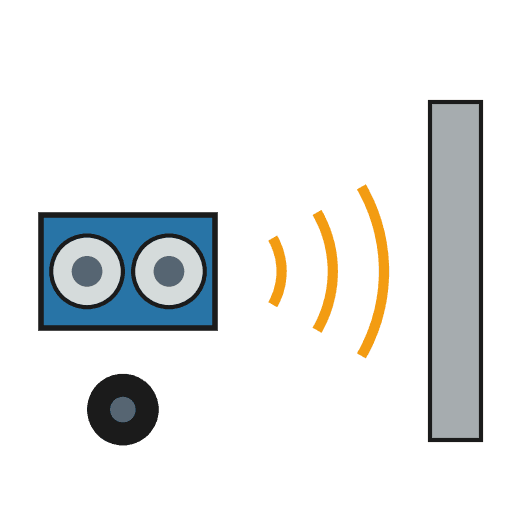
Measure distance with sound. An HC-SR04 ultrasonic sensor sends out a pulse of sound and times its echo, and the Arduino turns that into a distance in centimetres. Wire it to a buzzer that beeps faster as something gets closer — a car parking sensor, a reversing aid, or a doorway proximity alarm.
Istruzioni
Wire the sensor and buzzer
Wire the sensor and buzzer
Push the HC-SR04 and the active buzzer into the breadboard. Wire the sensor: VCC to Arduino 5V, GND to GND, Trig to pin 9, Echo to pin 10. Wire the buzzer: + to pin 8, - to GND.
Materiali per questo passaggio:
 Arduino Uno R31 pezzo
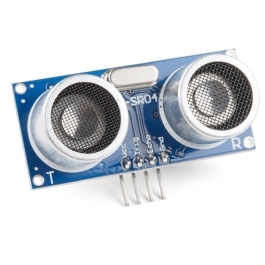 HC-SR04 Ultrasonic Distance Sensor (5-Pack)1 pezzo
 Modulo cicalino attivo1 pezzo
 Breadboard1 pezzo
 Cavetti ponticello1 confezione
Connect and open the IDE
Connect and open the IDE
Plug the Arduino into your computer with the USB cable, open the Arduino IDE, and select Arduino Uno and its serial port.
Strumenti necessari:
 Computer con l'IDE Arduino
 Cavo USB-B
Upload the parking-sensor sketch
Upload the parking-sensor sketch
Paste this sketch and upload. It measures the distance and beeps faster the closer an object is. Open the Serial Monitor to see the distance in centimetres.
Test and set the range
Test and set the range
Move your hand toward the sensor — the buzzer beeps faster as you get closer and nearly solid when very near. Change the 50 in the sketch to set how far away it starts reacting, and the * 6 to change how quickly the beeping speeds up.
Mount it
Mount it
Fix the sensor facing outward on a bracket or in a small box and power the Arduino from a USB power bank or a 9 V adapter. Aim it at your parking spot, garage wall or doorway.
Materiali
5- Segnaposto
- Ultrasonic Sensor - HC-SR0410% commissione1 pezzo€3.73
- 1 pezzoSegnaposto
- Segnaposto
- Segnaposto
Strumenti richiesti
3- Segnaposto
- 1 vendor sell this, none ship to you yetSegnaposto
- 1 vendor sell this, none ship to you yetSegnaposto
Questo progetto realizza
Blueprint correlati
Questi blueprint condividono conoscenze — tecniche, materiali o principi


CC0 Pubblico dominio
Questo progetto è rilasciato sotto CC0. Sei libero di copiare, modificare, distribuire e utilizzare quest'opera per qualsiasi scopo, senza chiedere permesso.
Supporta il Maker acquistando prodotti tramite il suo progetto dove guadagna una Commissione Maker stabilita dai venditori, oppure crea una nuova iterazione di questo progetto e includilo come collegamento nel tuo progetto per condividere i ricavi.