
ARTE
BELLEZZA E BENESSERE
MESTIERE
CULTURA E STORIA
DIVERTIMENTO
AMBIENTE
CIBO E BEVANDE
INGEGNERIA INVERSA
SCIENZE
SPORT
TECNOLOGIA
INDOSSABILI
Pine Boards with a Chainsaw Mill
Woody

Creato da

Woody

11. ottobre 2026NO
38
0
0
0
0

Pine Boards with a Chainsaw Mill

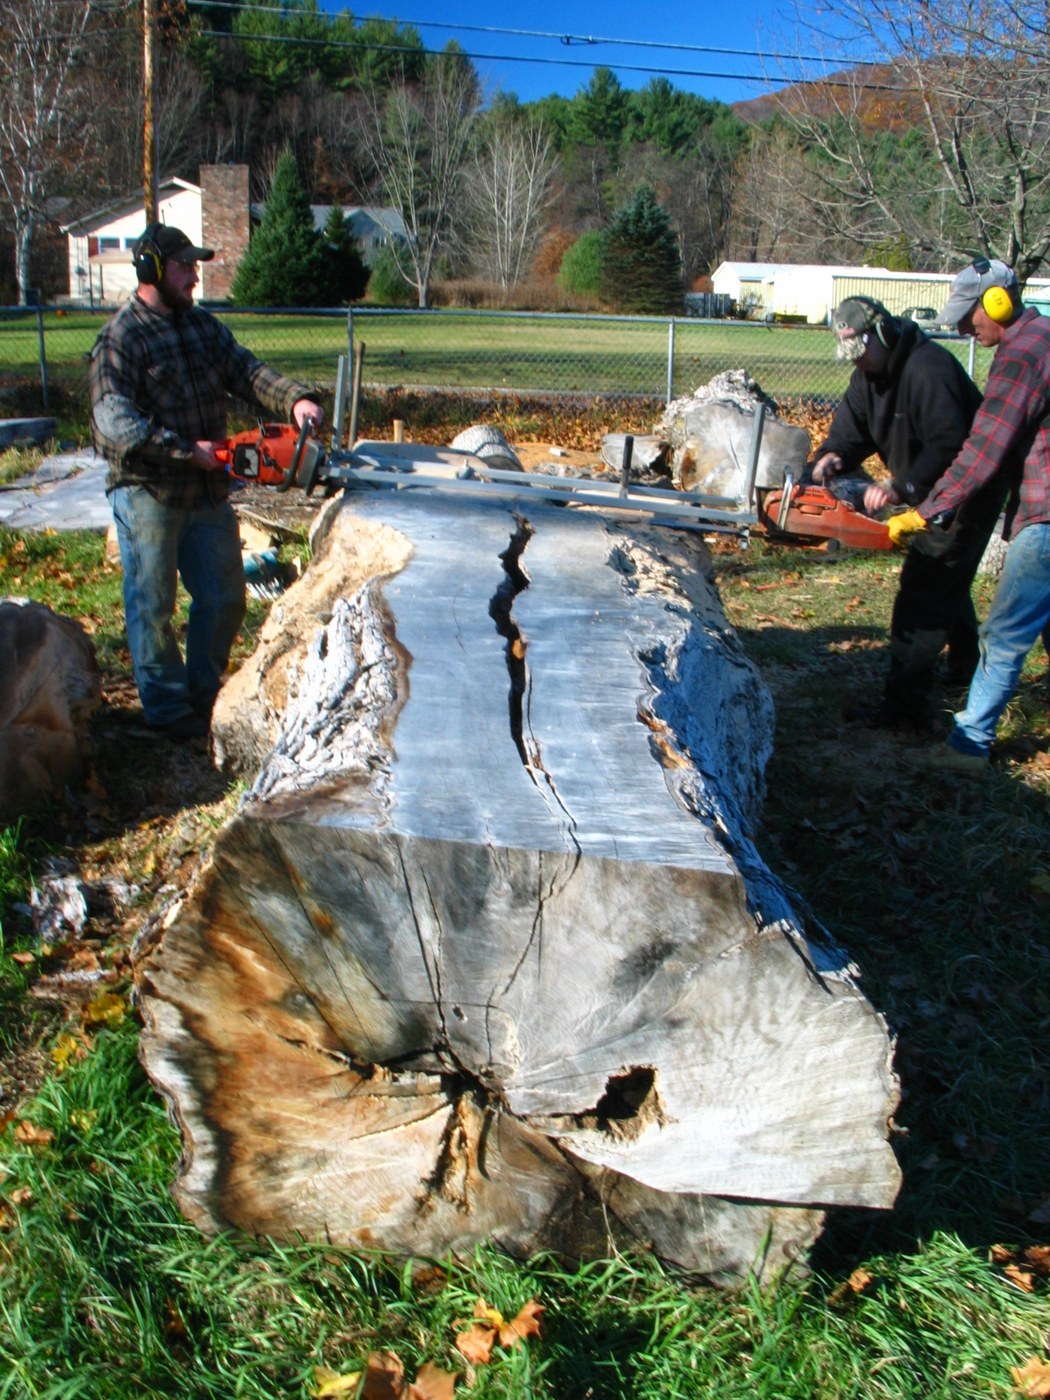
A chainsaw mill is a frame that holds the saw's bar flat at a set height, so the chain rips a log lengthways into boards. The first cut rides on a straight board screwed to the log; every later cut rides on the flat face before it. The green boards are then stacked on stickers to air-dry. Pine dries fast: a 25 mm board can reach about 14 % moisture in 60 to 90 days in good drying weather. Oak and other slow species take far longer.
Intermedio
1 day milling, 2–3 months drying

Istruzioni

1

Pick and prop the log

Choose a straight pine log, 2.5–3 m long, without large knots. Prop it on two short logs so it cannot roll and the chain will not reach the ground.

Materiali per questo passaggio:

Tronchi di legno teneroTronchi di legno tenero1 pezzo

Strumenti necessari:

Metro a nastroMetro a nastro
2

Fit the mill

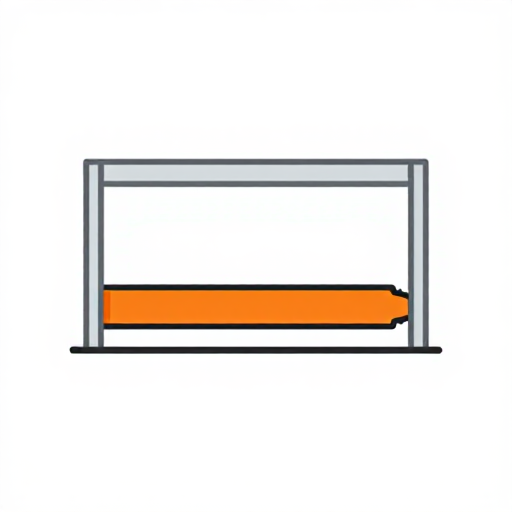
Bolt the mill to the chainsaw bar following its maker's instructions. A ripping chain cuts along the grain faster and smoother than a crosscut chain.

Strumenti necessari:

Motosega (di categoria forestale professionale)Motosega (di categoria forestale professionale)
Segheria per motosegaSegheria per motosega
3

Screw on the guide board

Screw a straight board along the top of the log, level from end to end, as the rail for the first cut. Check it with the straightedge and level.

Materiali per questo passaggio:

Viti da legnoViti da legno6 pezzi

Strumenti necessari:

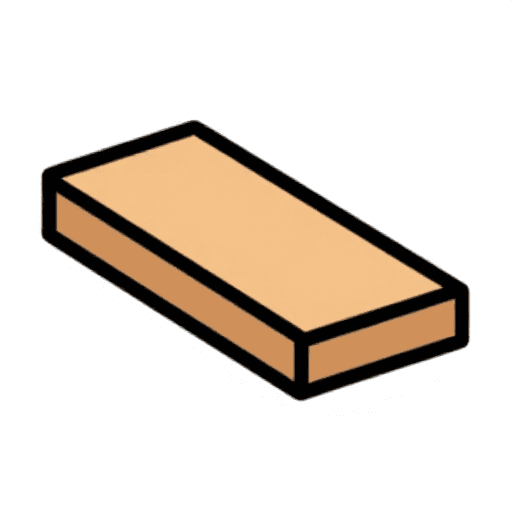
Tavola di pinoTavola di pino
Trapano a batteriaTrapano a batteria
Riga di riscontroRiga di riscontro
Livella a bollaLivella a bolla
4

First cut

Wearing helmet with visor, ear protection, gloves and boots, run the mill along the guide board and take off the top slab. Remove the guide board.

Strumenti necessari:

Motosega (di categoria forestale professionale)Motosega (di categoria forestale professionale)
Segheria per motosegaSegheria per motosega
Elmetto di sicurezzaElmetto di sicurezza
Cuffie antirumoreCuffie antirumore
Guanti da lavoro in pelleGuanti da lavoro in pelle
Scarponi antinfortunistici con puntale d'acciaioScarponi antinfortunistici con puntale d'acciaio
5

Cut the boards

Set the mill a few millimetres thicker than the finished board, to allow for shrinking and planing. Run each cut on the flat face left by the one before.

Strumenti necessari:

Motosega (di categoria forestale professionale)Motosega (di categoria forestale professionale)
Segheria per motosegaSegheria per motosega
Metro a nastroMetro a nastro
6

Seal the ends

Paint both ends of every board with end sealer the same day, to stop them splitting as they dry.

Materiali per questo passaggio:

Sigillante di testa (paraffina)Sigillante di testa (paraffina)0.5 litro
7

Sticker the stack

On a level base at least 30 cm off the ground, lay the boards in layers with a gap between them, each layer on stickers every 40–60 cm, the stickers one above the other.

Materiali per questo passaggio:

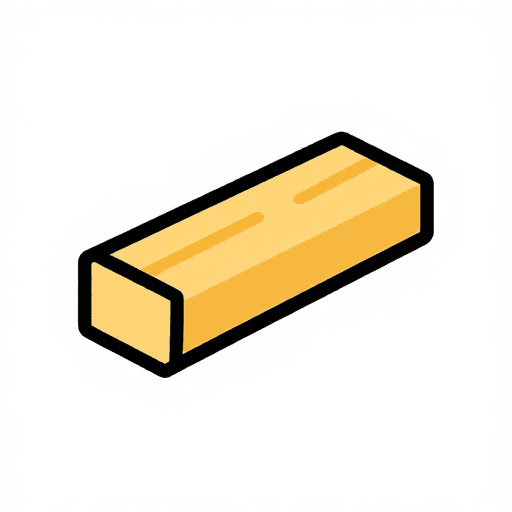
Listello di legno (distanziale di essiccazione)Listello di legno (distanziale di essiccazione)30 pezzi

Strumenti necessari:
Pallet di legnoPallet di legno
Livella a bollaLivella a bolla
8

Cover and weight

Cover the top of the stack against rain and lay weight on it to keep the top boards flat; leave the sides open to the air.

Strumenti necessari:

TeloneTelone
9

Measure the moisture

After 2 months, read a board from the middle of the stack. Air-dry outdoors reaches about 12–15 %; bring boards for furniture indoors to settle at 6–8 % before working them.

Strumenti necessari:

Igrometro per materialiIgrometro per materiali
10

Troubleshooting

Chainsaw milling troubleshooting.

Flow

Loading...

Materiali

4

Strumenti richiesti

14

Blueprint correlati

Questi blueprint condividono conoscenze — tecniche, materiali o principi
CC0 Pubblico dominio

Questo progetto è rilasciato sotto CC0. Sei libero di copiare, modificare, distribuire e utilizzare quest'opera per qualsiasi scopo, senza chiedere permesso.

Supporta il Maker acquistando prodotti tramite il suo progetto dove guadagna una Commissione Maker stabilita dai venditori, oppure crea una nuova iterazione di questo progetto e includilo come collegamento nel tuo progetto per condividere i ricavi.

Commenti

(0)

Accedi per partecipare alla discussione

Caricamento commenti...