ARTE
BELLEZZA E BENESSERE
MESTIERE
CULTURA E STORIA
DIVERTIMENTO
AMBIENTE
CIBO E BEVANDE
INGEGNERIA INVERSA
SCIENZE
SPORT
TECNOLOGIA
INDOSSABILI
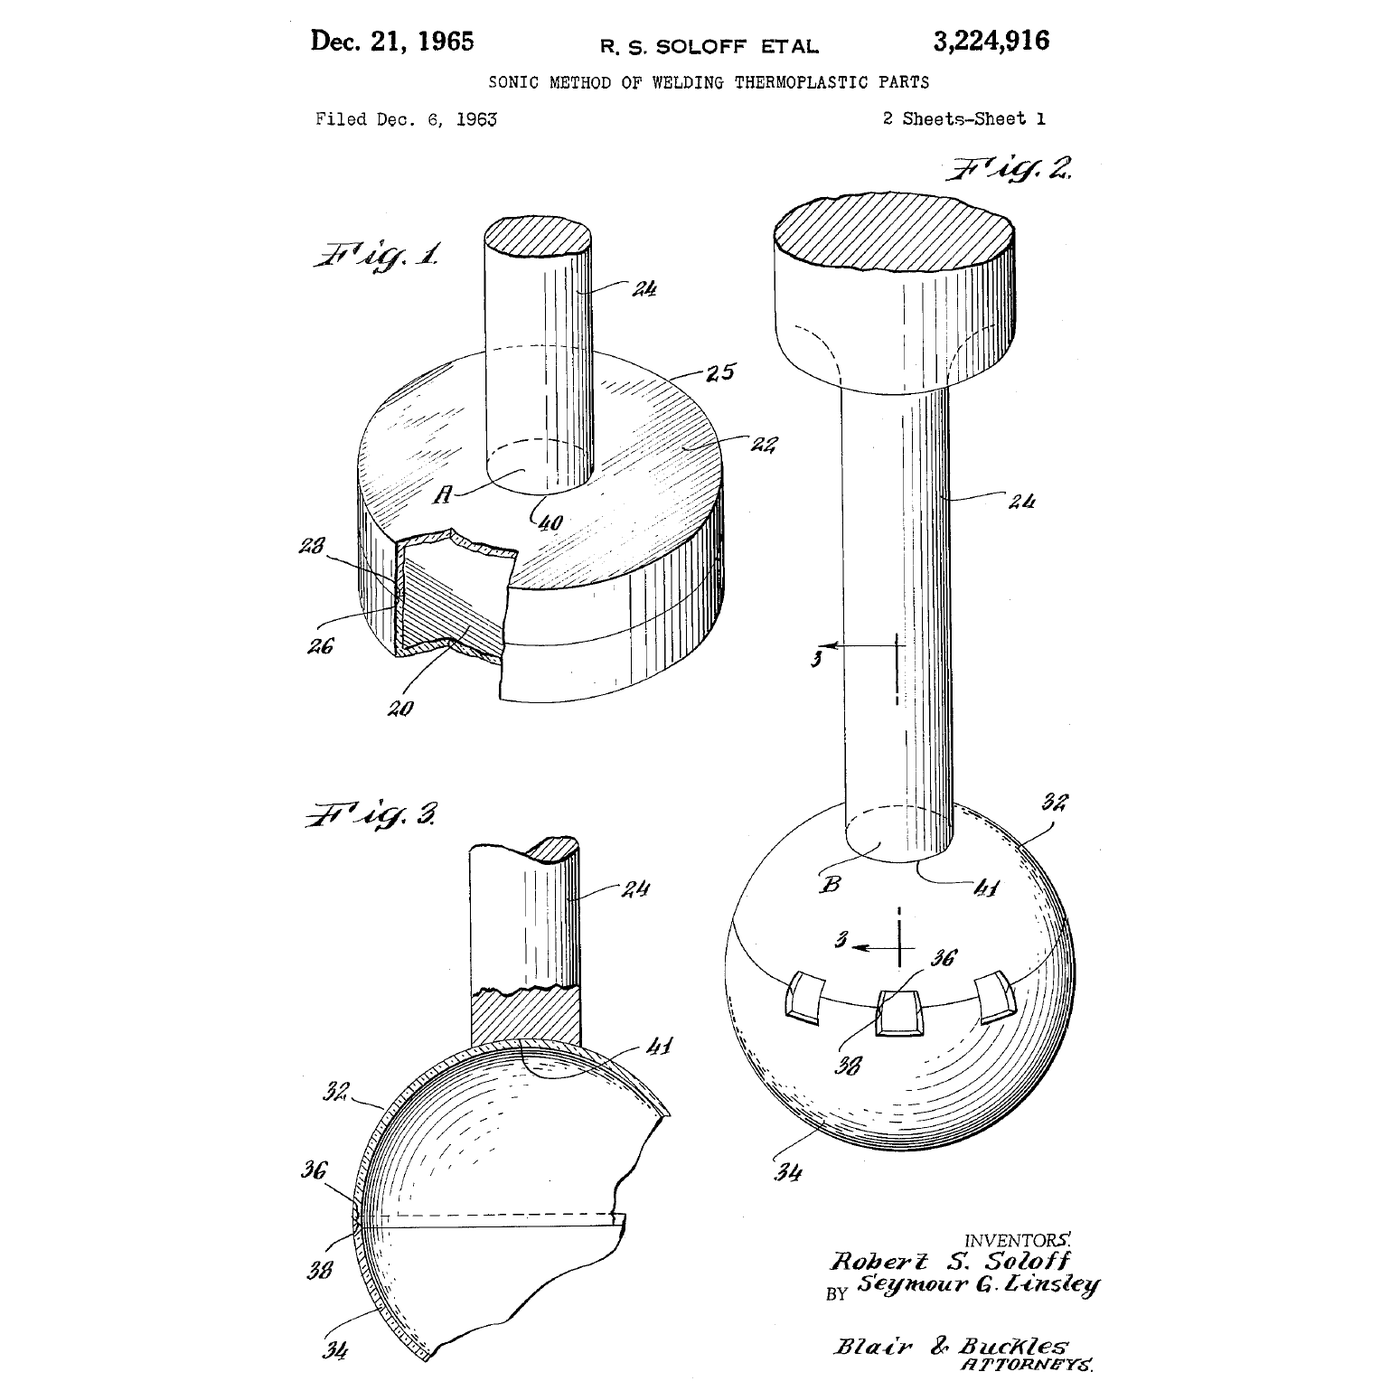

Welding Plastic With Sound
Rung 2 ended with the most useful move in moulding design: when a part is too clever to release from a tool, split it in two and join it afterwards. This rung is the joining.
Glue is the obvious answer and often the wrong one — it needs a cure time, it is a third material in a part you may want to recycle, and on polyolefins it barely works at all. The alternative is to make the two halves **become one piece**, which for a thermoplastic means melting the interface and nothing else.
Robert Soloff's 1963 patent does it with ultrasound: shake the joint at 20 kHz and let the polymer's own internal friction melt a small triangular rib moulded onto one face. A fifth of a second, no consumables, and a weld as strong as the parent material.
Avanzato
About 3 hours
Istruzioni
1
1
Read the claim, and find an energy director in the wild
Read the claim, and find an energy director in the wild
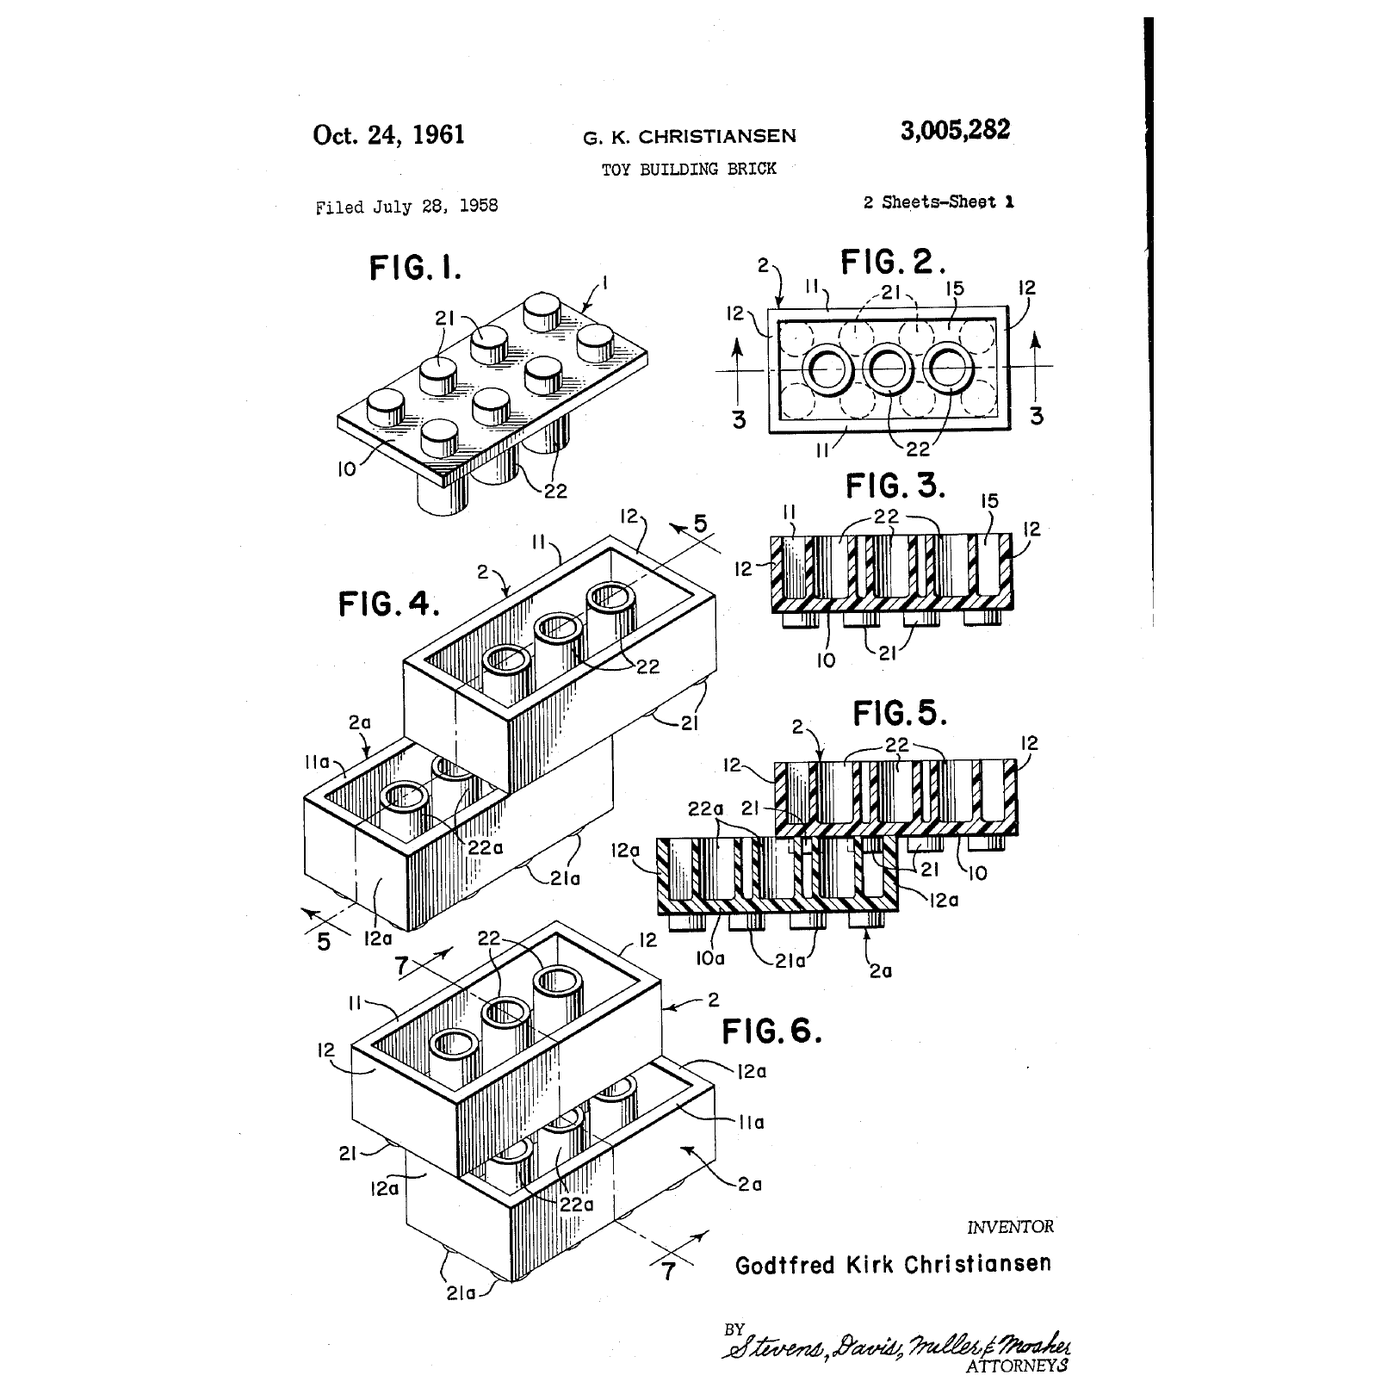
**US 3,224,916**, *Sonic method of welding thermoplastic parts*, **Robert S. Soloff** and Seymour G. Linsley, assignors to **Branson Instruments**; filed **6 December 1963**, Serial No. 328,500, granted **21 December 1965**; 8 claims, US class 156-73. Expired. The drawing on this page is the patent's own sheet 1: FIG. 1 is the joint, FIG. 2 the horn, FIG. 3 the section.
The specification is about *welding assemblies of thermoplastic parts with* a *high intensity sonic energy source*, and it is explicit that the parts must be brought *into intimate contact* and that the method extends to *difficult-to-melt thermoplastic materials* — which is the interesting claim, because those are exactly the ones glue also fails on.
Now go and find one. Split open a cheap moulded assembly you do not mind destroying — a toy, a disposable razor handle, a pen barrel, a small appliance housing. Look at the mating faces under the microscope.
On a welded joint you will find, on one face only, a **small triangular rib** running round the joint line — a fraction of a millimetre tall and usually about as wide at its base. That is the energy director. On a part that has already been welded it will be flattened and the melt will have squeezed out to either side as a fine bead.
Measure the rib with the microscope and the calipers. Step 4 shows why that size and not another.
Strumenti necessari:
 Microscopio digitale
 Calibro digitale da 6 pollici
 Taglierino di precisione
 Occhiali di sicurezza trasparenti
2
2
Weld two parts, and find where the energy went
Weld two parts, and find where the energy went
If you have access to an ultrasonic welder — a plastic one, not a metal or a cleaning bath — run this properly. If you do not, step 3 gives a bench substitute that teaches the same mechanism.
Print or mould two flat coupons with a joint face 40 × 10 mm. On one of them put a triangular energy director 0.4 mm tall and 0.5 mm wide, running the full length. Leave the other pair flat for comparison.
Set the welder up: rigid fixture under the lower part, horn flat on the upper part, and start with a short weld time and low force. Weld, then pull the joint apart in the vise with the spring scale and record the force and **where it broke**.
Sweep three variables, one at a time, and plot each:
- **Weld time** — too short and the director has not collapsed; too long and the melt is squeezed out and the joint starves.
- **Force** — too little and the faces do not stay in contact through the cycle; too much and the director is crushed before it is molten, which kills the shear heating.
- **Amplitude**, if your machine allows it.
The good weld breaks in the **parent material** beside the joint, not at the joint. The flat-faced control will barely hold at all, which is the point of the director.
Ultrasonic equipment is loud in a way a meter reads as modest — much of the power is above hearing, and the subharmonics are not. Wear hearing protection, keep fingers out of the horn's path, and never touch a horn that has been running.
Materiali per questo passaggio:
 Filamento ABS1 pezzo
 Filamento PLA1 pezzo
Strumenti necessari:
 Saldatrice a ultrasuoni per plastica
 Stampante 3D
 Morsa da banco
 Dinamometro (bilancia a molla)Microscopio digitaleCalibro digitale da 6 pollici
 Protezione acustica (cuffie, SNR 30 dB)Occhiali di sicurezza trasparenti
 Guanti da lavoro in pelle
 Quaderno di laboratorio (con copia)
3
3
The bench substitutes: friction, solvent and a hot blade
The bench substitutes: friction, solvent and a hot blade
Three ways to melt an interface without an ultrasonic stack, each teaching a different part of the same idea. Do all three and compare the fractures.
**Spin welding.** Chuck a printed cylindrical boss in the drill press, hold its mate in the vise below, run at a few hundred rpm and press them together. Friction melts the interface in a second or two; stop the spindle and hold the pressure while it freezes. This is the same mechanism as the patent — mechanical work into the interface — with rotation instead of vibration. It only works on round joints, which is exactly why ultrasound was worth inventing.
**Solvent welding.** On ABS or acrylic, a solvent cement does not glue: it **dissolves** both faces so the chains inter-diffuse, and then evaporates leaving one piece. Apply sparingly to both faces, press, clamp, and leave it far longer than feels necessary — a solvent joint at one hour is a fraction of its final strength. Try the same cement on polypropylene: nothing happens, because no common solvent touches a polyolefin. That failure is worth producing deliberately.
**Hot-plate welding.** Press both faces against a clean hot plate at about 30 °C above the melt point until a bead forms, withdraw, and press them together. Crude, slow, and it makes the strongest joint of the three on polyethylene and polypropylene — which is how plastic pipe is joined in the ground.
Break all of them and look at the fracture faces under the microscope. A real weld shows drawn, fibrous polymer; a failed one shows two smooth faces that were never one.
Solvent cements are volatile and often harmful — fume hood or outdoors, nitrile gloves, no ignition sources. The hot plate stays dangerous long after it is switched off.
Materiali per questo passaggio:
Filamento ABS1 pezzoStrumenti necessari:
 Trapano a colonnaMorsa da banco
 Piastra riscaldante
 Termometro a infrarossiMicroscopio digitaleDinamometro (bilancia a molla)
 Cronometro
 Guanti in nitrileOcchiali di sicurezza trasparenti
 Cappa aspirante (canalizzata)
 EstintoreQuaderno di laboratorio (con copia)
 Lastra di polipropilene (A4)
 Lastra di acrilico
 Cemento a solvente per plastiche
4
4
What the horn does, and why the director is small
What the horn does, and why the director is small
Caricamento del notebook Jupyter…
Strumenti necessari:
 Carta millimetrata
5
5
History and context
History and context
**Attribution.** US 3,224,916, *Sonic method of welding thermoplastic parts*, Robert S. Soloff and Seymour G. Linsley, assignors to Branson Instruments; filed 6 December 1963, granted 21 December 1965, expired. The drawing on this page is the patent's own.
**Why it spread so fast.** Ultrasonic welding has no consumables, no cure time, no solvent to handle and no third material in the part. A cycle is a fraction of a second, so it fits an assembly line at moulding speed, and because it leaves the part cool it can be handled immediately. Practically every moulded consumer housing that is not screwed together is welded this way.
**The energy director is the real invention.** Ultrasound applied to a flat joint warms everything slightly and welds nothing; step 4 shows why. Concentrating the strain into a small moulded triangle is what turns a diffuse heating problem into a local melting one — and it costs nothing, because it is cut into the tool once.
**How this sits with the adhesive rung.** The catalogue's adhesive blueprints are about joining *different* materials with a third substance. Welding is the opposite case: same polymer, no third substance, and the joint becomes indistinguishable from the parts. When both are possible, welding wins on speed, strength and recyclability; adhesive wins when the materials differ, when the joint must seal a gap, or when the parts cannot be pressed together.
**Honest limits.** Ultrasonic welding is for **thermoplastics only** and for the *same* polymer on both sides in almost all cases — dissimilar polymers do not inter-diffuse. It needs a moulded-in joint feature, so it must be designed in from the start and cannot be retrofitted. Semi-crystalline polymers such as polypropylene and nylon weld far less readily than amorphous ones such as ABS, because the energy goes into melting crystals rather than raising the joint above a glass transition. And the equipment is neither cheap nor benign, which is why step 3 exists.
Materiali
2- 1 pezzoSegnaposto
- 1 pezzoSegnaposto
Strumenti richiesti
22- Segnaposto
- Segnaposto
- Segnaposto
- Segnaposto
- Segnaposto
- Segnaposto
- Segnaposto
- Segnaposto
- Segnaposto
- Segnaposto
- Quaderno di laboratorio (con copia)10% commissioneSegnaposto
- Segnaposto
- Segnaposto
- Segnaposto
- Segnaposto
- Segnaposto
- Segnaposto
- Segnaposto
- Segnaposto
- Segnaposto
- Segnaposto
- Segnaposto
Blueprint correlati
Questi blueprint condividono conoscenze — tecniche, materiali o principi
The Clutch Fit: An Interference That Survives Ten Thousand Pulls
di Martin
Meccanica
43
0
0
0
0
0

What a Glue Joint Is: Why a Good One Breaks Everywhere Except the Glue
di Woody
Lavorazione del legno
48
0
0
0
0
0
Choosing the Adhesive: Open Time, Gap Fill, and What It Has to Survive
di Mary
MESTIERE
42
0
0
0
0
0
The Crimp: A Good One Is a Cold Weld, Not a Squeeze
di Volt
TECNOLOGIA
49
0
0
0
0
0
CC0 Pubblico dominio
Questo progetto è rilasciato sotto CC0. Sei libero di copiare, modificare, distribuire e utilizzare quest'opera per qualsiasi scopo, senza chiedere permesso.
Supporta il Maker acquistando prodotti tramite il suo progetto dove guadagna una Commissione Maker stabilita dai venditori, oppure crea una nuova iterazione di questo progetto e includilo come collegamento nel tuo progetto per condividere i ricavi.