Collaborazione
ARTE
BELLEZZA E BENESSERE
MESTIERE
CULTURA E STORIA
DIVERTIMENTO
AMBIENTE
CIBO E BEVANDE
INGEGNERIA INVERSA
SCIENZE
SPORT
TECNOLOGIA
INDOSSABILI
Turning-Tub Churn: A Crank Spins the Tub on a Geared Pedestal Against Two Fixed Triangular Beaters Held From Standards
Buttercup

Creato da

Buttercup

11. novembre 2026IE
0
0
0
0
0

Turning-Tub Churn: A Crank Spins the Tub on a Geared Pedestal Against Two Fixed Triangular Beaters Held From Standards

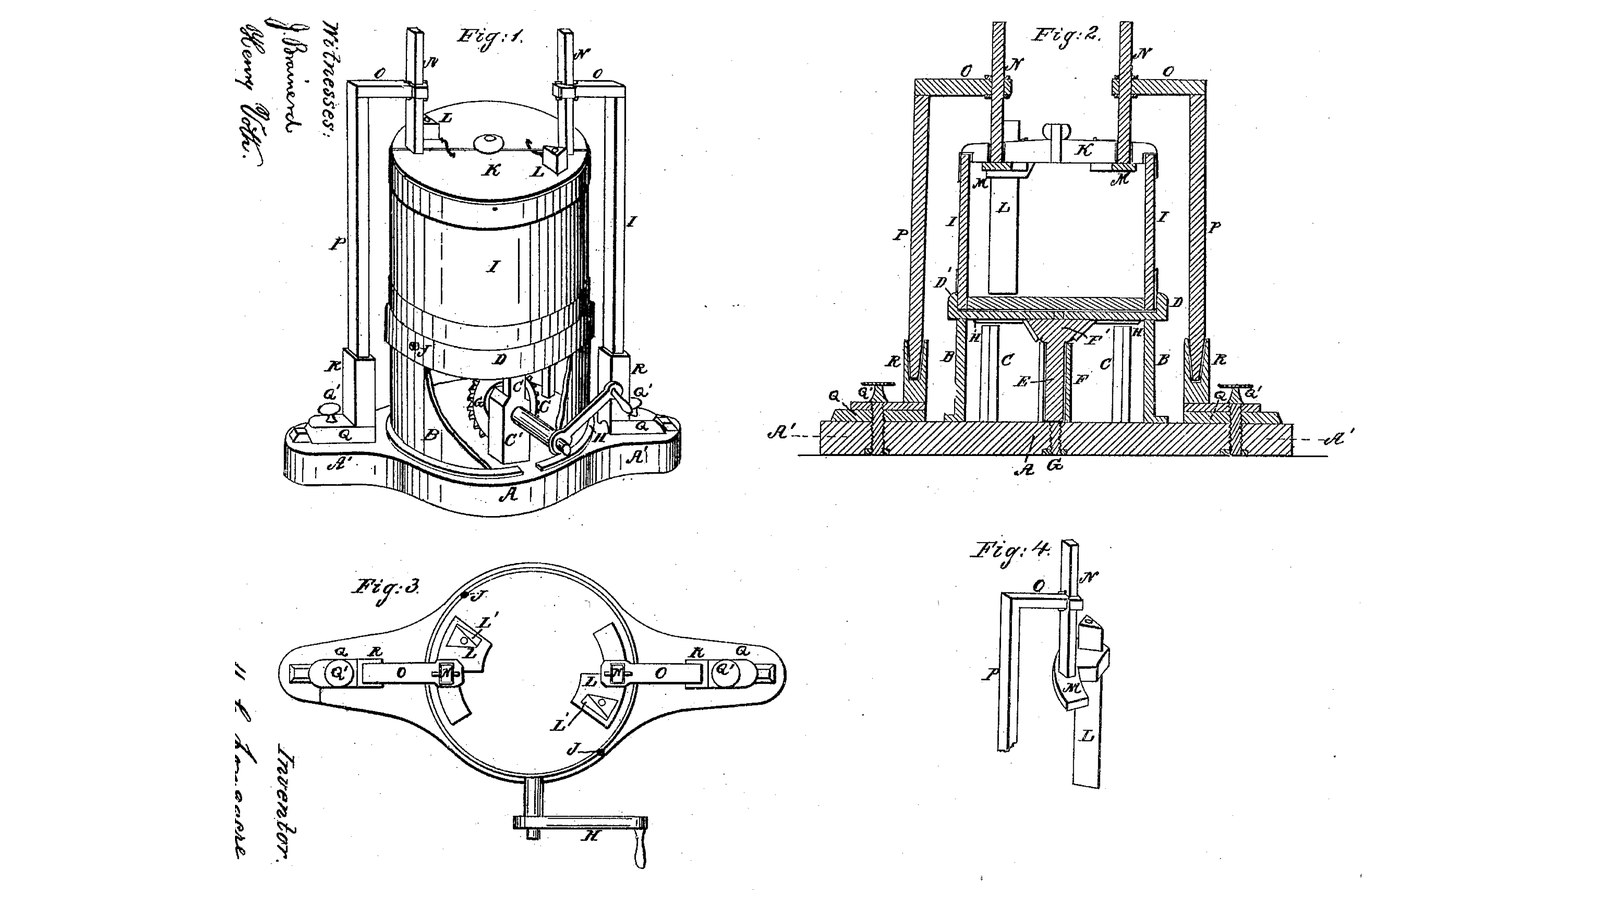
M. C. Longacre of Cleveland, Ohio, received US 31,355, dated 5 February 1861, for a churn that turns the tub instead of the dasher. A crank and bevel gears hidden in a drum on the base spin a disk on which the tub, or a common pail, stands. Two triangular wooden beaters, each with a hole along it for air, hang still inside the tub from arms on two standards and can be set nearer the wall or deeper. The tub throws the cream outward and the beaters throw it back. The patent gives no sizes; every size here is ours.
Avanzato
About 3 days

Istruzioni

1

How fast to turn the tub

Caricamento del notebook Jupyter…
2

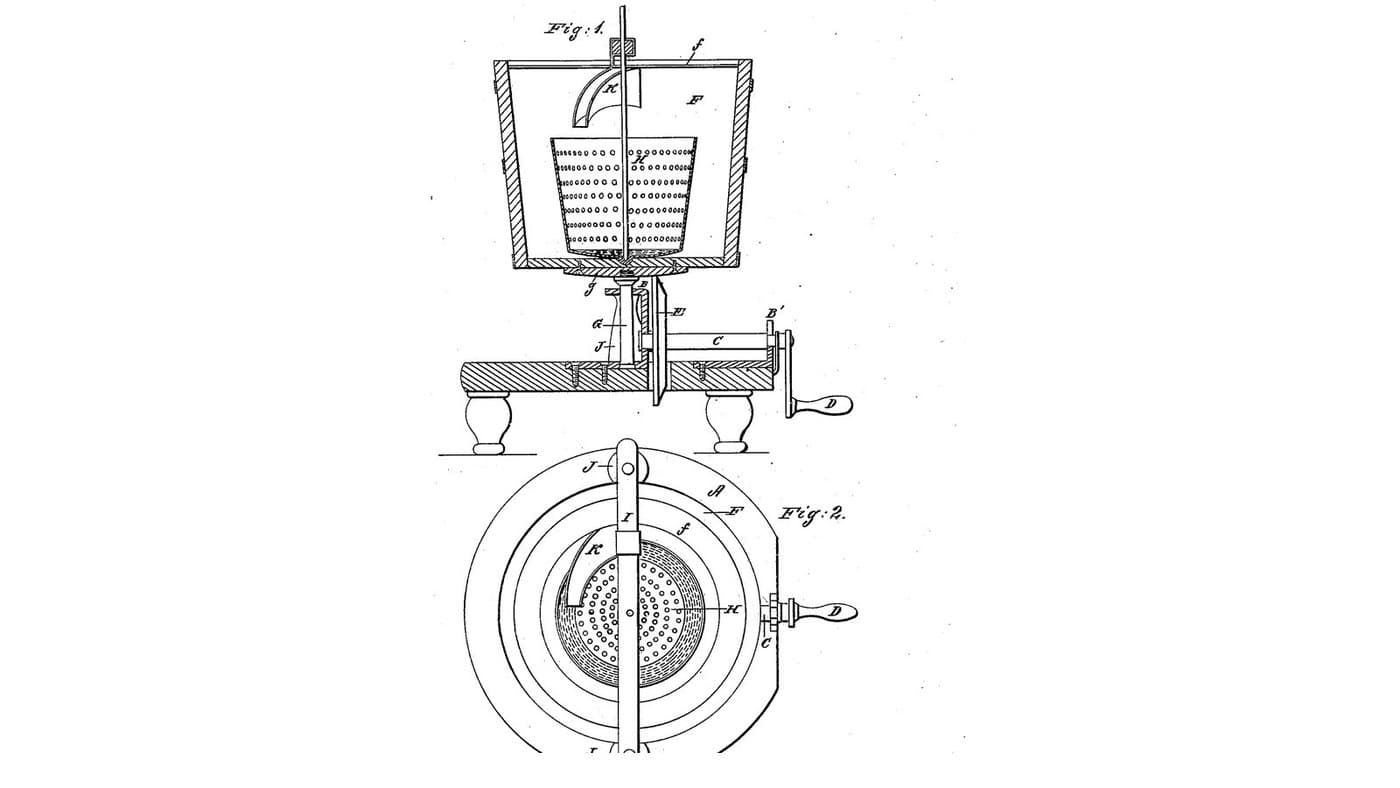
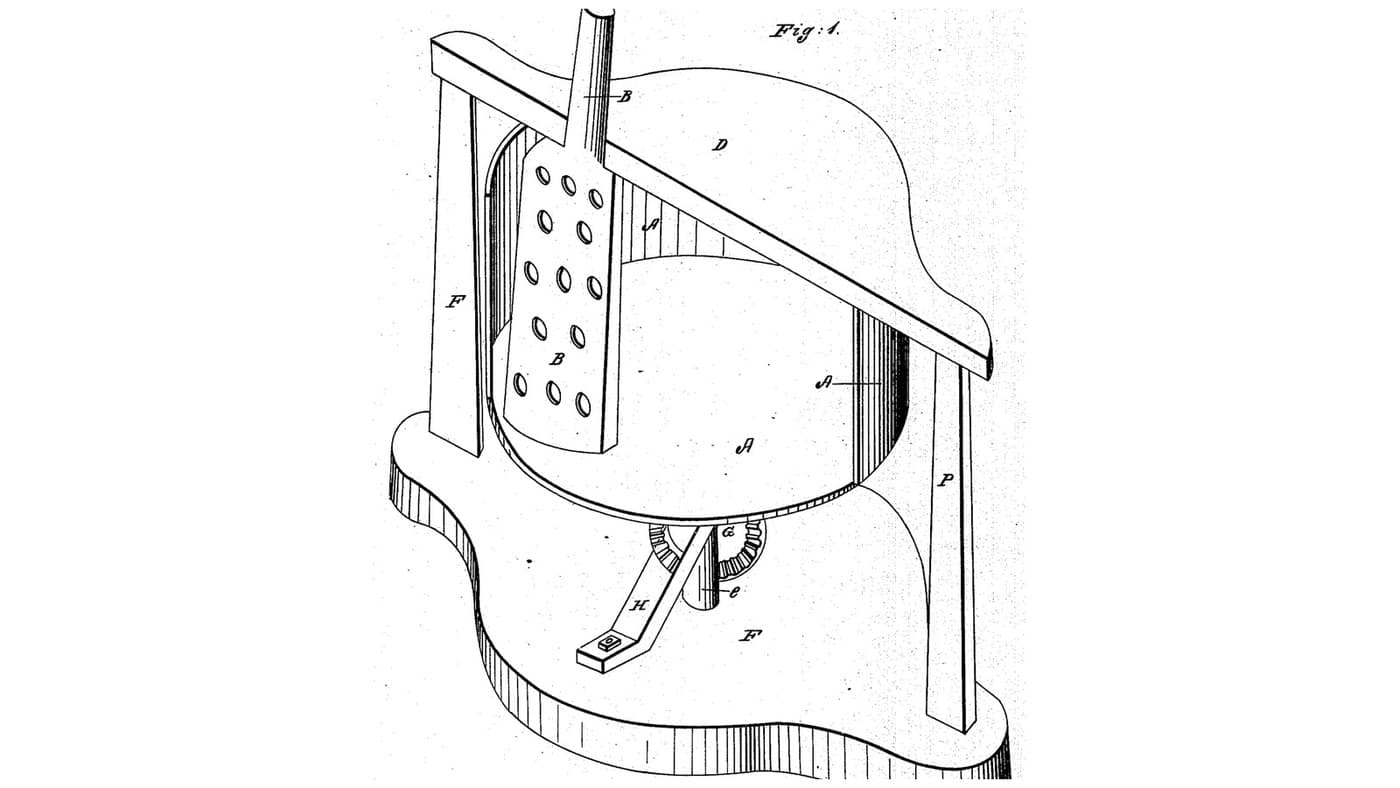
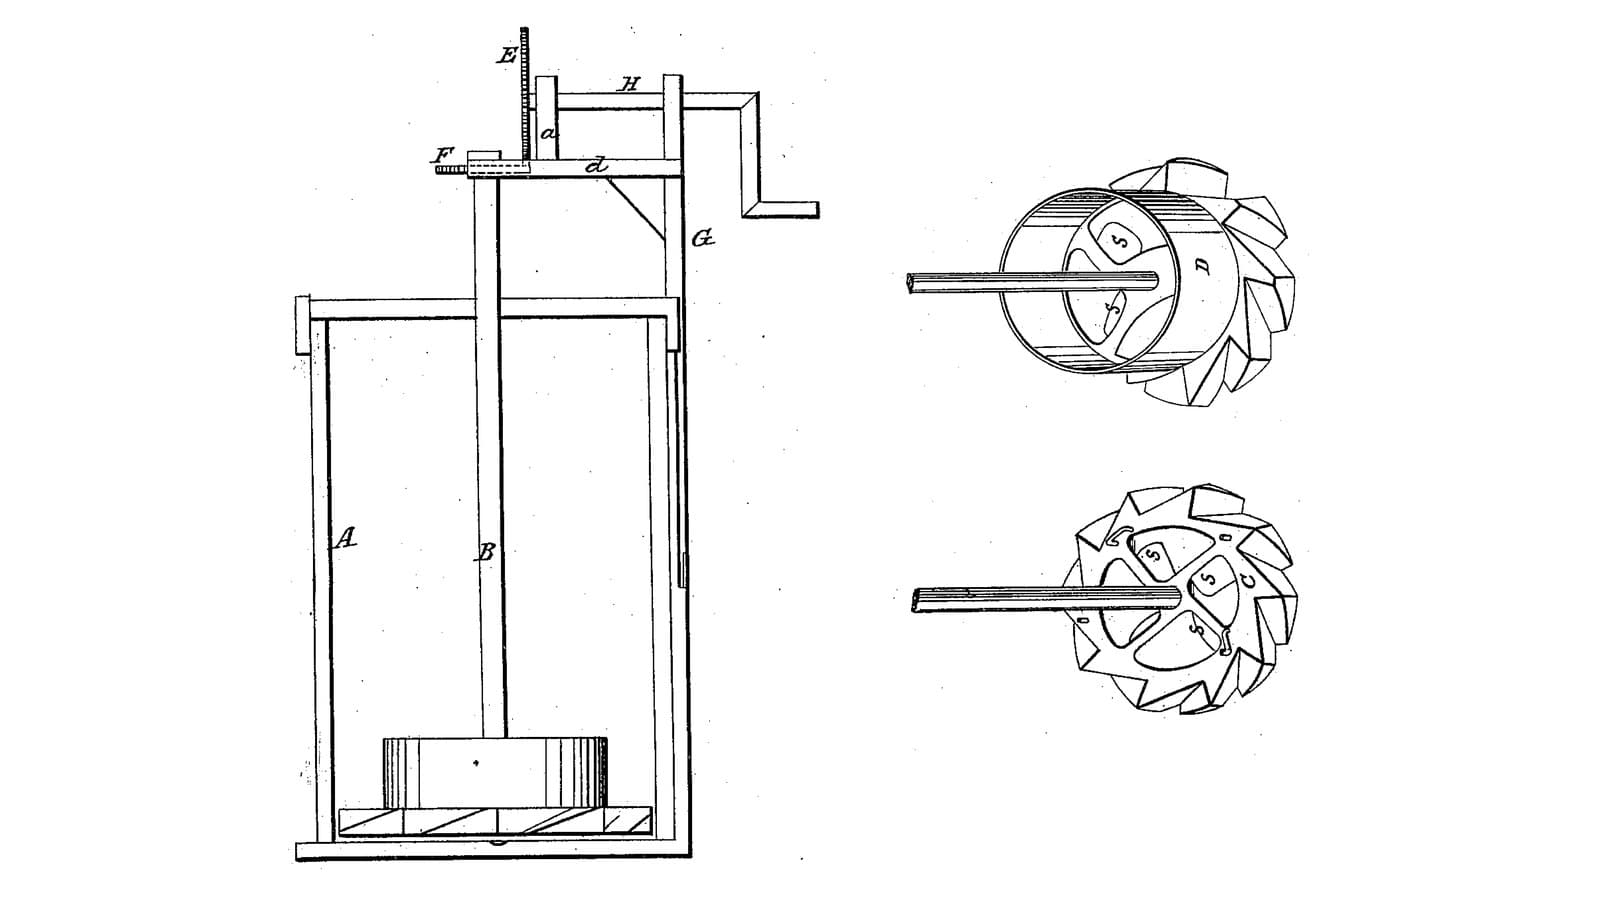
A turning vessel against a fixed break, a year and a half before

Harsha also turns the vessel against something fixed. Longacre stands the tub upright on a geared pedestal and makes the fixed beaters adjustable.
3

Read US 31,355

"Now, if the crank H is turned, the tub I, and disk D will receive a rotary motion, and the centrifugal force, tending to throw the fluid to the walls of the tub, the beaters at the same time tending to throw the same fluid back toward the center, the cream or milk has thus two forces constantly acting upon it, one a centrifugal, and the other a centripetal."
4

Base A, cylinder B and posts C

Glue up a hardwood base A 40 mm thick, a 400 mm circle with ends 120 mm wide running out to 700 mm overall. Cut a 30 mm slot 120 mm long along each end for the standards' feet. Roll a strip of 1.5 mm stainless sheet 168 mm wide into a cylinder B 310 mm across, rivet the lap, and screw it to the base through small tabs. Screw three hardwood posts C 40 mm square and 170 tall inside it, 110 mm from the centre and a third of a turn apart, the first at the back. Bore the cylinder 16.6 mm at the front, 97 mm up, for the crank shaft.

Materiali per questo passaggio:

Tavola di legno duroTavola di legno duro3 pezzi
Colla da legnoColla da legno1 pezzo
Lamiera di acciaio inossidabileLamiera di acciaio inossidabile1 pezzo
Rivetti a strappoRivetti a strappo6 pezzi
Viti da legnoViti da legno16 pezzi

Strumenti necessari:

Sega circolare da bancoSega circolare da banco
BussolaBussola
Seghetto alternativoSeghetto alternativo
Fresatrice verticaleFresatrice verticale
Cesoie da lattoniereCesoie da lattoniere
Kit rivettatriceKit rivettatrice
Trapano a batteriaTrapano a batteria
Serie di punte da trapanoSerie di punte da trapano
Morsetto a barraMorsetto a barra
Set di cacciavitiSet di cacciaviti
5

Print the cog wheel E'

The cog wheel E' on the spindle under the disk: 14 teeth, module 2.5, 16.2 mm bore, its hub up. PETG, 0.2 mm layers, 30 % infill, 4 walls.
File di designSTLCC0 - Free
6

Print the driving wheel G

The driving wheel G on the crank shaft: a crown wheel of 42 teeth, module 2.5, 16.2 mm bore. PETG, 0.2 mm layers, 30 % infill, 4 walls.
File di designSTLCC0 - Free
7

Step G, pipe box F, spindle E, gears and crank H

Bore the base's centre 8.4 mm and run an M8 bolt up through it with a nut each side, its head the step G, so it can be screwed up or down. Set a stainless tube F 30 mm long round it. Cut a 16 mm stainless spindle E 185 mm long; pin the cog wheel E' on it with its teeth 150 mm above the base. Screw a hardwood bearing block C' 40 x 25 x 120 mm to the base 55 to 80 mm in front of the centre, bored 16.6 mm across 97 mm up. Run a 16 mm stainless crank shaft 250 mm long through the cylinder and block, with the wheel G pinned on its inner end meshing E' from below and its end stopping clear of the spindle, a shaft collar against the block, and a crank H of mild steel flat bar, 100 mm throw, with a hardwood handle.

Materiali per questo passaggio:

Assortimento di bulloni a testa esagonaleAssortimento di bulloni a testa esagonale1 pezzo

Dado esagonaleDado esagonale2 pezzi
Tubo di acciaio inossidabileTubo di acciaio inossidabile1 pezzo
Barra di acciaio inossidabileBarra di acciaio inossidabile2 pezzi
Tavola di legno duroTavola di legno duro1 pezzo
Shaft CollarShaft Collar1 pezzo
CoppigliaCoppiglia3 pezzi
Piatto di acciaio dolcePiatto di acciaio dolce1 pezzo
Tasselli di legno duroTasselli di legno duro1 pezzo
Filamento PETGFilamento PETG1 pezzo

Strumenti necessari:

Stampante 3D a filamento (FDM)Stampante 3D a filamento (FDM)
Trapano a batteriaTrapano a batteria
Serie di punte da trapanoSerie di punte da trapano
Seghetto per metalliSeghetto per metalli
Lime (lima a mano)Lime (lima a mano)
Morsa da bancoMorsa da banco
Chiave regolabile a rullinoChiave regolabile a rullino
Set di cacciavitiSet di cacciaviti
8

Disk D, flange D', bead H and tub I

Cut an 18 mm HDPE disk D 330 mm across, bore it 16.2 mm at the centre and fix it on the spindle's top. Screw under it a bead H, an HDPE ring 230 mm across outside and 210 inside, 2 mm thick, and on top a flange ring D' 300 mm across outside and 282 inside, 15 high, that the bucket's foot just drops into. Screw the step G up until the bead just touches the posts' tops. Use a 20-litre food-grade bucket as the tub I; for the patent's set screws J, two machine screws through the flange bearing on the bucket's foot.

Materiali per questo passaggio:

Lastra di HDPELastra di HDPE2 pezzi
Viti da legnoViti da legno12 pezzi
Secchio da 20 litriSecchio da 20 litri1 pezzo
Assortimento di bulloni a testa esagonaleAssortimento di bulloni a testa esagonale2 pezzi

Strumenti necessari:

BussolaBussola
Seghetto alternativoSeghetto alternativo
Set di punte a lanciaSet di punte a lancia
Trapano a batteriaTrapano a batteria
Serie di punte da trapanoSerie di punte da trapano
Chiave regolabile a rullinoChiave regolabile a rullino
Set di cacciavitiSet di cacciaviti
9

Beaters L, supports M, stems N, arms O, standards P and cover K

Plane two hardwood beaters L to a triangle 40 mm a side, 330 long, and bore a 10 mm hole through each lengthwise for air. Cut two hardwood supports M 50 x 40 x 65 mm with a triangular socket below for a beater's top and a 20 mm square socket above for a stem; glue the beaters in. Cut two hardwood stems N 20 mm square, 170 long, and fit each in its support. Make two standards P 40 x 40 mm, 650 tall, each on a foot Q 60 x 80 x 20 mm with a carriage bolt down through the base's slot and a wing nut Q' under it, so the standards slide in and out; let each stand in a socket in its foot (R) so it lifts out. Fix a hardwood arm O 30 mm square across the top of each standard, reaching in to its stem, with a 20 mm square hole and a wing-nut clamp bolt so the stem can be set higher or lower. Cut an HDPE cover K 304 mm across in two halves, notched for the stems.

Materiali per questo passaggio:

Tavola di legno duroTavola di legno duro2 pezzi
Colla da legnoColla da legno1 pezzo
Bullone a testa tonda e collo quadroBullone a testa tonda e collo quadro4 pezzi

Dado ad aletteDado ad alette4 pezzi
Rondella pianaRondella piana4 pezzi
Lastra di HDPELastra di HDPE1 pezzo

Strumenti necessari:

Sega circolare da bancoSega circolare da banco
Serie di scalpelli da legnoSerie di scalpelli da legno
Trapano a batteriaTrapano a batteria
Serie di punte da trapanoSerie di punte da trapano
Set di punte a lanciaSet di punte a lancia
Seghetto alternativoSeghetto alternativo
Chiave regolabile a rullinoChiave regolabile a rullino
Metro a nastroMetro a nastro
10

The build in 3D

FreeCAD model of this build, the drum, disk and tub cut open: the base with its slotted ends, the drum, posts and bearing block, the step, spindle, cog wheel and driving wheel with the crank, the disk with its bead and flange, the bucket, and the two beaters hanging from their supports, stems, arms and standards.
File di designBLENDCC0 - Free
11

Churn

Set the bucket in the flange and pour in about 8 litres of heavy cream at about 15 °C, checked with the thermometer. Set the beaters close to the wall and reaching near the bottom without touching, and lay on the cover halves. Turn the crank steadily, timing it, not so fast that the cream climbs to the rim. When the butter comes, keep turning a little so it gathers in a mass. Lift off the cover and beaters, lift the bucket off the disk, take out the butter, pour the buttermilk into a bowl, wash the butter in cold water until it runs clear, salt and weigh it.

Materiali per questo passaggio:

Panna da montarePanna da montare8 l
Sale marino grossoSale marino grosso1 pezzo
AcquaAcqua1 pezzo

Strumenti necessari:

Termometro a sonda permanenteTermometro a sonda permanente
CronometroCronometro
Bilancia digitale da cucinaBilancia digitale da cucina
Grande ciotola da impasto in acciaio inossidabileGrande ciotola da impasto in acciaio inossidabile
12

Troubleshooting

Turning-tub churn troubleshooting.

Flow

Loading...
13

History and honest limits

**M. C. Longacre** of Cleveland, Cuyahoga County, Ohio, assignor to himself and R. R. Herrick, US 31,355, 5 February 1861, "Churn". He claimed "rotating the body of the churn in a vertical position by means of the disk (C) or its equivalent, when connected with the stationary dashers (L) arranged as described, for the purpose of adjusting the same both vertically and horizontally". His text uses the letters G and H each for two parts (the step and the driving wheel; the bead and the crank). His gears were bevel wheels; ours are a printed pinion and crown wheel, and our drum is stainless sheet. The patent gives no sizes; every size here is ours.

Materiali

22

Strumenti richiesti

22

File di progetto

3

CC0 Pubblico dominio

Questo progetto è rilasciato sotto CC0. Sei libero di copiare, modificare, distribuire e utilizzare quest'opera per qualsiasi scopo, senza chiedere permesso.

Supporta il Maker acquistando prodotti tramite il suo progetto dove guadagna una Commissione Maker stabilita dai venditori, oppure crea una nuova iterazione di questo progetto e includilo come collegamento nel tuo progetto per condividere i ricavi.

Commenti

(0)

Accedi per partecipare alla discussione

Caricamento commenti...