ARTE
BELLEZZA E BENESSERE
MESTIERE
CULTURA E STORIA
DIVERTIMENTO
AMBIENTE
CIBO E BEVANDE
INGEGNERIA INVERSA
SCIENZE
SPORT
TECNOLOGIA
INDOSSABILI
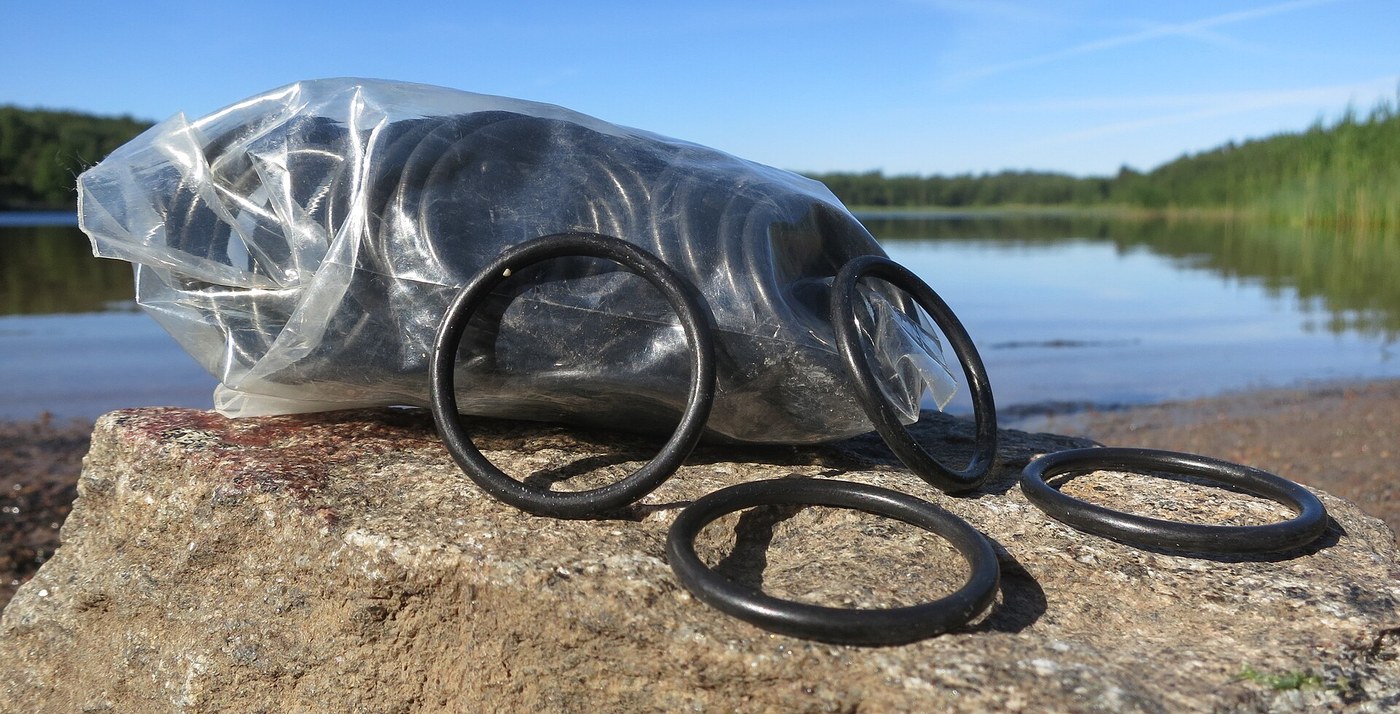


Nitrile Rubber (Buna-N)
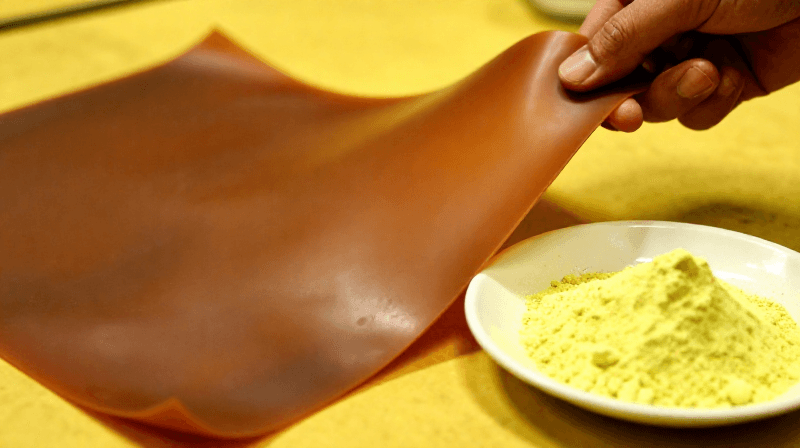
At IG Farben in 1930 Erich Konrad and Eduard Tschunkur copolymerised butadiene with acrylonitrile. The nitrile group makes the chain polar, so oil and petrol - which are not - stay out. Sold as Buna N, nitrile rubber became the standard material for oil seals, fuel hoses and, much later, disposable gloves.
**US 1,973,000**, "Rubber like masses from butadiene hydrocarbons and polymerizable nitriles", Konrad and Tschunkur, assigned to IG Farbenindustrie, filed 20. April 1931, granted 11. September 1934. It requires the butadiene to be more than about 60 % by weight of the mix.
**You build the part nitrile made universal: an O-ring seal.** Turn two plugs with sized grooves, close a clear pipe with them, and leave it under water overnight.
Intermedio
3 hours plus an overnight soak
Istruzioni
1
1
The plug
The plug
One turned acetal plug: a flange that stops against the pipe end, a spigot that fits the bore, and a groove carrying the O-ring.
2
2
Measure and choose
Measure and choose
Cut 150 mm of clear PVC pipe and deburr both ends. Measure the bore at three angles and average. Pick a nitrile O-ring about 3 mm thick whose inside diameter is a little under bore minus 5 mm.
Materiali per questo passaggio:
 Tubo in PVC trasparente1 pezzo
 Assortimento di O-ring1 kit
Strumenti necessari:
 Seghetto per metalli
 Carta abrasiva
 Calibro digitale da 6 pollici
3
3
Size the groove
Size the groove
Caricamento del notebook Jupyter…
4
4
Turn the spigot
Turn the spigot
Chuck acetal rod. Face it. Turn 12 mm of length to the bore minus 0.1 mm, leaving a 5 mm flange at full pipe outside diameter behind it.
Materiali per questo passaggio:
 Barra di Delrin/acetalica1 pezzo
Strumenti necessari:
 Tornio per metalli
 Set di utensili da tornio (HSS)Calibro digitale da 6 pollici
 Occhiali di sicurezza trasparenti
5
5
Cut the groove
Cut the groove
3 mm from the spigot's end, plunge the parting tool to the root diameter from the notebook, then widen to 4.0 mm. Check the root with the caliper. Break the sharp edges.
Strumenti necessari:
 Utensile da troncareTornio per metalliCalibro digitale da 6 pollici
6
6
Part off, make the second
Part off, make the second
Part off behind the flange. Make a second identical plug.
Materiali per questo passaggio:
Barra di Delrin/acetalica1 pezzoStrumenti necessari:
Utensile da troncareTornio per metalli7
7
Grease and fit
Grease and fit
Wipe a thin film of petroleum jelly on each O-ring and roll it into its groove without twisting. Put a folded dry paper towel in the pipe and press both plugs home.
Strumenti necessari:
 Carta da cucina
 Vaselina
8
8
Overnight under water
Overnight under water
Weigh the capsule down in a bucket of water for 12 hours. Dry it outside, open it, and check the towel. Any damp spot shows which end leaked.
Strumenti necessari:
 Secchio
9
9
History & Context
History & Context
**What the patent specifies:** a butadiene hydrocarbon (over about 60 % by weight) polymerised with a polymerisable nitrile, by heating or in emulsion. **Modern build (derived):** commercial NBR O-rings in an acetal gland.
Wartime Germany needed a rubber that fuel could not ruin, and nitrile answered it. More nitrile in the chain means more oil resistance and less flexibility in the cold. Its limits: ozone and sunlight crack it, and it swells in brake fluid and many solvents.
Materiali
3- 1 pezzoSegnaposto
- Segnaposto
- 1 pezzoSegnaposto
Strumenti richiesti
10- Segnaposto
- Segnaposto
- Segnaposto
- Segnaposto
- Segnaposto
- Segnaposto
- Segnaposto
- Segnaposto
- Segnaposto
- Segnaposto
File di progetto
1Blueprint correlati
Questi blueprint condividono conoscenze — tecniche, materiali o principi


CC0 Pubblico dominio
Questo progetto è rilasciato sotto CC0. Sei libero di copiare, modificare, distribuire e utilizzare quest'opera per qualsiasi scopo, senza chiedere permesso.
Supporta il Maker acquistando prodotti tramite il suo progetto dove guadagna una Commissione Maker stabilita dai venditori, oppure crea una nuova iterazione di questo progetto e includilo come collegamento nel tuo progetto per condividere i ricavi.