ARTE
BELLEZZA E BENESSERE
MESTIERE
CULTURA E STORIA
DIVERTIMENTO
AMBIENTE
CIBO E BEVANDE
INGEGNERIA INVERSA
SCIENZE
SPORT
TECNOLOGIA
INDOSSABILI
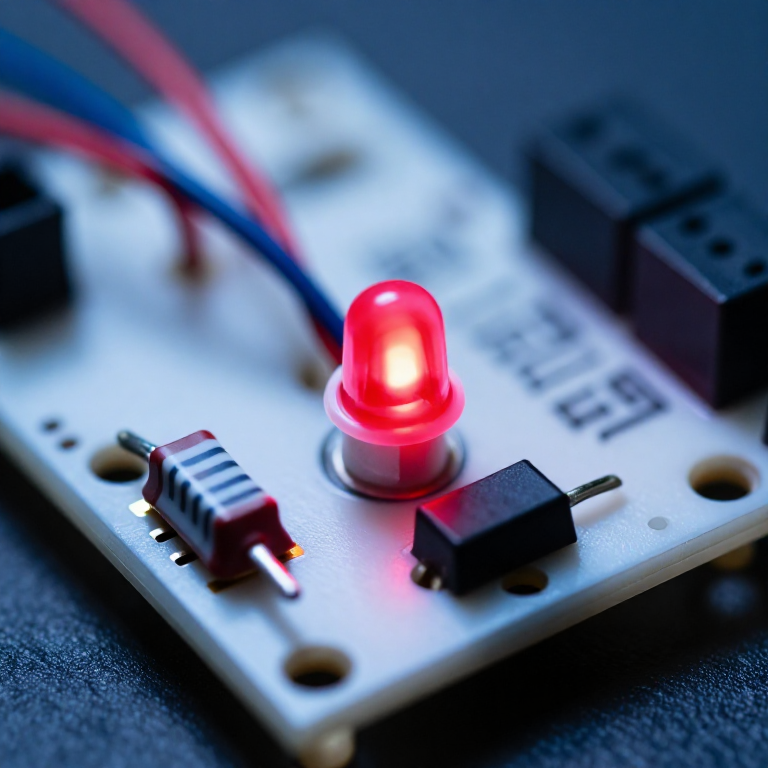


Ohm's Law at the Bench: Picking the Resistor That Saves the LED
One equation does most of the arithmetic a maker ever needs from electronics, and it is three letters long. What makes it worth a rung of its own is that the three commonest beginner disasters — the LED that dies instantly, the resistor that cooks, the divider that sags under load — are all the same equation applied carelessly.
An LED is the sharpest example. It is not a resistor: past its forward voltage the current rises almost without limit, so connecting one directly across a supply destroys it in a fraction of a second. The resistor beside it is not a formality, it is the only thing deciding the current.
Every SIK circuit published here that lights an LED has one, and this is why.
Principiante
3 hours
Istruzioni
1
1
Size the resistor for an LED, and see why it is not optional
Size the resistor for an LED, and see why it is not optional
Caricamento del notebook Jupyter…
Materiali per questo passaggio:
 Kit di LED1 pezzo
 Kit di resistenze1 pezzo
Strumenti necessari:
 Breadboard
 Calcolatrice
 Multimetro
2
2
Check the resistor will survive the heat
Check the resistor will survive the heat
Caricamento del notebook Jupyter…
Materiali per questo passaggio:
Kit di resistenze1 pezzoStrumenti necessari:
CalcolatriceMultimetro3
3
The divider that works until you connect something
The divider that works until you connect something
Caricamento del notebook Jupyter…
Materiali per questo passaggio:
Kit di resistenze1 pezzoStrumenti necessari:
BreadboardMultimetroCalcolatrice4
4
Measure it, and find out what your parts really are
Measure it, and find out what your parts really are
Build the LED and its resistor on a breadboard, then measure: the supply, the voltage across the LED, and the voltage across the resistor. They should add up to the supply.
Then work out the current from the resistor's voltage and its measured resistance, and compare it with what you calculated. The LED's real forward voltage will not be exactly the table value — it varies by part, by colour bin, and with current — which is why the calculation is a starting point and the measurement is the answer.
This also demonstrates Kirchhoff's voltage law without naming it: around any loop, the voltages sum to zero. Once you have seen it on a meter it stops being an abstraction and becomes a tool for finding where a missing volt went.
Materiali per questo passaggio:
Kit di LED1 pezzoKit di resistenze1 pezzoStrumenti necessari:
BreadboardMultimetro Alimentatore da banco
Materiali
2- 2 pezziSegnaposto
- Segnaposto
Blueprint correlati
Questi blueprint condividono conoscenze — tecniche, materiali o principi

CC0 Pubblico dominio
Questo progetto è rilasciato sotto CC0. Sei libero di copiare, modificare, distribuire e utilizzare quest'opera per qualsiasi scopo, senza chiedere permesso.
Supporta il Maker acquistando prodotti tramite il suo progetto dove guadagna una Commissione Maker stabilita dai venditori, oppure crea una nuova iterazione di questo progetto e includilo come collegamento nel tuo progetto per condividere i ricavi.