
Wälzfräsen
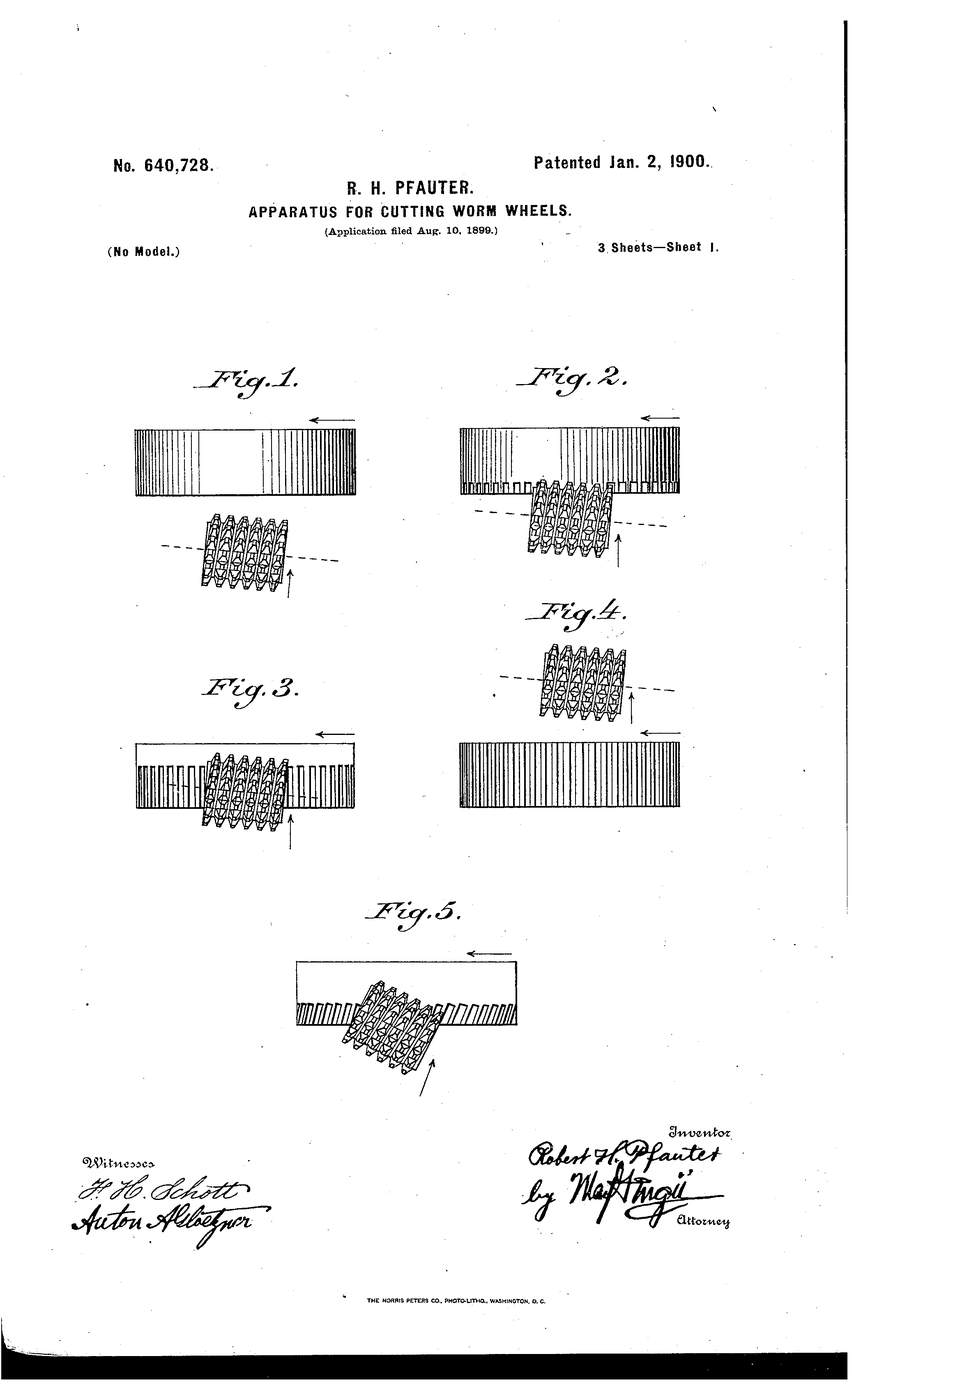
Ein Zahnrad hat man früher Zahn für Zahn gefräst: teilen, fräsen, weiterteilen. Beim Wälzfräsen gibt es keine Teilung mehr. Werkzeug und Werkstück drehen sich in einem festen Verhältnis, und die Zahnform entsteht als Hüllkurve vieler Schnitte — das Werkzeug trägt die Zahnform gar nicht in sich.
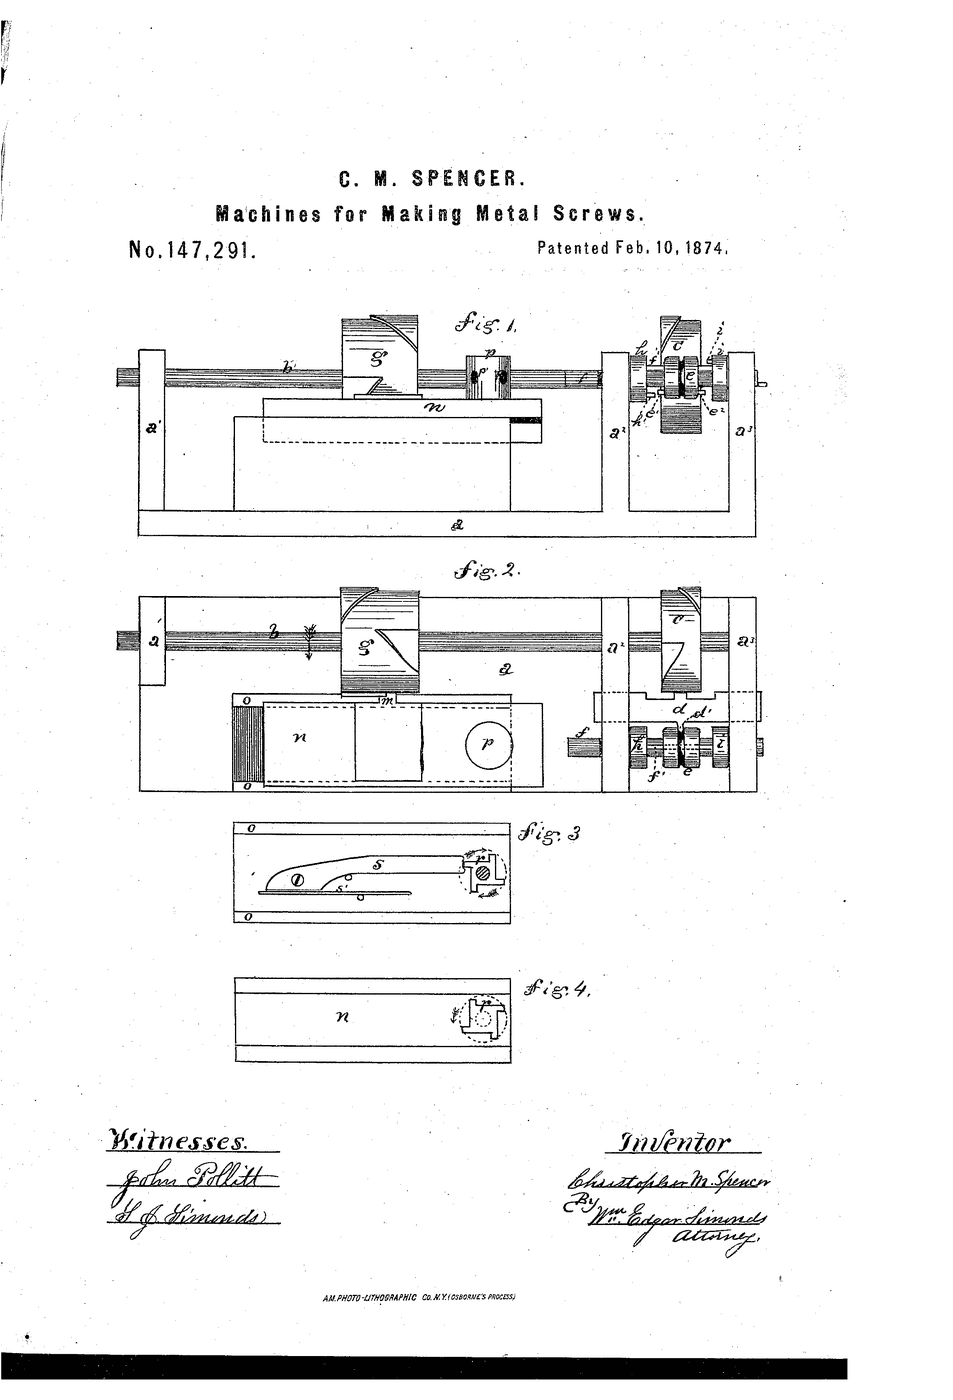
US 640 728, „Apparatus for Cutting Worm-Wheels“, Robert Hermann Pfauter, Zschopauerstraße 147, Chemnitz, Königreich Sachsen. Angemeldet am 10. August 1899, erteilt am 2. Januar 1900. Pfauter meldete das Verfahren 1897 zuerst in Deutschland an; diese deutsche Patentnummer ist bis heute nicht sicher belegt, das US-Dokument dagegen schon — und es zeigt dieselbe Erfindung samt Zeichnung.
Ehrlich bleiben. Pfauter war nicht der Erste mit dem Gedanken: Christian Schiele beschrieb das Wälzprinzip bereits 1856. Pfauter baute die erste Maschine, die es zuverlässig und universell konnte — das ist der Unterschied zwischen einer Idee und einer Industrie.
Istruzioni
Den Anspruch zuerst aufschreiben
Den Anspruch zuerst aufschreiben
Notiere den Kern: Werkzeug und Werkstück laufen gekoppelt, die Zahnform entsteht als Hüllkurve. Kein Teilapparat, keine Zahnform im Fräser.
Eine Zahnstange aus Karton schneiden
Eine Zahnstange aus Karton schneiden
Schneide aus Karton eine gerade Zahnstange: Teilung 20 mm, Flankenwinkel 20°, Höhe 12 mm. Das ist dein Werkzeug.
Materiali per questo passaggio:
 Sagome di cartone1 foglio
Strumenti necessari:
 Righello
 Goniometro
 Taglierino di precisione
Eine Radscheibe ausschneiden
Eine Radscheibe ausschneiden
Schneide eine Kreisscheibe mit 127 mm Durchmesser aus Karton. Umfang = 20 mm × 20 Zähne.
Materiali per questo passaggio:
Sagome di cartone1 foglioStrumenti necessari:
 ForbiciRighello
Die Scheibe drehbar lagern
Die Scheibe drehbar lagern
Stecke die Scheibe mit einer Maschinenschraube mittig auf das Brett, sodass sie sich frei dreht.
Materiali per questo passaggio:
 Tavola di legno piatta1 pezzo
 Vite metrica #6-321 pezzo
Die Abwälzbedingung einstellen
Die Abwälzbedingung einstellen
Zeichne eine Linie tangential an die Scheibe. Die Zahnstange muss genau um ihre Teilung wandern, während sich die Scheibe um einen Zahn dreht.
Materiali per questo passaggio:
 Carta millimetrata1 foglio
Strumenti necessari:
 Pennarello indelebileRighello
Schritt für Schritt abwälzen und anzeichnen
Schritt für Schritt abwälzen und anzeichnen
Schiebe die Zahnstange um 5 mm, drehe die Scheibe entsprechend weiter und zeichne die Werkzeugkontur jedes Mal auf die Scheibe.
Materiali per questo passaggio:
Sagome di cartone1 foglioStrumenti necessari:
Pennarello indelebileZwanzig Lagen zeichnen
Zwanzig Lagen zeichnen
Wiederhole Schritt 6, bis die Scheibe einmal herum ist. Zwischen den Linien erscheint die Evolventenform — sie wurde nie gezeichnet, sondern erzeugt.
Materiali per questo passaggio:
Sagome di cartone1 foglioStrumenti necessari:
Pennarello indelebileDie Hüllkurve ausschneiden
Die Hüllkurve ausschneiden
Schneide die Scheibe entlang der inneren Hüllkurve aus. Du hältst ein abgewälztes Zahnrad in der Hand.
Materiali per questo passaggio:
Sagome di cartone1 foglioStrumenti necessari:
ForbiciDie Teilung messen
Die Teilung messen
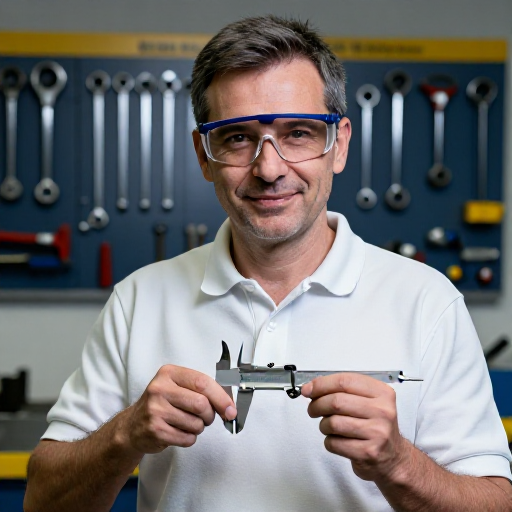
Miss den Abstand von Zahnmitte zu Zahnmitte mit dem Messschieber an fünf Stellen. Notiere die größte Abweichung.
Materiali per questo passaggio:
Carta millimetrata1 foglioStrumenti necessari:
 Calibro a corsoio
Mit dem Nachbarrad kämmen lassen
Mit dem Nachbarrad kämmen lassen
Fertige ein zweites Rad mit 10 Zähnen aus derselben Zahnstange. Beide müssen ohne Nacharbeit kämmen — das ist der eigentliche Beweis.
Materiali per questo passaggio:
Sagome di cartone1 foglioStrumenti necessari:
ForbiciDas Übersetzungsverhältnis prüfen
Das Übersetzungsverhältnis prüfen
Markiere je einen Zahn und drehe. 20 zu 10 Zähne ergibt genau zwei Umdrehungen zu einer. Zähle nach.
Den Unterschied zum Teilverfahren zeigen
Den Unterschied zum Teilverfahren zeigen
Zeichne ein Rad mit Teilapparat: 20-mal einzeln teilen. Jeder Teilfehler bleibt im Rad. Beim Wälzen gibt es keinen Teilschritt, der Fehler machen könnte.
Materiali per questo passaggio:
Carta millimetrata1 foglioStrumenti necessari:
GoniometroEinen echten Fräser ansehen
Einen echten Fräser ansehen
Betrachte einen HSS-Schaftfräser unter der Lupe. Seine Schneide hat nichts mit einer Zahnform zu tun — genau das ist der Punkt.
Strumenti necessari:
 Set di frese in acciaio rapido
 Lente d'ingrandimento
Geschichte & Hintergrund
Geschichte & Hintergrund
US 640 728, „Apparatus for Cutting Worm-Wheels“, Robert Hermann Pfauter, Chemnitz. Angemeldet 10. August 1899, erteilt 2. Januar 1900. Die deutsche Anmeldung von 1897 gilt als die ursprüngliche; ihre DRP-Nummer ließ sich nicht sicher belegen und wird hier deshalb nicht behauptet. Wo eine Nummer fehlt, wird die Funktion beschrieben — nicht geraten.
Was vorher war. Christian Schiele beschrieb das Wälzprinzip 1856, Ramsden arbeitete schon 1768 mit ähnlichen Gedanken an Teilmaschinen. Pfauters Leistung ist die gebrauchsfertige, universelle Maschine ab 1897 in Chemnitz; die Firma Pfauter blieb über ein Jahrhundert führend im Wälzfräsen und gehört heute zu Gleason.
Warum das Verfahren gewonnen hat. Ein einziger Wälzfräser mit gegebenem Modul schneidet jede Zähnezahl. Beim Teilverfahren braucht man für jede Zähnezahl den passenden Formfräser, und jeder Teilschritt bringt einen eigenen Fehler mit. Wälzen ist schneller, genauer und billiger zugleich — das ist selten.
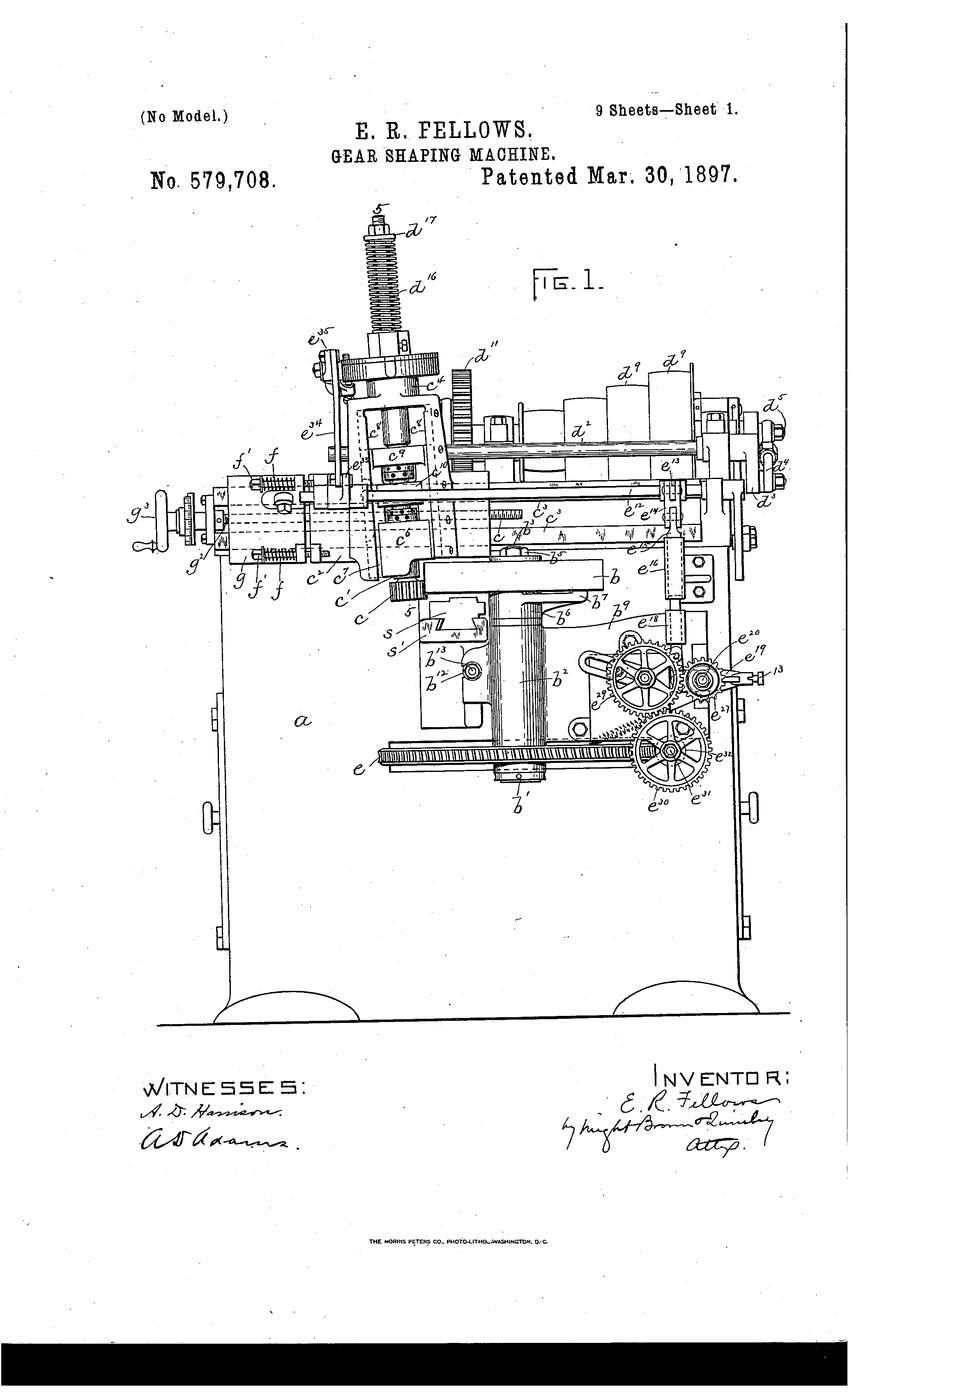
Der Zusammenhang mit der Serienfertigung. Ohne genaue, billige Zahnräder gibt es kein Getriebe, ohne Getriebe kein Automobil in Stückzahlen. Das Wälzfräsen steht am Anfang dieser Kette. Der Fellows-Zahnradstoßer (1897, USA) löst dieselbe Aufgabe stoßend statt fräsend — beide Verfahren leben bis heute nebeneinander.
Materiali
4- 1 foglioSegnaposto
- 1 pezzoSegnaposto
- 1 pezzoSegnaposto
- 1 foglioSegnaposto
Materiali dei progetti collegati

Blueprint correlati
Questi blueprint condividono conoscenze — tecniche, materiali o principi



CC0 Pubblico dominio
Questo progetto è rilasciato sotto CC0. Sei libero di copiare, modificare, distribuire e utilizzare quest'opera per qualsiasi scopo, senza chiedere permesso.
Supporta il Maker acquistando prodotti tramite il suo progetto dove guadagna una Commissione Maker stabilita dai venditori, oppure crea una nuova iterazione di questo progetto e includilo come collegamento nel tuo progetto per condividere i ricavi.