ARTE
BELLEZZA E BENESSERE
MESTIERE
CULTURA E STORIA
DIVERTIMENTO
AMBIENTE
CIBO E BEVANDE
INGEGNERIA INVERSA
SCIENZE
SPORT
TECNOLOGIA
INDOSSABILI



Re-Gluing a Joint That Came Apart: You Must Get the Old Glue Off
Squeezing fresh glue into a joint that has opened is the standard repair and it almost never works. The new glue sticks to the old glue, and the old glue is already proven to have let go.
A joint that came apart has told you something: either it was never sound, or something has changed — the wood has moved, the joint is loaded in a way it was not designed for, or moisture got in. Repairing it without asking which means repairing it again.
Done properly, a re-glued joint can be as strong as new. Done as a squeeze of PVA into a crack, it will open again within a season.
Intermedio
3 hours
Istruzioni
1
1
Take it fully apart, or do not bother
Take it fully apart, or do not bother
A joint that is half open must be opened completely. Fresh glue cannot reach where it is needed through a crack, and what does get in lands on top of the old film.
Work it apart gently with wedges and patience rather than force. If it will not come, warmth and moisture will soften hide glue — which is exactly why hide glue was used on furniture that was expected to be repaired — and steam will free many old PVA joints too.
Where a part genuinely cannot be separated, the honest options are to accept the repair will be temporary, or to cut the joint out and replace it. Injecting glue into a closed joint is the temporary option, and it is worth knowing that is what you are choosing.
Materiali per questo passaggio:
 Tavola di legno duro1 pezzo
Strumenti necessari:
 Listello ripartitore di pressione
 Tela di cotone
 Ceppi di serraggio in legno
2
2
Remove every trace of the old adhesive
Remove every trace of the old adhesive
Scrape, chisel or sand both faces back to clean bare wood. This is most of the work and it is the step that decides whether the repair lasts.
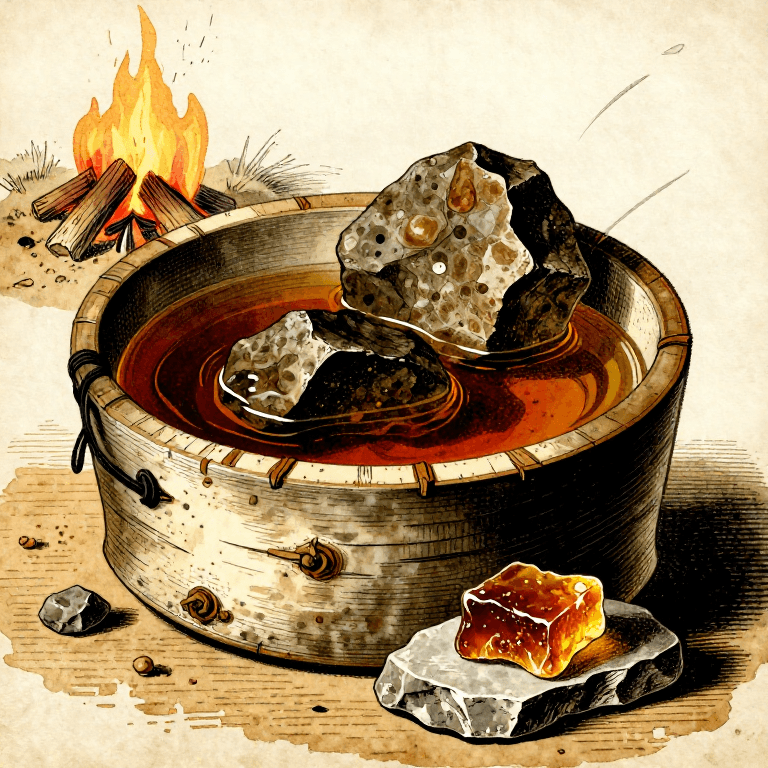
Hide glue dissolves in warm water, which makes it the easiest to reverse. PVA does not dissolve usefully and must be scraped off mechanically. Epoxy has to be removed physically too, and it is harder than the wood around it, so go carefully.
Do not sand so aggressively that you change the fit. Removing a tenth of a millimetre from a tenon turns a snug joint into a loose one, and then you need a gap-filling adhesive to rescue a joint that would have been fine — which is the usual sequence by which a repair makes things worse.
Strumenti necessari:
Tela di cotone Lente da orologiaio
 Morsa da banco pesante
 Assortimento di carta abrasiva
3
3
Work out why it failed before you close it up
Work out why it failed before you close it up
Read the old faces the way the failure rung describes. Bare wood, a thick cracked line and dry patches each point somewhere different, and the repair should answer what you find.
Then ask what changed. A chair joint that failed is usually being racked sideways, which no adhesive resists well — it needs a mechanical fix, a corner block or a peg, not better glue. A panel that split has been restrained while the wood moved with humidity, and gluing it solid again guarantees it splits somewhere else.
Wood moves across the grain with moisture and does not move along it. A repair that ignores that is fighting the seasons, and the seasons win.
Strumenti necessari:
Lente da orologiaio Riga di riscontro
4
4
When the fit is gone, rebuild it rather than filling it
When the fit is gone, rebuild it rather than filling it
A joint that has been apart and cleaned is often slightly loose. Filling the gap with thick glue gives a weak joint however good the adhesive is.
Build the surface back up instead: glue a thin shim of the same timber onto the tenon and re-fit it, or plane the face true and glue on a fresh strip. That restores a wood-to-wood fit and the joint returns to full strength. For a loose round tenon, a saw kerf and a wedge expands it back into its socket.
Where a gap genuinely cannot be closed, epoxy is the correct choice — it is the one adhesive on the workshop list with real strength in a gap, as the adhesive rung sets out. Use it deliberately, not as a way of avoiding the fitting work.
Materiali per questo passaggio:
Tavola di legno duro1 pezzo Resina epossidica bicomponente1 pezzo
 Colla vinilica per legno (PVA)1 pezzo
Strumenti necessari:
 Morsetto a C
 Pennello per colla
 Squadra fissa
Materiali
3- 1 pezzoSegnaposto
- Segnaposto
- Segnaposto
Strumenti richiesti
10- Segnaposto
- Segnaposto
- Segnaposto
- Segnaposto
- Segnaposto
- Segnaposto
- Segnaposto
- Segnaposto
- Segnaposto
- Segnaposto
Questo progetto realizza
Blueprint correlati
Questi blueprint condividono conoscenze — tecniche, materiali o principi


CC0 Pubblico dominio
Questo progetto è rilasciato sotto CC0. Sei libero di copiare, modificare, distribuire e utilizzare quest'opera per qualsiasi scopo, senza chiedere permesso.
Supporta il Maker acquistando prodotti tramite il suo progetto dove guadagna una Commissione Maker stabilita dai venditori, oppure crea una nuova iterazione di questo progetto e includilo come collegamento nel tuo progetto per condividere i ricavi.