ARTE
BELLEZZA E BENESSERE
MESTIERE
CULTURA E STORIA
DIVERTIMENTO
AMBIENTE
CIBO E BEVANDE
INGEGNERIA INVERSA
SCIENZE
SPORT
TECNOLOGIA
INDOSSABILI
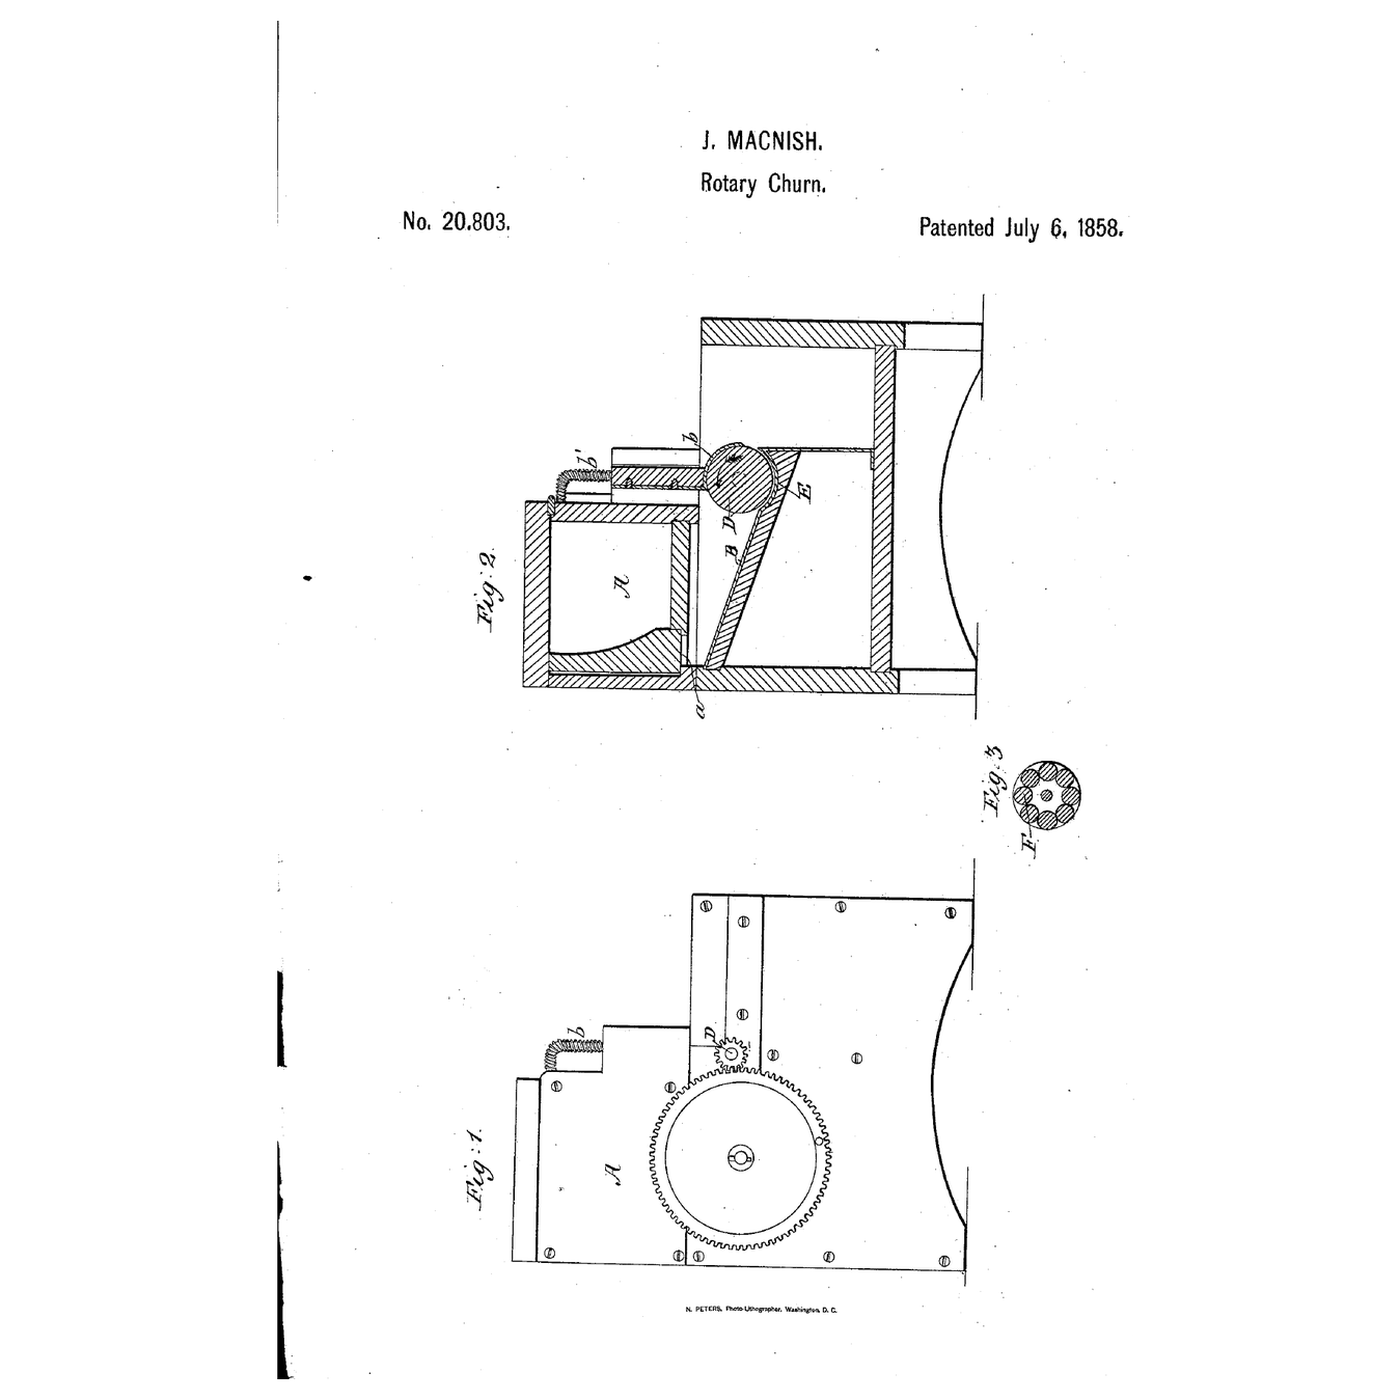


Roller-and-Concave Friction Churn: Cream Runs Once Between a Sprung Roller and a Fixed Concave
James MacNish of Berlin, Wisconsin, received US 20,803, dated 6 July 1858, for a churn that breaks the cream's fat globules by compression and friction: the cream runs down an apron into a fixed concave, where a roller held down by a sprung plate presses it through, and the plate scrapes the butter off the roller.
This rung prints the hopper, apron, concave, roller and gearing at tabletop scale, over a storage container.
Avanzato
About 5 hours, plus printing
Istruzioni
1
1
Gearing and the roller's surface
Gearing and the roller's surface
Caricamento del notebook Jupyter…
2
2
Churns with turning rollers, before it
Churns with turning rollers, before it
Those rollers worked inside a churn of cream; MacNish passes the cream once between a roller and a fixed concave.
3
3
Read US 20,803
Read US 20,803
"The cream only requires to pass between the roller and the concave once in order to produce butter."
4
4
Print the parts
Print the parts
Print the frame (/uploads/blueprints/roller-and-concave-friction-churn-frame.stl) lying on its cheek, the front cheek (/uploads/blueprints/roller-and-concave-friction-churn-cheek.stl), the roller (/uploads/blueprints/roller-and-concave-friction-churn-roller.stl), the shoe (/uploads/blueprints/roller-and-concave-friction-churn-shoe.stl), the pinion (/uploads/blueprints/roller-and-concave-friction-churn-pinion.stl), the wheel with its crank (/uploads/blueprints/roller-and-concave-friction-churn-wheel.stl) and the base (/uploads/blueprints/roller-and-concave-friction-churn-base.stl). The frame, cheek and base need a 240 mm print bed. Print in PETG at 0.2 mm layers, 30 % infill, 4 walls; wash before first use.
Materiali per questo passaggio:
 Filamento PETG1 pezzo
Strumenti necessari:
 Stampante 3D a filamento (FDM)
5
5
Roller, shoe and cheek
Roller, shoe and cheek
Cut a 10 mm dowel 148 mm long as the axle and push it through the roller. Lay the roller in the concave with the axle in the back cheek's slot, and screw the front cheek on with five M4 screws. Lay the shoe over the roller, put a spring on each of two M4 screws, and screw them down through the bridge into the shoe until the springs press the roller into the concave.
Materiali per questo passaggio:
 Tasselli di legno duro1 pezzo
 Viti da metallo1 pezzo
 Set di molle di compressione1 pezzo
Strumenti necessari:
 Sega a mano
 Carta abrasiva
 Set di cacciaviti
6
6
Gears and base
Gears and base
Fix the pinion on the axle behind the back cheek with an M3 screw drilled through the dowel. Glue a 10 mm dowel 19 mm long into the back cheek's stud hole, put the wheel on it meshing the pinion, and hold it with an M3 screw and washer through its crank arm into the stud's end. Screw the frame onto the base with four M4 screws and set the base on the container, its opening over the container.
Materiali per questo passaggio:
Tasselli di legno duro1 pezzo Colla da legno1 pezzoViti da metallo1 pezzo
 Rondella piana1 pezzo
 Contenitore di conservazione per uso alimentare1 pezzo
Strumenti necessari:
Sega a mano Trapano a manoSet di cacciaviti
7
7
The build in 3D
The build in 3D
FreeCAD model of this build: the base on the container, the frame with hopper A, the gap a, apron B and concave E, the roller with the sprung shoe over it, the bridge, and the wheel and pinion behind the back cheek. The front cheek is left off to show the inside.
8
8
Churn
Churn
Pour 0.5 litre of heavy cream at about 15 °C, checked with the thermometer, into the hopper and turn the crank steadily, timing it with the stopwatch. The cream runs out under the hopper's front wall, down the apron and between the roller and the concave, and falls with the scraped butter into the container. Gather the butter into a lump with the spatula, pour off the buttermilk, wash the butter in cold water until it runs clear, work in a pinch of salt and weigh it.
Materiali per questo passaggio:
 Panna da montare0.5 l
 Sale marino grosso1 pezzo
 Acqua1 pezzo
Strumenti necessari:
 Termometro a sonda permanente
 Cronometro
 Spatola
 Bilancia digitale da cucina
 Grande ciotola da impasto in acciaio inossidabile
9
9
Troubleshooting
Troubleshooting
Roller-and-concave churn troubleshooting.
Flow
Loading...
10
10
History and honest limits
History and honest limits
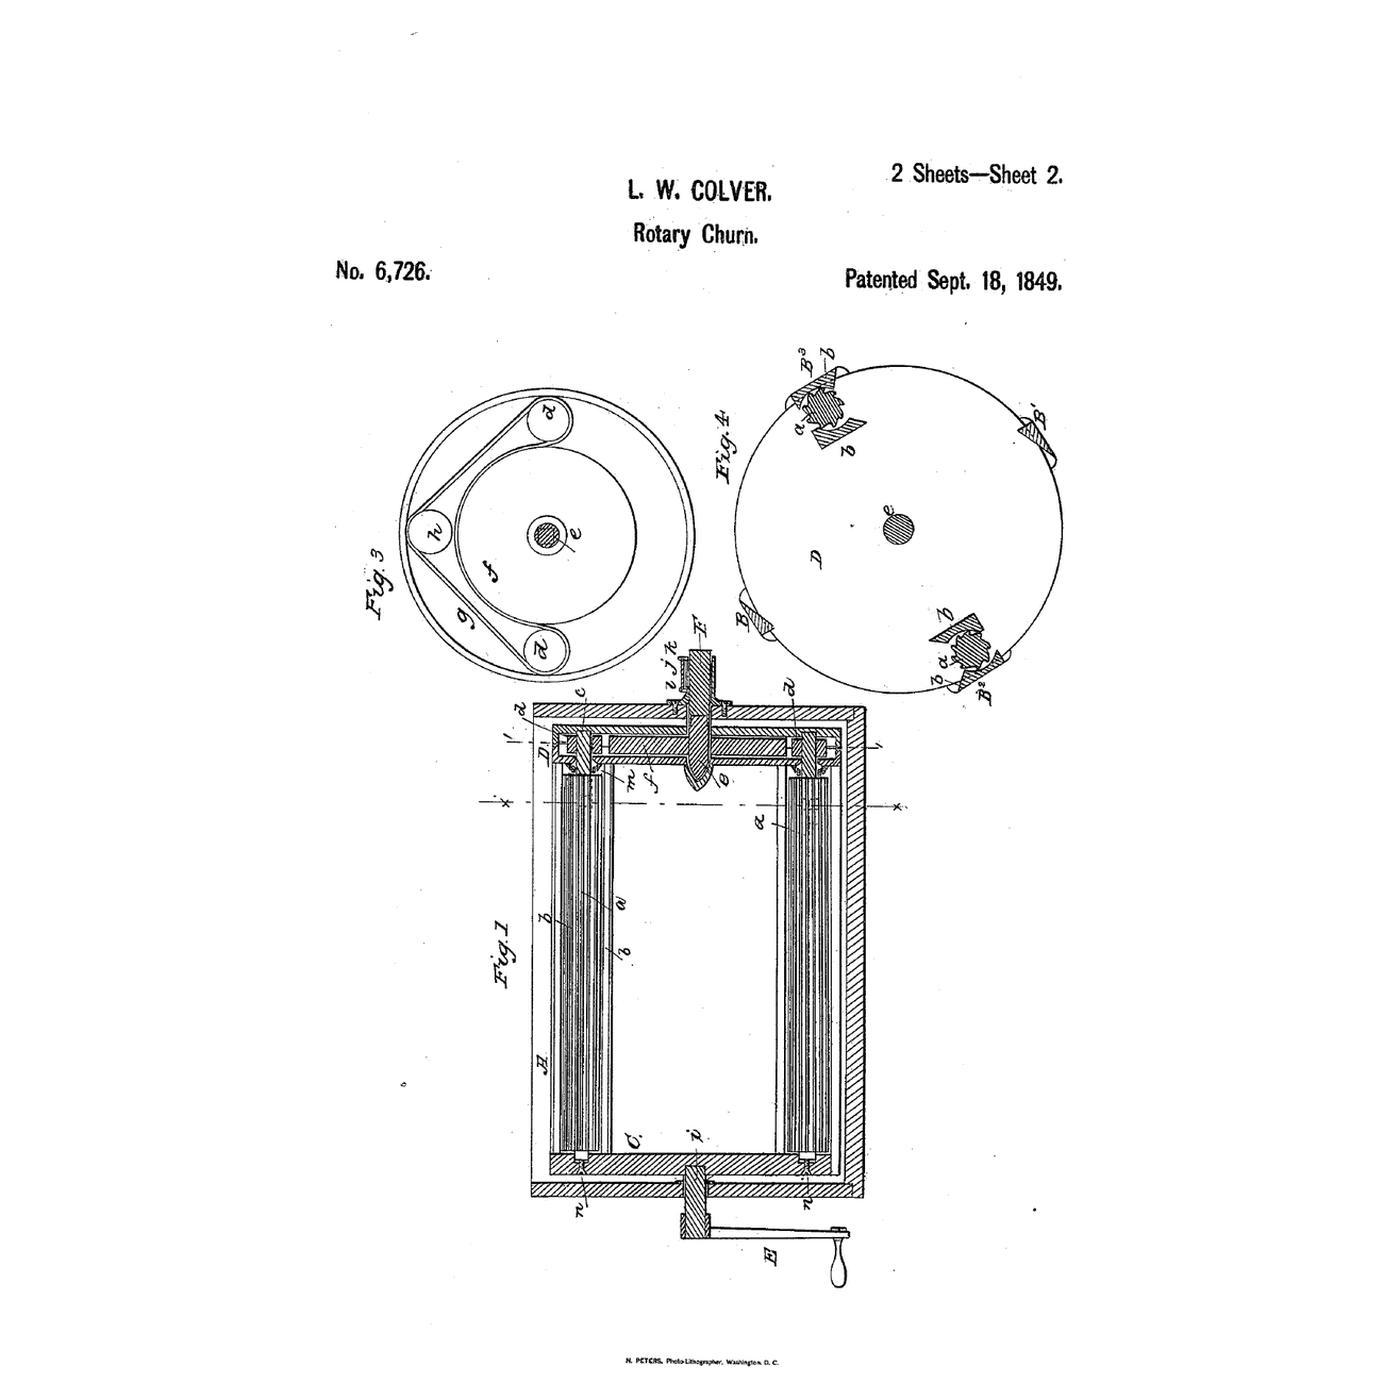
**James MacNish** of Berlin, Marquette County, Wisconsin, US 20,803, 6 July 1858. His spring plate ran from end to end of the roller, partly encircling it, made yielding by spiral springs, and also scraped the butter off it. He showed a second roller (Fig. 3) and suggested placing it in an ordinary churn box with a concave bottom. His receptacle C had a faucet to let off the buttermilk. He claimed breaking the globules by compression and friction with a roller revolving in, and touching, a stationary concave. Our printed shoe, sizes, gearing and container are ours. FDM prints hold food in their layer lines, so wash well and replace when worn.
Materiali
10- 1 pezzoSegnaposto
- 1 pezzoSegnaposto
- 2 pezziSegnaposto
- 1 pezzoSegnaposto
- 1 pezzoSegnaposto
- 1 pezzoSegnaposto
- Segnaposto
- 0.5 lSegnaposto
- 1 pezzoSegnaposto
- 1 pezzoSegnaposto
Strumenti richiesti
10- Segnaposto
- Segnaposto
- Segnaposto
- Segnaposto
- Segnaposto
- Segnaposto
- Segnaposto
- Segnaposto
- Segnaposto
File di progetto
1Questo progetto realizza

Blueprint correlati
Questi blueprint condividono conoscenze — tecniche, materiali o principi



CC0 Pubblico dominio
Questo progetto è rilasciato sotto CC0. Sei libero di copiare, modificare, distribuire e utilizzare quest'opera per qualsiasi scopo, senza chiedere permesso.
Supporta il Maker acquistando prodotti tramite il suo progetto dove guadagna una Commissione Maker stabilita dai venditori, oppure crea una nuova iterazione di questo progetto e includilo come collegamento nel tuo progetto per condividere i ricavi.