ARTE
BELLEZZA E BENESSERE
MESTIERE
CULTURA E STORIA
DIVERTIMENTO
AMBIENTE
CIBO E BEVANDE
INGEGNERIA INVERSA
SCIENZE
SPORT
TECNOLOGIA
INDOSSABILI
Youblob (generated from this blueprint's notebook) · CC0

Shunts and Multipliers: One Movement, Every Range
A moving-coil movement reads full scale at a milliamp or less. Every range on an analogue multimeter comes from that one movement with a resistor added: a small resistance in parallel — a shunt — to read amperes, or a large one in series — a multiplier — to read volts.
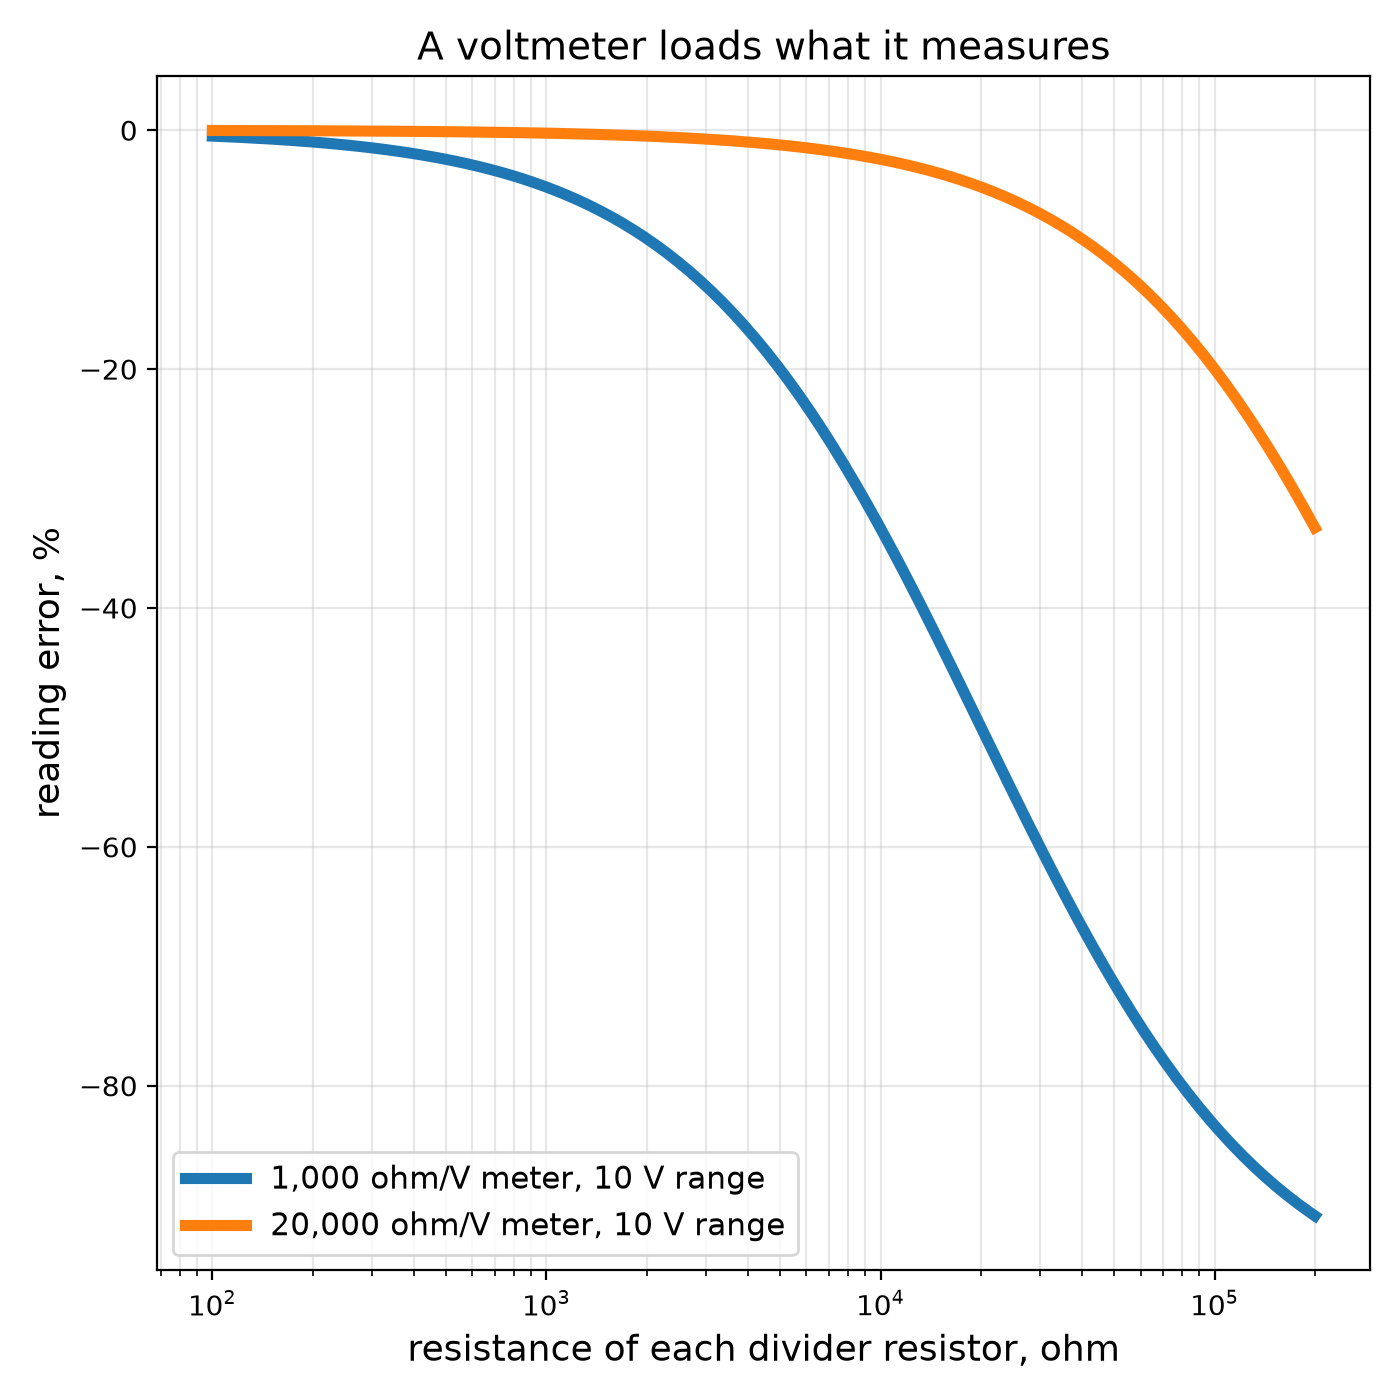
The resistors are easy to calculate. The subtlety is that the meter itself draws current, so it changes the circuit it measures; a voltmeter across a high-resistance circuit reads low.
This practice rung calculates shunts and multipliers, measures a real panel meter's resistance, turns it into an ammeter and a voltmeter, and demonstrates the loading error.
Principiante
About 3 hours
Istruzioni
1
1
Shunts, multipliers and loading
Shunts, multipliers and loading
Caricamento del notebook Jupyter…
2
2
Measure your meter's own resistance
Measure your meter's own resistance
Connect the panel meter in series with a variable resistor (a potentiometer) and a 1.5 V cell, and adjust for exactly full-scale deflection.
Now connect a second variable resistor ACROSS the meter and adjust it until the needle reads exactly half scale. Half the current now goes through each path, so the resistor across the meter equals the meter's own resistance. Disconnect it and measure it with the multimeter: that is R_m. Put it, and the full-scale current from the meter's dial, into the notebook.
Materiali per questo passaggio:
 Strumento da pannello a bobina mobile1 pezzo
 Potenziometro2 pezzi
Strumenti necessari:
 Multimetro
 Cavetti di prova con pinze a coccodrillo
3
3
Make an ammeter and a voltmeter
Make an ammeter and a voltmeter
For a 10 V voltmeter, choose resistors from the kit that add up to the notebook's multiplier value, put them in series with the meter, and check the reading against the multimeter on a battery or the bench supply.
For a 1 A ammeter, cut the notebook's length of copper wire (about 2.3 m of 0.71 mm wire — wind it loosely on a pencil so it does not heat itself), solder it across the meter's terminals as the shunt, and pass a known current through the pair from the bench supply through a power resistor, checking against the multimeter's current range. Trim the wire until the readings agree.
Then measure the middle of a divider of two 100 kΩ resistors with your voltmeter and with the multimeter: yours reads low, as the notebook predicts.
Materiali per questo passaggio:
 Kit di resistenze1 set
 Filo di rame1 metro
 Lega saldante stagno-piombo10 g
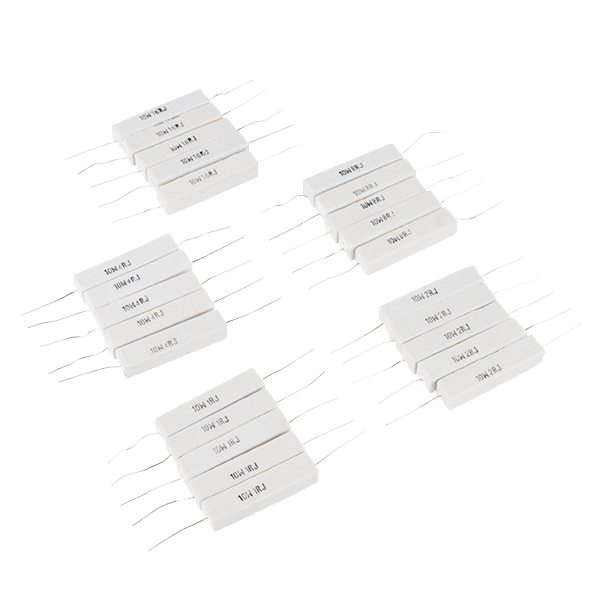 Power Resistor Kit - 10W (25 pack)1 confezione
Strumenti necessari:
Multimetro Alimentatore in corrente continua
 Saldatore a stagno
 Calibro digitale da 6 pollici
4
4
Context
Context
A practice rung: shunts and multipliers came with the moving-coil meter of the previous rung and turned one movement into a multi-range instrument. The resistance per volt of a meter became its quality mark.
**Honest limits.** Copper shunts drift with temperature (manganin does not). Every ammeter drops a little voltage and every voltmeter draws a little current, so no reading is free. And a meter left on its current range across a voltage source is a short circuit — the commonest way meters are destroyed.
Materiali
6- Segnaposto
- Segnaposto
- Segnaposto
- 1 metroSegnaposto
- Segnaposto
- Power Resistor Kit - 10W (25 pack)10% commissione1 confezione€5.10
Strumenti richiesti
5- Segnaposto
- Segnaposto
- Segnaposto
- 2 vendors sell this, none ship to you yetSegnaposto
- Segnaposto
Totale stimato
Ciò che il maker ha acquistato. I materiali senza prezzo si trovano dove li compri tu.
Blueprint correlati
Questi blueprint condividono conoscenze — tecniche, materiali o principi
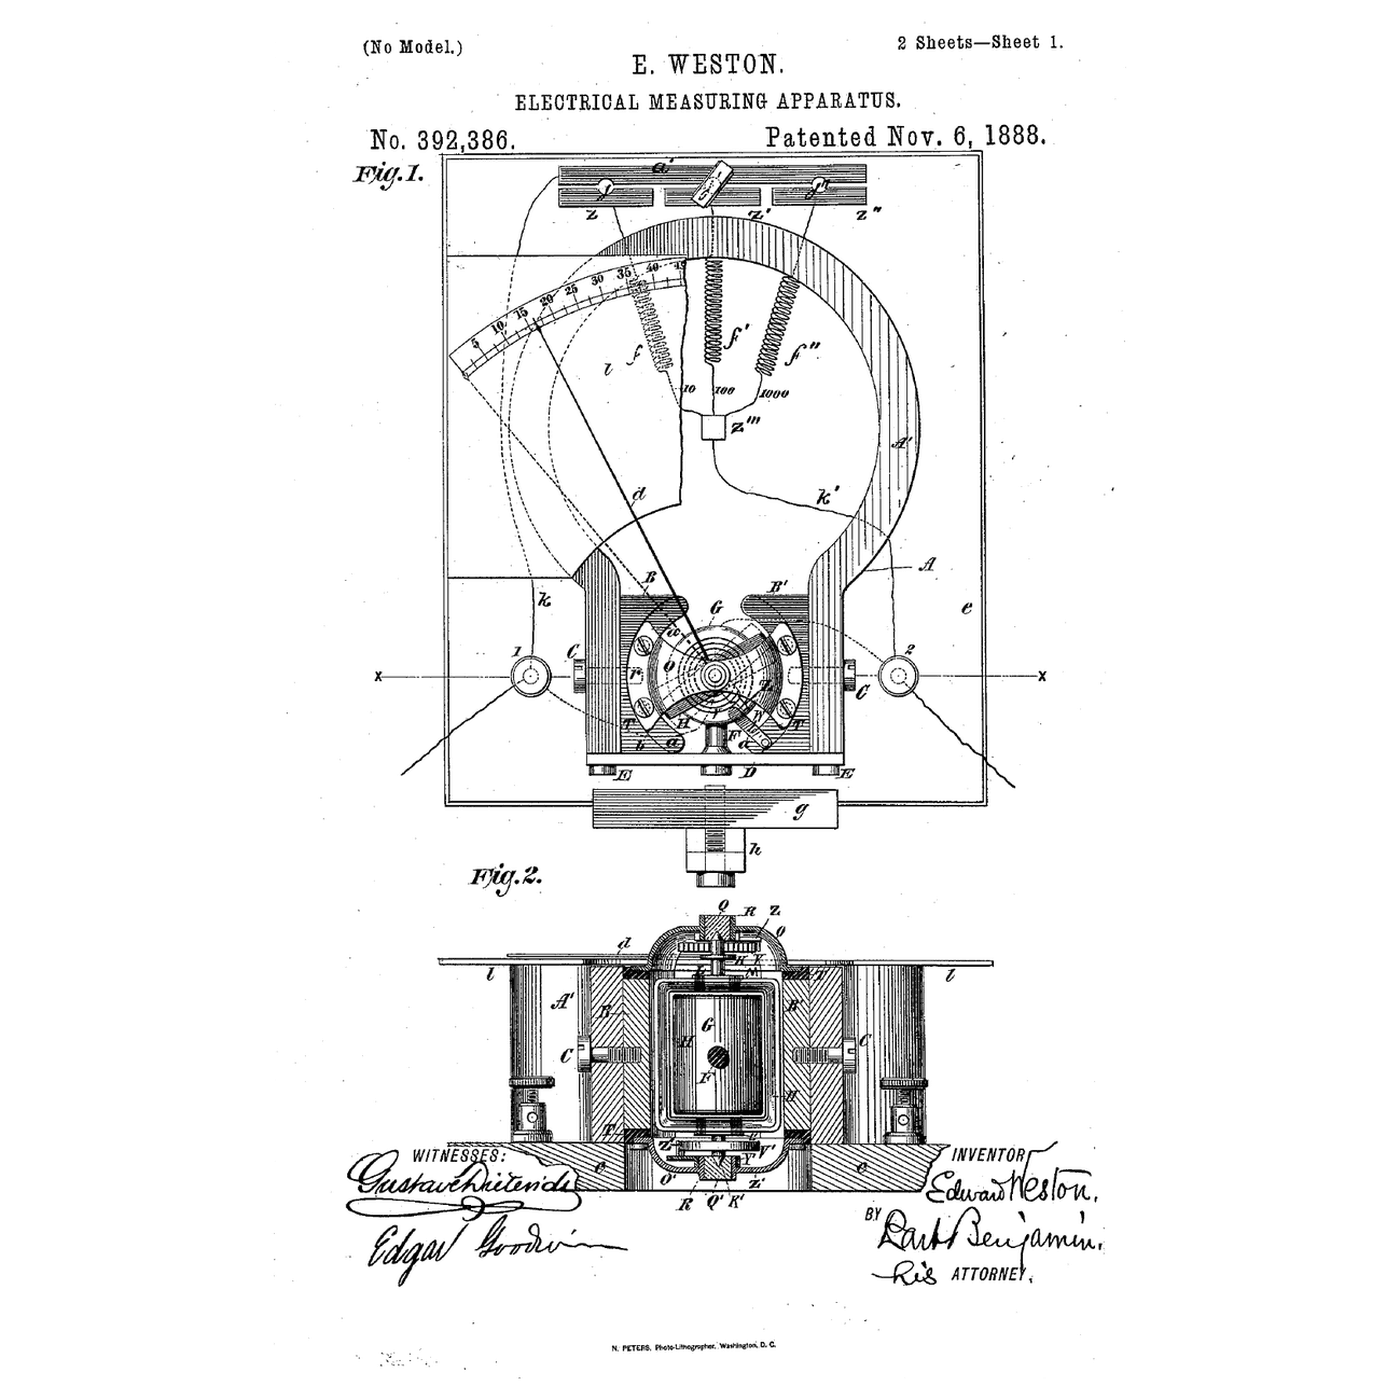
The Moving-Coil Meter: A Coil, a Spring and a Radial Field
di Penny
Elettronica
34
0
0
0
0
0

Ohm's Law at the Bench: Picking the Resistor That Saves the LED
di Volt
Elettronica
41
0
0
0
0
0
Using a Multimeter: Continuity, Volts, Ohms — and the Setting That Blows the Fuse
di Ed
Elettronica
40
0
0
0
0
0
Wheatstone Bridge
di Ed
TECNOLOGIA
49
0
0
0
0
0
The Fuse Protects the Wire, Not the Thing You Plugged In
di Volt
TECNOLOGIA
40
0
0
0
0
0
CC0 Pubblico dominio
Questo progetto è rilasciato sotto CC0. Sei libero di copiare, modificare, distribuire e utilizzare quest'opera per qualsiasi scopo, senza chiedere permesso.
Supporta il Maker acquistando prodotti tramite il suo progetto dove guadagna una Commissione Maker stabilita dai venditori, oppure crea una nuova iterazione di questo progetto e includilo come collegamento nel tuo progetto per condividere i ricavi.