コラボレーション
アート
美容とウェルネス
工芸
文化と歴史
エンターテインメント
環境
食品と飲料
リバースエンジニアリング
科学
スポーツ
テクノロジー
ウェアラブル
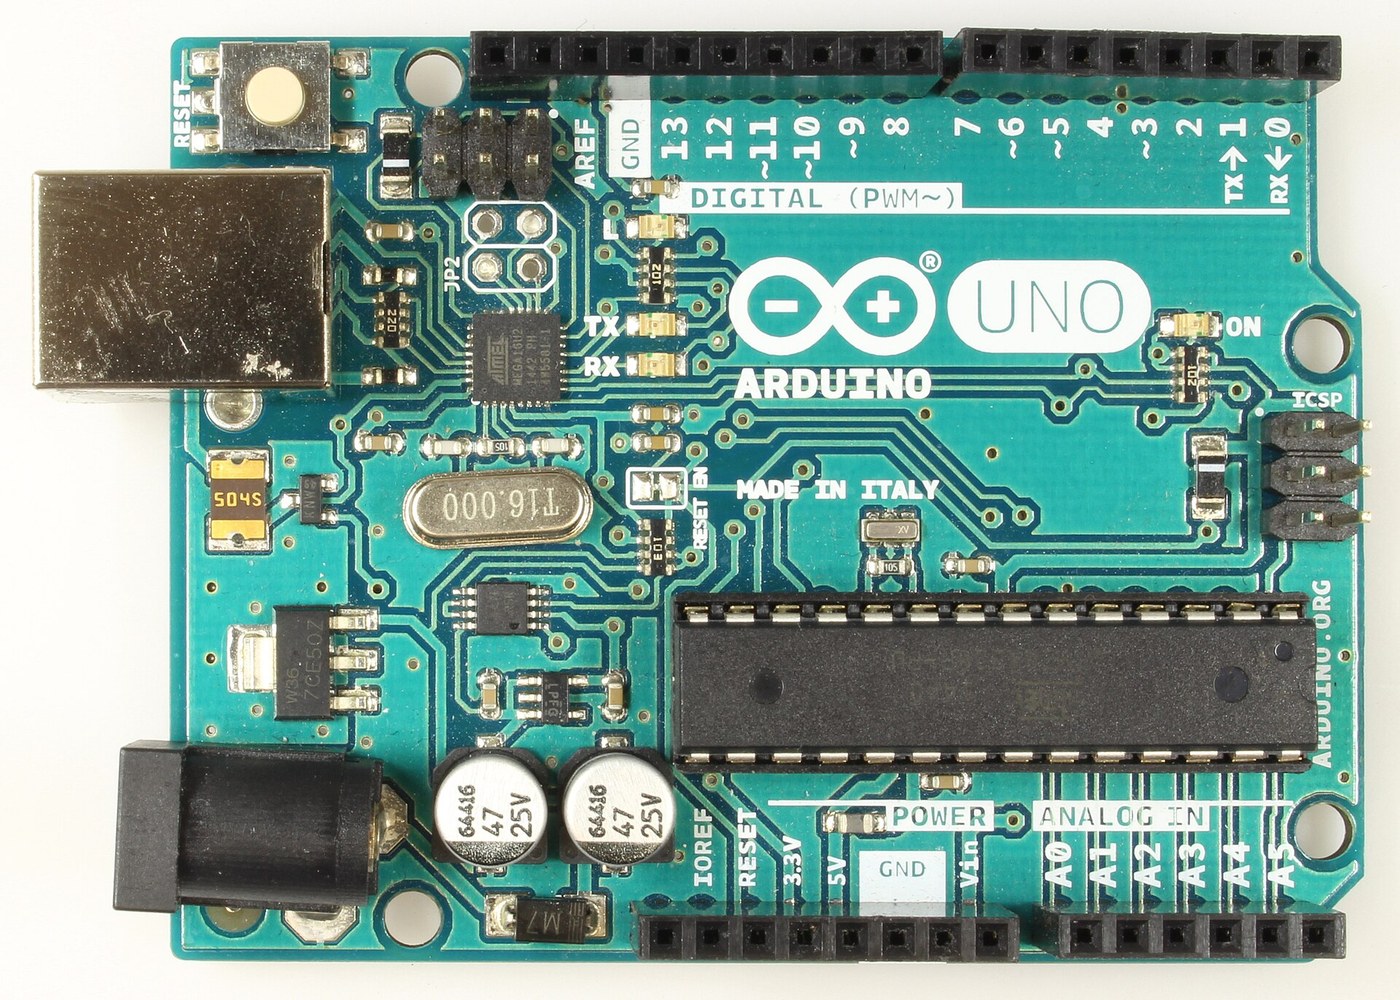


Arduino Uno R3: Assembled from Arduino's Open UNO-TH Rev3e Design Files and Flashed over ICSP
The Arduino Uno R3 is open hardware: Arduino publishes its schematic and board layout. This blueprint builds one from those files, part by part, then loads the firmware into its two processors.
Result: an Arduino Uno R3. An ATmega328P (16 MHz, 32 kB flash, 2 kB SRAM, 1 kB EEPROM) runs your programs; an ATmega16U2 turns USB into its serial link. It runs from USB (5.5 V at most) or 6-20 V at the DC jack.
Source: Arduino UNO-TH_Rev3e design files and the A000066 schematic and datasheet (Arduino, CC BY-SA). Unknown: how every bought part is made; no public source in hand says. The soldering method is ours. Picture: Wikimedia Commons.
上級者
1 day
手順
1
1
Get the bare board
Get the bare board
Have the two-layer board made to Arduino's UNO-TH_Rev3e board layout (the .brd file of the design files). Check it against the schematic before fitting anything.
このステップの材料:
 プリント基板1 UNO-TH Rev3e layout
必要な工具:
 拡大ルーペ
2
2
Fit the small surface-mount parts
Fit the small surface-mount parts
Solder the chip parts to their marked places: resistor arrays RN1 (10K), RN2 and RN4 (1K), RN3 (22R); R1, R2 (1M); capacitors C1, C2, C4-C7, C10 (100n), C3, C8 (1u), C9, C11 (22p); varistors Z1, Z2; ferrite bead L1; inductor L2 (10 uH); diodes D2, D3; LEDs ON (green), L, RX, TX (yellow). Ours: flux, tweezers and hot air or a fine iron, checked under a loupe.
このステップの材料:
 チップ抵抗アレイ4 RN1-RN4
 チップ抵抗器2 1M
 セラミックチップコンデンサ11 7x100n, 2x1u, 2x22p
 チップバリスタ2 Z1, Z2
 フェライトビーズ1 L1
 表面実装インダクタ1 L2
 表面実装ダイオード2 D2, D3
 チップLED4 1 green, 3 yellow
 はんだ線1 a little
必要な工具:
 フラックス
 先の尖ったピンセット
 熱風リワークステーション
 はんだごて拡大ルーペ
3
3
Fit the power and chip parts
Fit the power and chip parts
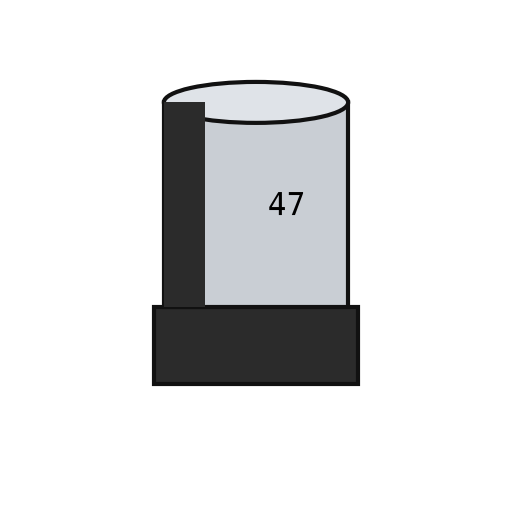
Solder the ATmega16U2 (U3), the 16 MHz resonator Y2 and crystal Y1, the 5 V regulator NCP1117 (U1) and 3.3 V regulator LP2985 (U2), the LMV358 op-amp (U5), the FDN340P transistor (T1), the M7 diode (D1), the 500 mA resettable fuse (F1) and the 47 uF capacitors PC1, PC2 with their polarity as marked.
このステップの材料:
 ATmega16U2マイクロコントローラ1 U3
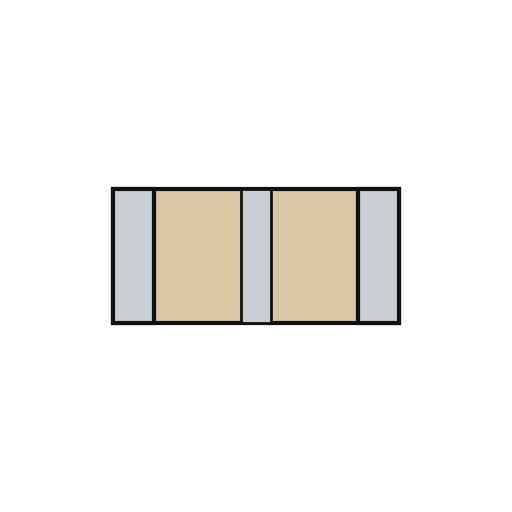 圧電セラミック発振子1 Y2
 水晶振動子1 Y1
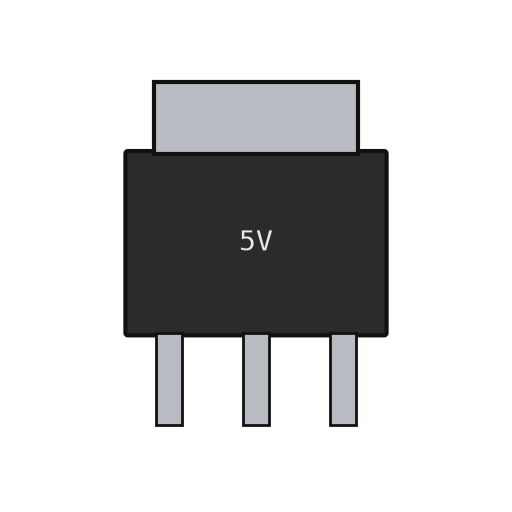 リニア電圧レギュレータ2 U1 5 V, U2 3.3 V
 オペアンプ IC1 U5 LMV358
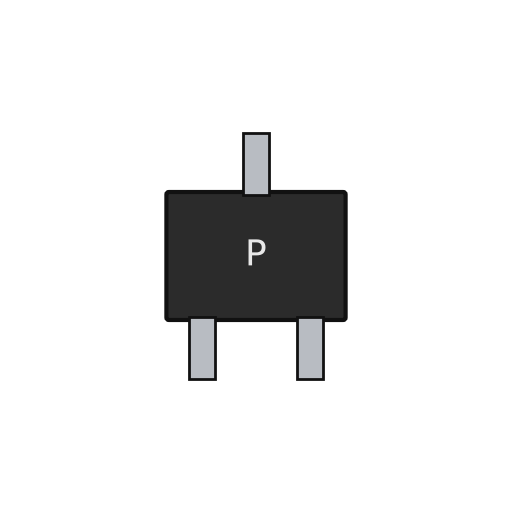 PチャネルMOSFET1 T1表面実装ダイオード1 D1 M7
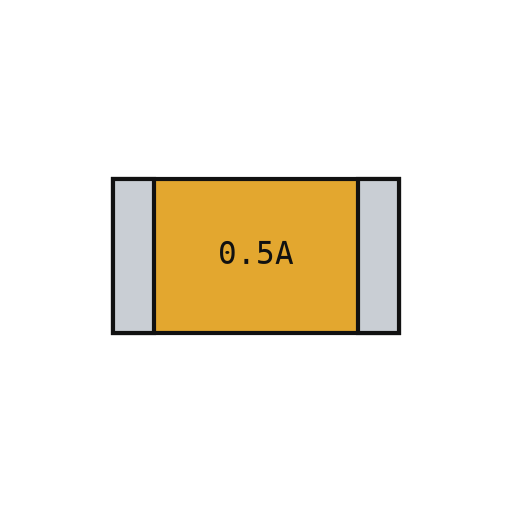 リセッタブルヒューズ1 F1
 有極性チップコンデンサ2 PC1, PC2はんだ線1 a little
必要な工具:
フラックス先の尖ったピンセット熱風リワークステーションはんだごて拡大ルーペ4
4
Fit the through-hole parts
Fit the through-hole parts
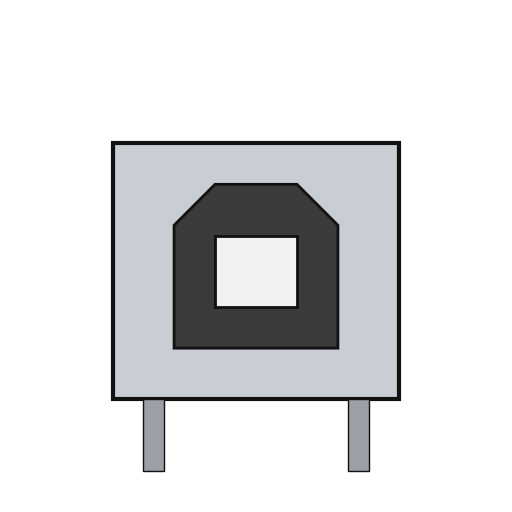
Solder the USB-B socket (X2), the DC jack (X1), the reset switch, the female headers (one 10-way, two 8-way, one 6-way) and the two 2x3 ICSP headers. Seat the ATmega328P in its place (ZU4).
このステップの材料:
 USB-Bソケット1 X2
 DCジャック1 X1
 押しボタン1 RESET
 ピンヘッダー6 10x1, 2x 8x1, 6x1 female; 2x 3x2 ICSP
 ATmega328Pマイクロコントローラ1 ZU4はんだ線1 as needed
必要な工具:
はんだごて5
5
Flash and check
Flash and check
Check with a meter that 5 V and GND are not shorted. Through the ICSP headers, load the USB-to-serial firmware into the ATmega16U2 and the bootloader into the ATmega328P. Plug in USB: the green ON LED lights, and the blink test in the next step flashes the L LED. Ours: an AVR ISP programmer and a multimeter.
このステップの材料:
 Arduino Unoファームウェア1 download
必要な工具:
 マルチメーター
 AVR ISPプログラマ
 USB-B ケーブル
6
6
The blink test
The blink test
blink_test.ino: the same check as Arduino's Blink example. Upload it over USB from the Arduino IDE with the board set to Arduino Uno; the L LED on pin 13 turns on for one second and off for one second, over and over. If it does, both processors, the USB link and the bootloader work.
blink_test.inocpp
必要な工具:
USB-B ケーブル材料
24- 1 UNO-TH Rev3e layoutプレースホルダー
- 4 RN1-RN4プレースホルダー
- 2 1Mプレースホルダー
- 11 7x100n, 2x1u, 2x22pプレースホルダー
- 2 Z1, Z2プレースホルダー
- 1 L1プレースホルダー
- 1 L2プレースホルダー
- 1 D1 M7プレースホルダー
- 4 1 green, 3 yellowプレースホルダー
- 1 as neededプレースホルダー
- プレースホルダー
- 1 Y2プレースホルダー
- 1 Y1プレースホルダー
- 2 U1 5 V, U2 3.3 Vプレースホルダー
- 1 U5 LMV358プレースホルダー
- 1 T1プレースホルダー
- 1 F1プレースホルダー
- 2 PC1, PC2プレースホルダー
- 1 X2プレースホルダー
- プレースホルダー
- プレースホルダー
- プレースホルダー
- 1 ZU4プレースホルダー
- 1 downloadプレースホルダー
この設計図で作るもの
関連ブループリント
これらのブループリントは知識を共有しています — 技術、材料、原理

CC0 パブリックドメイン
このブループリントはCC0で公開されています。許可を求めずに、自由にコピー、修正、配布、あらゆる目的で使用できます。
メイカーを応援するには、ブループリント経由で製品を購入してください。メイカーには メイカーコミッション がベンダーにより設定されています。または、このブループリントの新しいイテレーションを作成し、自分のブループリントにコネクションとして含めて収益を共有できます。