コラボレーション
アート
美容とウェルネス
工芸
文化と歴史
エンターテインメント
環境
食品と飲料
リバースエンジニアリング
科学
スポーツ
テクノロジー
ウェアラブル
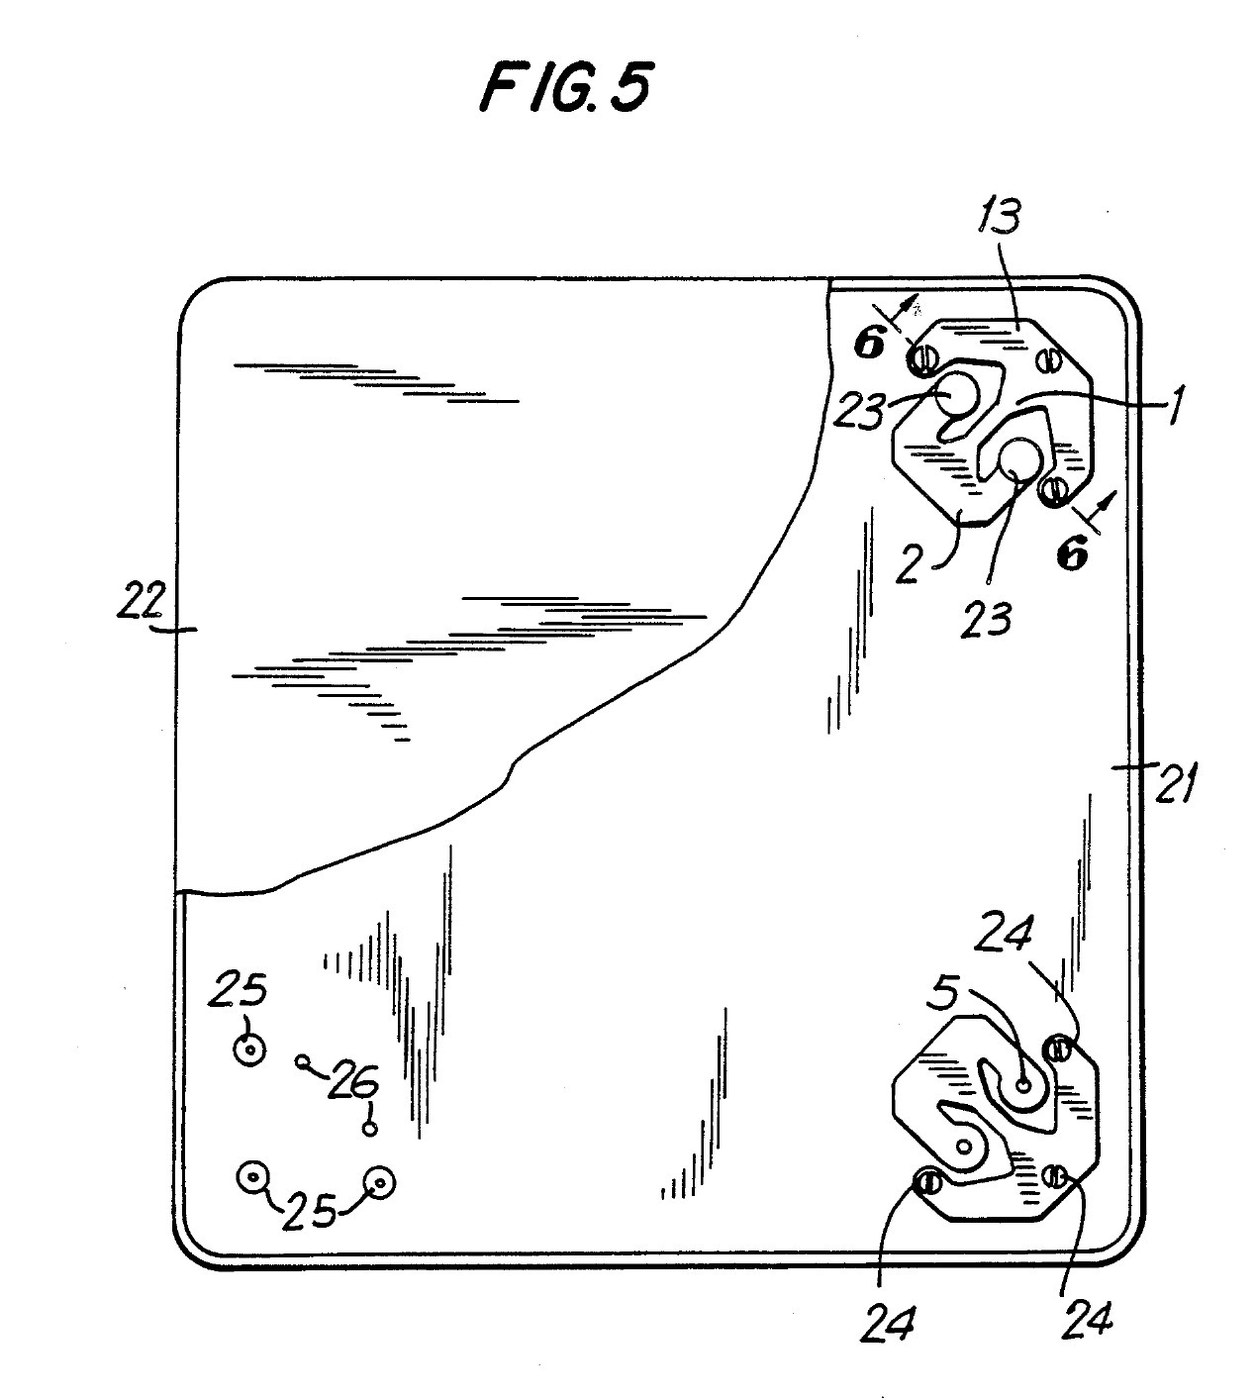


Bathroom Scale: Four Flat Load Cells Between Two Plates (Angel, 1991)
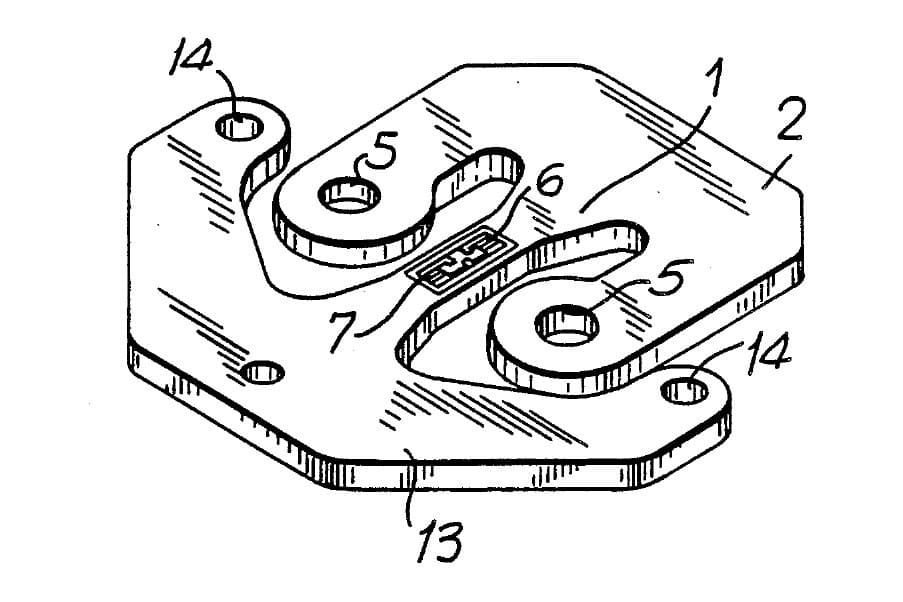
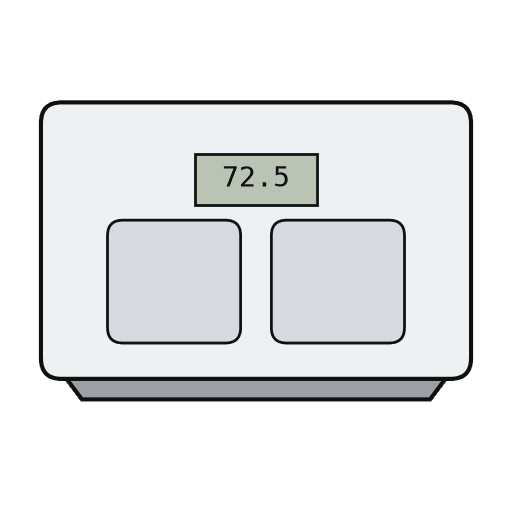
A floor scale only as thick as two plates. Four flat load cells sit in the corners between a base and a top plate; their strain gauges are wired into one bridge, so the signal is the sum of the four loads wherever you stand.
Result: a low digital bathroom scale reading in pounds or kilograms. The patent gives under 0.05 % non-linearity, hysteresis and non-repeatability, and under 0.1 % error from off-centre loads; its feet let it stand on thick carpet.
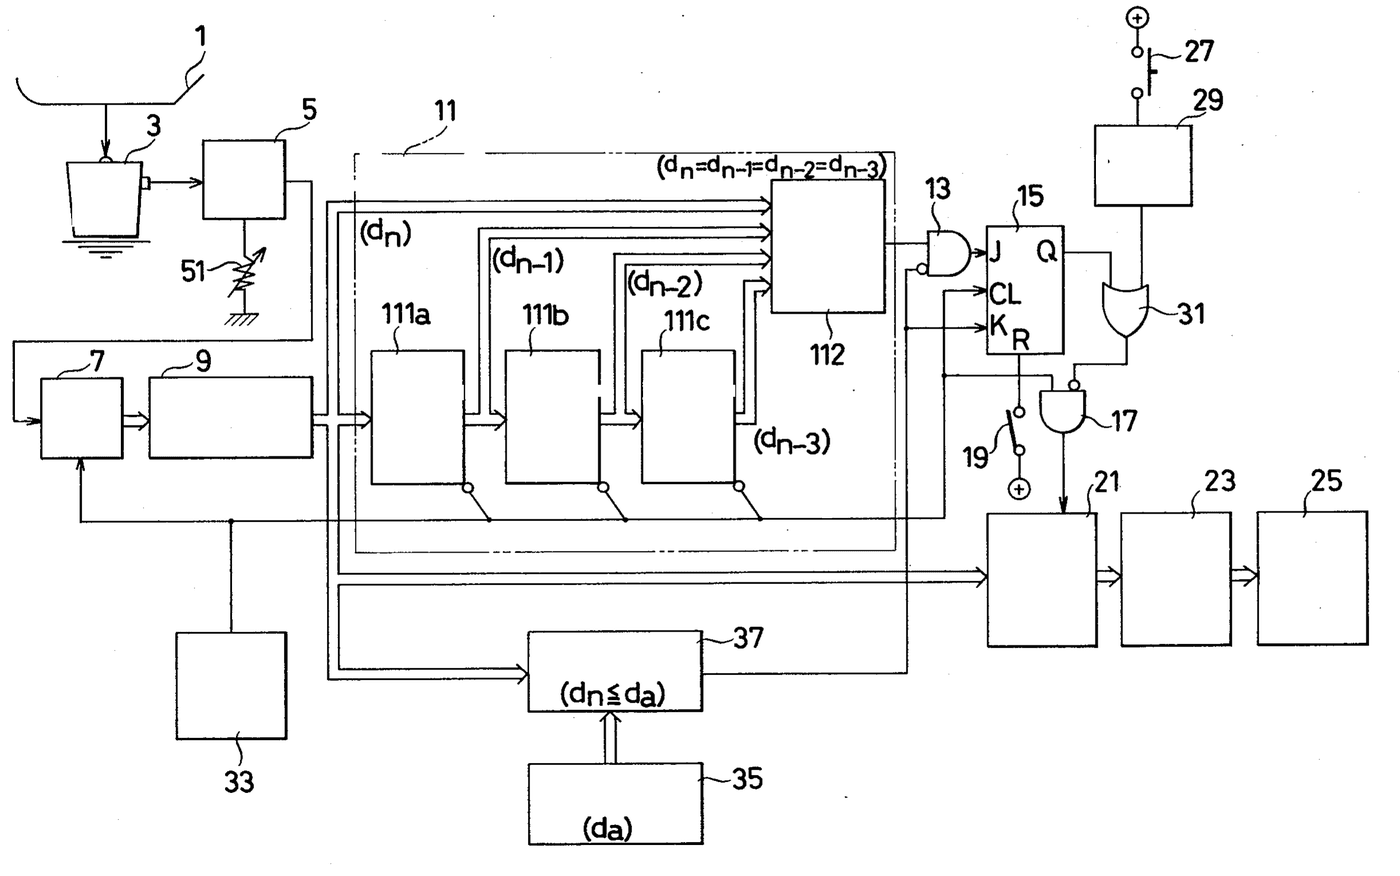
Source: S. Angel, US Patent 4,993,506 (1991). Unknown: the plate material and size, the maximum load, and the circuit. Ours: ebonite for the hard rubber, epoxy, the amplifier and display parts. Picture: patent drawing (Fig. 5).
上級者
2 days
手順
1
1
Mount the four load cells
Mount the four load cells
Put one load cell in each corner of the rigid base plate. Screw each one down to small flat raised pads on the plate. Place the pads away from the edge of the cell's beam, so that fixing the cell does not change its sensitivity. Under each cell, tap two holes through the base for the overload screws. Not given: the plate material and size.
このステップの材料:
 ロードセル4 個
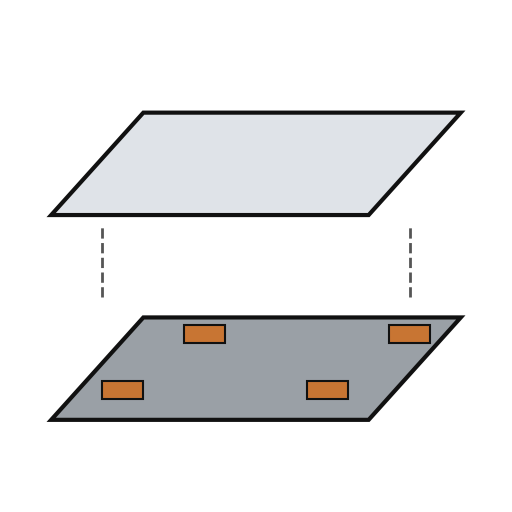 はかりの台板と天板1 base and top plate
 小ねじ8 cell screws
必要な工具:
 ねじ切りタップダイスセット
 ドライバーセット
 不明な寸法
2
2
Wire one bridge and the readout
Wire one bridge and the readout
Each cell's two gauges are half a Wheatstone bridge. Join the four halves into one full bridge, one half at each corner, so the bridge gives a signal in step with the sum of the four loads. The signal is amplified, turned into numbers by an analog-to-digital converter, worked into pounds or kilograms and shown on a display. Put the electronics and batteries in the space between the plates. Not given: the circuit. Ours: an op-amp and a segment LCD.
このステップの材料:
 オペアンプ IC1 amplifier
 アナログ-デジタル変換器1 個
 セグメント液晶パネル1 個
 電池1 as the circuit needs
 接続用電線1 as needed
 はんだ線1 a little
必要な工具:
 はんだごて
3
3
Fit the top plate on hard rubber pads
Fit the top plate on hard rubber pads
Glue four flat round pads of a rigid but slightly yielding material, such as hard rubber, under the top plate. Give each pad small round studs that snap into the two load holes of its cell, so the weight goes in at the centres of those holes. The pads soften impacts when something is dropped on the scale and take up sideways forces as the top plate bends. The snaps let the top plate be pulled off for repairs. Ours: ebonite and epoxy.
このステップの材料:
 エボナイト棒1 four pads
 二液性エポキシ1 a little
必要な工具:
 金切りのこ(ハクソー)
4
4
Fit the feet
Fit the feet
Under the base, below each cell, fix a shallow foot of flexible material such as hard rubber, rounded underneath. Put its lowest point exactly below the centre of the cell's beam: the floor then pushes up at the beam's centre without bending it, and the scale works on thick carpet or uneven floors. Ours: ebonite.
このステップの材料:
エボナイト棒1 four feet二液性エポキシ1 a little必要な工具:
金切りのこ(ハクソー)5
5
Set the overload stops
Set the overload stops
Load the scale to its maximum capacity. Turn the short screws in from below until they just touch the arms of each cell's loading element, then lock them with adhesive. Any heavier load now rests on the screws instead of bending the cells further. Not given: the maximum capacity. Ours: calibration weights and epoxy.
このステップの材料:
小ねじ8 overload screws二液性エポキシ1 a little必要な工具:
 校正用分銅セットドライバーセット
材料
11- 4 個プレースホルダー
- 1 base and top plateプレースホルダー
- 8 overload screwsプレースホルダー
- 1 amplifierプレースホルダー
- 1 個プレースホルダー
- 1 個プレースホルダー
- 1 as the circuit needsプレースホルダー
- 1 as neededプレースホルダー
- 1 a littleプレースホルダー
- 1 four feetプレースホルダー
- 3 a littleプレースホルダー
接続ブループリントの材料
この設計図で作るもの

CC0 パブリックドメイン
このブループリントはCC0で公開されています。許可を求めずに、自由にコピー、修正、配布、あらゆる目的で使用できます。
メイカーを応援するには、ブループリント経由で製品を購入してください。メイカーには メイカーコミッション がベンダーにより設定されています。または、このブループリントの新しいイテレーションを作成し、自分のブループリントにコネクションとして含めて収益を共有できます。