コラボレーション
アート
美容とウェルネス
工芸
文化と歴史
エンターテインメント
環境
食品と飲料
リバースエンジニアリング
科学
スポーツ
テクノロジー
ウェアラブル
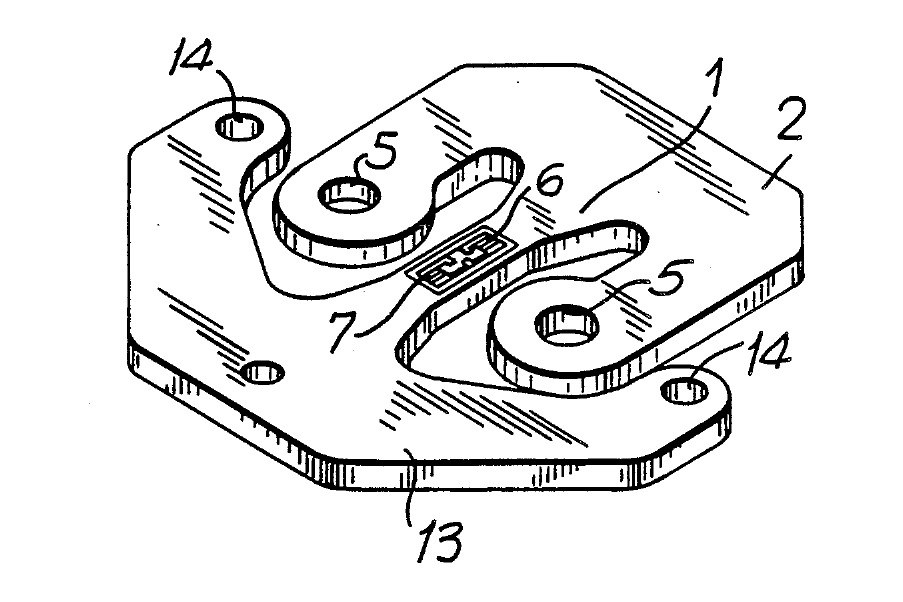


Load Cell: Flat One-Piece Stamping with a U-Shaped Loading Element (Angel, 1991)
A load cell cut in one piece from flat metal, cheap enough to put four in every scale and thin enough to hide in a low floor scale. A beam in the middle carries two strain gauges; a U-shaped arm round it takes the load; a second U-shaped arm holds it down.
Result: a flat load cell whose beam bends into an S under load, stretching one gauge and squeezing the other. It stays accurate when the load is off-centre.
Source: S. Angel, US Patent 4,993,506 (1991). Unknown: the metal, its thickness and all sizes. Ours: bonded wire strain gauges and epoxy. Picture: patent drawing (Fig. 3).
上級者
1 day
手順
1
1
Stamp the cell from thin metal
Stamp the cell from thin metal
Stamp the cell in one piece from thin flat metal. A flexure beam runs down the middle, narrowed at its centre. A U-shaped loading element joins one end of the beam; its two arms reach past the beam's mid-point, each with a hole, and the two holes face each other across the beam's centre. A U-shaped mounting element joins the other end, outside the loading element, with screw holes on a line through the beam's centre. Set the beam's ends by a change in width, not thickness. Not given: the metal, its thickness and the sizes.
このステップの材料:
 不明な金属1 thin flat stock
必要な工具:
 金属プレス機
 不明な寸法
2
2
Bond the two strain gauges
Bond the two strain gauges
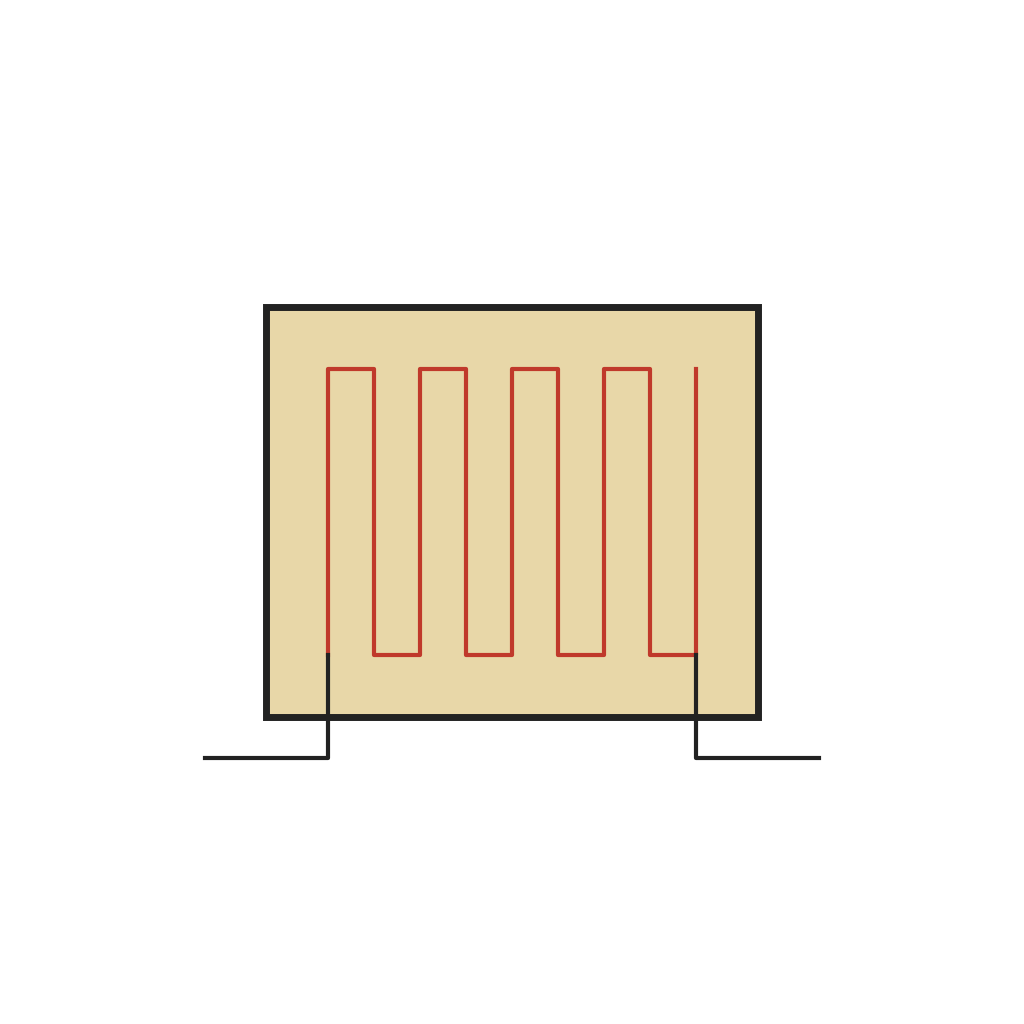
Bond two strain gauges side by side on one face of the narrow middle of the beam. Put their centres at equal distances either side of the beam's centre, and at equal distances from its two edges. Under load the beam bends into an S: one gauge is stretched and rises in resistance, the other is squeezed and falls by the same amount. Wire them as one half of a Wheatstone bridge. The patent allows strain gauges, thick-film resistors or semiconductor sensors. Ours: bonded wire gauges set in epoxy.
このステップの材料:
 接着型ワイヤひずみゲージ2 個
 二液性エポキシ1 a little
 接続用電線1 short leads
 はんだ線1 a little
必要な工具:
 はんだごて
3
3
Mount and check
Mount and check
Screw the mounting element down onto small flat raised pads on a rigid plate, so the rest of the cell hangs free to bend. Press on the two loading holes: the half-bridge gives a signal in step with the load. Because the gauges sit symmetrically, the reading holds even when the two arms carry unequal shares, as long as their total is the same. Ours: check the gauges with a meter.
必要な工具:
 マルチメーター
材料
5- 1 thin flat stockプレースホルダー
- 2 個プレースホルダー
- 1 a littleプレースホルダー
- 1 short leadsプレースホルダー
- 1 a littleプレースホルダー
接続ブループリントの材料
この設計図で作るもの
CC0 パブリックドメイン
このブループリントはCC0で公開されています。許可を求めずに、自由にコピー、修正、配布、あらゆる目的で使用できます。
メイカーを応援するには、ブループリント経由で製品を購入してください。メイカーには メイカーコミッション がベンダーにより設定されています。または、このブループリントの新しいイテレーションを作成し、自分のブループリントにコネクションとして含めて収益を共有できます。