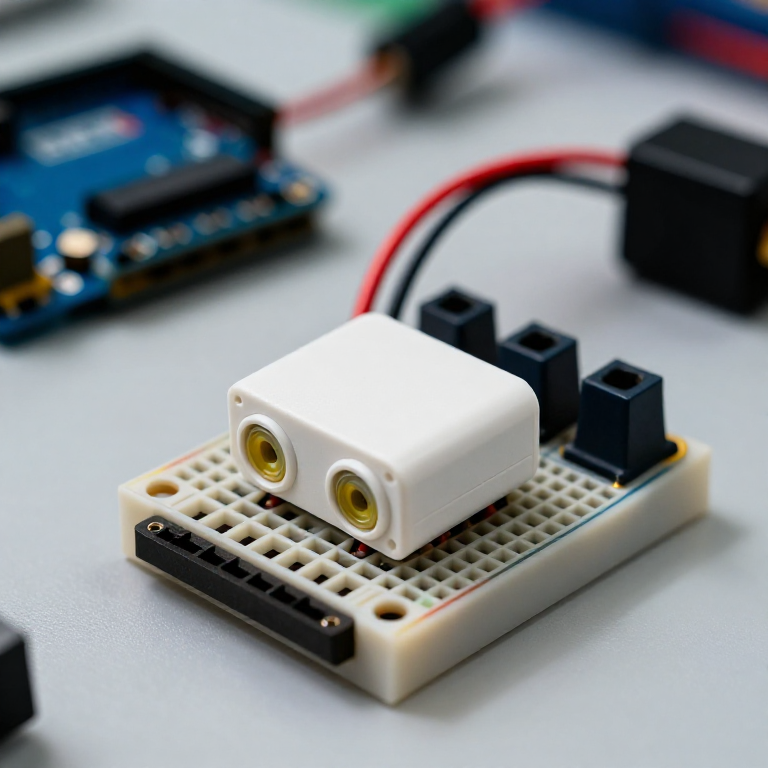


Building an Ultrasonic Parking Sensor
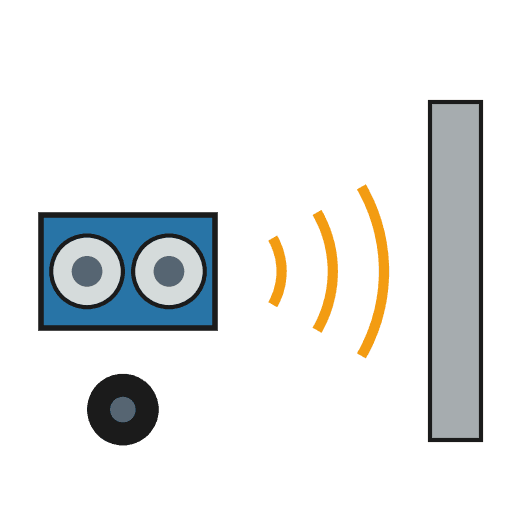
Measure distance with sound. An HC-SR04 ultrasonic sensor sends out a pulse of sound and times its echo, and the Arduino turns that into a distance in centimetres. Wire it to a buzzer that beeps faster as something gets closer — a car parking sensor, a reversing aid, or a doorway proximity alarm.
手順
Wire the sensor and buzzer
Wire the sensor and buzzer
Push the HC-SR04 and the active buzzer into the breadboard. Wire the sensor: VCC to Arduino 5V, GND to GND, Trig to pin 9, Echo to pin 10. Wire the buzzer: + to pin 8, - to GND.
このステップの材料:
 Arduino Uno R31 個
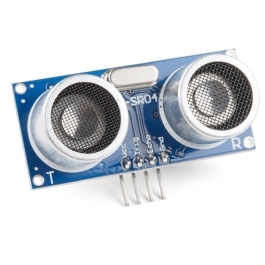 HC-SR04 Ultrasonic Distance Sensor (5-Pack)1 個
 能動ブザーモジュール1 個
 ブレッドボード1 個
 ジャンパワイヤ1 パック
Connect and open the IDE
Connect and open the IDE
Plug the Arduino into your computer with the USB cable, open the Arduino IDE, and select Arduino Uno and its serial port.
必要な工具:
 Arduino IDE を入れたパソコン
 USB-B ケーブル
Upload the parking-sensor sketch
Upload the parking-sensor sketch
Paste this sketch and upload. It measures the distance and beeps faster the closer an object is. Open the Serial Monitor to see the distance in centimetres.
Test and set the range
Test and set the range
Move your hand toward the sensor — the buzzer beeps faster as you get closer and nearly solid when very near. Change the 50 in the sketch to set how far away it starts reacting, and the * 6 to change how quickly the beeping speeds up.
Mount it
Mount it
Fix the sensor facing outward on a bracket or in a small box and power the Arduino from a USB power bank or a 9 V adapter. Aim it at your parking spot, garage wall or doorway.
材料
5- プレースホルダー
- Ultrasonic Sensor - HC-SR0410%コミッション1 個¥7
- 1 個プレースホルダー
- プレースホルダー
- プレースホルダー
必要な工具
3- プレースホルダー
- 1 vendor sell this, none ship to you yetプレースホルダー
- 1 vendor sell this, none ship to you yetプレースホルダー
この設計図で作るもの
関連ブループリント
これらのブループリントは知識を共有しています — 技術、材料、原理


CC0 パブリックドメイン
このブループリントはCC0で公開されています。許可を求めずに、自由にコピー、修正、配布、あらゆる目的で使用できます。
メイカーを応援するには、ブループリント経由で製品を購入してください。メイカーには メイカーコミッション がベンダーにより設定されています。または、このブループリントの新しいイテレーションを作成し、自分のブループリントにコネクションとして含めて収益を共有できます。