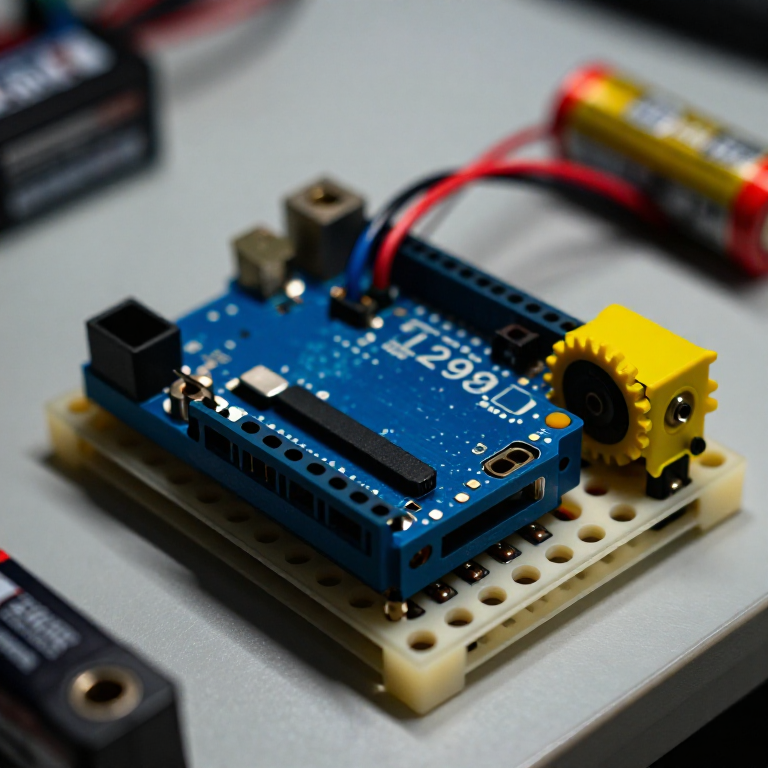


Controlling a DC Motor with an L298N Driver
An Arduino pin can't power a motor directly — it can't supply enough current, and it can't reverse the flow. An L298N H-bridge solves both: the Arduino sends low-power control signals, and the driver switches the motor's own battery to run it forwards, backwards and at any speed. This is the core building block of every wheeled robot.
手順
Wire the driver, motor and battery
Wire the driver, motor and battery
Push the L298N's control header into the breadboard. From the Arduino, jumper pin 8 to IN1, pin 9 to IN2, and pin 10 to ENA. Connect the DC motor's two wires to the OUT1/OUT2 screw terminals, and a 4×AA battery pack to the +12V and GND motor terminals. IMPORTANT: join all the grounds together — Arduino GND, driver GND and battery GND — or the motor won't run.
このステップの材料:
 Arduino Uno R31 個
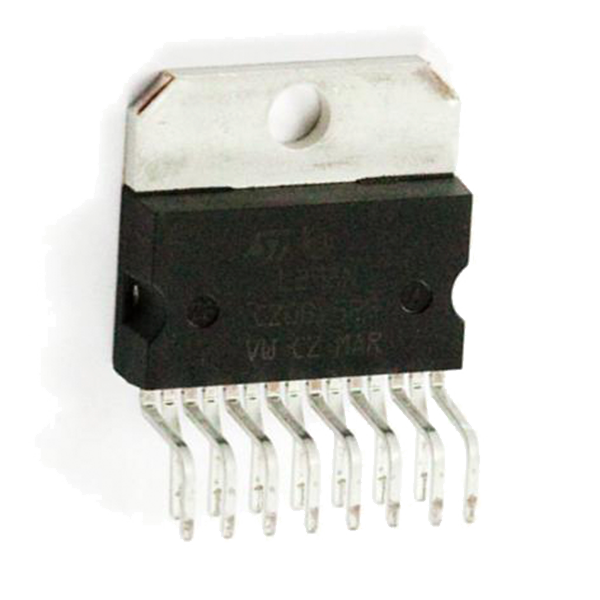 Full-Bridge Motor Driver Dual - L298N1 個
 ギヤードモーター1 個
 電池ホルダー1 個
 ブレッドボード1 個
 ジャンパワイヤ1 パック
Connect and open the IDE
Connect and open the IDE
Plug the Arduino into your computer with the USB cable, open the Arduino IDE, and select Arduino Uno and its serial port. Leave the motor battery switched off until the code is uploaded.
必要な工具:
 Arduino IDE を入れたパソコン
 USB-B ケーブル
Upload the motor sketch
Upload the motor sketch
Paste this sketch and upload, then switch on the battery. The motor runs forward, stops, reverses, and stops — on a loop.
Test and control it
Test and control it
Watch the motor go forward, stop, reverse. IN1/IN2 set the direction (swap which is HIGH to flip it); the number in analogWrite(ENA, ...) sets the speed from 0 (off) to 255 (full). If the motor doesn't spin, check that all three grounds are joined and the battery is on.
Make it a robot
Make it a robot
The L298N drives TWO motors. Wire a second motor to OUT3/OUT4 and control it with IN3, IN4 and ENB on three more Arduino pins. Two motors on a chassis with wheels gives you a robot base you can drive — turn by running the wheels at different speeds or directions.
材料
6- プレースホルダー
- 1 個¥6
- プレースホルダー
- プレースホルダー
- プレースホルダー
- プレースホルダー
必要な工具
2- プレースホルダー
- 1 vendor sell this, none ship to you yetプレースホルダー
関連ブループリント
これらのブループリントは知識を共有しています — 技術、材料、原理


CC0 パブリックドメイン
このブループリントはCC0で公開されています。許可を求めずに、自由にコピー、修正、配布、あらゆる目的で使用できます。
メイカーを応援するには、ブループリント経由で製品を購入してください。メイカーには メイカーコミッション がベンダーにより設定されています。または、このブループリントの新しいイテレーションを作成し、自分のブループリントにコネクションとして含めて収益を共有できます。