コラボレーション
アート
美容とウェルネス
工芸
文化と歴史
エンターテインメント
環境
食品と飲料
リバースエンジニアリング
科学
スポーツ
テクノロジー
ウェアラブル
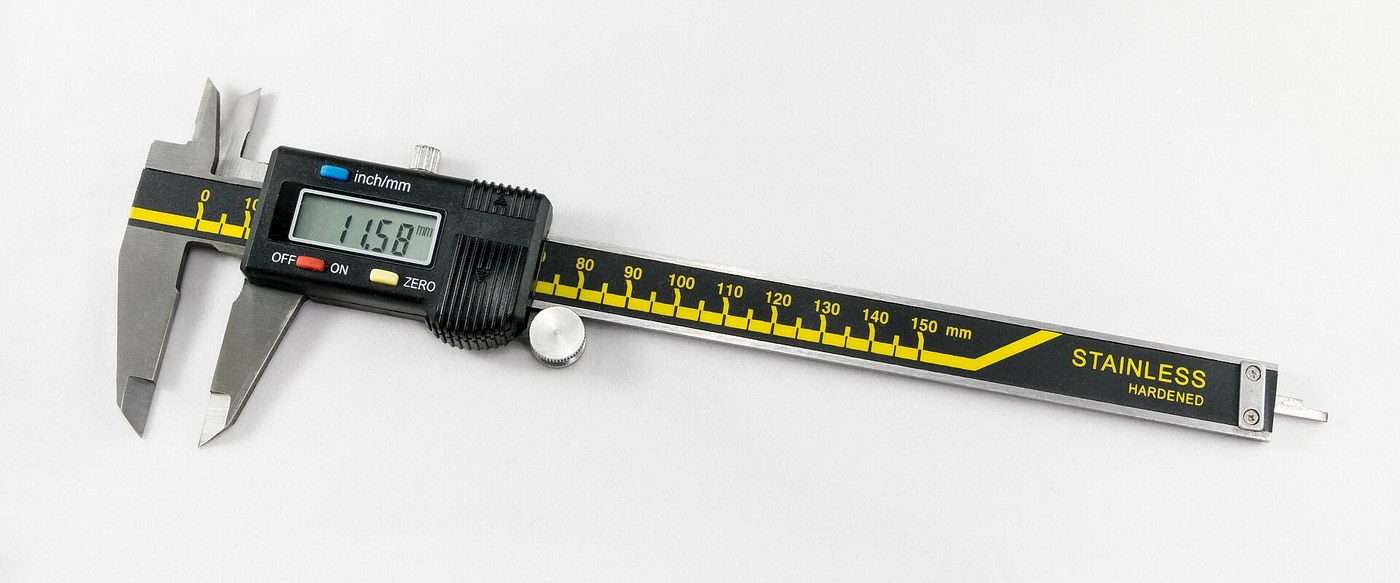


Digital Caliper: Capacitive Scale and Slider with Two-Chip Electronics (Baxter and Buehler, Starrett, 1986)
A six-inch caliper that reads out on a display. Under the slide, a strip of etched copper bars runs along the beam. Electrodes on the slider pass a signal through the bars by capacitance, and the slider's electronics count the bars crossed and work out the position in between.
Result: a digital caliper reading in inches or millimetres, repeatable to a ten-thousandth of an inch, with floating zero, peak hold and high/low limits. It runs on two 1.5 V cells at 10-50 microamps.
Source: L. K. Baxter and R. J. Buehler (L. S. Starrett Co.), US Patent 4,586,260 (1986). Unknown: the metal of the beam, slide and rod, their dimensions, the processor's program, and how the chips and display are made. Ours: the etchant, photoresist and glue. Picture: Wikimedia Commons.
上級者
2 days
手順
1
1
Etch the scale
Etch the scale
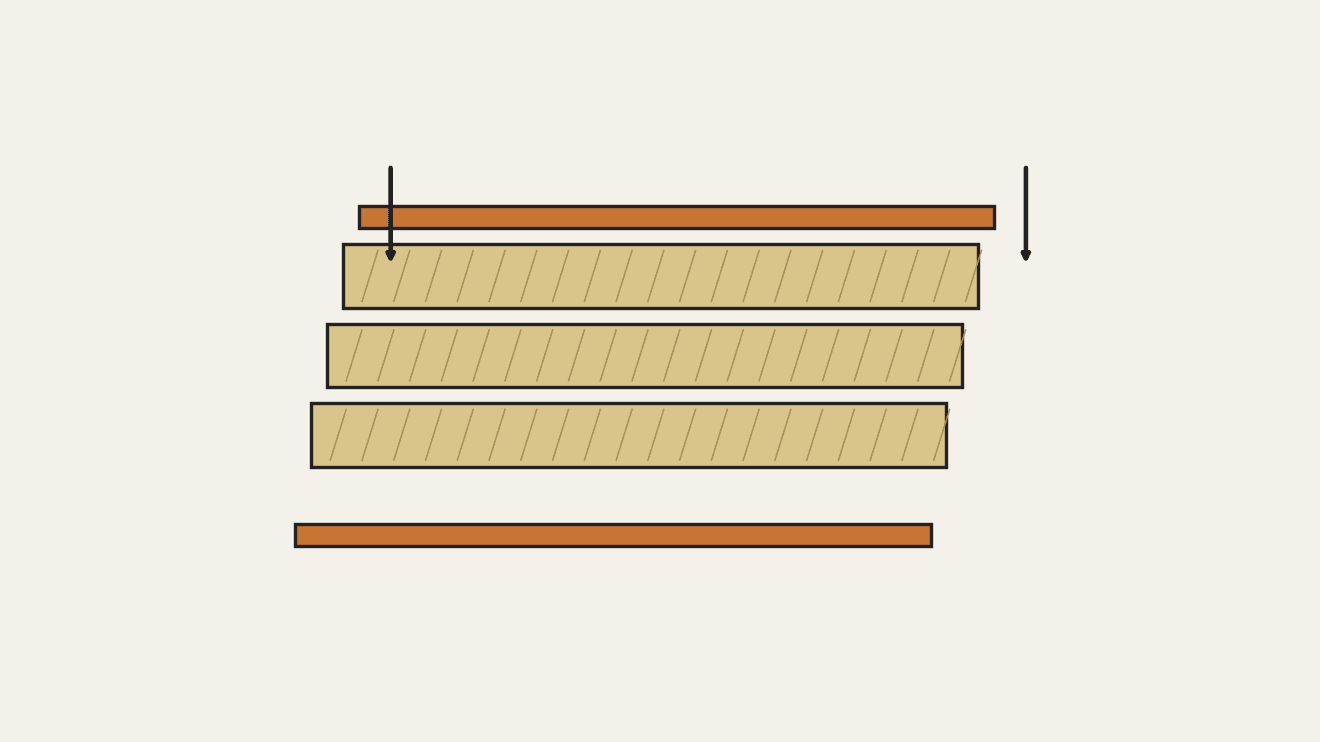
Etch the scale pattern onto a strip of copper-clad epoxy fibreglass with photoresist and etchant. Each copper bar is 0.40 inch long, with a wider centre 0.12 inch long and two ends 0.14 inch long. Space the bars on 0.05 inch centres: the centres sit 0.004 inch apart, the ends 0.025 inch apart. Run the pattern the full length of the scale. Ours: dry film resist and ferric chloride.
このステップの材料:
 生基板(銅張り積層板)1 strip, length of the beam
必要な工具:
 ドライフィルムレジスト
 塩化鉄(III)水溶液
 耐薬品手袋
2
2
Fix the scale into the beam
Fix the scale into the beam
The beam is a metal bar with the fixed outside and inside jaws at one end, a wide shallow channel in its face and a second channel along its back. Fix the scale permanently into the face channel, copper up. The patent allows etching before or after this step. Not given: the metal, the dimensions and how the scale is fixed. Ours: epoxy.
このステップの材料:
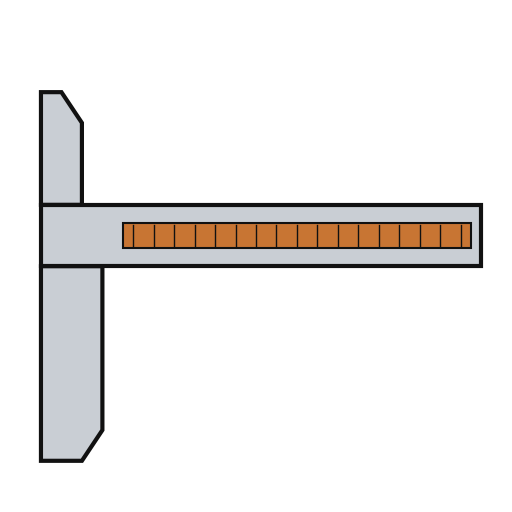 ノギスの本尺1 with integral jaws
 二液性エポキシ1 a little
必要な工具:
 不明な寸法
3
3
Fit the parts to the circuit
Fit the parts to the circuit
The circuit is one folded piece: a double-sided slider board joined by a flexible hinge to a circuit board. Its bottom face has two pickup electrodes, 0.750 x 0.110 inch and 0.0625 inch apart. On each side of them is an interdigitated transmitter array: fingers 0.115 inch long on 0.025 inch spacing, opening to 0.0375 inch at the centre. On the circuit board, solder or wire-bond the two chips: an NEC uPD7503 3 V processor (768 bits RAM, 2 kB ROM) and a CMOS gate array. Then fit the LCD, the 100 kHz crystal, the integrating capacitor and the MODE and SET buttons. Not given: the processor's program. Ours: a capacitor from a kit.
このステップの材料:
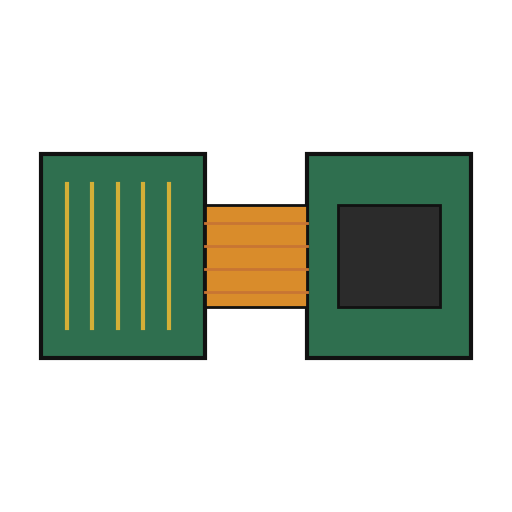 リジッドフレキシブル基板1 slider board + circuit board
 集積回路(IC)2 uPD7503 CPU, CMOS gate array
 セグメント液晶パネル1 5 digits
 水晶振動子1 100 kHz
 コンデンサキット1 one integrating capacitor
 押しボタン2 MODE, SET
 はんだ線1 a little
必要な工具:
 はんだごて
4
4
Build the slide
Build the slide
The slide frame wraps the back and edges of the beam and carries the movable jaws. Fix it to the depth rod, which runs in the back channel of the beam; the rod's free end is the depth gauge. Put the moulded plastic housing between the frame ends. Fasten two metal wear strips under the slider board, one on each side of the scale. They ride on the beam and connect the board's copper to it. Not given: the metal and sizes.
このステップの材料:
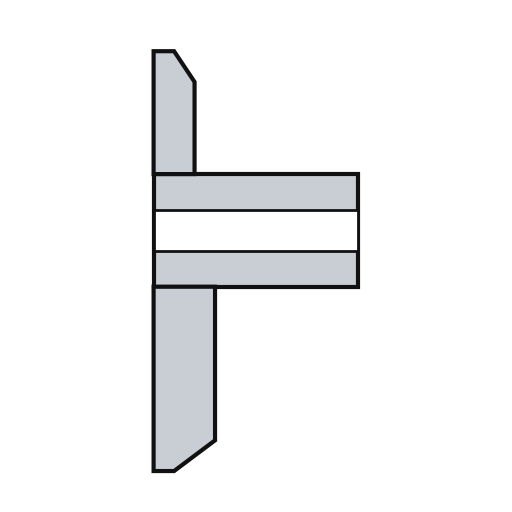 スライダーフレーム1 with jaws
 不明な金属1 depth rod and two wear strips
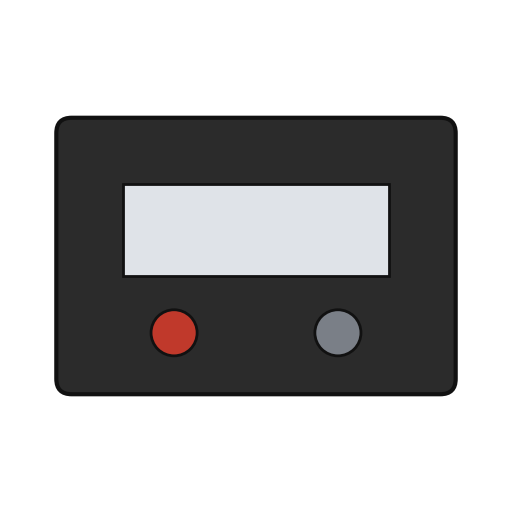 スライダーケース1 個
必要な工具:
不明な寸法 精密ドライバーセット
5
5
Assemble and check
Assemble and check
Fold the circuit into the housing recess, slider board facing the scale, and screw it to the frame. The electrodes must lie parallel to the scale bars at every point of travel. Put the two 1.5 V cells (the patent says 'zinc oxide') in the battery pockets of the circuit. The display shows five digits, a ten-thousandths bar graph, a minus sign and 'mm', plus PEAK, LOW, HIGH and LIMIT. Ours: check the reading against a vernier caliper.
このステップの材料:
 小ねじ2 個
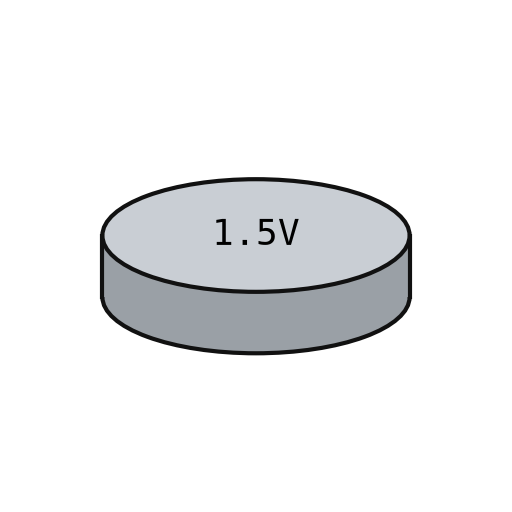 1.5ボルトのボタン電池2 個
必要な工具:
精密ドライバーセット ノギス
材料
15- 1 strip, length of the beamプレースホルダー
- 1 with integral jawsプレースホルダー
- 1 a littleプレースホルダー
- 1 slider board + circuit boardプレースホルダー
- 2 uPD7503 CPU, CMOS gate arrayプレースホルダー
- 1 5 digitsプレースホルダー
- 1 100 kHzプレースホルダー
- 1 one integrating capacitorプレースホルダー
- プレースホルダー
- 1 a littleプレースホルダー
- 1 with jawsプレースホルダー
- 1 depth rod and two wear stripsプレースホルダー
- 1 個プレースホルダー
- 2 個プレースホルダー
- 2 個プレースホルダー
接続ブループリントの材料
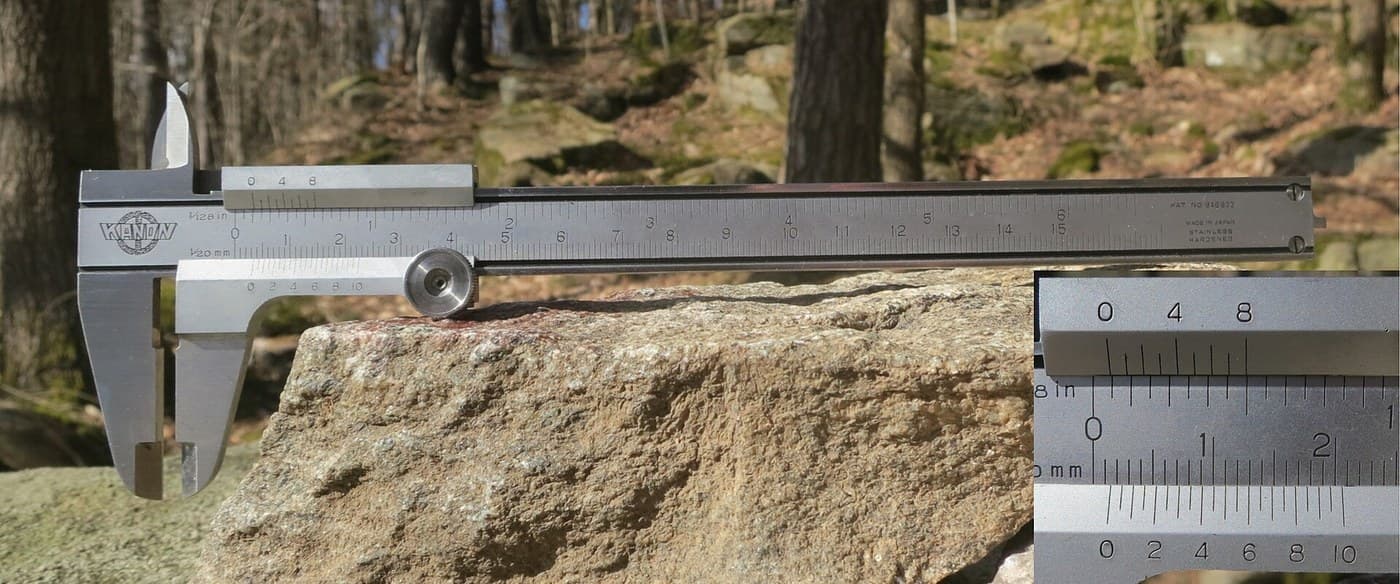

この設計図で作るもの

関連ブループリント
これらのブループリントは知識を共有しています — 技術、材料、原理

CC0 パブリックドメイン
このブループリントはCC0で公開されています。許可を求めずに、自由にコピー、修正、配布、あらゆる目的で使用できます。
メイカーを応援するには、ブループリント経由で製品を購入してください。メイカーには メイカーコミッション がベンダーにより設定されています。または、このブループリントの新しいイテレーションを作成し、自分のブループリントにコネクションとして含めて収益を共有できます。