コラボレーション
アート
美容とウェルネス
工芸
文化と歴史
エンターテインメント
環境
食品と飲料
リバースエンジニアリング
科学
スポーツ
テクノロジー
ウェアラブル
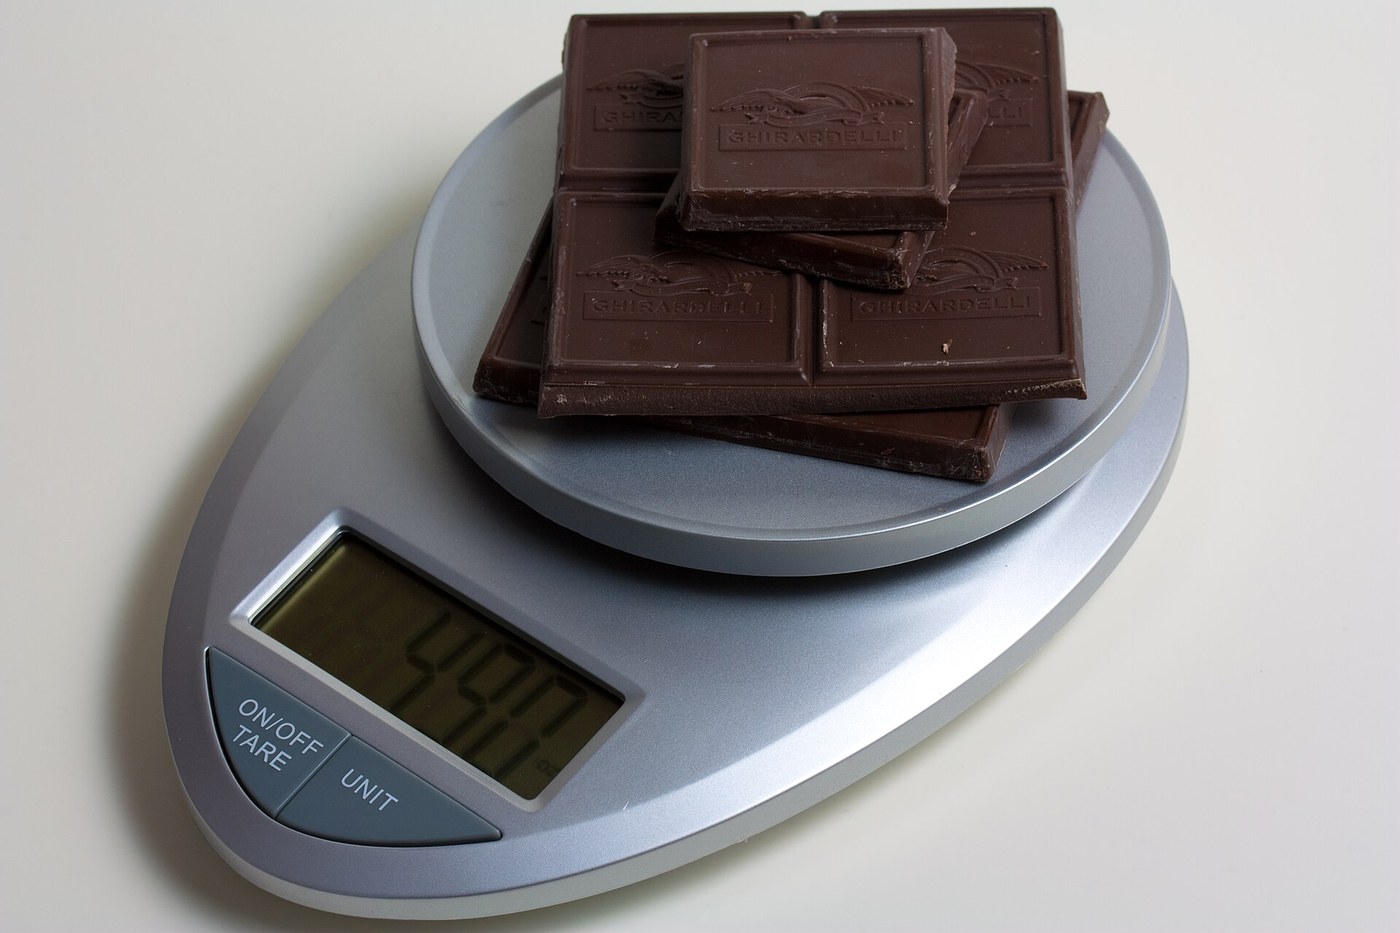


Digital Kitchen Scale: a Cantilever Load Cell in a Sealed Dual Housing (Edlund, 2009)
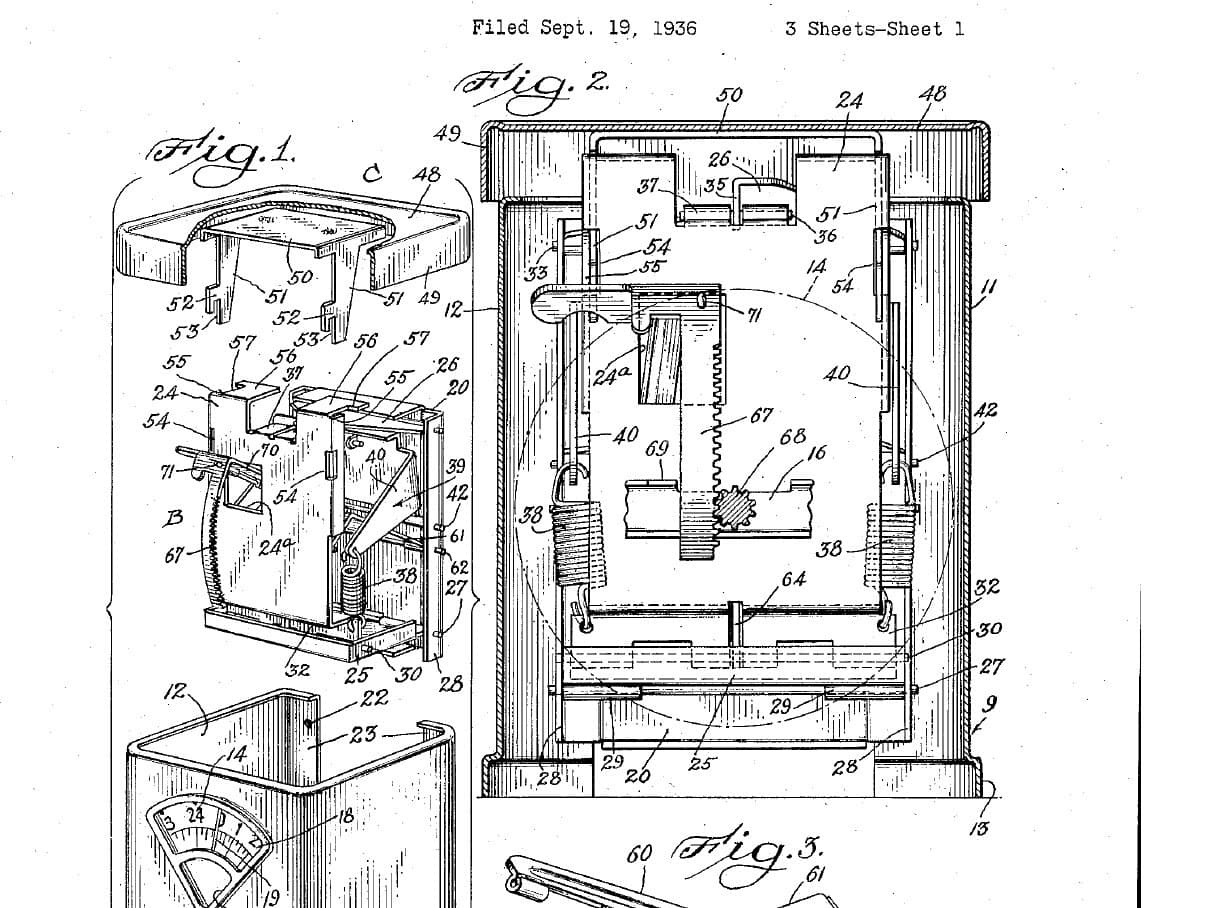
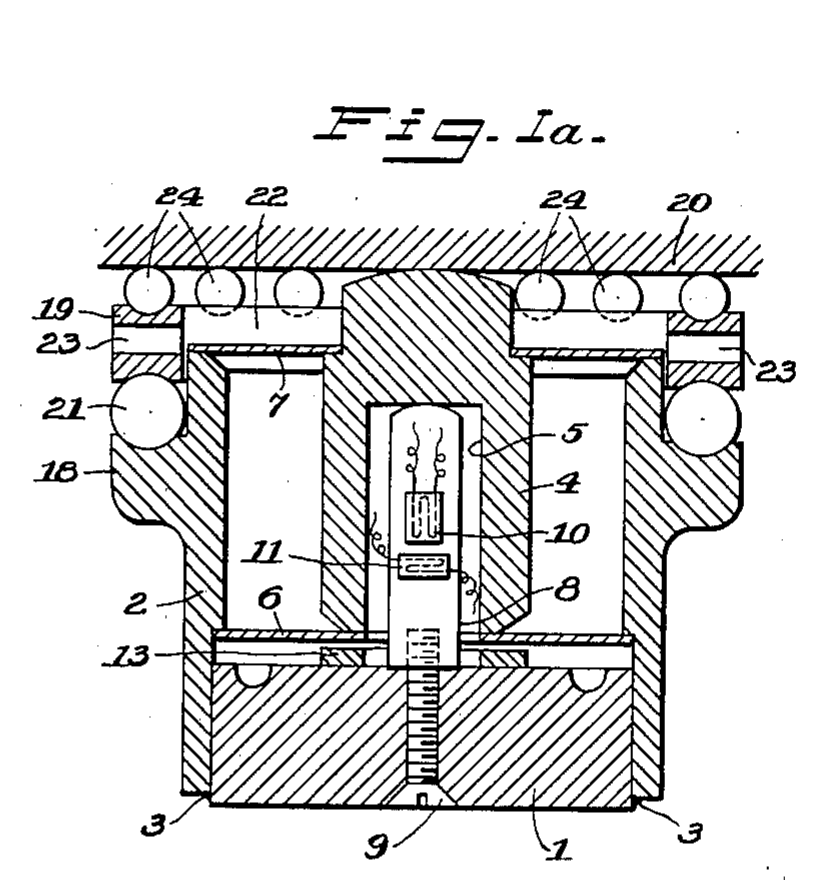
A digital scale built to survive a kitchen: spills, washing and being dropped. The load cell is a short cantilever with a strain sensor on top, and the electronics sit in a sealed compartment. Both are in a plastic chassis held loosely inside a second, outer housing of stainless steel and plastic, with crushable spacers between the two.
Result: a digital kitchen scale with a removable pan, sealed display and touchpad, battery power and an overload stop under the load cell.
Source: R. S. Whitney (Edlund Company), US Patent 7,554,043 (2009). Unknown: sizes, capacity, resolution and the electronics; the patent says suitable force transducers are readily available. Ours: the display and button types. Picture: Wikimedia Commons.
上級者
2 days
手順
1
1
Mount the cantilever load cell
Mount the cantilever load cell
In the load-cell cavity of the plastic chassis, screw a base plate to the cavity floor. Screw the cantilever support to the base plate; a support plate on the cantilever carries the posts for the pan. A strain transducer on top of the cantilever senses the top stretching as it bends under a load. A window in the base plate leaves the cavity floor just below the free end, so an overload bottoms out there instead of breaking the transducer.
このステップの材料:
 ロードセル1 cantilever type
 プラスチック1 chassis
 小ねじ1 セット
必要な工具:
 ドライバーセット
 不明な寸法
2
2
Seal in the electronics
Seal in the electronics
On the other side of the chassis, fit the display electronics behind one opening and the touchpad electronics behind another, wired to the strain transducer through sealing bushings. Fit a battery holder. Close the compartment with its cover on gaskets, so the electronics stay dry. Not given: the circuit, the display and the battery. Ours: a segment LCD and push buttons.
このステップの材料:
 集積回路(IC)1 weighing and display electronics
 セグメント液晶パネル1 個
 押しボタン1 touchpad keys
 電池1 個
 ガスケット2 個
 接続用電線1 short
 はんだ線1 a little
必要な工具:
 はんだごてドライバーセット
3
3
Close it in the outer housing
Close it in the outer housing
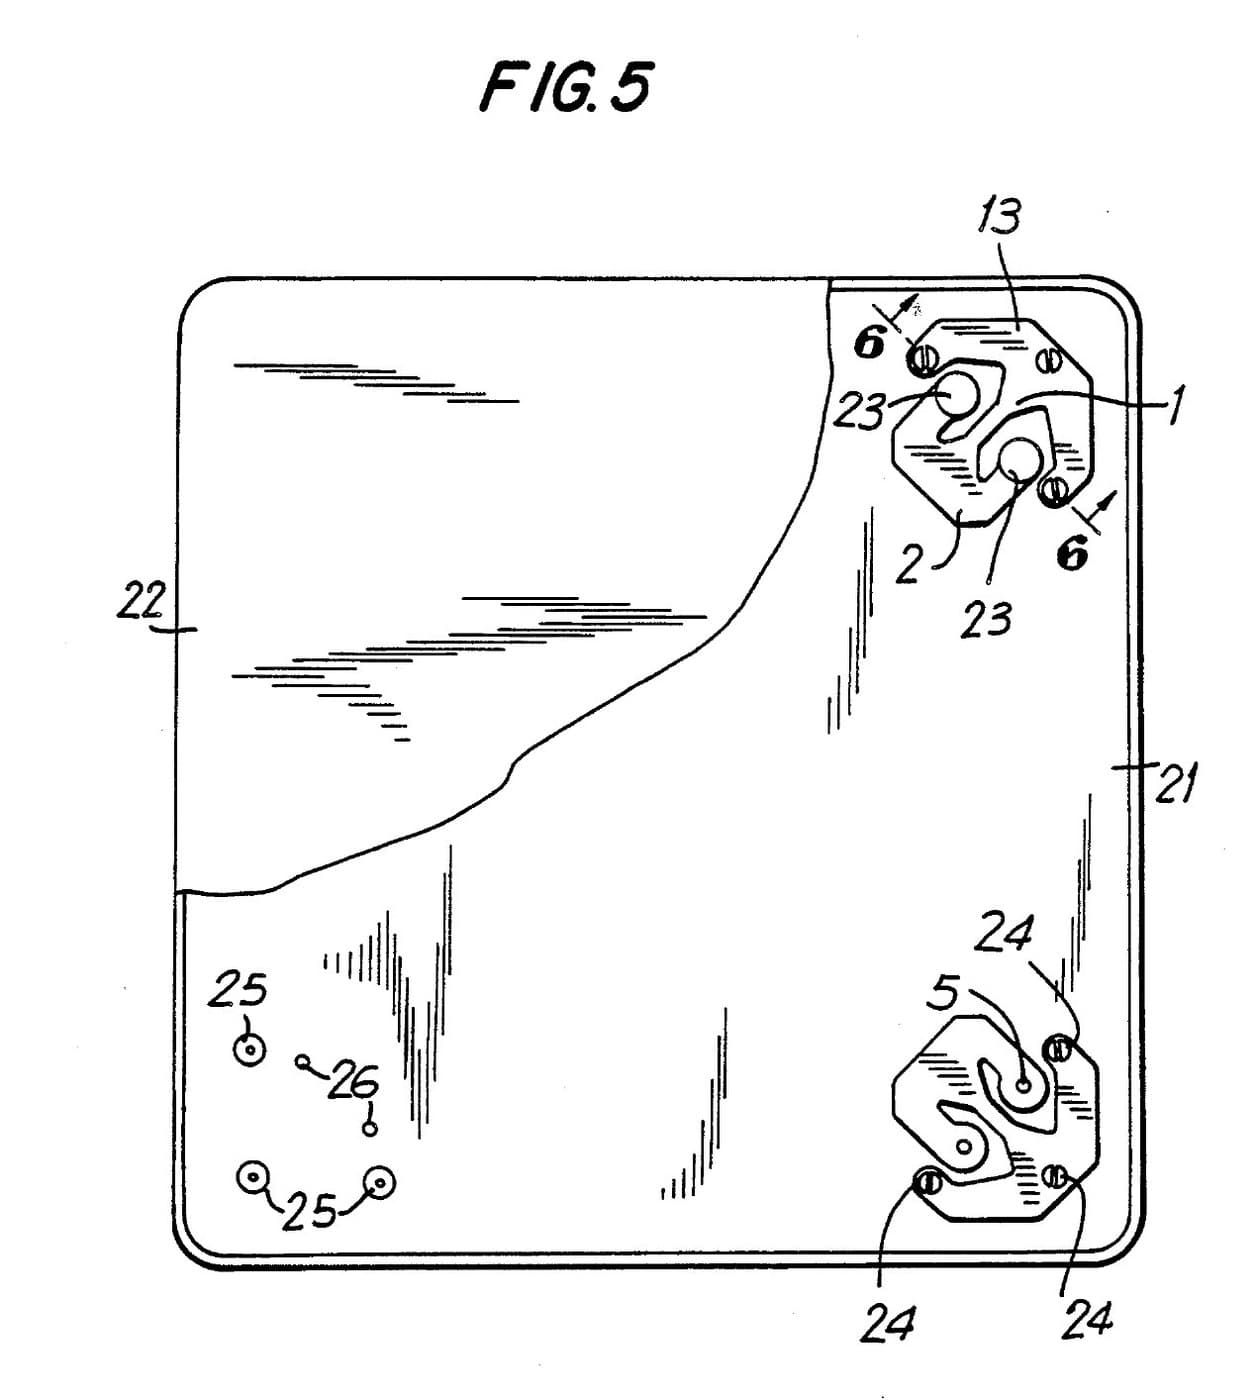
Place the chassis, unfastened, between the two halves of the outer housing: a stainless-steel top with downturned sides, and a plastic bottom. Spacers moulded on the chassis sides press against the housing sides. They take a blow if the scale is dropped, and may crush on purpose to save the load cell and electronics. A sealed window of plastic or glass shows the display. A flexible sheet covers the touchpad. Fit four height-adjustable feet.
このステップの材料:
 ステンレス鋼の板1 upper housingプラスチック1 lower housing
 不明な材料1 window, touchpad sheet, four feet
必要な工具:
ドライバーセット不明な寸法4
4
Fit the pan and check
Fit the pan and check
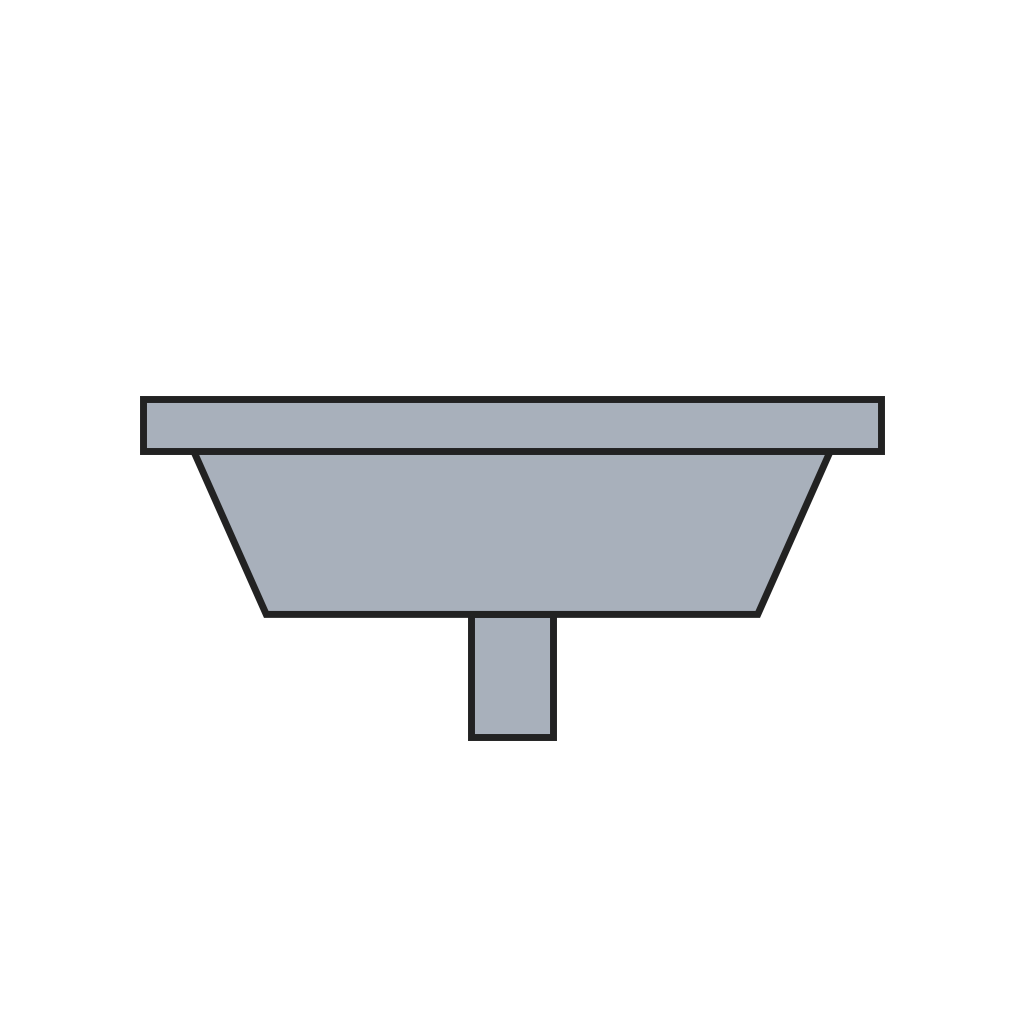
Screw the pan support to the four supports of the load cell. Rest the removable pan on it, or snap it on, so it lifts off for washing. A flexible boot can seal each support where it passes through the housing. Ours: check the reading with calibration weights.
このステップの材料:
 計量皿1 metal or plastic小ねじ1 セット
必要な工具:
ドライバーセット 校正用分銅セット
材料
13- 1 cantilever typeプレースホルダー
- 1 lower housingプレースホルダー
- 2 セットプレースホルダー
- 1 weighing and display electronicsプレースホルダー
- 1 個プレースホルダー
- プレースホルダー
- 1 個プレースホルダー
- 2 個プレースホルダー
- 1 shortプレースホルダー
- 1 a littleプレースホルダー
- 1 upper housingプレースホルダー
- 1 window, touchpad sheet, four feetプレースホルダー
- 1 metal or plasticプレースホルダー
接続ブループリントの材料
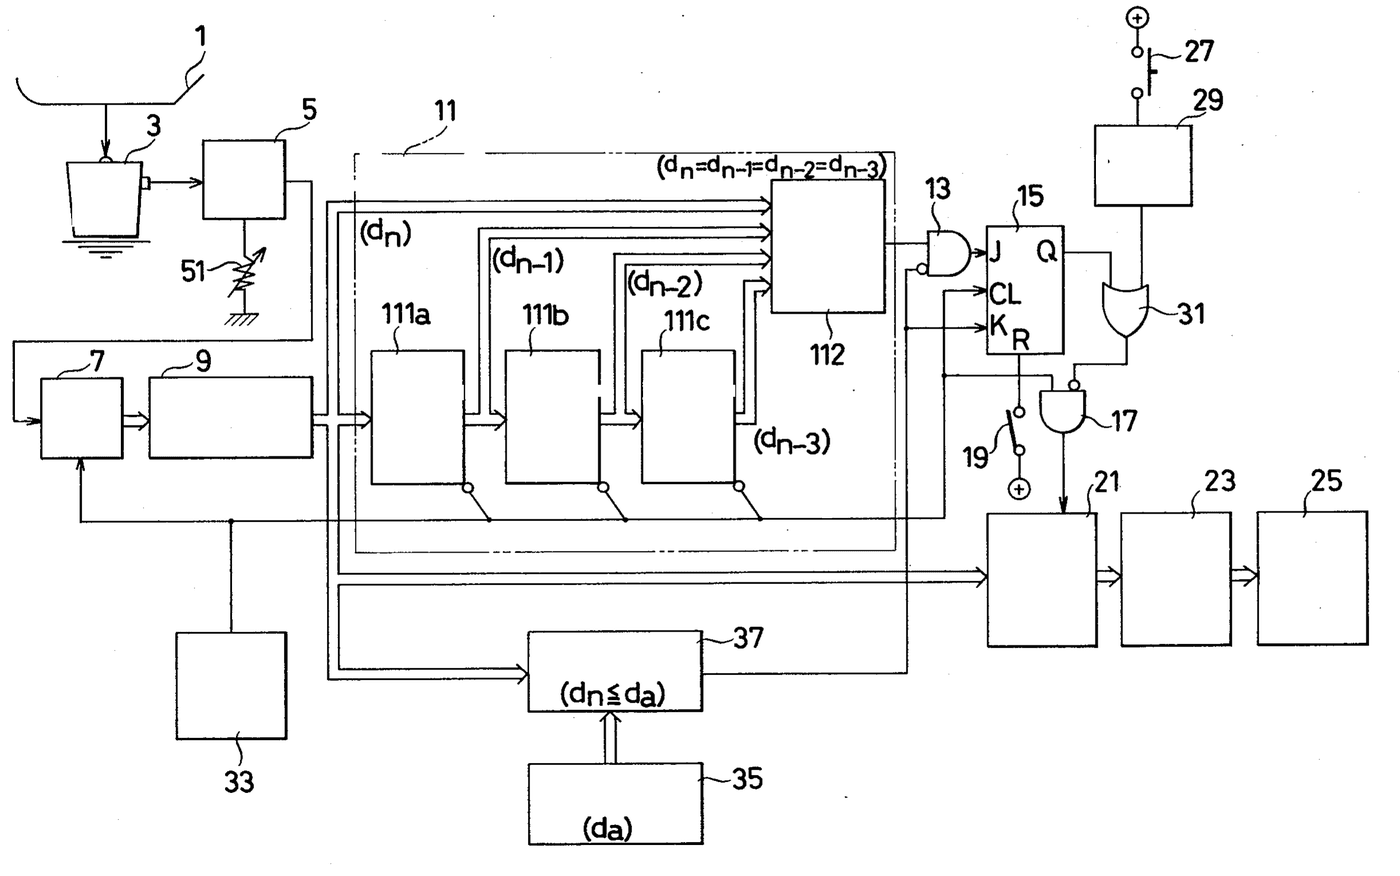
この設計図で作るもの

関連ブループリント
これらのブループリントは知識を共有しています — 技術、材料、原理
CC0 パブリックドメイン
このブループリントはCC0で公開されています。許可を求めずに、自由にコピー、修正、配布、あらゆる目的で使用できます。
メイカーを応援するには、ブループリント経由で製品を購入してください。メイカーには メイカーコミッション がベンダーにより設定されています。または、このブループリントの新しいイテレーションを作成し、自分のブループリントにコネクションとして含めて収益を共有できます。