コラボレーション
アート
美容とウェルネス
工芸
文化と歴史
エンターテインメント
環境
食品と飲料
リバースエンジニアリング
科学
スポーツ
テクノロジー
ウェアラブル
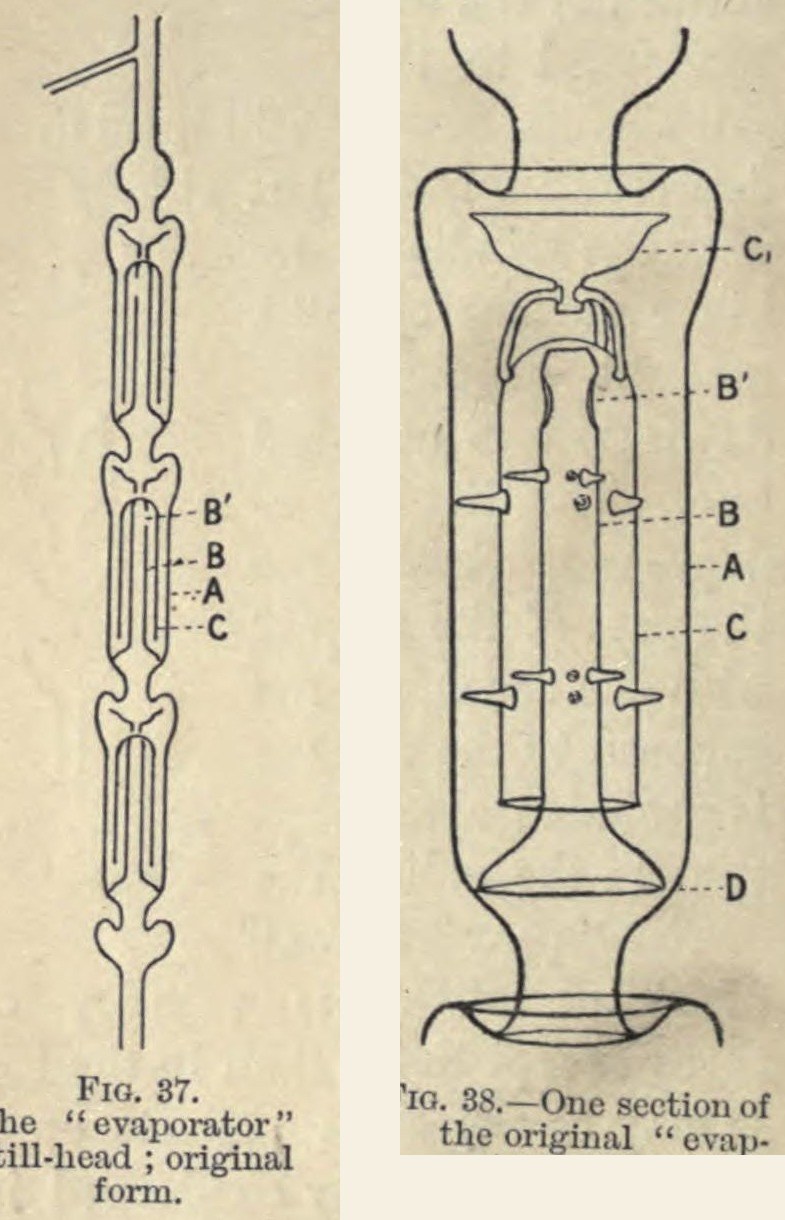


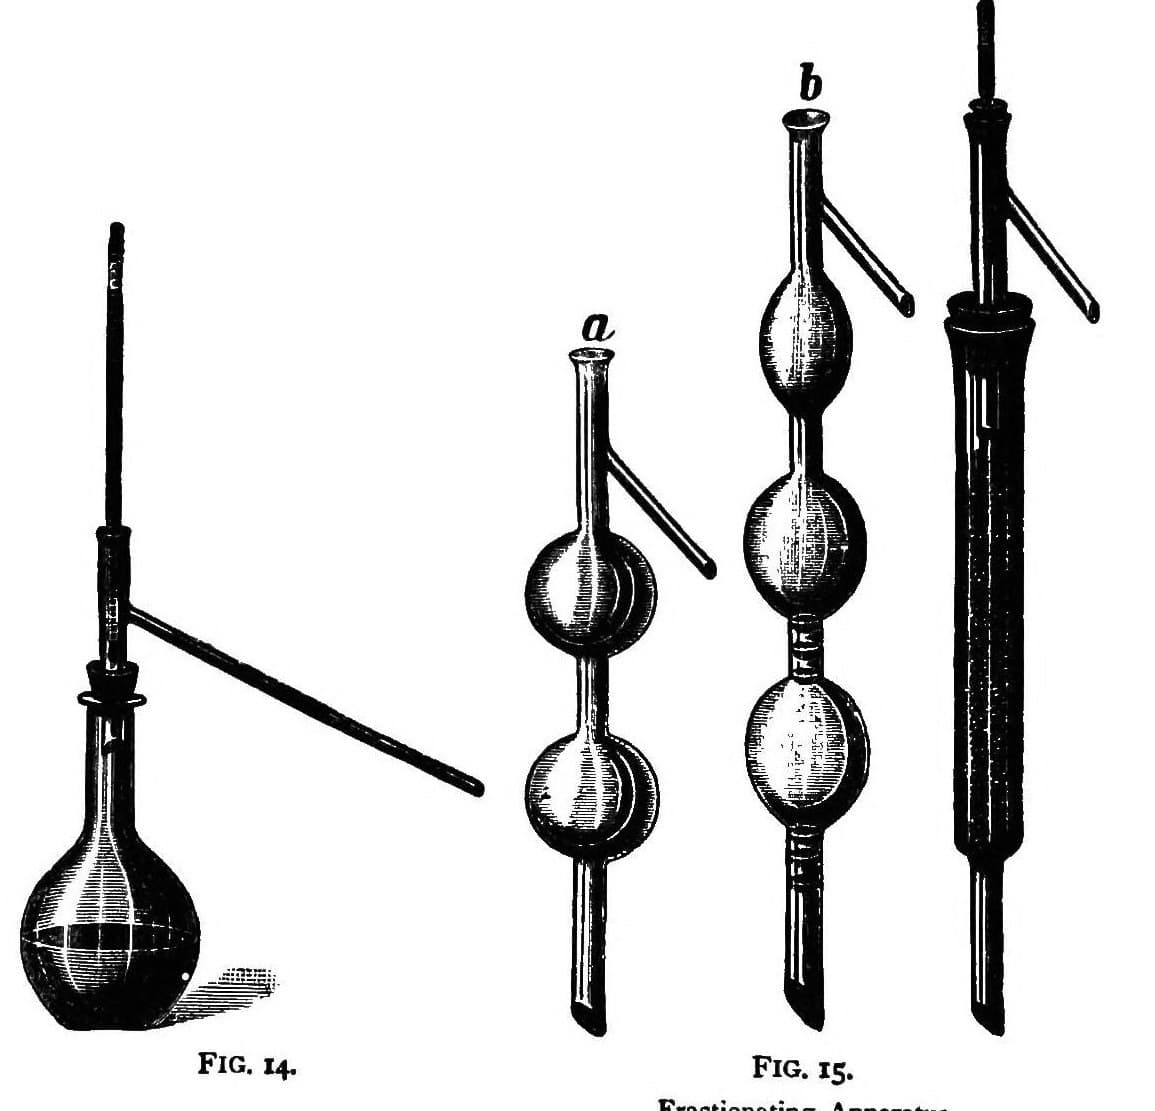
Distillation Column Assembly: Flask, "Evaporator" Still-Head, Liebig Condenser and Receivers (Young, 1903)
A complete fractional distillation set: a globular flask, Young and Thomas's 'evaporator' still-head built of stacked glass sections, a Liebig condenser and a row of receivers. In each section the rising vapour is forced through the liquid running back down, so the mixture separates better at each step.
Result: a fractionating apparatus for separating liquids by boiling point, the fractions caught in receivers changed at set temperatures.
Source: S. Young, Fractional Distillation (1903), pp. 4-7, 115-116, 166-168. Picture: Figs. 37 and 38 of the book.
上級者
Unknown
手順
1
1
Choose the still
Choose the still
Use a globular flask, since a flat-bottomed one may crack over a naked flame, no larger than the amount of liquid needs. Fit it with a cork for the still-head. Ours: a round-bottom flask.
このステップの材料:
 丸底フラスコ1 still
 コルク栓1 still cork
必要な工具:
 ブンゼンバーナー
2
2
Blow the evaporator still-head
Blow the evaporator still-head
Build the still-head of sections joined end to end. Each outer tube is 22 to 24 mm inside and about 10 to 10.5 cm long, constricted at the bottom. In it stands a thin inner tube, 7.5 to 8 mm inside and 60 mm long, open at both ends, with two large holes near its top. Its lower end widens into a funnel resting on the constriction, with three or four tiny glass beads fused to the rim so it does not fit too tightly. Over it stands an intermediate tube about 14 mm inside and 50 mm long, like a small inverted test tube. A small funnel, slightly wider than the dip in the outer tube above, sits on top of it on three glass legs. Small glass projections centre the tubes. Make the head long enough that the thermometer's bulb and stem both sit in the vapour, with a side delivery tube at the top.
このステップの材料:
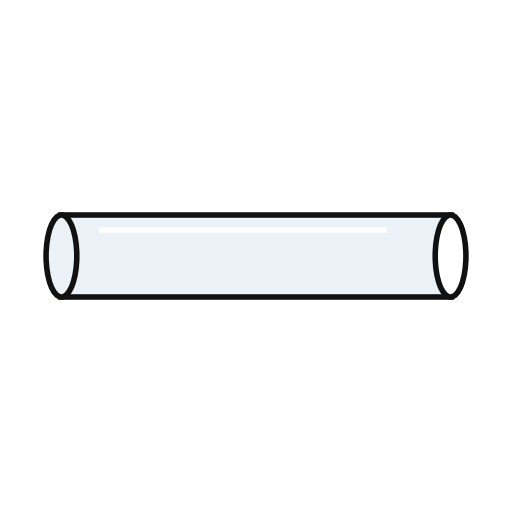 ガラス管1 sections, inner and intermediate tubes, delivery tube
必要な工具:
 卓上ガラス吹きバーナー
3
3
Fit the condenser
Fit the condenser
Use a Liebig condenser, about 7 or 8 mm inside for the inner tube and 15 mm for the outer, cooled by running water. Pass the delivery tube through a cork into it. Draw out the joint where the wide inlet meets the narrow tube so no pool of liquid lies there. Bend the narrow tube so the condenser can stand upright. Above about 170 °C use a long tube cooled by air instead of water.
このステップの材料:
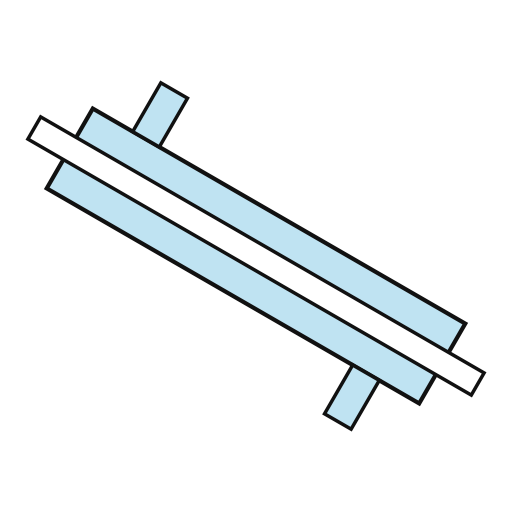 水冷冷却器1 condenserコルク栓1 condenser cork
必要な工具:
卓上ガラス吹きバーナー 水
4
4
Set the heat and the receivers
Set the heat and the receivers
Heat with a Bunsen burner, its top about 2 mm below the flask so the small flame touches the glass, shielded from draughts. Add a few pieces of porous porcelain (a broken clay pipe will do) or pumice if the liquid bumps. Set a thermometer in the still-head and a row of small flasks as receivers.
このステップの材料:
 温度計1 still-head thermometer
 受けフラスコ10 receivers
必要な工具:
ブンゼンバーナー 不明な材料
5
5
Distil in fractions
Distil in fractions
Read the barometer and correct the set temperatures for it. Distil steadily. In each section, condensed liquid seals the narrow passage, so the vapour rises up the inner tube, down between the tubes and up again, while liquid drips from section to section back to the still. Collect the distillate in fractions, changing the receiver each time the temperature reaches one of the values fixed beforehand.
必要な工具:
 水銀気圧計ブンゼンバーナー水
材料
6- 1 stillプレースホルダー
- 1 condenser corkプレースホルダー
- 1 sections, inner and intermediate tubes, delivery tubeプレースホルダー
- 1 condenserプレースホルダー
- 1 still-head thermometerプレースホルダー
- 10 receiversプレースホルダー

この設計図で作るもの

関連ブループリント
これらのブループリントは知識を共有しています — 技術、材料、原理
CC0 パブリックドメイン
このブループリントはCC0で公開されています。許可を求めずに、自由にコピー、修正、配布、あらゆる目的で使用できます。
メイカーを応援するには、ブループリント経由で製品を購入してください。メイカーには メイカーコミッション がベンダーにより設定されています。または、このブループリントの新しいイテレーションを作成し、自分のブループリントにコネクションとして含めて収益を共有できます。