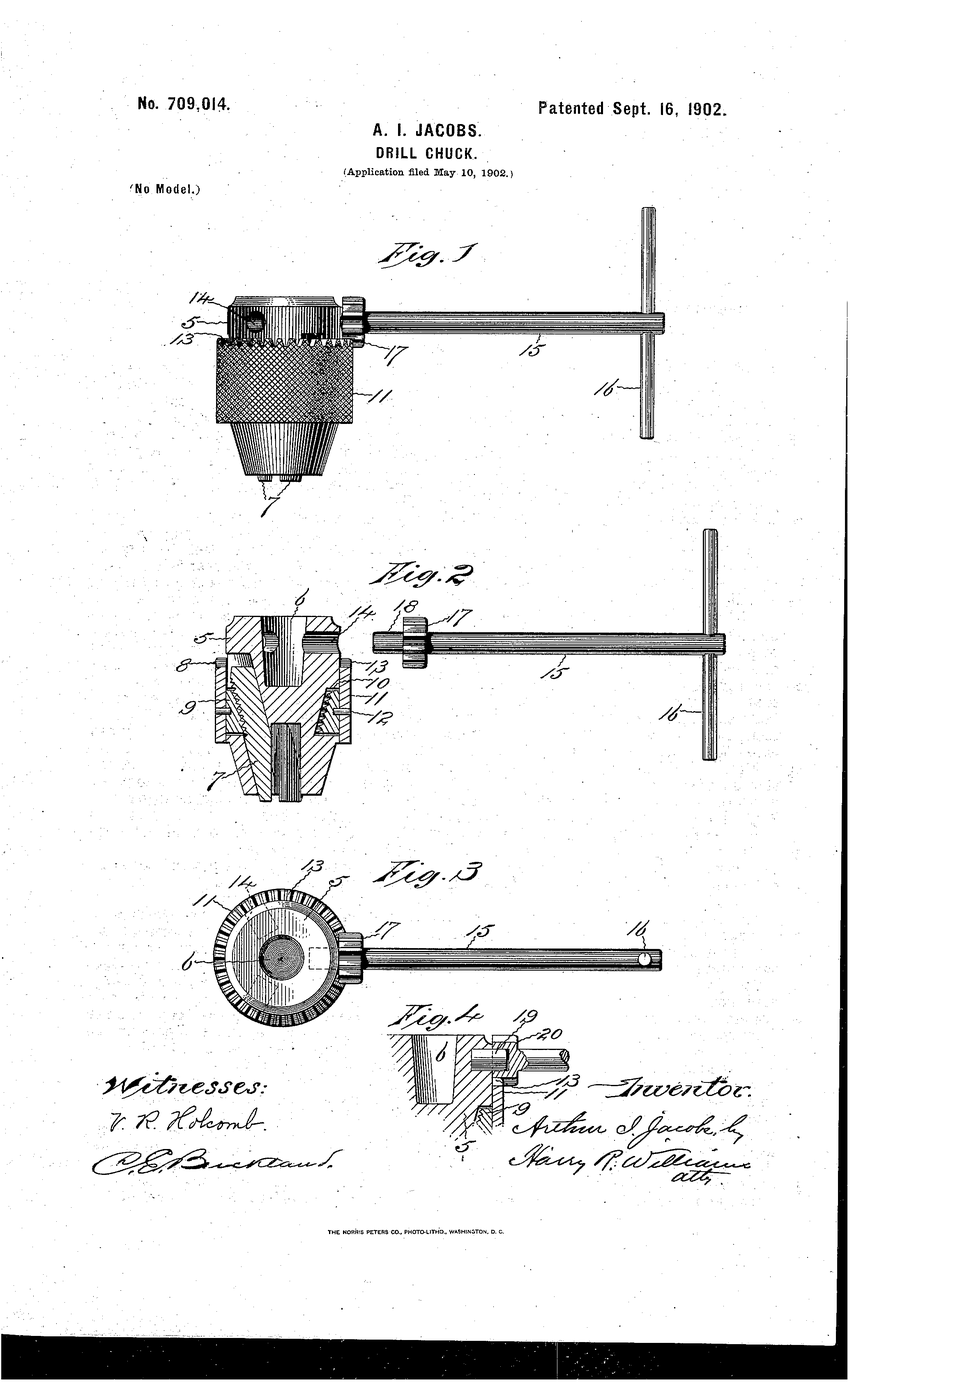


Drill Chuck
A drill is useless unless something holds it exactly on the axis of rotation and does not let go. Before 1902 that usually meant a two-jaw chuck, a set of collets for each size, or a hand on the spindle while the other hand worked a key.
US 709,014, “Drill-Chuck”, Arthur I. Jacobs of Hartford, Connecticut. Filed 10 May 1902, granted 16 September 1902. Three jaws slide in recesses inclined to the chuck's axis and are driven by a threaded nut; a toothed key engages rack-teeth on a sleeve to turn that nut. Because the three jaws move together on inclined ways, the tool is automatically centred as it is gripped, at any diameter in the range — and the key means the operator no longer has to hold the spindle still.
Jacobs founded his chuck company the following year. The pattern is on virtually every drill press and hand drill made since, which is a rare thing to be able to say about a 1902 patent.
手順
Name the three jobs a chuck must do
Name the three jobs a chuck must do
Write them down: grip hard, centre automatically, release quickly. Every design choice that follows is a trade between these three.
Draw three jaws at 120°
Draw three jaws at 120°
Draw a circle on graph paper and mark three radii 120° apart with the protractor. Three contacts is the smallest number that defines a centre.
このステップの材料:
 方眼紙1 枚
必要な工具:
 分度器
分度器Show why two jaws cannot centre
Show why two jaws cannot centre
Draw the same circle with only two opposed jaws. A round bar can sit anywhere along the line between them — the grip is defined, the position is not.
このステップの材料:
方眼紙1 枚Open the real chuck fully
Open the real chuck fully
Open the drill press chuck to its maximum. Look inside with the loupe and find the three inclined ways and the threaded nut.
必要な工具:
 ボール盤
ボール盤 虫眼鏡
虫眼鏡Measure the jaw travel per key turn
Measure the jaw travel per key turn
Mark the sleeve. Turn the key exactly one full revolution and measure how far the jaws close using the caliper. That ratio is the chuck's mechanical advantage.
このステップの材料:
方眼紙1 枚必要な工具:
 デジタルノギス 6インチ
Grip a drill bit and check run-out
Grip a drill bit and check run-out
Grip a 6 mm bit. Mount the dial indicator against its shank and rotate the spindle by hand. Record the total needle sweep — that is the run-out.
必要な工具:
 ドリルビットセット
 ダイヤルゲージボール盤
Re-grip five times and record each
Re-grip five times and record each
Release and re-grip the same bit five times, measuring run-out each time. The spread is the chuck's repeatability, which matters more than any single reading.
このステップの材料:
方眼紙1 枚必要な工具:
ダイヤルゲージTest shallow jaw engagement
Test shallow jaw engagement
Now grip the bit with only 5 mm of shank in the jaws and measure run-out again. Note how much worse it gets. Depth of engagement is free accuracy.
このステップの材料:
方眼紙1 枚必要な工具:
ダイヤルゲージドリルビットセットGrip the brass rod at the range extremes
Grip the brass rod at the range extremes
Measure run-out with the smallest and the largest shank the chuck accepts. Chucks are least accurate at the ends of their range.
このステップの材料:
 真鍮棒1 個
必要な工具:
ダイヤルゲージデジタルノギス 6インチDrill a hole with a deliberately bad grip
Drill a hole with a deliberately bad grip
Grip the bit shallow and off-square, drill one hole in the steel bar, then measure the hole with the caliper. It will be oversize — run-out becomes hole error.
このステップの材料:
 軟鋼角棒1 個
必要な工具:
ボール盤デジタルノギス 6インチ 切削油
切削油Drill a hole with a good grip and compare
Drill a hole with a good grip and compare
Grip deep and true, drill again, measure again. Record both diameters against the bit's measured diameter.
このステップの材料:
軟鋼角棒1 個必要な工具:
ボール盤デジタルノギス 6インチ マイクロメータ切削油
Mark the centre before you drill
Mark the centre before you drill
Punch a centre mark with the punch and drill once more. A punched start defeats a small run-out; nothing defeats a large one.
このステップの材料:
軟鋼角棒1 個必要な工具:
 センターポンチボール盤
Compare with a lathe's three-jaw chuck
Compare with a lathe's three-jaw chuck
Examine the 3-jaw lathe chuck. Same 120° principle, scaled up, driven by a scroll instead of a nut — and it self-centres the same way.
必要な工具:
 三つ爪旋盤チャック虫眼鏡
History & Context
History & Context
US 709,014, “Drill-Chuck”, Arthur Irving Jacobs, Hartford, Connecticut. Filed 10 May 1902, granted 16 September 1902. The printed sheet header reads “No. 709,014. Patented Sept. 16, 1902. A. I. JACOBS. DRILL CHUCK.” Jacobs founded the Jacobs Chuck Manufacturing Company in 1903.
The claim, precisely. Jaws move in recesses inclined to the axis, so advancing them along their ways closes them on the centre. A threaded nut drives all three together, and a toothed key engaging rack-teeth on a sleeve turns the nut — the specific benefit claimed being that the jaws can be worked “without requiring the operator to hold the drill spindle stationary”. A two-handed job became a one-handed one.
Why three. Two contacts grip but do not locate. Three contacts at 120° locate a round shank uniquely and are self-centring by geometry, not by adjustment. Four jaws grip square stock better but must be set individually — which is why lathes offer both, and drill chucks only ever three.
What run-out costs. A drill held even slightly off-axis cuts a hole larger than itself, because the tip orbits. Everything measured in steps 6-11 is that effect. This is also why the reamer exists: a drill sizes a hole approximately, and a following tool sizes it exactly.
Still standard. Keyless chucks arrived in the 1980s and dominate cordless tools, but they are the same three inclined jaws with a different actuator. The 1902 geometry has not been improved on.
接続ブループリントの材料
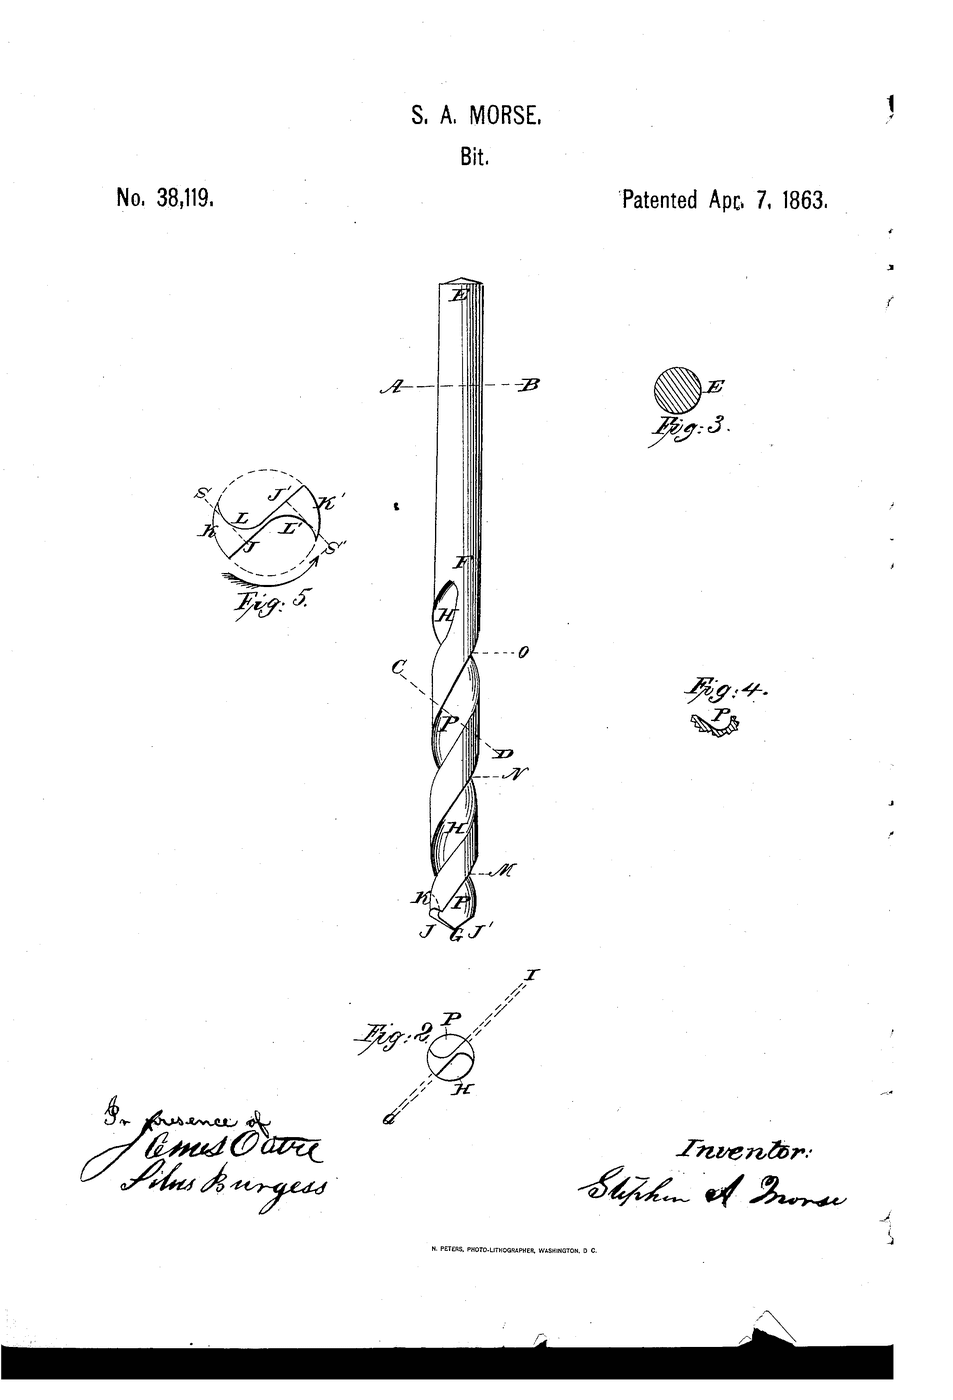
この設計図で作るもの
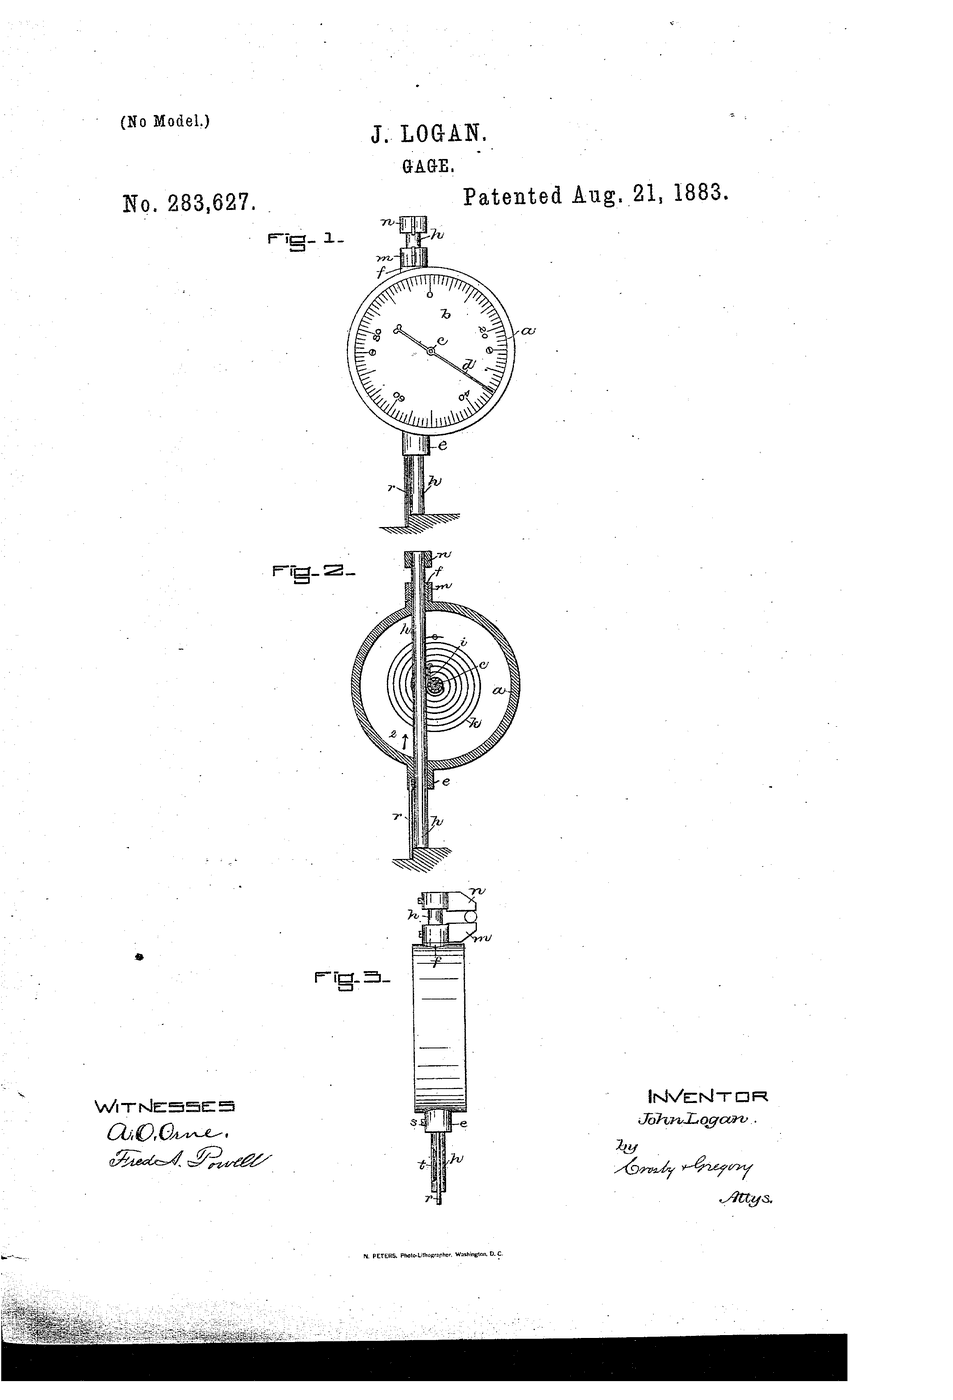
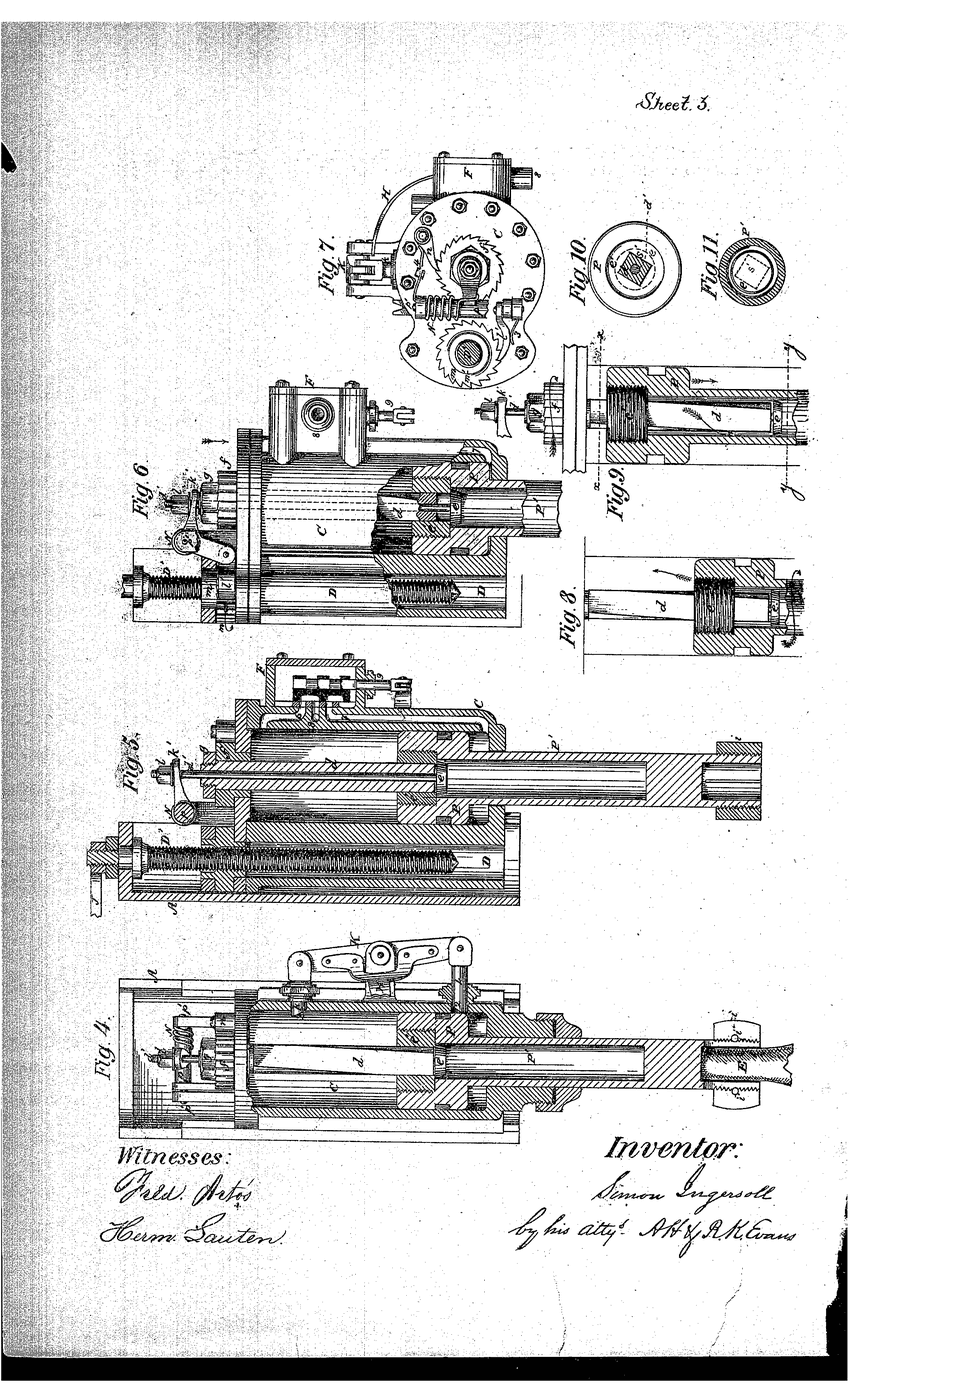
関連ブループリント
これらのブループリントは知識を共有しています — 技術、材料、原理

CC0 パブリックドメイン
このブループリントはCC0で公開されています。許可を求めずに、自由にコピー、修正、配布、あらゆる目的で使用できます。
メイカーを応援するには、ブループリント経由で製品を購入してください。メイカーには メイカーコミッション がベンダーにより設定されています。または、このブループリントの新しいイテレーションを作成し、自分のブループリントにコネクションとして含めて収益を共有できます。