

Making a Color-Changing LilyPad Patch
Sew a patch that glows in any color. A single RGB LED holds red, green and blue elements; by fading each one with the microcontroller's PWM pins you mix millions of colors and cycle through the rainbow. The e-textile version of the classic RGB colour-mixing project.
手順
Sew the board and RGB LED
Sew the board and RGB LED
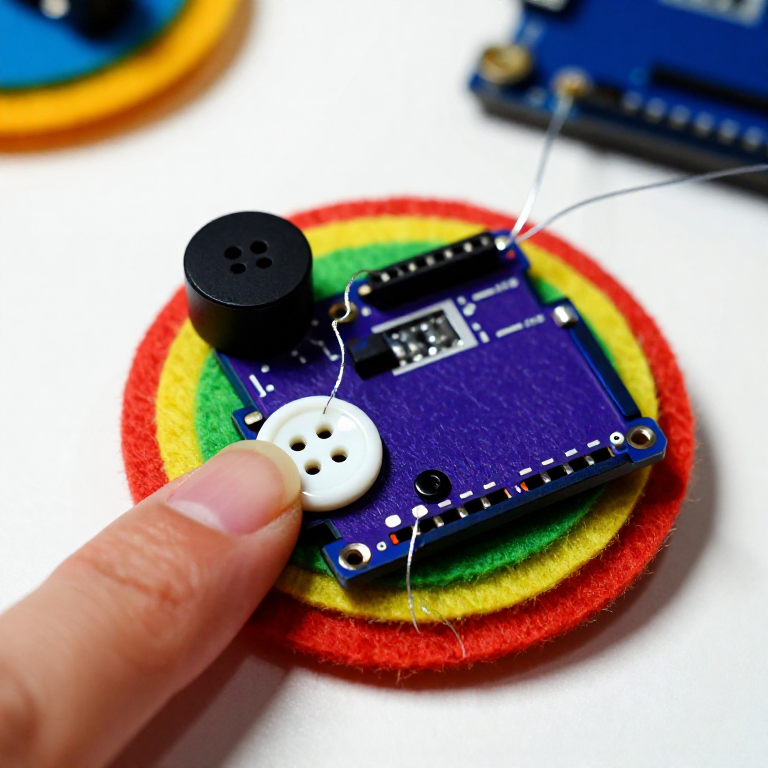
Sew a LilyPad Arduino onto felt. The RGB LED has four legs — bend each into a small loop so it can be sewn. Wire the common cathode (the longest leg) to -, and the red, green and blue legs to pins 5, 6 and 9. Keep the four lines from touching each other.
このステップの材料:
 LilyPad Arduino Simple Board1 個
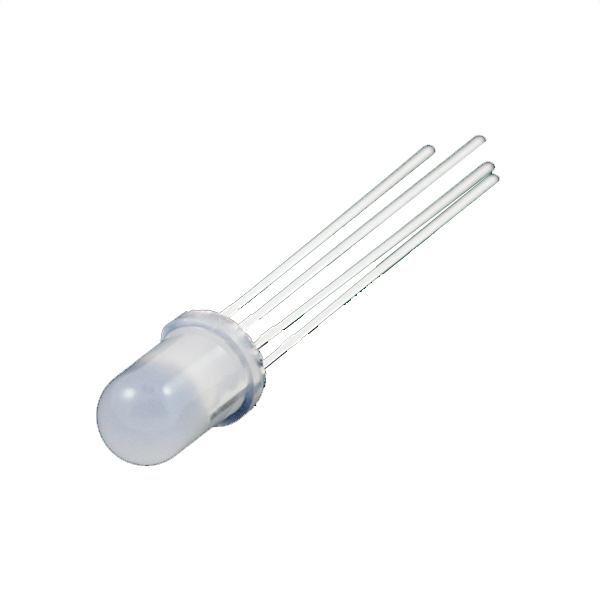 LED - RGB Diffused Common Cathode - 5mm1 個
 Conductive Thread - 60g (Stainless Steel)1 巻
 Hand Sewing Needles (Assorted, 30-Pack)1 パック
 Wool Felt Sheet1 枚
Connect the programmer
Connect the programmer
Plug the LilyPad FTDI onto the programming header and connect the USB cable. Open the Arduino IDE and select the LilyPad Arduino board and its serial port.
このステップの材料:
 LilyPad FTDI Basic Breakout - 5V1 個
 SparkFun Cerberus USB Cable - 1.8 meter1 個
必要な工具:
 Computer with Arduino IDE
Upload the color-mixing sketch
Upload the color-mixing sketch
Paste this sketch and upload. It fades the LED through red, green, blue and the mixes using analogWrite (PWM).
Watch it cycle, then mix your own
Watch it cycle, then mix your own
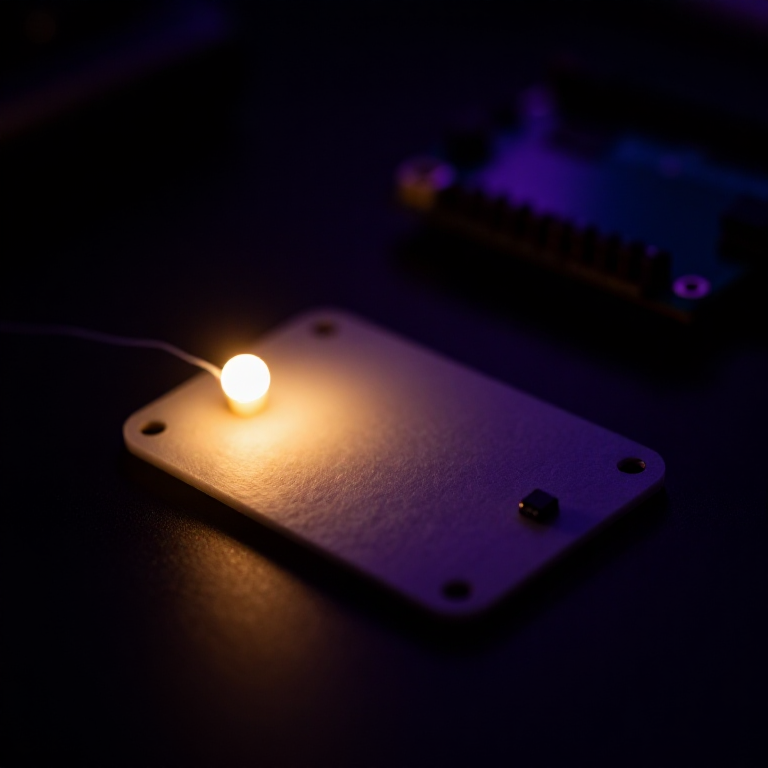
The LED fades through the colors on its own. Make your own by changing the three numbers in setColor(red, green, blue) — each 0–255. Note: at the LilyPad's lower voltage blue and green look a little dimmer than red, which is normal for RGB LEDs.
Go wireless and wear it
Go wireless and wear it
Plug a 3.7 V LiPo into the LilyPad Arduino's JST connector and switch on — the higher voltage also makes the colors brighter. Sew the felt onto a bag or costume for a colour-changing glow.
このステップの材料:
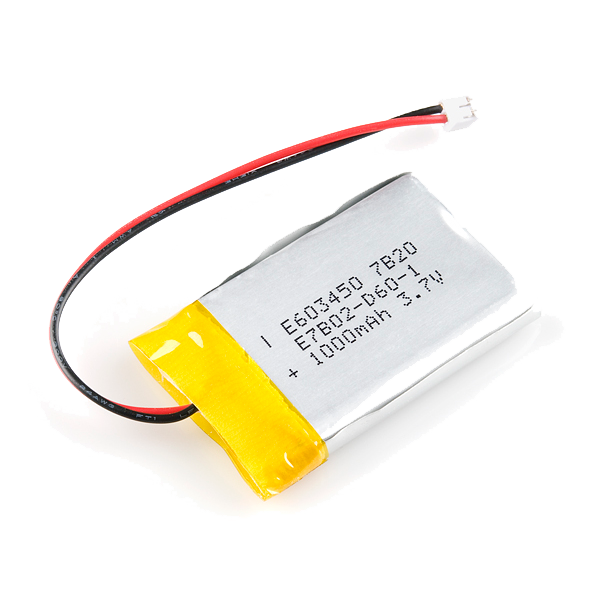 LiPo Battery 3.7V 1000mAh (JST Connector)1 個
材料
8- プレースホルダー
- プレースホルダー
必要な工具
1- プレースホルダー
関連ブループリント
これらのブループリントは知識を共有しています — 技術、材料、原理
Related blueprints
Other builds that share materials, tools, or techniques with this one.

CC0 パブリックドメイン
このブループリントはCC0で公開されています。許可を求めずに、自由にコピー、修正、配布、あらゆる目的で使用できます。
メイカーを応援するには、ブループリント経由で製品を購入してください。メイカーには メイカーコミッション がベンダーにより設定されています。または、このブループリントの新しいイテレーションを作成し、自分のブループリントにコネクションとして含めて収益を共有できます。