アート
美容とウェルネス
工芸
文化と歴史
エンターテインメント
環境
食品と飲料
リバースエンジニアリング
科学
スポーツ
テクノロジー
ウェアラブル
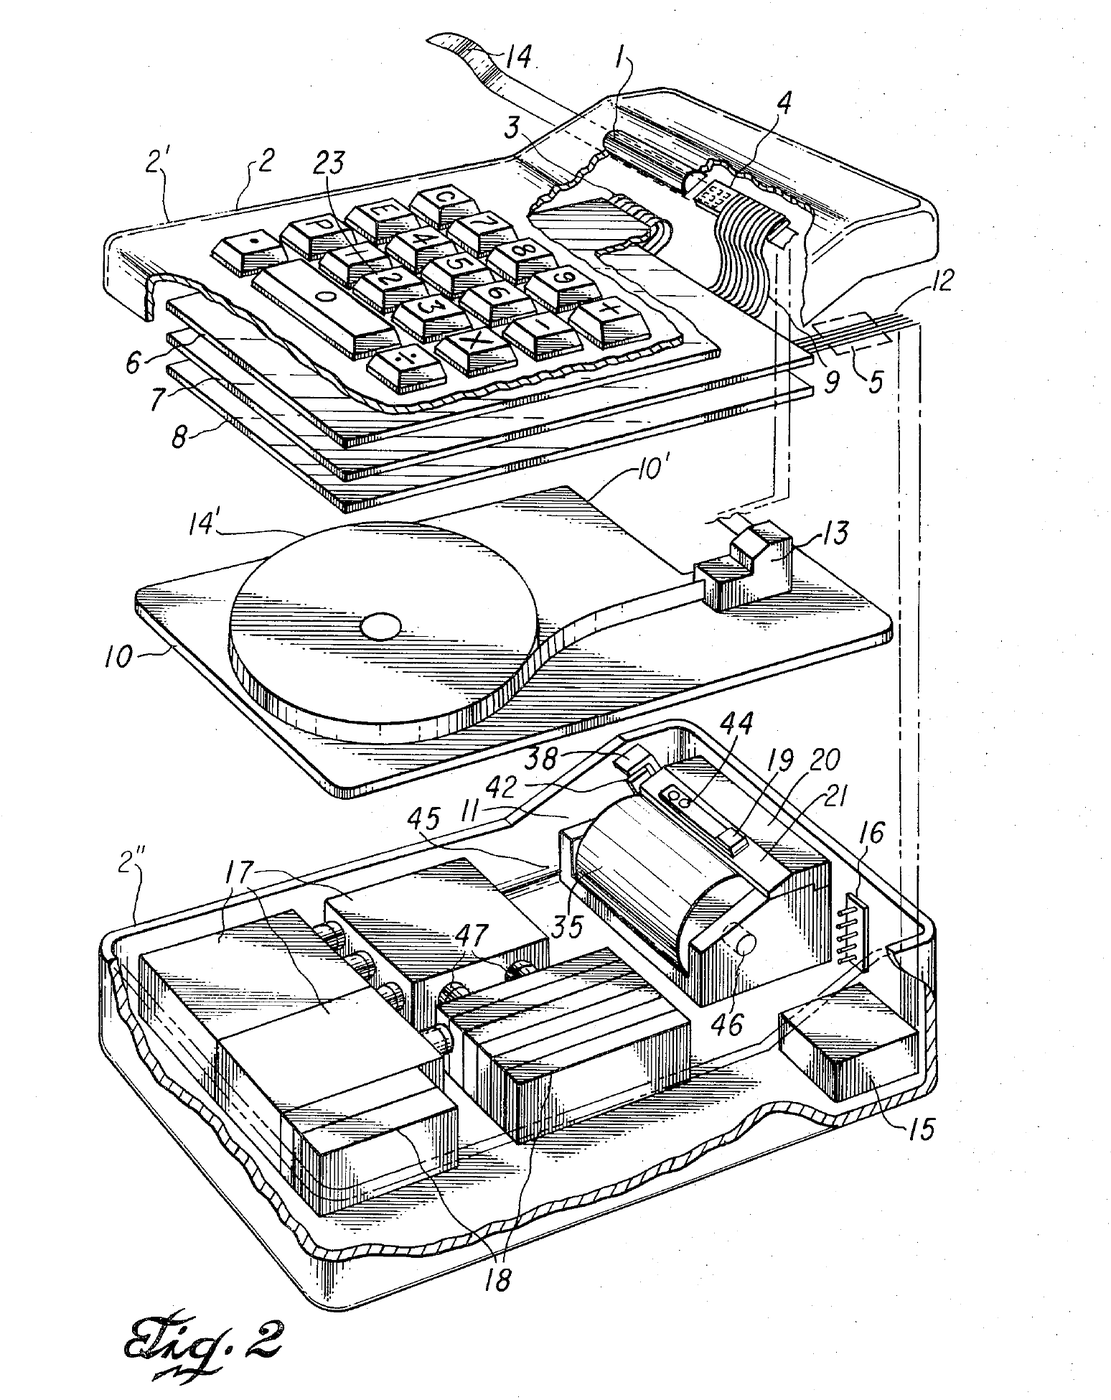


Miniature Printing Electronic Calculator: Kilby, Merryman & Van Tassel, 1974
Jack S. Kilby, Jerry D. Merryman and James H. Van Tassel of Texas Instruments first filed for this portable calculator in 1967; the patent, US 3,819,921, was granted in 1974. It adds, subtracts, multiplies and divides. All the arithmetic and control is done by one integrated semiconductor circuit array lying flat under the keyboard encoder. Answers are printed by a thermal print head, a 3 × 5 array of heater elements on a semiconductor wafer, on heat-sensitive paper tape read through a magnifying window. The case measured 4¼ × 6⅛ × 1¾ inches and the calculator weighed 45 ounces, running on batteries.
上級者
Factory process
手順
1
1
Keys and encoder
Keys and encoder
Mount the 18 keys (0–9, +, −, ×, ÷, the decimal point, C for clear, E for error and P for print) in stepped holes in the upper case. Each key shaft slides in a bearing; a helix spring under the shaft head returns it, guide pins stop it turning, and a resilient pad at its base carries a thin gold-plated copper strip. Below lies the encoder: conductive strips on an insulating board, grouped so each key shorts its own set of output terminals and encodes its digit in excess-3 binary code.
このステップの材料:
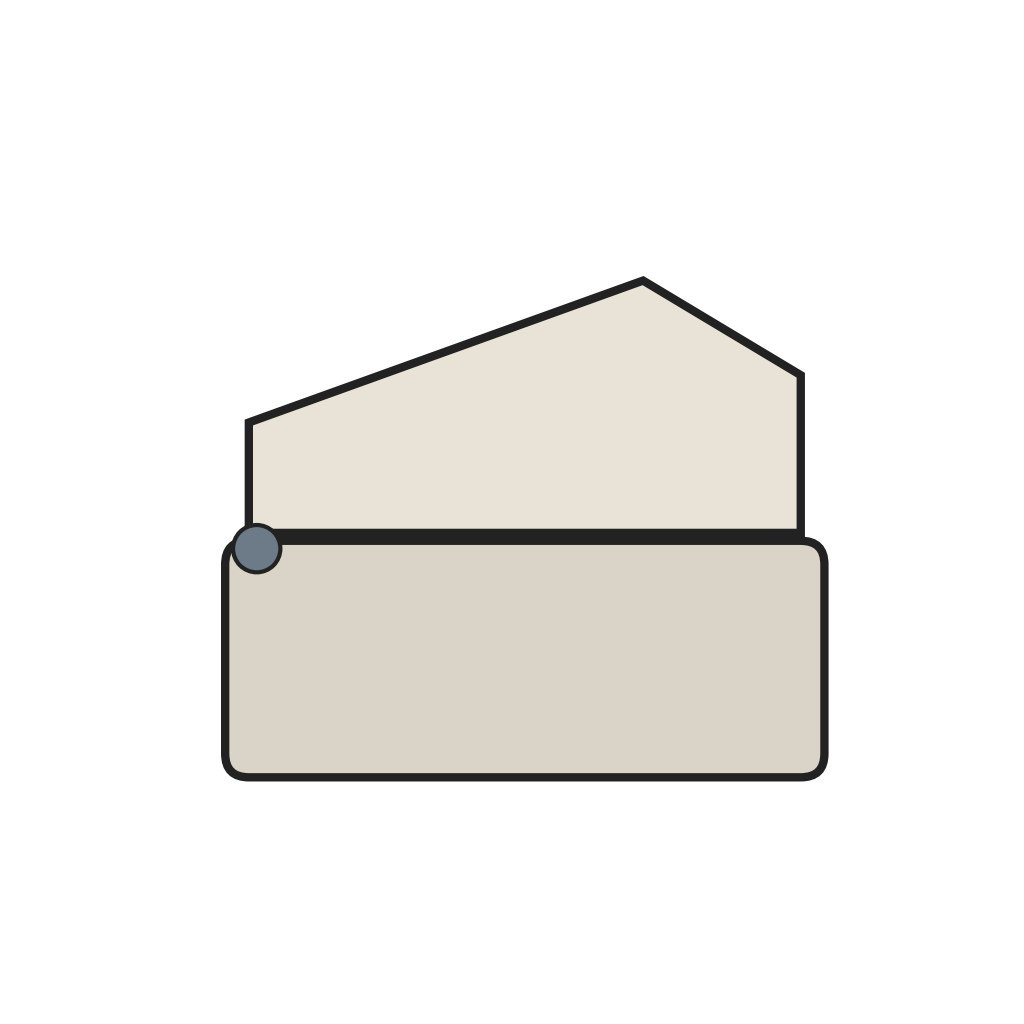 ヒンジ付き二分割電卓ケース1 個
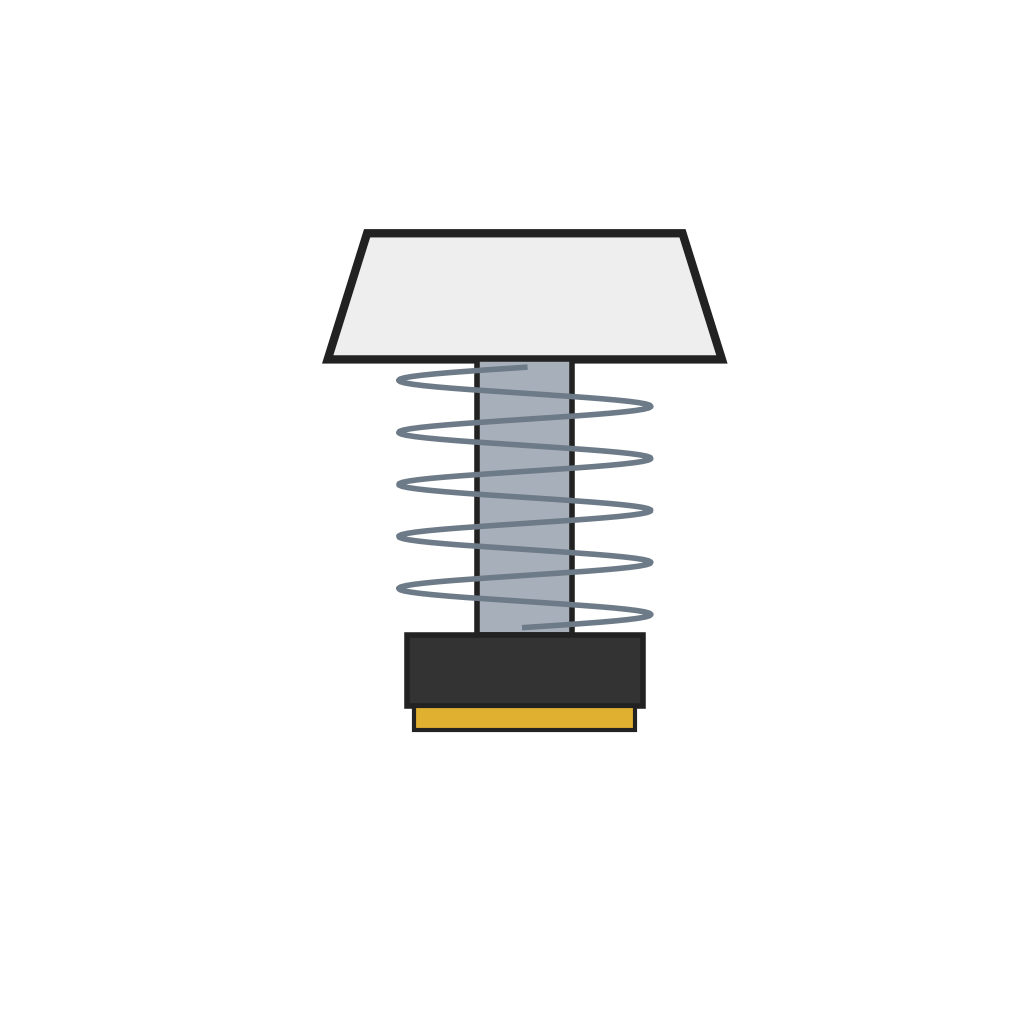 接点パッド付きばね戻しキー18 個
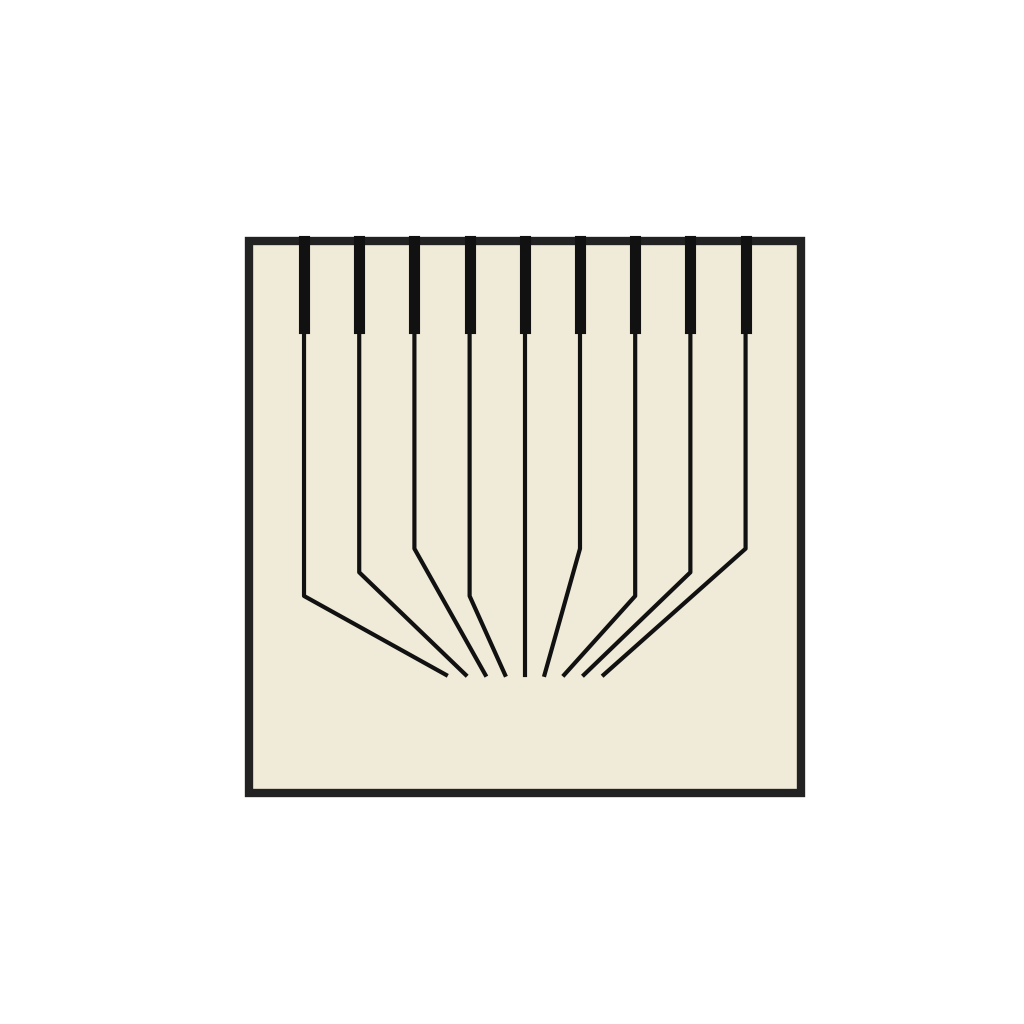 キーボードエンコーダー基板1 個
必要な工具:
 精密ピンセットセット
 ドライバーセット
2
2
Primary electronics
Primary electronics
Mount the integrated circuit array below the encoder, in a plane parallel to it, and connect the encoder's terminals to it. The array holds the arithmetic and control sections, generating the timing signals for calculating, printing and advancing the tape.
このステップの材料:
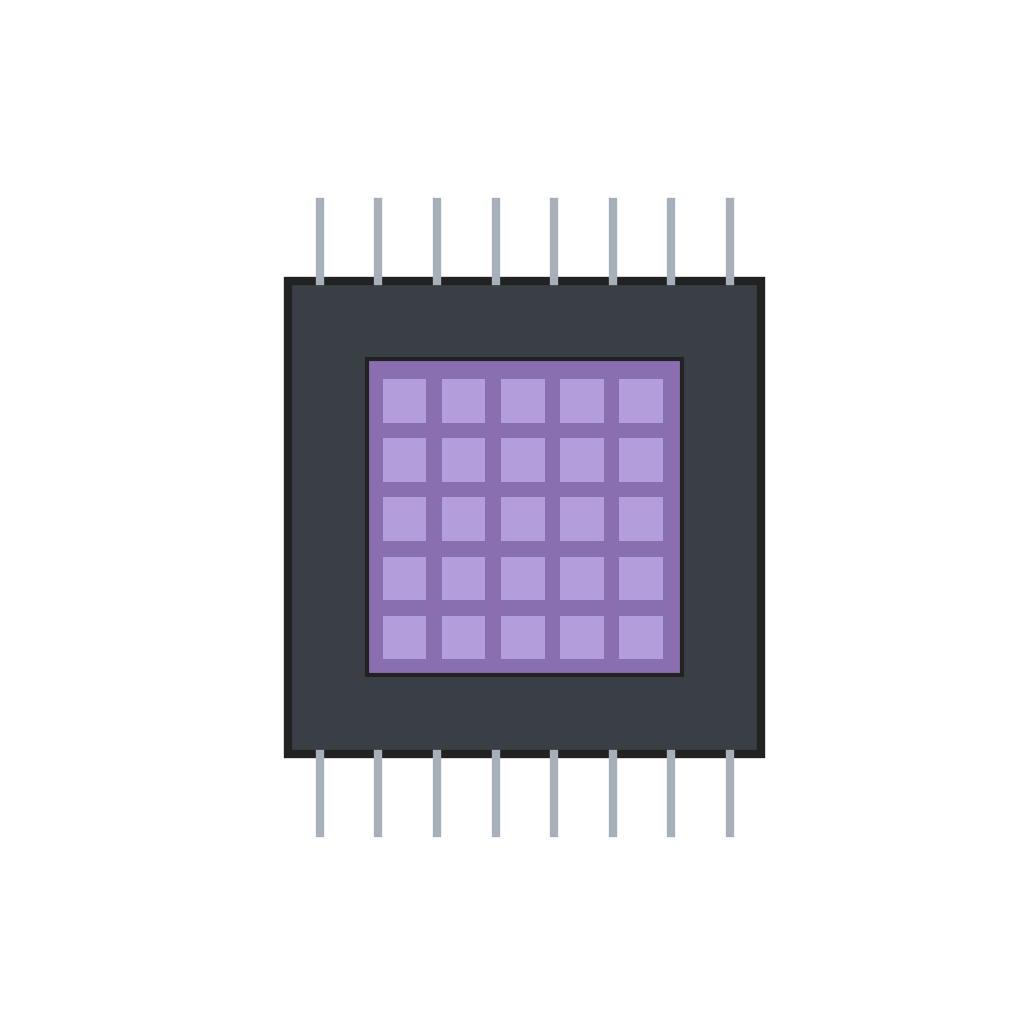 電卓用集積回路アレイ1 個
必要な工具:
精密ピンセットセット3
3
Printer and tape
Printer and tape
Place the thermal print head above a resilient pressure pad, its wafer surface against the tape. Rest the tape reel on a shelf; the tape runs up through a guide block, over the pad under the print head, past the magnifying lens window and out through the side of the case. A solenoid tape-advance mechanism steps the tape on after each line: its coil pulls a pivoted clapper, a spring-biased clutch grips the tape against a clutch plate, and a drive spring pushes it forward when the coil releases. An insulating acrylic cover plate separates the shelf from the primary electronics.
このステップの材料:
 集積半導体サーマルプリントヘッド1 個
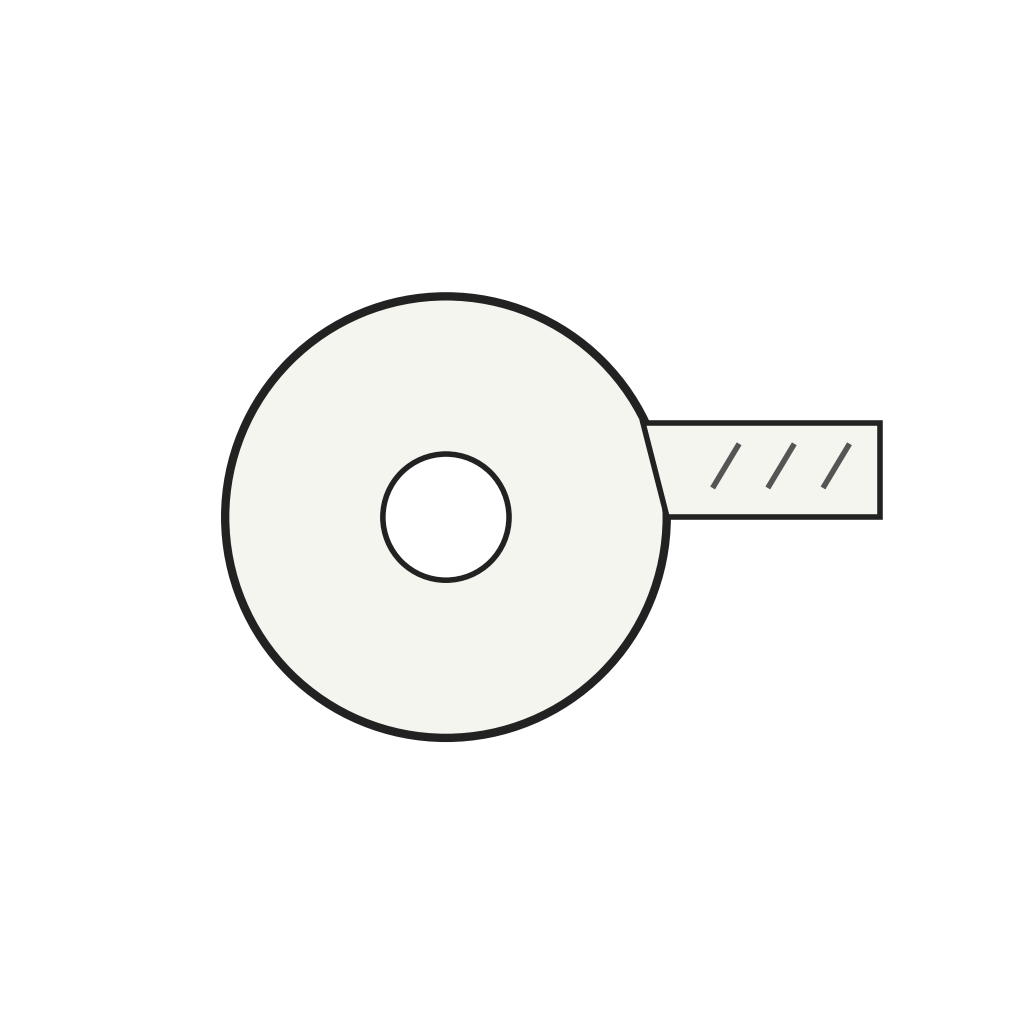 感熱紙テープ1 個
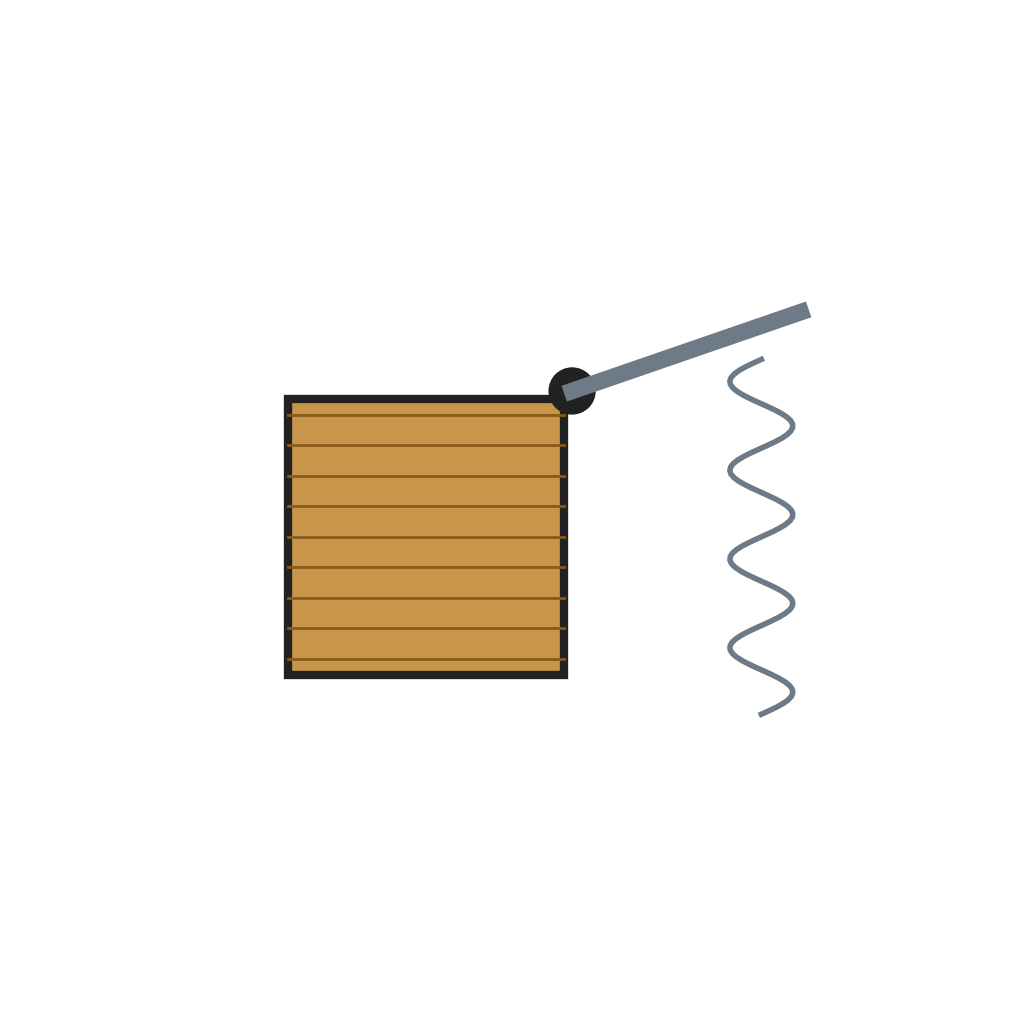 ソレノイド式テープ送り機構1 個
 拡大レンズ窓1 個
 アクリル板1 個
必要な工具:
精密ピンセットセットドライバーセット4
4
Power
Power
Fix the batteries, the auxiliary electronics module and the tape advance on the floor of the lower case. Three 1½ volt cells in series give 4½ volts and eight in series give 12 volts; the auxiliary module drives the tape-advance coil and the print timing. Wire the supply through the on/off switch to the primary electronics, and fit a battery charger plug in the wall of the lower case. Hinge and latch the two case halves so the top lifts for access.
このステップの材料:
 乾電池11 個
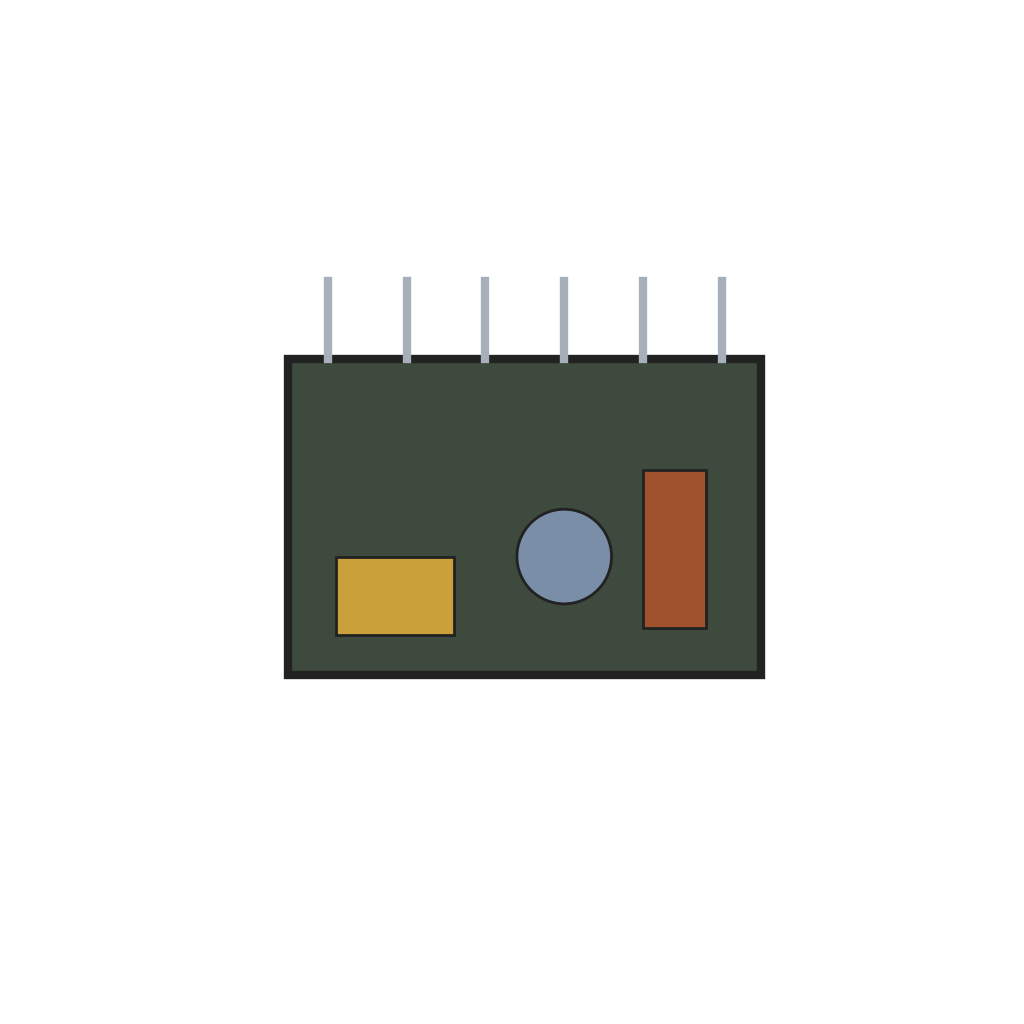 補助電子モジュール1 個
 電源スイッチ1 個
必要な工具:
 ワイヤーストリッパー
 コンビネーションプライヤドライバーセット
材料
12- プレースホルダー
- 18 個プレースホルダー
- プレースホルダー
- 1 個プレースホルダー
- プレースホルダー
- 1 個プレースホルダー
- プレースホルダー
- 1 個プレースホルダー
- 1 個プレースホルダー
- 11 個プレースホルダー
- 1 個プレースホルダー
- 1 個プレースホルダー
この設計図で作るもの

関連ブループリント
これらのブループリントは知識を共有しています — 技術、材料、原理

CC0 パブリックドメイン
このブループリントはCC0で公開されています。許可を求めずに、自由にコピー、修正、配布、あらゆる目的で使用できます。
メイカーを応援するには、ブループリント経由で製品を購入してください。メイカーには メイカーコミッション がベンダーにより設定されています。または、このブループリントの新しいイテレーションを作成し、自分のブループリントにコネクションとして含めて収益を共有できます。