アート
美容とウェルネス
工芸
文化と歴史
エンターテインメント
環境
食品と飲料
リバースエンジニアリング
科学
スポーツ
テクノロジー
ウェアラブル
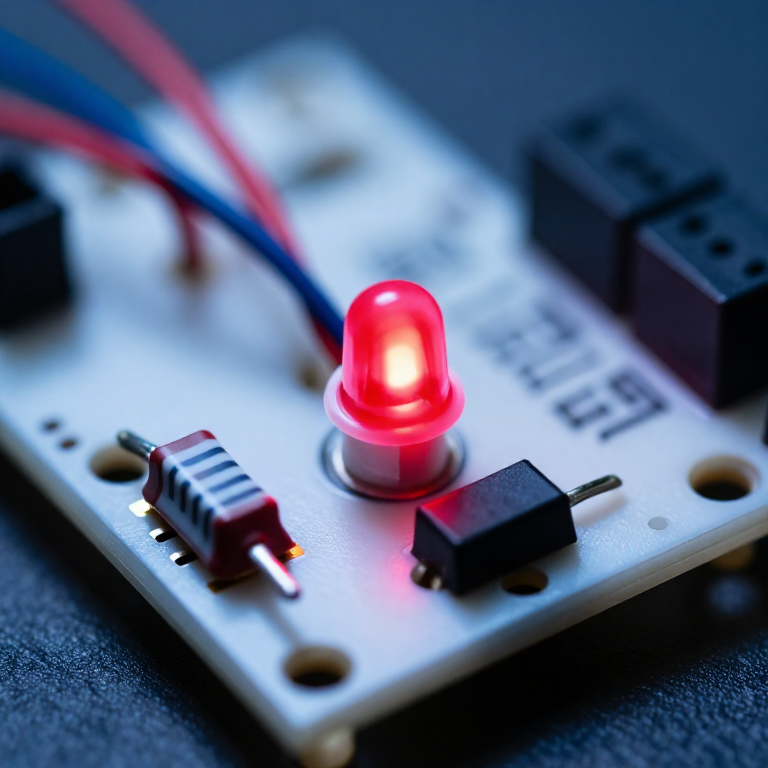


Ohm's Law at the Bench: Picking the Resistor That Saves the LED
One equation does most of the arithmetic a maker ever needs from electronics, and it is three letters long. What makes it worth a rung of its own is that the three commonest beginner disasters — the LED that dies instantly, the resistor that cooks, the divider that sags under load — are all the same equation applied carelessly.
An LED is the sharpest example. It is not a resistor: past its forward voltage the current rises almost without limit, so connecting one directly across a supply destroys it in a fraction of a second. The resistor beside it is not a formality, it is the only thing deciding the current.
Every SIK circuit published here that lights an LED has one, and this is why.
初心者
3 hours
手順
1
1
Size the resistor for an LED, and see why it is not optional
Size the resistor for an LED, and see why it is not optional
Jupyter ノートブックを読み込み中…
このステップの材料:
 LED キット1 個
 抵抗器キット1 個
必要な工具:
 ブレッドボード
 計算機
計算機 マルチメーター
2
2
Check the resistor will survive the heat
Check the resistor will survive the heat
Jupyter ノートブックを読み込み中…
このステップの材料:
抵抗器キット1 個必要な工具:
計算機マルチメーター3
3
The divider that works until you connect something
The divider that works until you connect something
Jupyter ノートブックを読み込み中…
このステップの材料:
抵抗器キット1 個必要な工具:
ブレッドボードマルチメーター計算機4
4
Measure it, and find out what your parts really are
Measure it, and find out what your parts really are
Build the LED and its resistor on a breadboard, then measure: the supply, the voltage across the LED, and the voltage across the resistor. They should add up to the supply.
Then work out the current from the resistor's voltage and its measured resistance, and compare it with what you calculated. The LED's real forward voltage will not be exactly the table value — it varies by part, by colour bin, and with current — which is why the calculation is a starting point and the measurement is the answer.
This also demonstrates Kirchhoff's voltage law without naming it: around any loop, the voltages sum to zero. Once you have seen it on a meter it stops being an abstraction and becomes a tool for finding where a missing volt went.
このステップの材料:
LED キット1 個抵抗器キット1 個必要な工具:
ブレッドボードマルチメーター 直流安定化電源
関連ブループリント
これらのブループリントは知識を共有しています — 技術、材料、原理

CC0 パブリックドメイン
このブループリントはCC0で公開されています。許可を求めずに、自由にコピー、修正、配布、あらゆる目的で使用できます。
メイカーを応援するには、ブループリント経由で製品を購入してください。メイカーには メイカーコミッション がベンダーにより設定されています。または、このブループリントの新しいイテレーションを作成し、自分のブループリントにコネクションとして含めて収益を共有できます。