コラボレーション
アート
美容とウェルネス
工芸
文化と歴史
エンターテインメント
環境
食品と飲料
リバースエンジニアリング
科学
スポーツ
テクノロジー
ウェアラブル
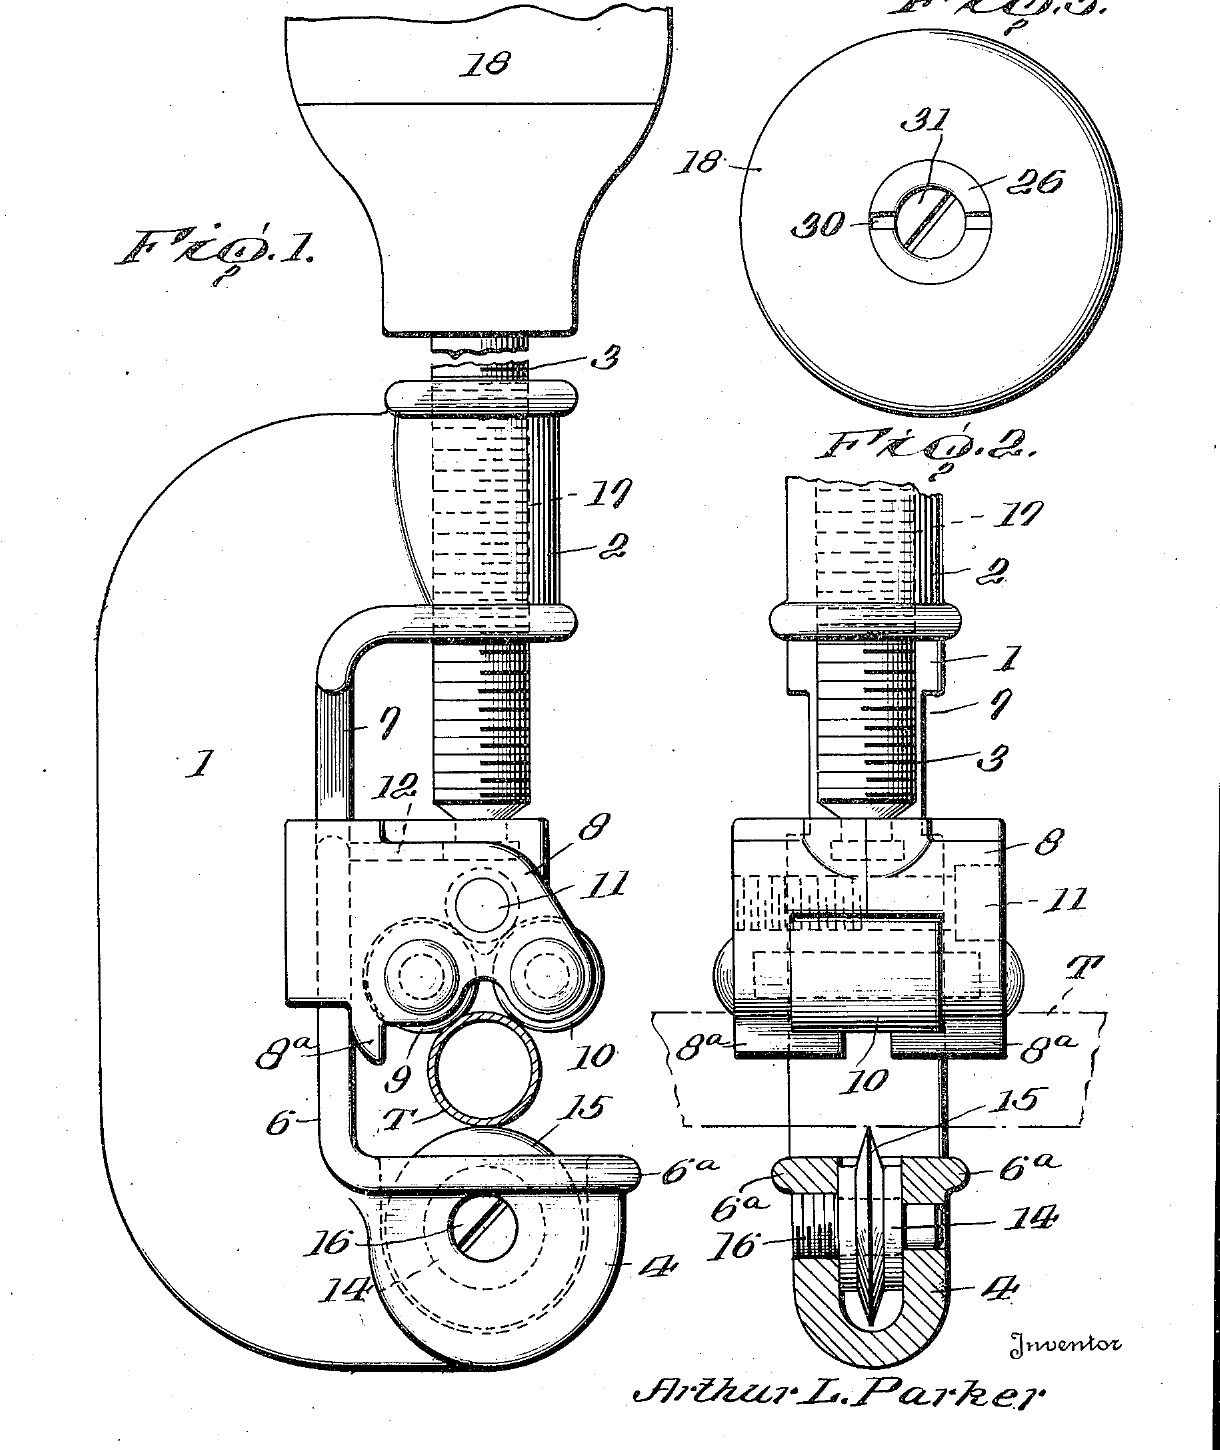

Slip-Knob Tube Cutter: the Feed Knob Turns the Screw Through Spring-Loaded Plates and Slips Before the Tube Is Crushed (Parker, 1944)
Arthur L. Parker of Cleveland, Ohio, received US 2,360,887, dated 24 October 1944 and assigned to The Parker Appliance Company, for a tube cutter that cannot be overfed. A one-piece frame holds the wheel at one end and the feed screw at the other. The screw pushes a carrier with two rollers, which press the tube onto the wheel. The screw is turned through a knob that slips when the turning force passes a set limit. Inside the knob, a brass plate on the screw is squeezed by a spring between two steel plates locked to the knob, and the spring can be set harder or softer.
We saw the frame and carrier from steel plate and print the knob in PETG. His knob was moulded plastic. All sizes are ours.
上級者
About 4 days
手順
1
1
Carrier height and slip torque
Carrier height and slip torque
Jupyter ノートブックを読み込み中…
2
2
Read US 2,360,887
Read US 2,360,887
"If the operator exerts a pressure beyond a predetermined torque pressure, then the steel plates will slip on the brass plate and will not turn the feed screw."
3
3
Print the template
Print the template
Frame, carrier half, rollers and wheel at 1:1, set for a 15 mm tube, with the screw, plates and sleeve sizes. print at 100 % (check the 50 mm bar).
4
4
Saw out the frame
Saw out the frame
Glue the frame outline on 16 mm plate, drill a row of holes inside the C, saw to them and file to the line. Saw the 7 mm wheel slot down into the bottom arm with two cuts and file it flat. Drill 5 mm across it for the axle and tap the far cheek M5. Drill 8.5 mm down through the top arm and tap it M10. File the back bar to 8 mm thick over the short cut-away just under the top arm.
このステップの材料:
 軟鋼板1 個
必要な工具:
 金切りのこ(ハクソー)
 ヤスリセット
 ボール盤
 マシンバイス
 ドリルビットセット
 ねじ切りタップダイスセット
 センターポンチ
 けがき針
 万力(ベンチバイス)
 切削油
5
5
Make the carrier
Make the carrier
Saw two carrier halves from 10 mm plate, one the mirror of the other. In each half's inner face, saw and file the channel for the back bar, the 6.25 mm deep recess for the rollers, and half of the T-slot for the screw head, open to the right. Leave the lips at the back and the two lugs at the bottom. Clamp the halves together and drill the two roller pin holes and the M5 bolt hole through both.
このステップの材料:
軟鋼板1 個必要な工具:
金切りのこ(ハクソー)ヤスリセット 精密ヤスリ(針ヤスリ)セットボール盤マシンバイスドリルビットセット万力(ベンチバイス)
 デジタルノギス 6インチ
6
6
Turn the rollers, screw and sleeve
Turn the rollers, screw and sleeve
From mild steel bar: turn two rollers 12 mm across and 12 mm long, bored 5 mm. Turn the feed screw from 16 mm bar: a 14 mm head 4 mm long, a 7 mm neck 4 mm long, then 102 mm at 10 mm, cut M10 with the die. File the top 12 mm to two flats 8 mm apart, and drill and tap its end M5, 15 mm deep. Turn the sleeve from 20 mm bar: an 18 mm flange 2 mm thick on a body 21 mm long cut M12, bored 5.5 mm, and saw two slots across the flange.
このステップの材料:
 軟鋼丸棒2 個
必要な工具:
 金属旋盤
 三つ爪旋盤チャック
 旋盤の切削工具
 突切りバイト
 センタードリルセットドリルビットセットねじ切りタップダイスセットヤスリセット金切りのこ(ハクソー)デジタルノギス 6インチ切削油
7
7
Turn the cutting wheel
Turn the cutting wheel
Chuck a tool steel bar and face it. Turn the end to 20 mm across for 10 mm, centre drill and drill a 5 mm hole 10 mm deep, and turn the edge to a 50 degree vee, 25 degrees each side, sharp in the middle of the 6 mm width. Part it off 6 mm long and take the burr off the hole.
このステップの材料:
 工具鋼丸棒1 個
必要な工具:
金属旋盤三つ爪旋盤チャック旋盤の切削工具突切りバイトセンタードリルセットドリルビットセットデジタルノギス 6インチ 保護めがね
8
8
Harden and temper
Harden and temper
Heat the wheel to a cherry red, until a magnet no longer sticks, and quench it in water, moving it about. Rub it bright with a stone, warm it on a piece of steel plate over the fire, and quench again as soon as it turns a light straw colour.
必要な工具:
 鍛冶炉
 鍛冶ばさみ(やっとこ)
 小さな磁石
 焼き入れ桶
 水
 砥石
 溶接用手袋保護めがね
9
9
Cut the clutch plates
Cut the clutch plates
Cut two 30 mm discs from 1.5 mm steel strip, each with two lugs 3.5 mm wide standing out 3 mm on opposite sides, and drill them 10.5 mm. Cut a 28 mm disc from 2 mm brass sheet and file its centre hole to slide snugly on the screw's flats. Make the faces flat on abrasive paper on a flat board.
このステップの材料:
 ばね鋼帯1 個
 真鍮板1 個
必要な工具:
金切りのこ(ハクソー)ヤスリセット精密ヤスリ(針ヤスリ)セットボール盤ドリルビットセット万力(ベンチバイス)デジタルノギス 6インチ10
10
Print the knob's lower section
Print the knob's lower section
Floor with a 10.5 mm hole for the screw, the 31 mm chamber with two grooves for the plates' lugs, three holes for M4 screws. Print it floor down in PETG, 0.2 mm layers, 5 walls, 40 % infill.
11
11
Print the knob's upper section
Print the knob's upper section
The hex channel for the M12 nut (the collar) and the sleeve's flange, which stops under the top wall, and a 15 mm hole to reach its slots. Print it top down in PETG, 0.2 mm layers, 5 walls, 40 % infill.
12
12
Assemble the frame and carrier
Assemble the frame and carrier
Put the wheel in its slot on the M5 cap screw. Screw the feed screw down through the top arm. Lay the rollers on their pins in one carrier half, slide the half onto the back bar from the cut-away with the screw head in its slot, close the other half over it and bolt them together. Run the carrier down: its lugs should land on the bottom arm with the rollers clear of the wheel.
このステップの材料:
 鋼製ダウエルピン2 個
 六角穴付きボルト2 個
 六角ナット1 個
必要な工具:
 六角レンチセット
 モンキーレンチ切削油
13
13
Fit the slip knob
Fit the slip knob
Slide the lower section over the screw's top. Drop in a steel plate, lugs in the grooves, then the brass disc on the flats, then the second steel plate. Stand the spring on it. Push the sleeve, flange first, up into the upper section's hex channel until it stops under the top wall. Push the M12 nut in under it and turn the sleeve from the top with a screwdriver to draw the nut on a few turns. Screw the two sections together with three M4 screws. Put an M5 bolt down through the sleeve into the screw and tighten it.
このステップの材料:
 圧縮ばねセット1 個六角ナット1 個六角穴付きボルト4 個
 平ワッシャー1 個
必要な工具:
六角レンチセットモンキーレンチ14
14
Set the slip
Set the slip
Put a tube in, turn the knob until the rollers grip it, and try a cut. If the knob slips before the wheel cuts, turn the sleeve with a screwdriver through the top hole so the nut moves down and squeezes the spring harder. If the tube starts to flatten before it slips, set it softer. Set it once for the tubes you cut most.
必要な工具:
六角レンチセット15
15
Cut a copper tube
Cut a copper tube
Mark a copper tube and hold it in a vice with soft jaws, or by hand for small tubes. Turn the knob until the rollers press the tube onto the wheel. Turn the cutter once round, give the screw about a quarter turn, and go on until the tube parts. The wheel should run in its own groove; the end should be square and not squeezed oval. Clean the inside of the end with a deburring tool.
このステップの材料:
 銅管1 個
必要な工具:
万力(ベンチバイス) バリ取り工具デジタルノギス 6インチ
16
16
Troubleshooting
Troubleshooting
Slip-knob tube cutter troubleshooting.
Flow
Loading...
17
17
History and honest limits
History and honest limits
**Arthur L. Parker** of Cleveland, Ohio, US 2,360,887, dated 24 October 1944, filed 21 December 1943, assigned to The Parker Appliance Company. He claimed "yieldable means connecting the knob to the feed screw for turning the same, said yieldable means being releasable to permit the knob to turn on the feed screw when a predetermined turning torque is applied". His knob sections were moulded plastic and screwed together, and his collar had lugs in the knob's grooves; ours are printed, held by three screws, and the collar is a hex nut in a hex channel. The patent gives no sizes or spring force; all of ours are ours, and the slip is set by test.
材料
11- 1 個プレースホルダー
- 2 個プレースホルダー
- 1 個プレースホルダー
- 1 個プレースホルダー
- 1 個プレースホルダー
- 2 個プレースホルダー
- 6 個プレースホルダー
- 2 個プレースホルダー
- 1 個プレースホルダー
- 1 個プレースホルダー
- 1 個プレースホルダー
必要な工具
28- プレースホルダー
- プレースホルダー
- プレースホルダー
- プレースホルダー
- プレースホルダー
- プレースホルダー
- プレースホルダー
- プレースホルダー
- プレースホルダー
- プレースホルダー
- プレースホルダー
- プレースホルダー
- プレースホルダー
- プレースホルダー
- プレースホルダー
- プレースホルダー
- プレースホルダー
- プレースホルダー
- プレースホルダー
- プレースホルダー
- プレースホルダー
- プレースホルダー
- プレースホルダー
- プレースホルダー
- プレースホルダー
- プレースホルダー
- プレースホルダー
- プレースホルダー
設計ファイル
3この設計図で作るもの
関連ブループリント
これらのブループリントは知識を共有しています — 技術、材料、原理
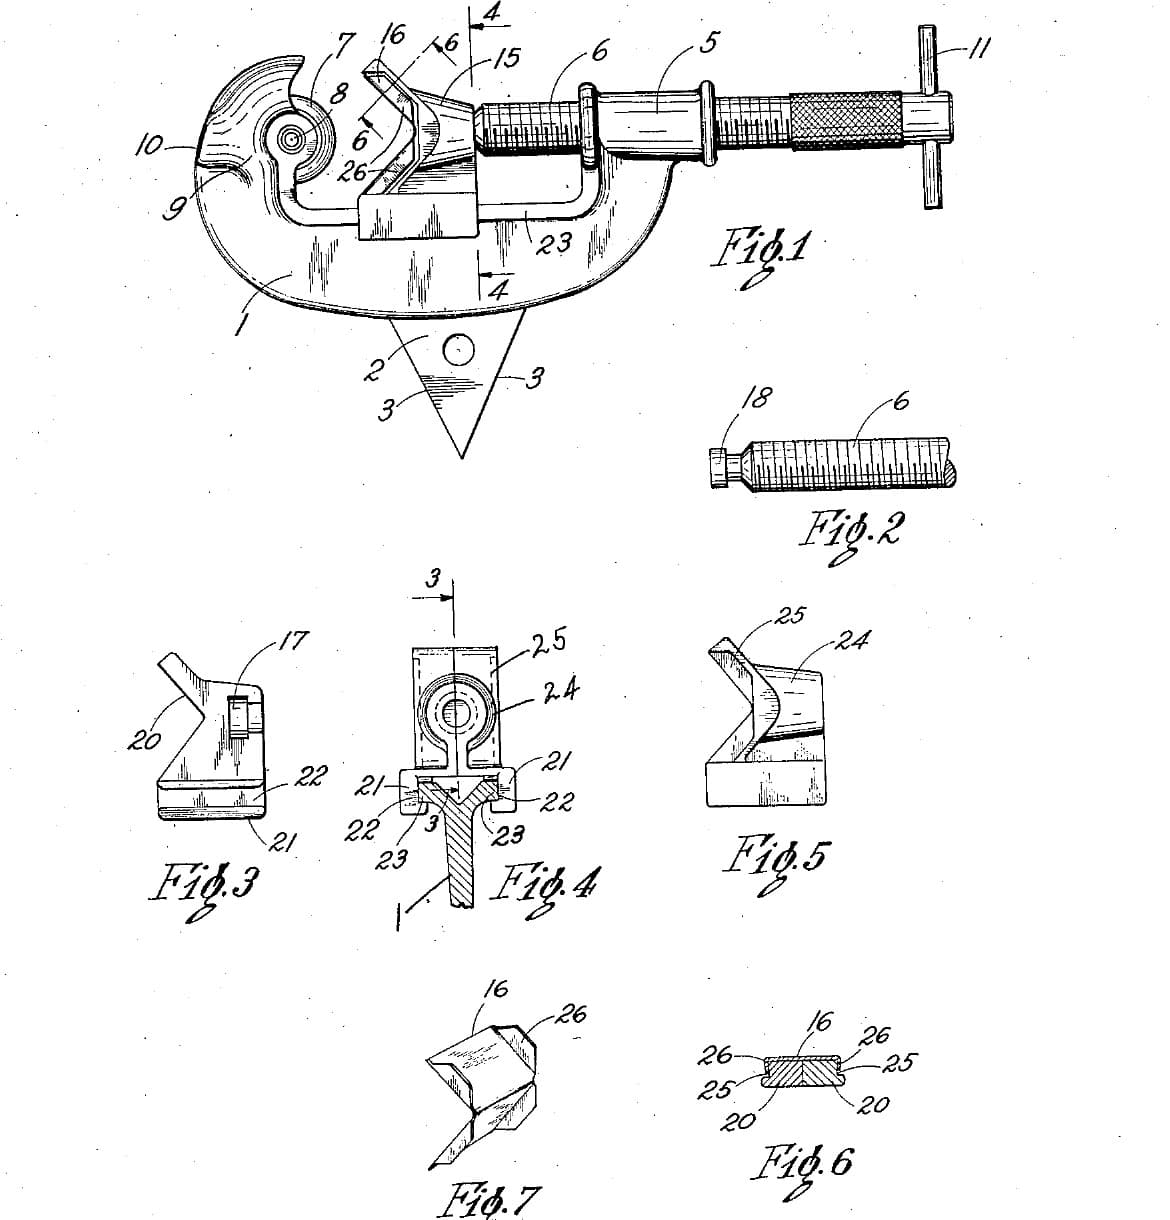
V-Slide Tubing Cutter: Two Slide Halves Held on the Ways by One Spring Clip, a Reamer on the Frame (Thewes, 1938)
Forge 作
金属加工
0
0
0
0
0
0
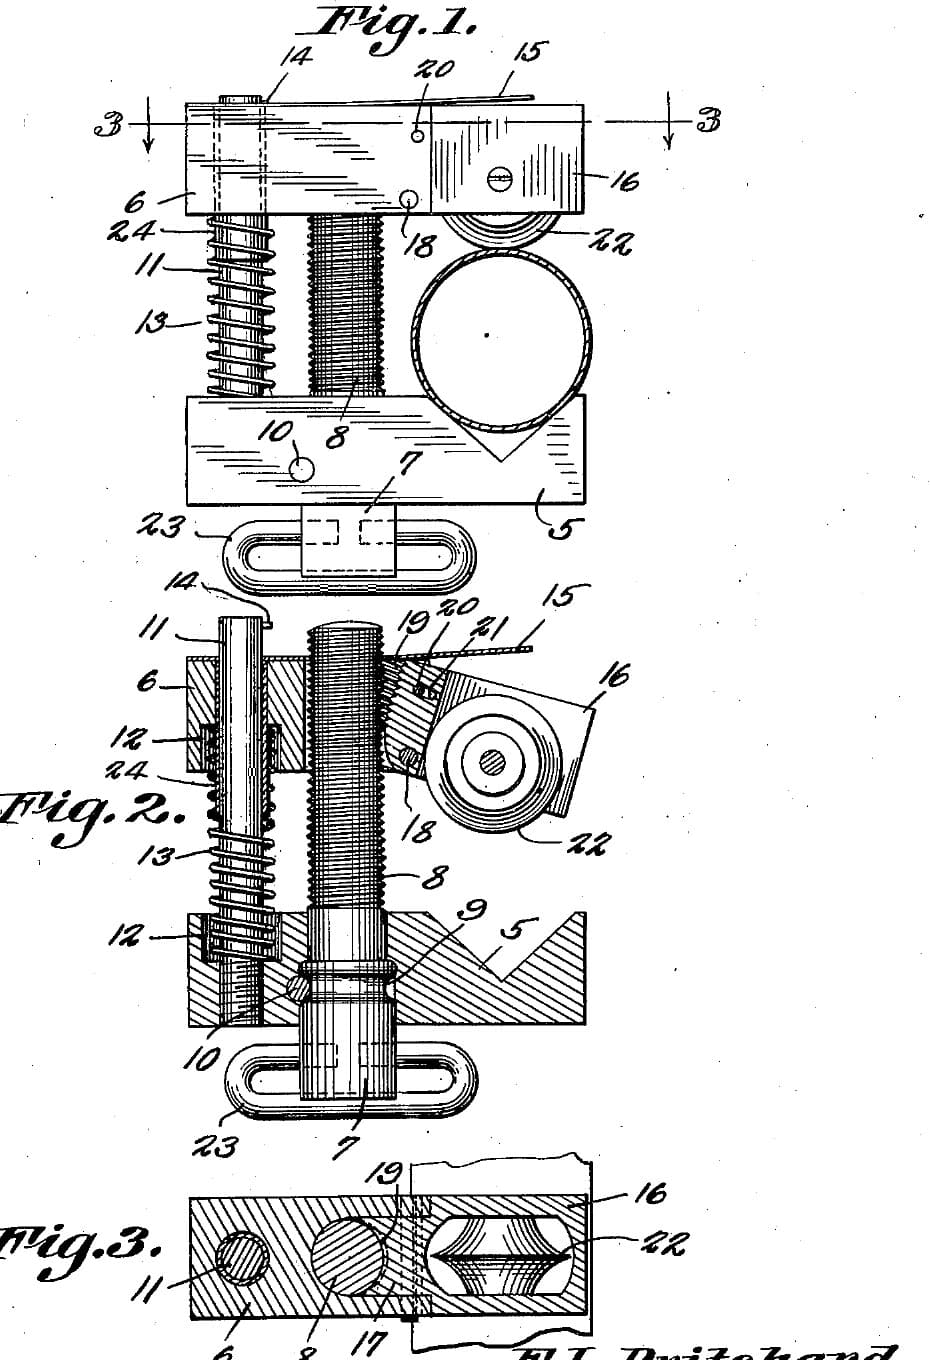
Swing-Nut Tubing Cutter: Swing the Blade Support Down and the Jaw Slides to the Tube, Up and the Screw Feeds It (Pritchard, 1941)
Forge 作
金属加工
0
0
0
0
0
0

Taps and Dies Cut on the Lathe, with Wrench and Stock
Martin 作
金属加工
25
0
0
0
6
0
CC0 パブリックドメイン
このブループリントはCC0で公開されています。許可を求めずに、自由にコピー、修正、配布、あらゆる目的で使用できます。
メイカーを応援するには、ブループリント経由で製品を購入してください。メイカーには メイカーコミッション がベンダーにより設定されています。または、このブループリントの新しいイテレーションを作成し、自分のブループリントにコネクションとして含めて収益を共有できます。