コラボレーション
アート
美容とウェルネス
工芸
文化と歴史
エンターテインメント
環境
食品と飲料
リバースエンジニアリング
科学
スポーツ
テクノロジー
ウェアラブル
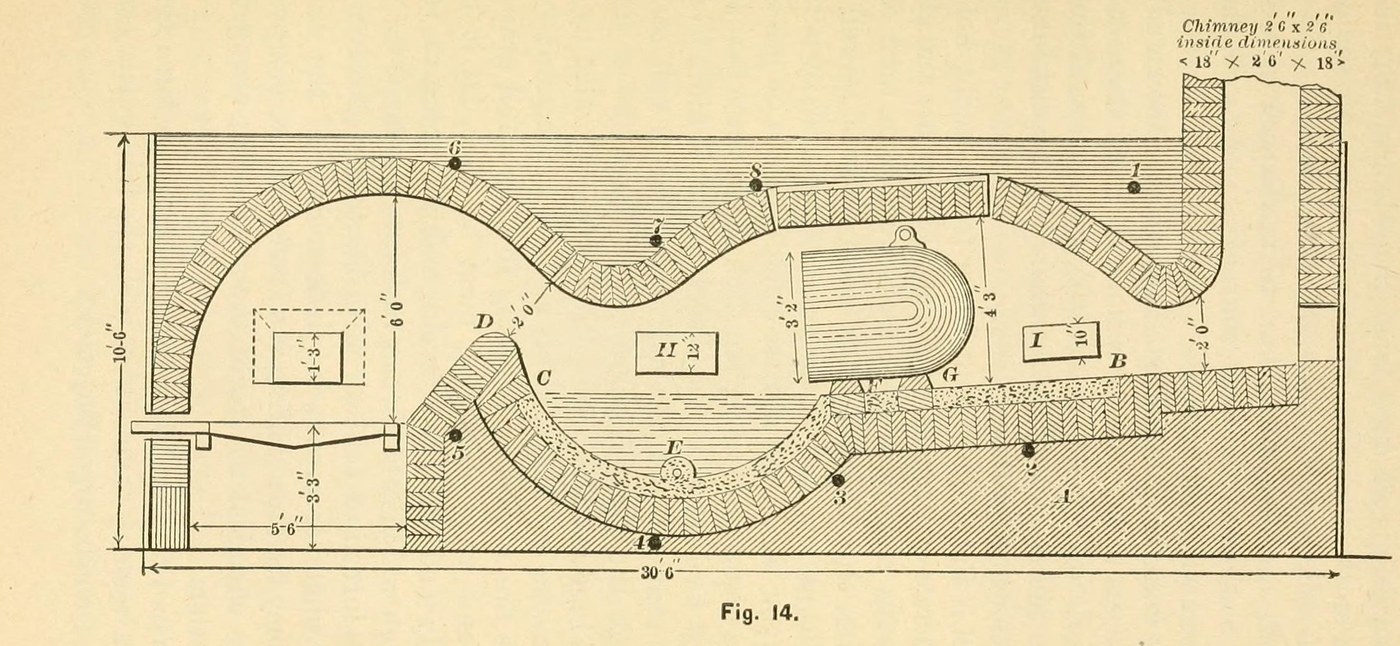


Reverberatory Furnace: the Air Furnace for Melting Cast Iron (Bolland, 1893)
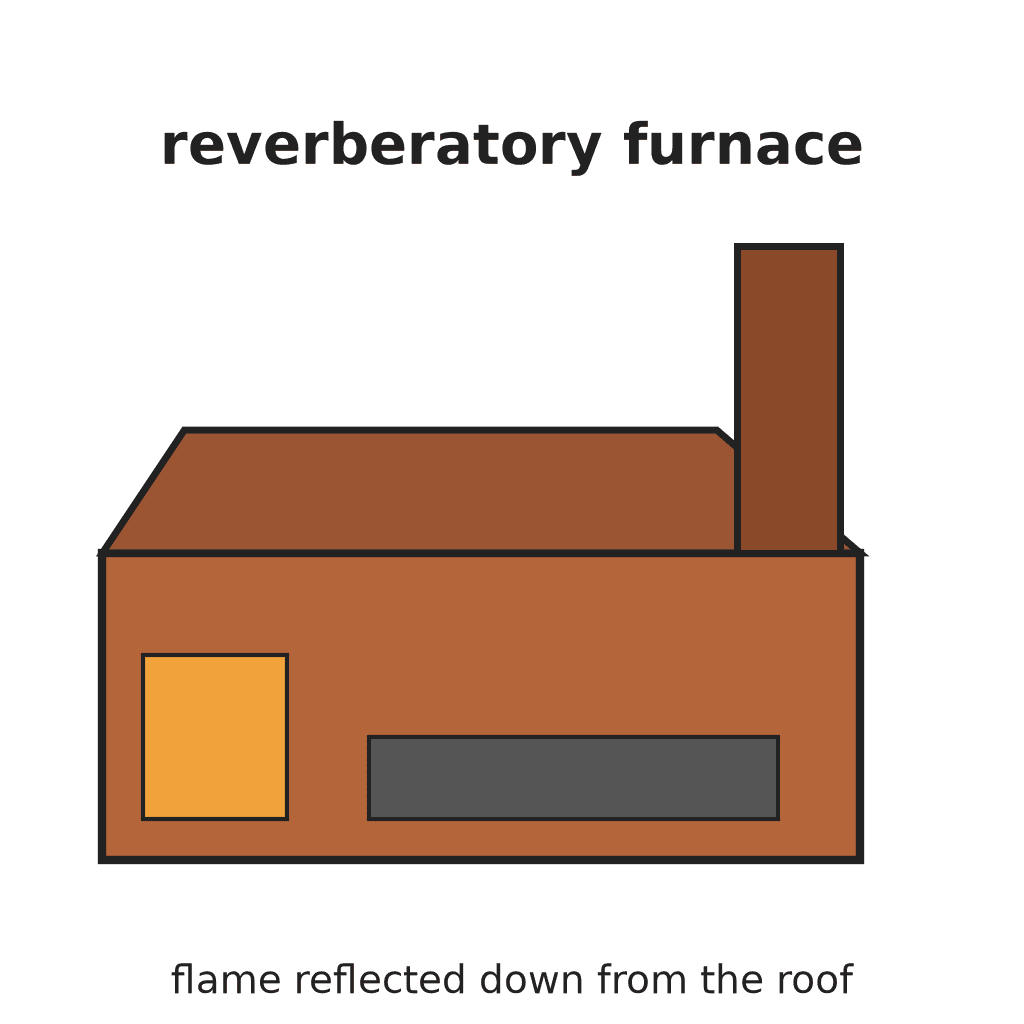
An air furnace melts iron apart from the fuel: coal burns on a grate at one end, and the flame is thrown down from a low arched roof onto the iron on the bed, then leaves by a tall chimney. The iron stays cleaner than in a cupola, so founders used it for guns, rolls, heavy scrap and lumps too big for the cupola.
This furnace is 30 ft 6 in long and 7 ft wide outside, 5 ft wide inside, cased in bolted wrought-iron plates.
Source: S. Bolland, The Iron Founder Supplement (1893), pp. 55-67. Unknown: brick sizes, plate thickness. Picture: Fig. 14 of the book.
エキスパート
Unknown
手順
1
1
Lay the foundation
Lay the foundation
Build the foundation solid of common material up to the firebrick, shaped so the firebrick bed slopes down from the chimney end to the reservoir. Keep the bricks from B to C 6 in below the finished bottom, to leave room for the sand bed.
このステップの材料:
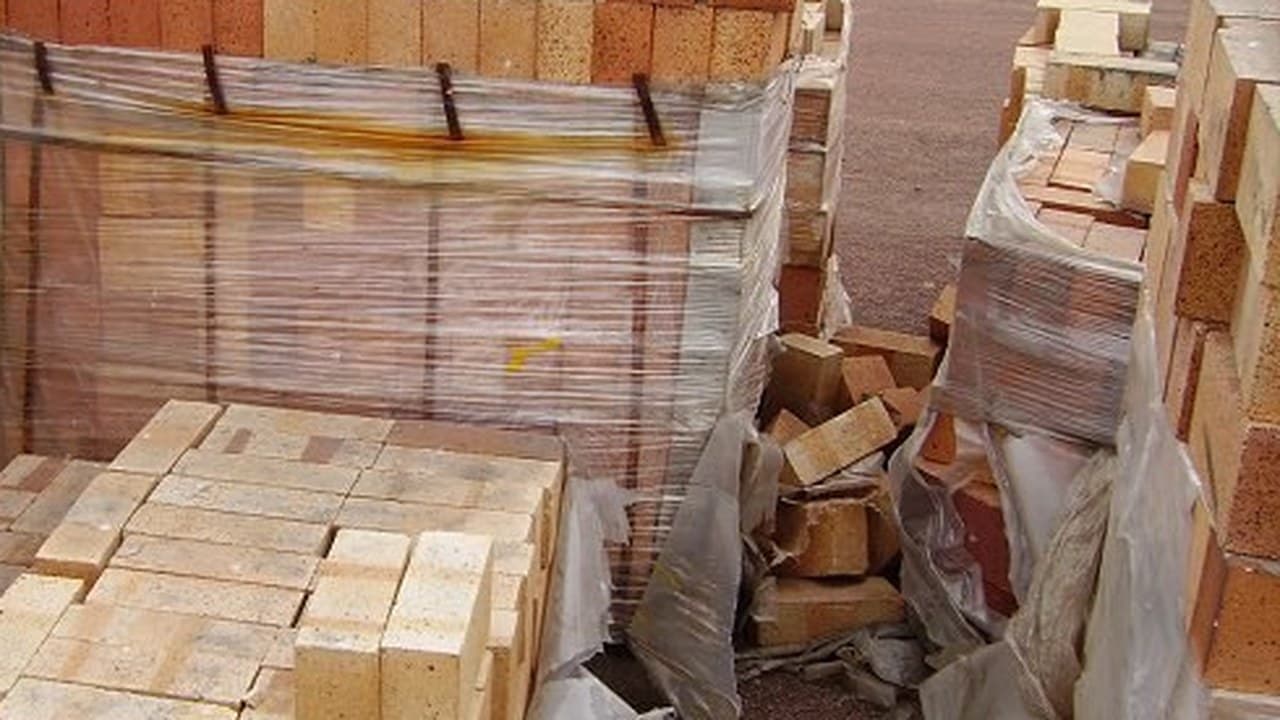
 れんが1 foundation
必要な工具:
 左官ごて
 不明な寸法
2
2
Build the fireplace, bridge and roof
Build the fireplace, bridge and roof
Build the fireplace the full width of the furnace (5 ft inside, grate 5 ft long). Set the bridge wall at least 2 ft 3 in from the face of the grate bars. Build bridge, sides, roof and fireplace of the most refractory firebrick. Arch the roof the whole length, low, so it throws the flame down onto the bed; fill above the arches with common material. Leave the side charging hole (5 x 4 ft), the top hole (furnace width x 6 ft), the puddling hole over the reservoir, a sight hole and the tap hole.
このステップの材料:
 耐火粘土れんが1 lining, bridge, roof
 耐火粘土モルタル1 settingれんが1 filling above the arch
 不明な金属1 grate bars
必要な工具:
左官ごて3
3
Case it in plates and bolt it
Case it in plates and bolt it
Case the whole structure in wrought-iron plates, held at the corners with angle-irons. Run eight chief anchor bolts from side to side, clear of all working parts. Join everything with bolts, not rivets, so any plate can come off for repairs. Line the charging doors with firebrick.
このステップの材料:
 鉄の板1 casing, doors
 錬鉄の丸棒8 anchor bolts不明な金属1 angle-irons, door frames耐火粘土れんが1 door linings
必要な工具:
不明な寸法4
4
Build the chimney
Build the chimney
Build the chimney square, 30 to 40 ft high, with an inside course of firebrick (Fig. 14: 2 ft 6 in square inside). Make its area a little larger than the fireplace. Put a damper on top that can be worked from the bottom: it alone sets the draught. It can stand apart on a sole plate on four columns.
このステップの材料:
耐火粘土れんが1 inside courseれんが1 chimney不明な金属1 damper必要な工具:
左官ごて5
5
Make the sand bottom
Make the sand bottom
Make the bottom from B round the reservoir to C with 8 parts fire-sand to 1 of clay and 1 of ground coke. Fire it well for one to two hours before the first charge; it should last ten heats. Fill the tap hole with fire-sand and a little coal dust, which will not cake when hot.
このステップの材料:
 砂8 parts
 粘土1 part
 冶金用コークス1 part, ground
必要な工具:
 瀝青炭
6
6
Charge and melt
Charge and melt
Fire with soft, non-caking bituminous coal and keep a full grate; clinker quickly and leave no holes for cold air. Charge all the iron at the start: first layer of pigs lengthwise and a little apart, next layers across, open so the flame passes. Set heavy pieces on firebricks so the flame plays all round them. Through the puddling hole, dip test pieces and skim the iron clean. To blend two grades, thrust green saplings into the melt. Close the damper before tapping. Look the furnace over after every heat.
必要な工具:
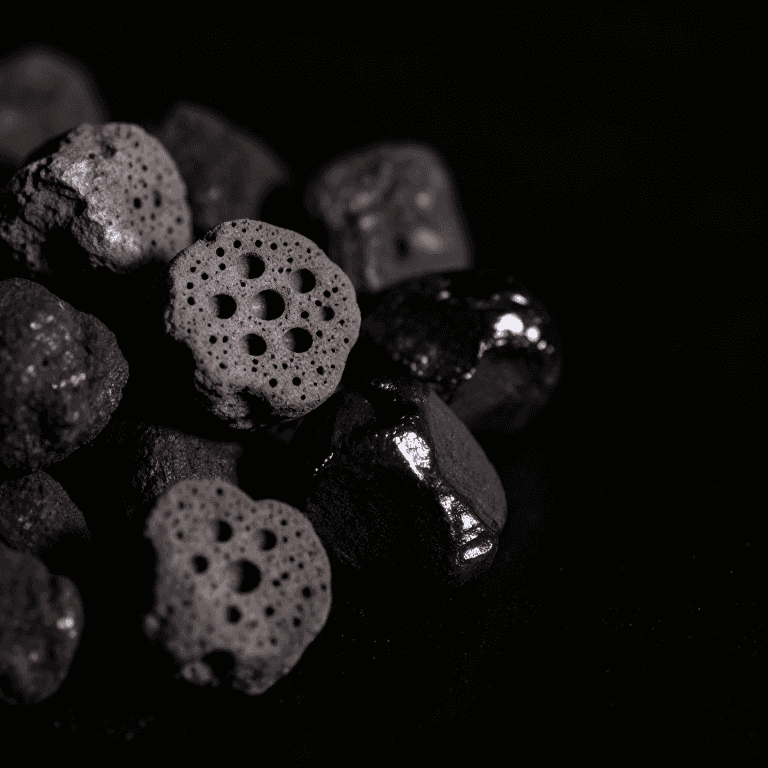
瀝青炭 銑鉄の塊
 堅木の若木
 穴あきすくい網
材料
9- 1 chimneyプレースホルダー
- 1 inside courseプレースホルダー
- 1 settingプレースホルダー
- 1 damperプレースホルダー
- 1 casing, doorsプレースホルダー
- 8 anchor boltsプレースホルダー
- 8 partsプレースホルダー
- 1 partプレースホルダー
- 1 part, groundプレースホルダー
接続ブループリントの材料



この設計図で作るもの
CC0 パブリックドメイン
このブループリントはCC0で公開されています。許可を求めずに、自由にコピー、修正、配布、あらゆる目的で使用できます。
メイカーを応援するには、ブループリント経由で製品を購入してください。メイカーには メイカーコミッション がベンダーにより設定されています。または、このブループリントの新しいイテレーションを作成し、自分のブループリントにコネクションとして含めて収益を共有できます。