
Casting Copper Tools — Shaping the First Metal
Maagizo
Prerequisite: Smelting Copper
Prerequisite: Smelting Copper
You need copper ingots from smelting. Complete this blueprint first:
Mchoro wa Sharti la Awali
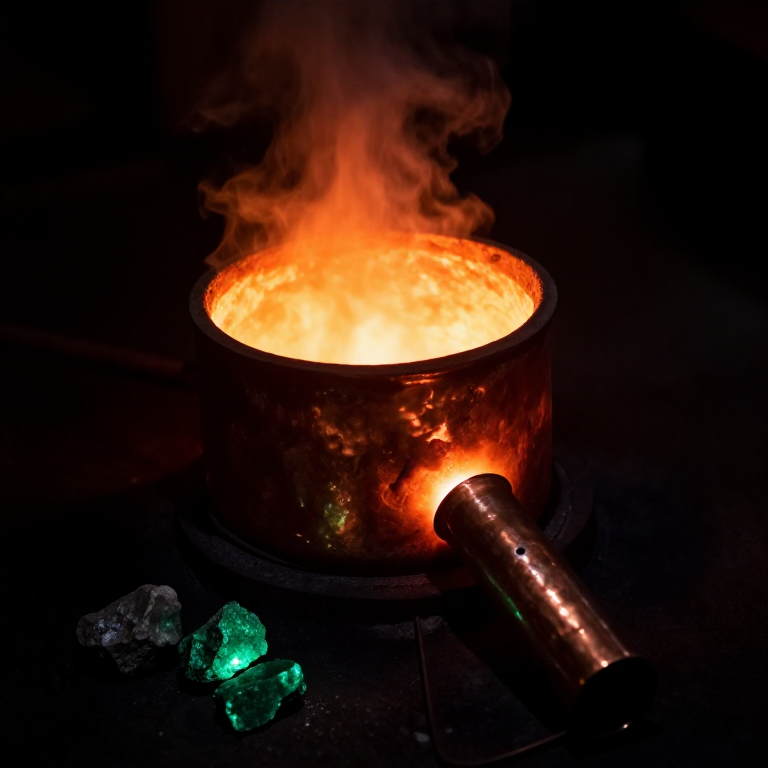
Smelting Copper from Malachite — The Birth of Metallurgy
Vifaa kwa hatua hii:
 Shaba-njekundu0.5 kg
 Sanduku la kimoldi linaloweza kurekebishwa1 pc
Zana zinazohitajika:
 Tanuru
 Koleo la kaure ya kuyeyushia
 Nyundo yenye kichwa cha duara
 Fuawe
Fuawe Sandarusi (karatasi ya kusugua)
Making the Mold
Making the Mold
Open Mold Casting (Simplest Method)
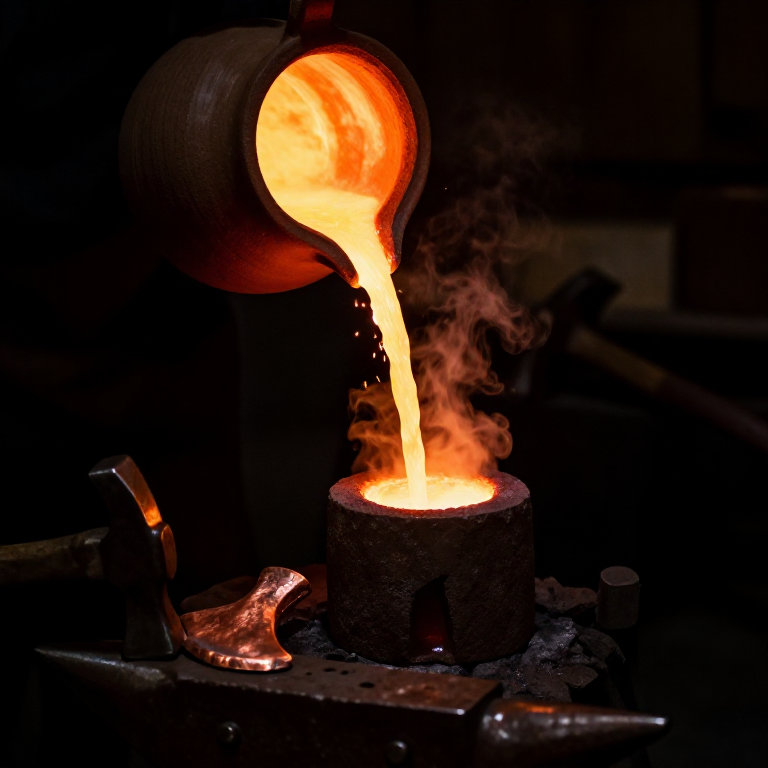
The earliest casting method: carve the shape of your tool into a flat stone or packed sand, pour molten copper in, let it solidify.
Stone Mold
- Find a piece of soapstone or sandstone — soft enough to carve, heat-resistant.
- Carve the profile of your tool into the flat face, 1-2cm deep. For a simple axe head, carve a trapezoidal shape.
- Carve a pouring channel from the edge to the mold cavity.
- Smooth the cavity — rough surfaces create rough castings.
- Pre-heat the mold near the kiln before pouring. Cold mold = premature freezing = incomplete fill.
Two-Part Mold (Advanced)
For thicker tools (axe heads, chisels), you need a two-part mold:
- Carve half the tool shape into each of two stones
- Align them with registration marks (notches that interlock)
- Bind together with wet clay or cord
- Pour through a hole in the top
This was the technique used for Ötzi's copper axe — a flat axe cast in a two-part stone mold, then cold-hammered to final edge.
Vifaa kwa hatua hii:
 Udongo5 kgSanduku la kimoldi linaloweza kurekebishwa1 pcWaya wa shaba mtupu 10 AWG0.5 kg
Melting and Pouring
Melting and Pouring
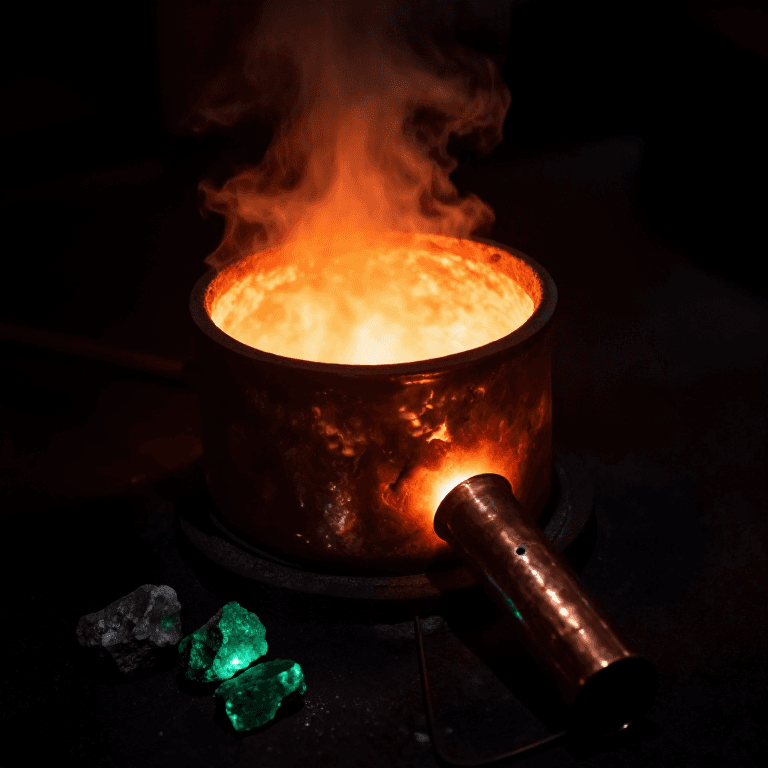
Melting the Copper
- Place copper pieces in the crucible. Fill loosely — copper expands when heated.
- Place crucible in the kiln, surrounded by charcoal.
- Bring to full temperature with bellows. Copper melts at 1085°C.
- Signs of melting: copper surface becomes mirror-bright, then liquid. Do not overheat — excessive temperature causes porosity from dissolved gases.
- Skim slag (dark crust) from the surface with a stick before pouring.
The Pour
- Lift the crucible with tongs. Move smoothly — sloshing = spills.
- Pour in one continuous, steady stream into the mold's pouring channel.
- Fill the mold completely — stopping mid-pour creates cold-shut defects.
- Let solidify naturally. Copper solidifies in 30-60 seconds for small castings.
- Wait at least 5 minutes before removing from mold.
Vifaa kwa hatua hii:
 Chombo cha Kuyeyushia1 pc
 Unga wa mkaa ulioamilishwa10 kgWaya wa shaba mtupu 10 AWG0.5 kgSanduku la kimoldi linaloweza kurekebishwa1 pc
Cold Working and Finishing
Cold Working and Finishing
Work Hardening
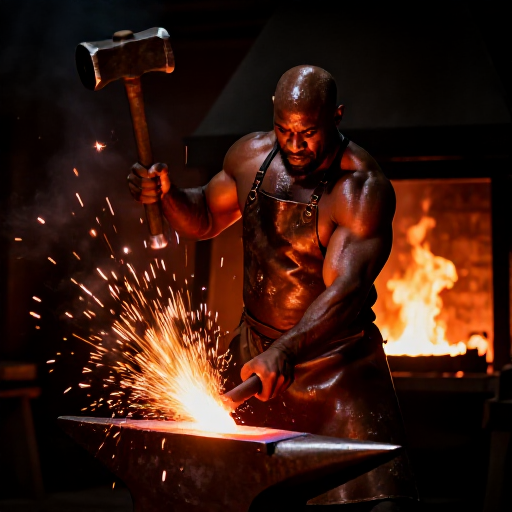
Cast copper is relatively soft. Ancient smiths discovered that hammering (cold working) makes it significantly harder — this is work hardening, where deformation compresses the crystal structure.
- Remove the casting from the mold. Break off the pouring sprue.
- Hammer the tool on an anvil/flat stone. Focus on the working edge (blade, cutting surface).
- Hammer in overlapping strokes from center outward. Rotate the piece regularly.
- When the copper becomes hard and brittle (resists further hammering, starts cracking at edges), it's fully work-hardened.
Annealing (If Needed)
If you need to reshape a work-hardened piece:
- Heat it to cherry red (~600°C) in the kiln
- Quench in water
- The copper is now soft again — you can continue hammering
This heat-hammer cycle (anneal → cold work → anneal) was the core metallurgical technique for 3,000 years.
Finishing
- Grind the working edge on sandstone to create a sharp blade.
- Polish with progressively finer abrasive (coarse sand → fine sand → leather).
What You've Made
A functional copper tool — but it's soft compared to stone. Copper axes lose their edge quickly. To make a truly superior metal, you need tin — see Blueprint 06: Extracting Tin and Blueprint 07: Alloying Bronze.
Vifaa kwa hatua hii:
Udongo5 kgSanduku la kimoldi linaloweza kurekebishwa1 pcWaya wa shaba mtupu 10 AWG0.5 kgVifaa
8- Kishikilia Nafasi
- 1 kipandeKishikilia Nafasi
- 5 kgKishikilia Nafasi
- Kishikilia Nafasi
- Kishikilia Nafasi
- Kishikilia Nafasi
- 10 kgKishikilia Nafasi
- 1 karatasiKishikilia Nafasi
Zana Zinazohitajika
5- Kishikilia Nafasi
- Kishikilia Nafasi
- Kishikilia Nafasi
- Kishikilia Nafasi
- Kishikilia Nafasi
Vifaa vya Michoro Iliyounganishwa
CC0 Umma Wote
Mchoro huu umetolewa chini ya CC0. Uko huru kunakili, kubadilisha, kusambaza, na kutumia kazi hii kwa madhumuni yoyote, bila kuomba ruhusa.
Saidia Mtengenezaji kwa kununua bidhaa kupitia Mchoro wao ambapo wanapata Kamisheni ya Mtengenezaji iliyowekwa na Wachuuzi, au unda marudio mapya ya Mchoro huu na uiunganishe kama kiungo katika Mchoro wako kuchangia mapato.