សិល្បៈ
សម្រស់ និង សុខុមាលភាព
សិប្បកម្ម
វប្បធម៌ និង ប្រវត្តិសាស្ត្រ
ការកម្សាន្ត
បរិស្ថាន
ម្ហូប និង ភេសជ្ជៈ
វិស្វកម្មបញ្ច្រាស
វិទ្យាសាស្ត្រ
កីឡា
បច្ចេកវិទ្យា
ប្រដាប់ដែលស្លៀក
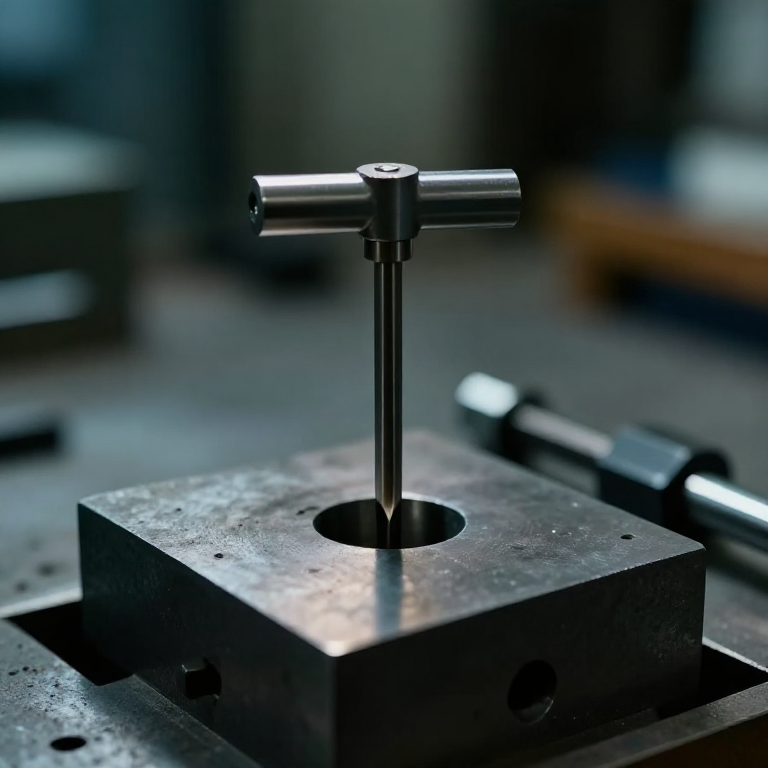


Measuring a Bore: The Transfer Measurement
Measuring the outside of something is easy: you can get a micrometer round it and see what you are doing. A hole gives you neither. The measuring faces are buried, you cannot see whether they are square to the axis or across the true diameter, and everything you can feel is inside a shadow.
The answer is to not measure the hole at all. A telescoping gauge is set INSIDE the bore, locked, withdrawn, and then measured in the open with a micrometer. The hole's size is carried out to where you can see it. That is the transfer measurement, and it is one of the oldest ideas in the workshop.
Everything therefore depends on the gauge leaving the bore at the size it had inside it, which is entirely a matter of feel.
មធ្យម
3 hours
ការណែនាំ
1
1
Every wrong line across a circle is too short
Every wrong line across a circle is too short
Draw a circle and draw several straight lines across it. Only the one through the centre is the diameter, and every other line is shorter.
This single fact governs bore measurement. Any misalignment — the gauge tipped, or off-centre, or not square to the axis — makes the reading SMALL. Bore errors have a direction, and that is a gift: when you are hunting for the right number you are hunting for the LARGEST one across the bore.
Along the axis it is the other way. Tip the gauge out of square and it spans a longer, slanted path, so along the bore's length you want the SMALLEST reading. Largest across, smallest along — that pair of rules is the whole technique.
ឧបករណ៍ដែលត្រូវការ៖
 បន្ទាត់
2
2
Set the gauge a little large and let the bore size it
Set the gauge a little large and let the bore size it
Choose the telescoping gauge whose range brackets the bore. Compress the plungers, insert it, let it expand, and set the lock so the plungers move with a light drag rather than free or tight.
Set it slightly LARGER than the bore, then rock the handle through the centre plane. As the gauge swings through the true diameter — the longest line — the bore squeezes it down to exactly that size. The bore has done the setting, and your hand has only supplied the sweep.
Set it too tight and you will spring the plungers or score the bore and still read large. Set it too loose and it collapses on the way out. The drag you want is the least that will hold it against gravity.
ឧបករណ៍ដែលត្រូវការ៖
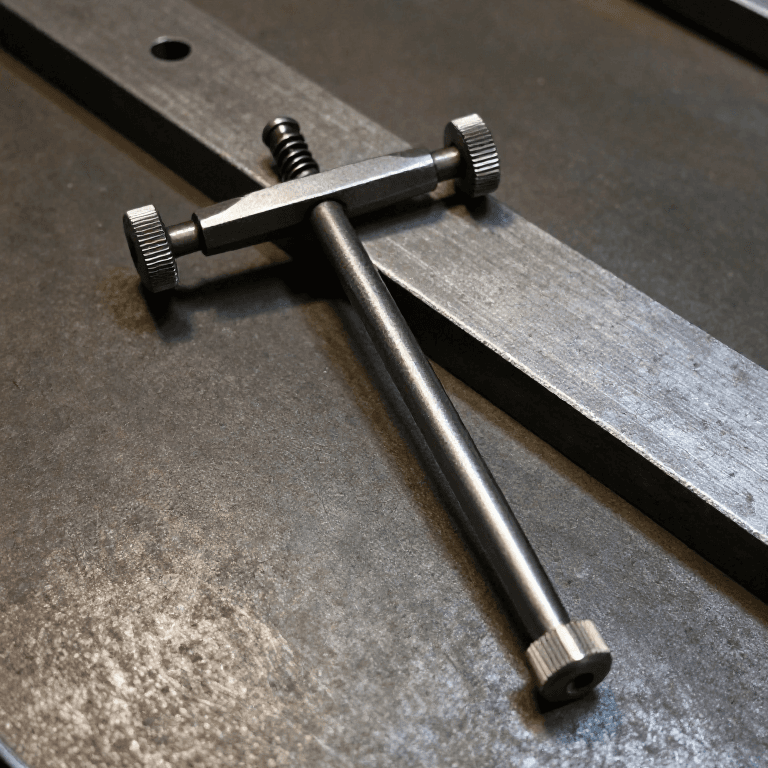
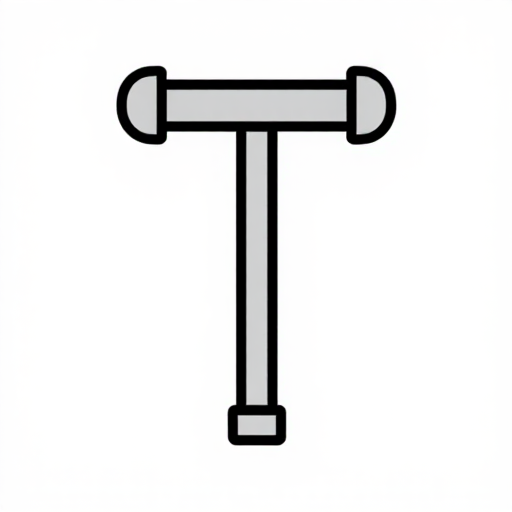 ឈុតវាស់រន្ធបត់បាន
3
3
Withdraw without touching anything
Withdraw without touching anything
Tighten the lock fully while the gauge is still in the bore, then draw it straight out along the axis without letting a plunger catch the edge.
A plunger clipping the bore mouth on the way out resets the whole measurement and does it silently — the gauge comes out feeling exactly as it did going in. If you feel ANY contact on withdrawal, put it back and start again. That single discipline is the difference between a transfer measurement and a guess.
Measure it immediately. A locked telescoping gauge is not a storage device; the lock creeps, and a gauge set aside while you answer the door is a gauge set to nothing in particular.
ឧបករណ៍ដែលត្រូវការ៖
ឈុតវាស់រន្ធបត់បាន4
4
Micrometer the gauge with the same rocking motion
Micrometer the gauge with the same rocking motion
Hold the gauge and bring the micrometer onto the plunger ends, rocking the gauge between the anvils exactly as you rocked a round bar. Take the LARGEST reading, closing on the ratchet.
The plunger ends are spherical, so the same geometry applies again: any contact not across their true diameter reads short. You are measuring a round thing, and the rule for round things has not changed.
Do not let the micrometer compress the gauge. If the ratchet pushes the plungers back in, the lock is too loose, and the number you are about to write down is the micrometer's opinion rather than the bore's.
ឧបករណ៍ដែលត្រូវការ៖
ឈុតវាស់រន្ធបត់បាន មីក្រូម៉ែត្រ
5
5
Take it at three depths and two angles
Take it at three depths and two angles
កំពុងផ្ទុកសៀវភៅ Jupyter…
ឧបករណ៍ដែលត្រូវការ៖
ឈុតវាស់រន្ធបត់បានមីក្រូម៉ែត្រ ម៉ាស៊ីនគិតលេខ
6
6
Prove the method against a hole you already know
Prove the method against a hole you already know
Find or make a bore whose size you can establish independently — a reamed hole, or better, a ring the outside of which you can micrometer and the wall thickness of which you can measure. Then measure it with the telescoping gauge five times from scratch.
Compare your five against the known value. The offset tells you whether your feel runs tight or slack; the spread tells you what your bore measurements are actually worth.
Beginners almost always read SMALL, for the reason in step 1: every mistake available to you shortens the line. If your five readings sit below the true size, you are not unlucky, you are under-rocking — sweep further through the centre before you lock.
ឧបករណ៍ដែលត្រូវការ៖
ឈុតវាស់រន្ធបត់បានមីក្រូម៉ែត្រប្លង់ពាក់ព័ន្ធ
ប្លង់ទាំងនេះចែករំលែកចំណេះដឹង — បច្ចេកទេស សម្ភារៈ ឬគោលការណ៍


CC0 សាធារណៈ
ប្លង់នេះត្រូវបានចេញផ្សាយក្រោម CC0។ អ្នកមានសិទ្ធិចម្លង កែប្រែ ចែកចាយ និងប្រើប្រាស់ដោយមិនចាំបាច់សុំអនុញ្ញាត។
គាំទ្រអ្នកបង្កើតដោយទិញផលិតផលតាមរយៈប្លង់របស់ពួកគេ ដែលពួកគេទទួលបាន កម្រៃជើងសារអ្នកបង្កើត កំណត់ដោយអ្នកលក់ ឬបង្កើតកំណែថ្មីនៃប្លង់នេះ ហើយបញ្ចូលជាការតភ្ជាប់ក្នុងប្លង់របស់អ្នកដើម្បីចែករំលែកចំណូល។