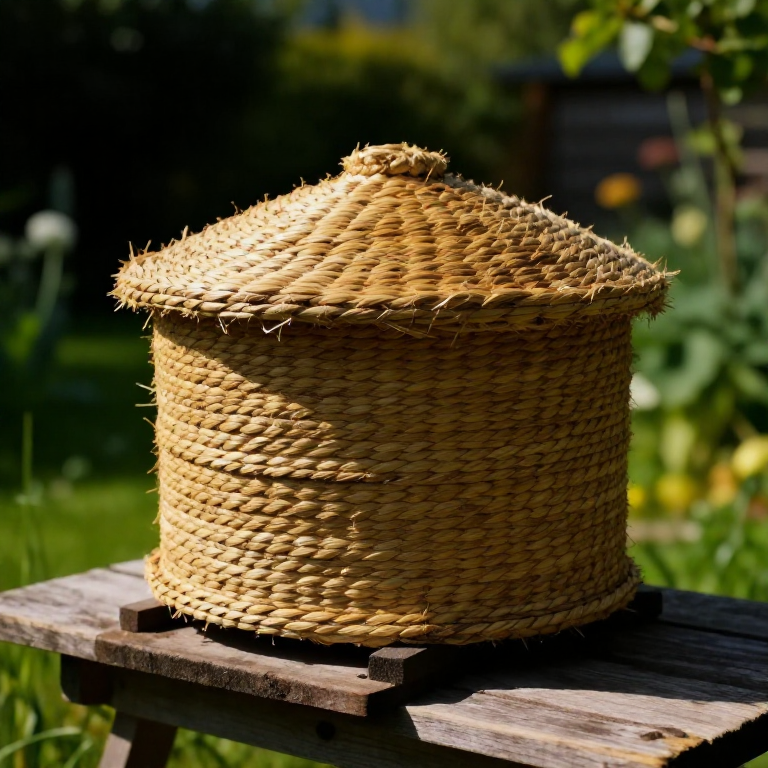
Making a Coiled-Straw Bee Skep — The Traditional Beehive Before Wooden Boxes
ការណែនាំ
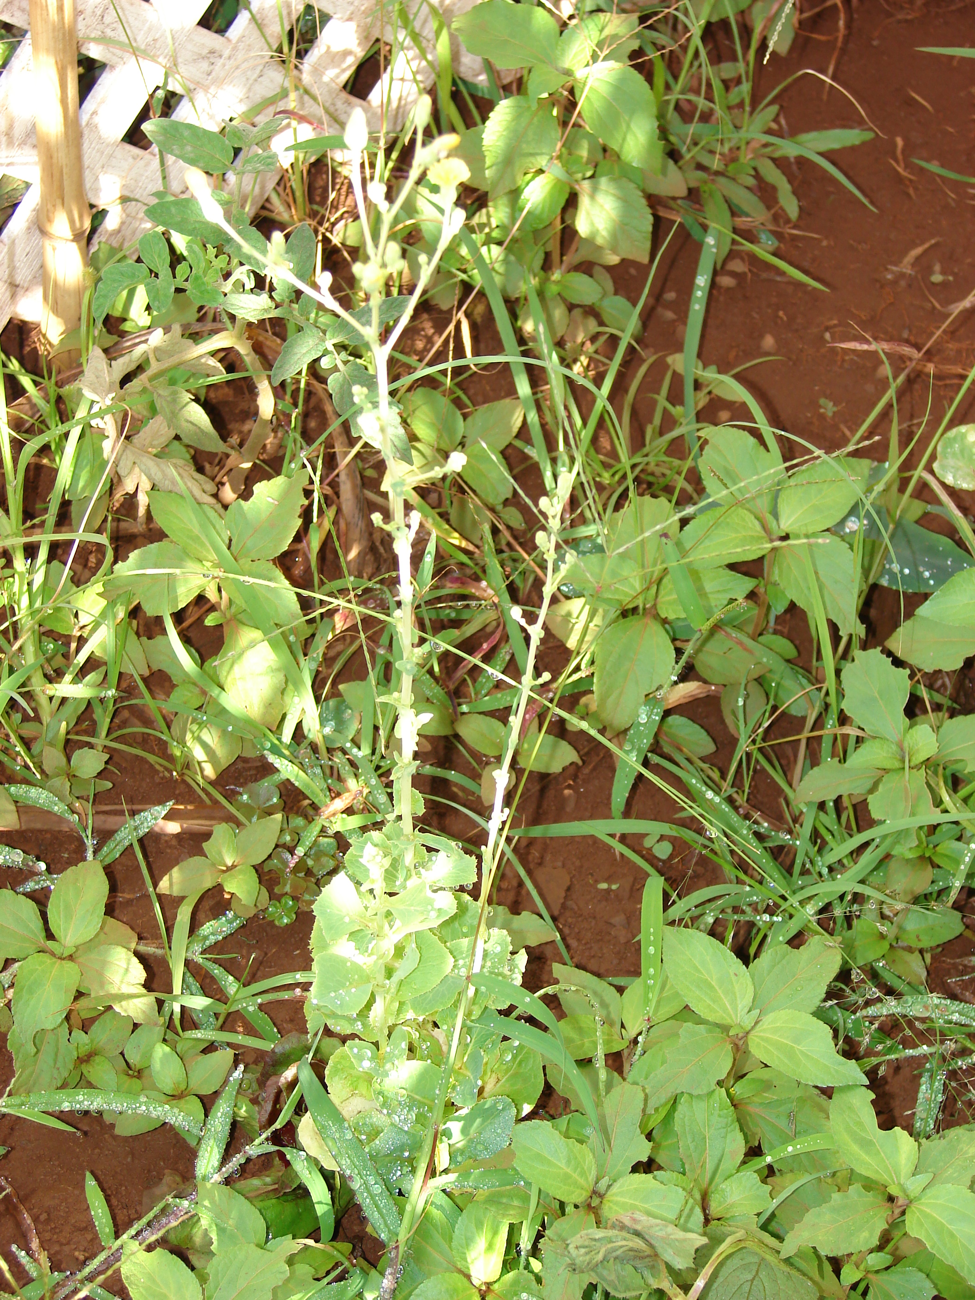
Harvest and clean long rye straw
Harvest and clean long rye straw
Materials for this step:
 Rye Straw1 bundle
Tools needed:
 Knife
KnifeSplit and soak the binding cane
Split and soak the binding cane
Materials for this step:
 Split Cane1 bundle
 Water3 liter
Tools needed:
KnifeMake the girth gauge
Make the girth gauge
Tools needed:
 Skep Girth Gauge
Bind the crown
Bind the crown
Materials for this step:
Rye Straw1 bundleSplit Cane1 meterTools needed:
 Awl
AwlFeed straw into an even rope
Feed straw into an even rope
Materials for this step:
Rye Straw1 bundleTools needed:
Skep Girth GaugeSew the first coils to the crown
Sew the first coils to the crown
Materials for this step:
Split Cane1 meterTools needed:
AwlSpiral outward to start the dome
Spiral outward to start the dome
Materials for this step:
Rye Straw1 bundleSplit Cane1 meterTools needed:
AwlBuild the domed wall downward
Build the domed wall downward
Materials for this step:
Rye Straw1 bundleSplit Cane1 meterTools needed:
AwlSkep Girth GaugeKeep the courses even
Keep the courses even
Materials for this step:
Rye Straw1 bundleTools needed:
AwlWiden to the finished base
Widen to the finished base
Materials for this step:
Rye Straw1 bundleSplit Cane1 meterTools needed:
AwlCut the flight entrance
Cut the flight entrance
Tools needed:
KnifeFinish and lock the base coil
Finish and lock the base coil
Materials for this step:
Split Cane1 meterTools needed:
AwlTrim the skep clean
Trim the skep clean
Tools needed:
KnifeClom the outside for weatherproofing
Clom the outside for weatherproofing
Materials for this step:
 Cow Dung2 kg
 Ball Clay1 kg
Cure the finished skep
Cure the finished skep
សម្ភារៈ
6- 1 bundleកន្លែងទុក
- 6 meterកន្លែងទុក
Connected Blueprint Materials
ប្លង់ពាក់ព័ន្ធ
ប្លង់ទាំងនេះចែករំលែកចំណេះដឹង — បច្ចេកទេស សម្ភារៈ ឬគោលការណ៍
Related blueprints
Other builds that share materials, tools, or techniques with this one.


CC0 សាធារណៈ
ប្លង់នេះត្រូវបានចេញផ្សាយក្រោម CC0។ អ្នកមានសិទ្ធិចម្លង កែប្រែ ចែកចាយ និងប្រើប្រាស់ដោយមិនចាំបាច់សុំអនុញ្ញាត។
គាំទ្រអ្នកបង្កើតដោយទិញផលិតផលតាមរយៈប្លង់របស់ពួកគេ ដែលពួកគេទទួលបាន កម្រៃជើងសារអ្នកបង្កើត កំណត់ដោយអ្នកលក់ ឬបង្កើតកំណែថ្មីនៃប្លង់នេះ ហើយបញ្ចូលជាការតភ្ជាប់ក្នុងប្លង់របស់អ្នកដើម្បីចែករំលែកចំណូល។