សិល្បៈ
សម្រស់ និង សុខុមាលភាព
សិប្បកម្ម
វប្បធម៌ និង ប្រវត្តិសាស្ត្រ
ការកម្សាន្ត
បរិស្ថាន
ម្ហូប និង ភេសជ្ជៈ
អនាគតបៃតង
វិស្វកម្មបញ្ច្រាស
វិទ្យាសាស្ត្រ
កីឡា
បច្ចេកវិទ្យា
ប្រដាប់ដែលស្លៀក
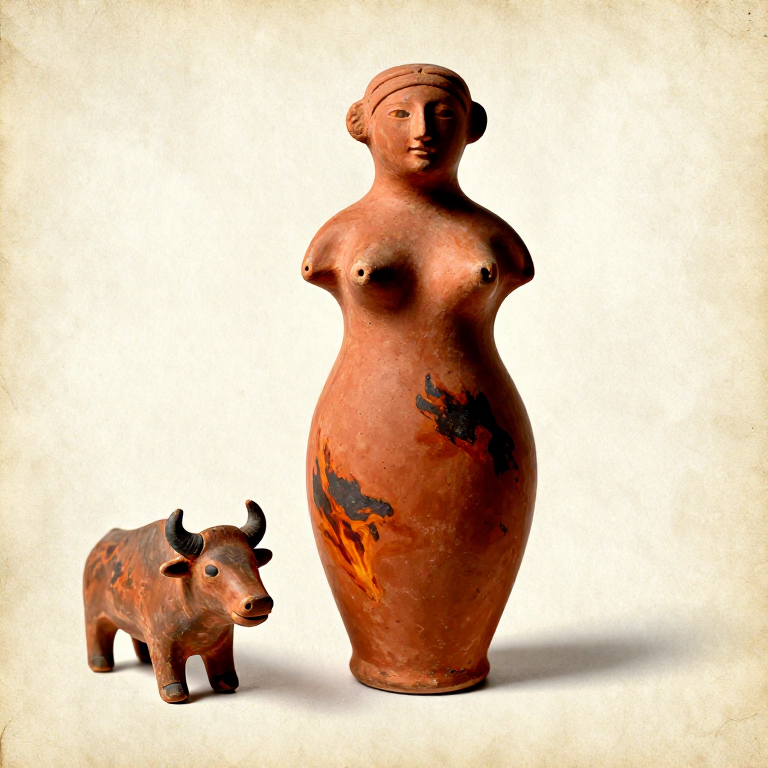
Hand-Forming a Clay Figurine and Pit-Firing — Prehistoric Ceramic Art
Clay figurines are among the oldest known ceramic objects in human history. The Venus of Dolni Vestonice, discovered in the Czech Republic, is a fired clay figurine of a female form dating to approximately 29,000 to 25,000 years ago — predating the invention of pottery by over 15,000 years. This demonstrates that humans understood the transformation of clay by fire (ceramic technology) long before they applied it to making containers. Hundreds of clay figurine fragments found at Dolni Vestonice and the nearby site of Pavlov suggest these were produced in quantity, depicting humans, bears, lions, mammoths, horses, foxes, and abstract forms. Some appear to have been deliberately shattered, possibly in ritual contexts. The technology is simple but requires understanding of clay preparation: raw clay must be tempered (mixed with a non-plastic material such as fine sand, crushed shell, or plant fibre) to prevent cracking during drying and firing. Without temper, water trapped in the clay body converts to steam during firing and shatters the piece. This blueprint teaches the complete process of making a small figurine from wild clay using only Stone Age methods: preparing the clay, hand-forming the figure, slow drying, and pit-firing in an open fire.
ចាប់ផ្តើម
2-3 hours (plus drying and firing)
ការណែនាំ
1
1
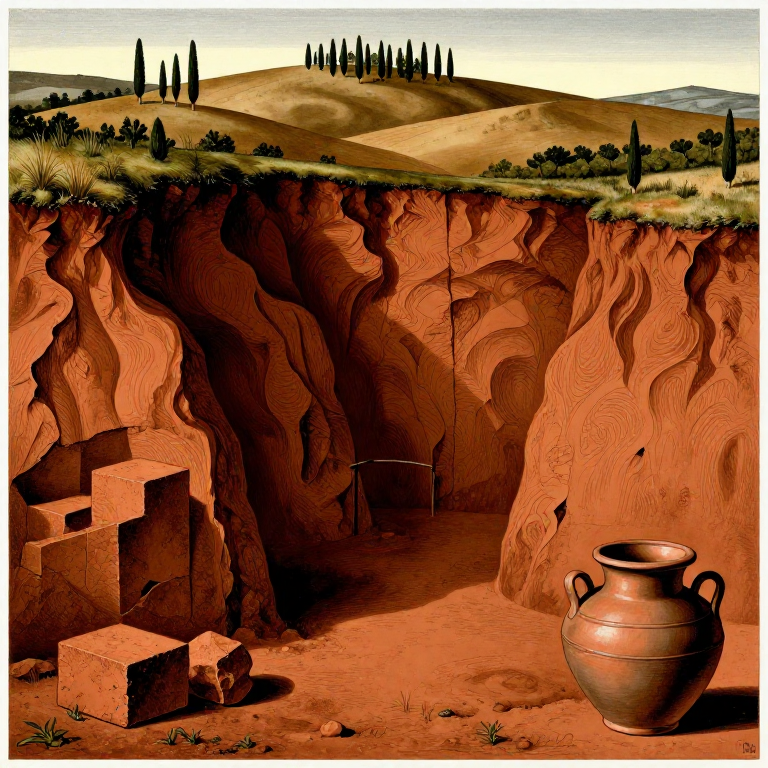
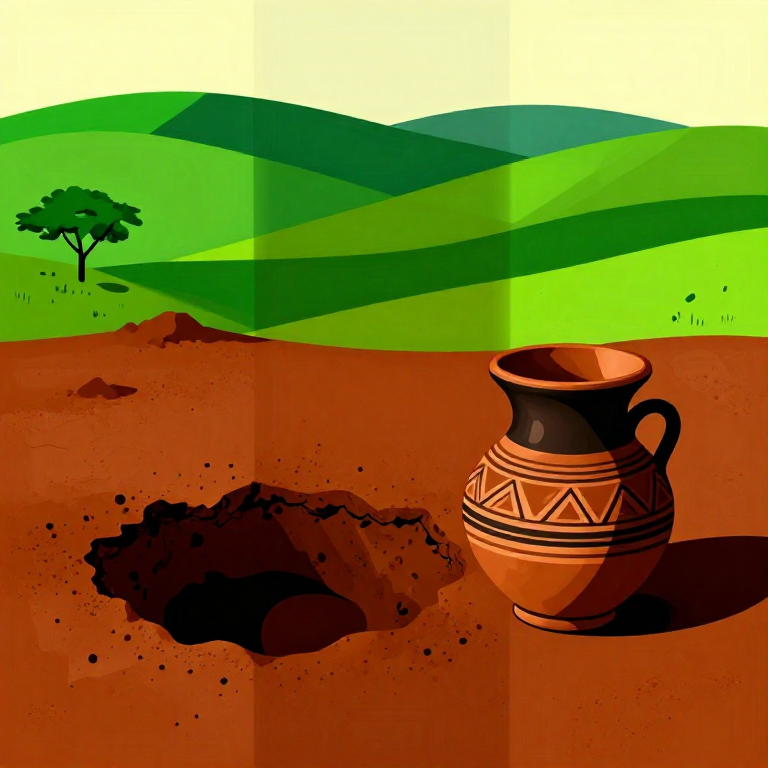
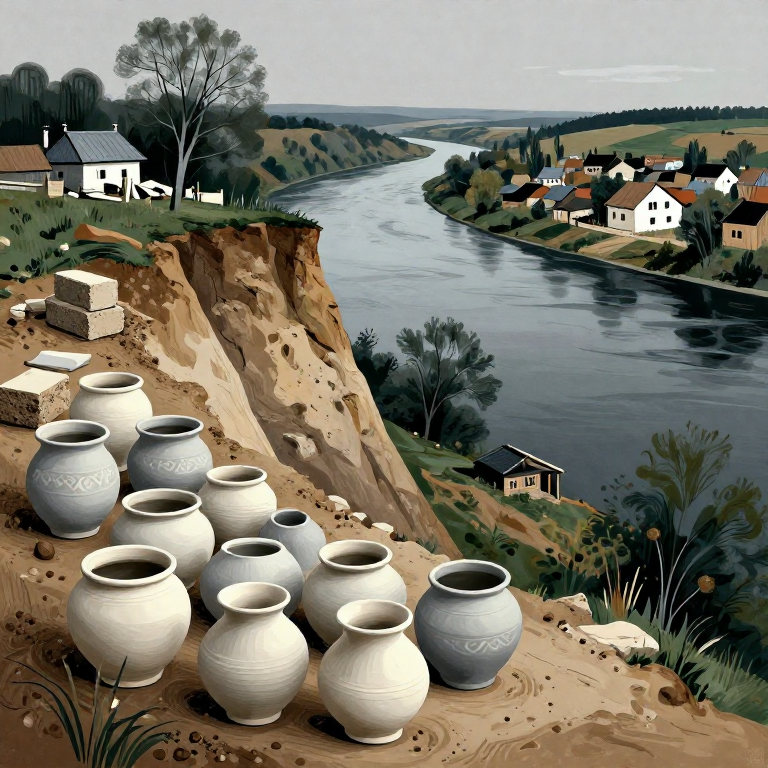
Gather Wild Clay from a Riverbank or Exposed Deposit
Gather Wild Clay from a Riverbank or Exposed Deposit
Collect approximately 1 kilogram of clay from a riverbank, stream cut, or exposed clay deposit. Good clay feels smooth and plastic when wet — roll a small piece between your fingers; it should form a smooth ribbon without crumbling. Natural clay deposits vary in colour from white and grey to red, yellow, and brown depending on mineral content (iron oxides produce red and yellow colours). Avoid clay with visible stones, roots, or organic debris. Clay found 30 to 50 cm below the surface is generally cleaner than surface clay.
Materials for this step:
 Raw Clay from Riverbank1 kg
2
2
Clean and Prepare the Raw Clay
Clean and Prepare the Raw Clay
Break the raw clay into small pieces and soak in water for several hours or overnight until fully saturated and soft. Knead the wet clay thoroughly with your hands, feeling for and removing any pebbles, roots, or hard lumps. Work the clay by pressing, folding, and pressing again — this process (wedging) distributes moisture evenly and removes trapped air bubbles. Air bubbles left in the clay will expand during firing and cause the piece to crack or explode.
3
3
Temper the Clay with Fine Sand
Temper the Clay with Fine Sand
Add clean, dry, fine sand to the clay at a ratio of approximately 1 part sand to 4 parts clay by volume. Knead the sand thoroughly into the clay until it is evenly distributed — no pockets of pure sand or pure clay should remain. The sand particles act as tiny structural supports within the clay body: they create channels for steam to escape during firing, reduce shrinkage during drying, and increase the thermal shock resistance of the finished piece. Without tempering, the figurine will almost certainly crack during either drying or firing.
Materials for this step:
 Clean Dry Sand250 g
4
4
Form the Basic Body Shape
Form the Basic Body Shape
Take a lump of prepared clay roughly the size of your fist (about 300 grams) and form it into a basic body shape. For a human figurine, start by rolling an oval body, then pinch and pull to create a head, torso, and the beginnings of limbs. Work from the centre outward — do not try to attach separate pieces, as joints between separate clay pieces are the weakest points and most likely to crack during firing. Instead, pull all features from a single lump. Keep the walls thick — at least 1 to 2 cm — as thin sections dry faster and crack. Keep the overall size small, no more than 10 to 15 cm tall, to reduce the risk of cracking.
5
5
Add Features and Details
Add Features and Details
Once the basic form is established, refine the features. Use your fingertips and fingernails to shape facial features, hair texture, and body contours. For fine detail work, use a sharpened stick or bone awl to incise lines, create eyes, mark fingers, or add decorative patterns. If you must add a separate piece (such as a nose or arm), score both surfaces with crosshatch marks using a pointed tool, wet both surfaces, press them firmly together, and smooth the joint by blending the clay across the seam. Prehistoric figurines range from highly detailed to deliberately abstract — the Venus of Willendorf has carefully carved braided hair but no facial features, while the Venus of Dolni Vestonice has a simplified face but detailed body proportions.
Tools needed:
 Bone Awl
6
6
Smooth the Surface with Wet Fingers
Smooth the Surface with Wet Fingers
Dip your fingers in water and gently smooth the entire surface of the figurine, eliminating finger marks, rough spots, and any surface cracks. The water lubricates the clay surface, allowing the fine clay particles to align and create a smooth, even finish. Do not overwet the surface — too much water weakens the clay and creates a slurry that obscures details. A slightly damp fingertip drawn lightly across the surface is ideal. Pay particular attention to joints where features meet the body, as these are where cracks will first appear during drying.
7
7
Dry the Figurine Slowly Over Several Days
Dry the Figurine Slowly Over Several Days
Place the finished figurine in a shaded, sheltered location with good air circulation — never in direct sunlight or near a fire. Rapid drying causes the outer surface to shrink faster than the interior, creating stress cracks that can destroy the piece. Drying should take 3 to 7 days depending on humidity, temperature, and the thickness of the figurine. The clay will change from dark (wet) to lighter in colour as it dries. Turn the figurine every 12 hours so all sides dry evenly. The piece is ready for firing when it feels completely dry to the touch, is noticeably lighter in weight, and has an even, uniform colour with no dark (still wet) patches.
8
8
Pre-Heat the Figurine Near the Fire
Pre-Heat the Figurine Near the Fire
Before placing the figurine in the fire, pre-heat it gradually by setting it near (not in) a small fire for 1 to 2 hours. Position the figurine 30 to 50 cm from the flames where it warms to roughly 100 to 150 degrees Celsius — hot enough to drive off any remaining moisture without thermal shock. Any water still trapped in the clay will convert to steam during firing and can shatter the piece. The figurine should be uncomfortably hot to touch (use sticks to handle it) but not glowing. This pre-heating step is critical and must not be rushed.
9
9
Build a Pit Fire for Firing
Build a Pit Fire for Firing
Dig a shallow pit approximately 40 cm deep and 50 cm across. Line the bottom with a layer of dry wood and kindling. Light the fire and let it burn down to a bed of hot coals. The coals provide an even base heat. Add more fuel around the edges to build up the temperature gradually. For small figurines, an open fire reaching 600 to 800 degrees Celsius is sufficient — this is easily achieved with a well-maintained hardwood fire. The Dolni Vestonice figurines were fired at estimated temperatures of 500 to 800 degrees Celsius in simple open fires.
10
10
Place the Figurine in the Fire
Place the Figurine in the Fire
Using two long sticks as makeshift tongs, carefully place the pre-heated figurine into the bed of hot coals. Nestle it among the coals so it is surrounded by heat on all sides. Do not place it directly on top of a burning log — the uneven heat will crack it. Once positioned, gently stack additional fuel (small dry sticks and split wood) around and over the figurine to create an enclosing mound of fire. Maintain the fire at a steady burn for 1 to 2 hours. Resist the urge to check the figurine — disturbing the fire causes temperature fluctuations that promote cracking.
11
11
Let the Fire Die Down and Cool Completely
Let the Fire Die Down and Cool Completely
After maintaining the fire for 1 to 2 hours, stop adding fuel and let the fire burn down naturally. Do not remove the figurine while it is still hot — thermal shock from rapid cooling (called dunting in ceramics) will crack the piece. Allow the ashes and embers to cool completely, which takes 6 to 12 hours (overnight is ideal). The figurine must cool at the same rate as its surroundings. In the morning, carefully brush away the ashes and retrieve the fired figurine.
12
12
Inspect and Clean the Finished Figurine
Inspect and Clean the Finished Figurine
The fired figurine should be hard and rigid, with a ringing sound when tapped — completely different from the dull thud of unfired clay. The colour will have changed depending on the firing conditions: oxidizing fires (good air circulation) produce red, orange, or buff colours; reducing fires (smothered with little air) produce grey or black. Brush off any ash residue with a dry cloth or handful of grass. Check for cracks — hairline cracks are common in pit-fired ceramics and do not necessarily compromise the piece. The figurine is now a permanent ceramic object that will survive burial for millennia, as demonstrated by the archaeological record.
សម្ភារៈ
2- កន្លែងទុក
- 250 gកន្លែងទុក
Connected Blueprint Materials
ប្លង់ពាក់ព័ន្ធ
ប្លង់ទាំងនេះចែករំលែកចំណេះដឹង — បច្ចេកទេស សម្ភារៈ ឬគោលការណ៍
Making Clay Beads — Hand-Rolled and Pit-Fired Ornamentsដោយ Clay
Building a Pit Kiln for Firing Pottery — Earth-Covered Open Firingដោយ Clay
Making Cave Paintings with Mineral Pigments — Prehistoric Rock Art Techniquesដោយ Mary
Preparing Ochre Pigment for Cave Painting — Mineral Processingដោយ Charlie
Shaping a Clay Oil Lamp — Pinch-Formed Vessel with Wick Channelដោយ Clay
Related blueprints
Other builds that share materials, tools, or techniques with this one.
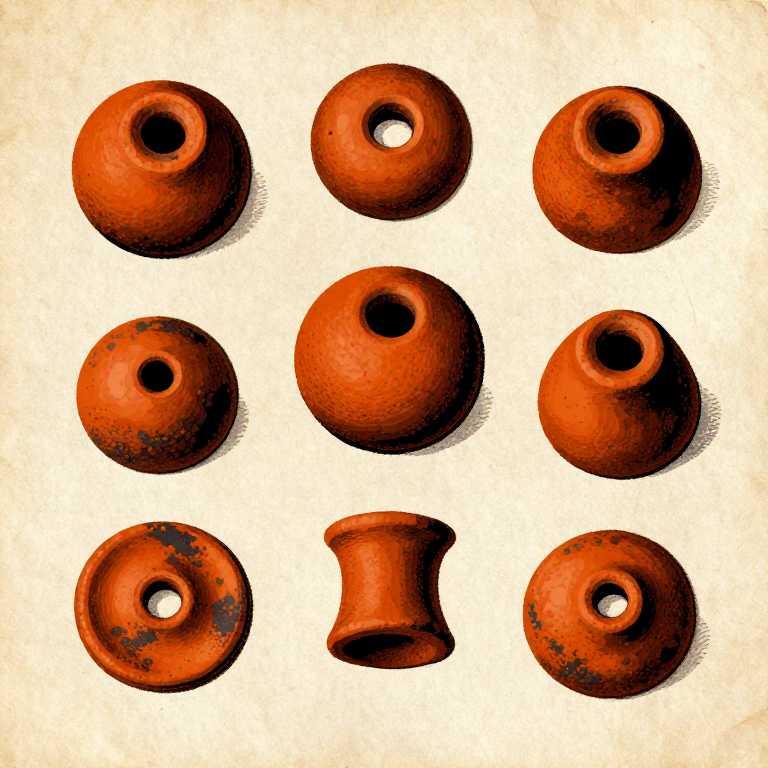
Making Clay Beads — Hand-Rolled and Pit-Fired Ornamentsceramics-and-clay
Raccolta dell'Argilla Toscana — Dalla Terra alla Massa Ceramicaceramics-and-clay
Ukuthola Nokwenza Ubumba Lwasemfuleni — Isiko LaseZulu Lokwenza Izitshaceramics-and-clay
Збирання гончарної глини з річкових урвищ — Українська традиція Опішнянської керамікиceramics-and-clay
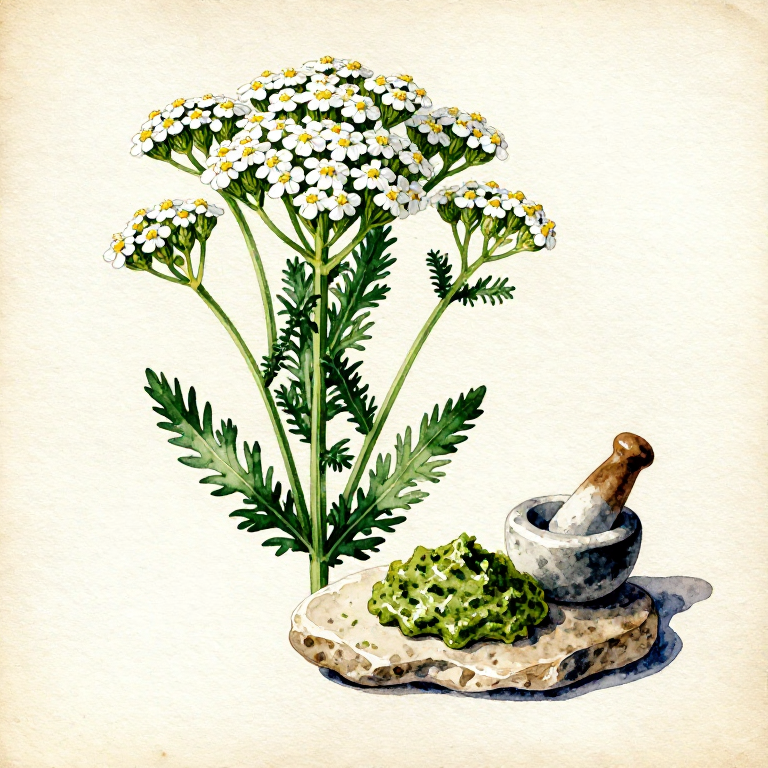
Preparing a Yarrow Wound Poultice — Prehistoric Herbal First Aidbiology
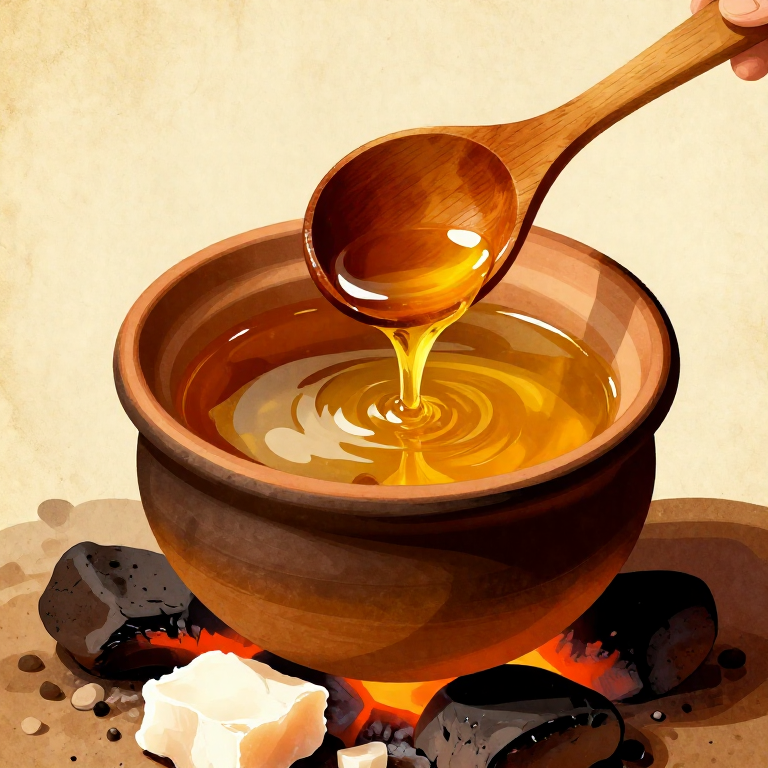
Rendering Animal Fat into Tallow by Hot-Stone Boiling — Prehistoric Fat Processingcooking
CC0 សាធារណៈ
ប្លង់នេះត្រូវបានចេញផ្សាយក្រោម CC0។ អ្នកមានសិទ្ធិចម្លង កែប្រែ ចែកចាយ និងប្រើប្រាស់ដោយមិនចាំបាច់សុំអនុញ្ញាត។
គាំទ្រអ្នកបង្កើតដោយទិញផលិតផលតាមរយៈប្លង់របស់ពួកគេ ដែលពួកគេទទួលបាន កម្រៃជើងសារអ្នកបង្កើត កំណត់ដោយអ្នកលក់ ឬបង្កើតកំណែថ្មីនៃប្លង់នេះ ហើយបញ្ចូលជាការតភ្ជាប់ក្នុងប្លង់របស់អ្នកដើម្បីចែករំលែកចំណូល។