

The Spore Print
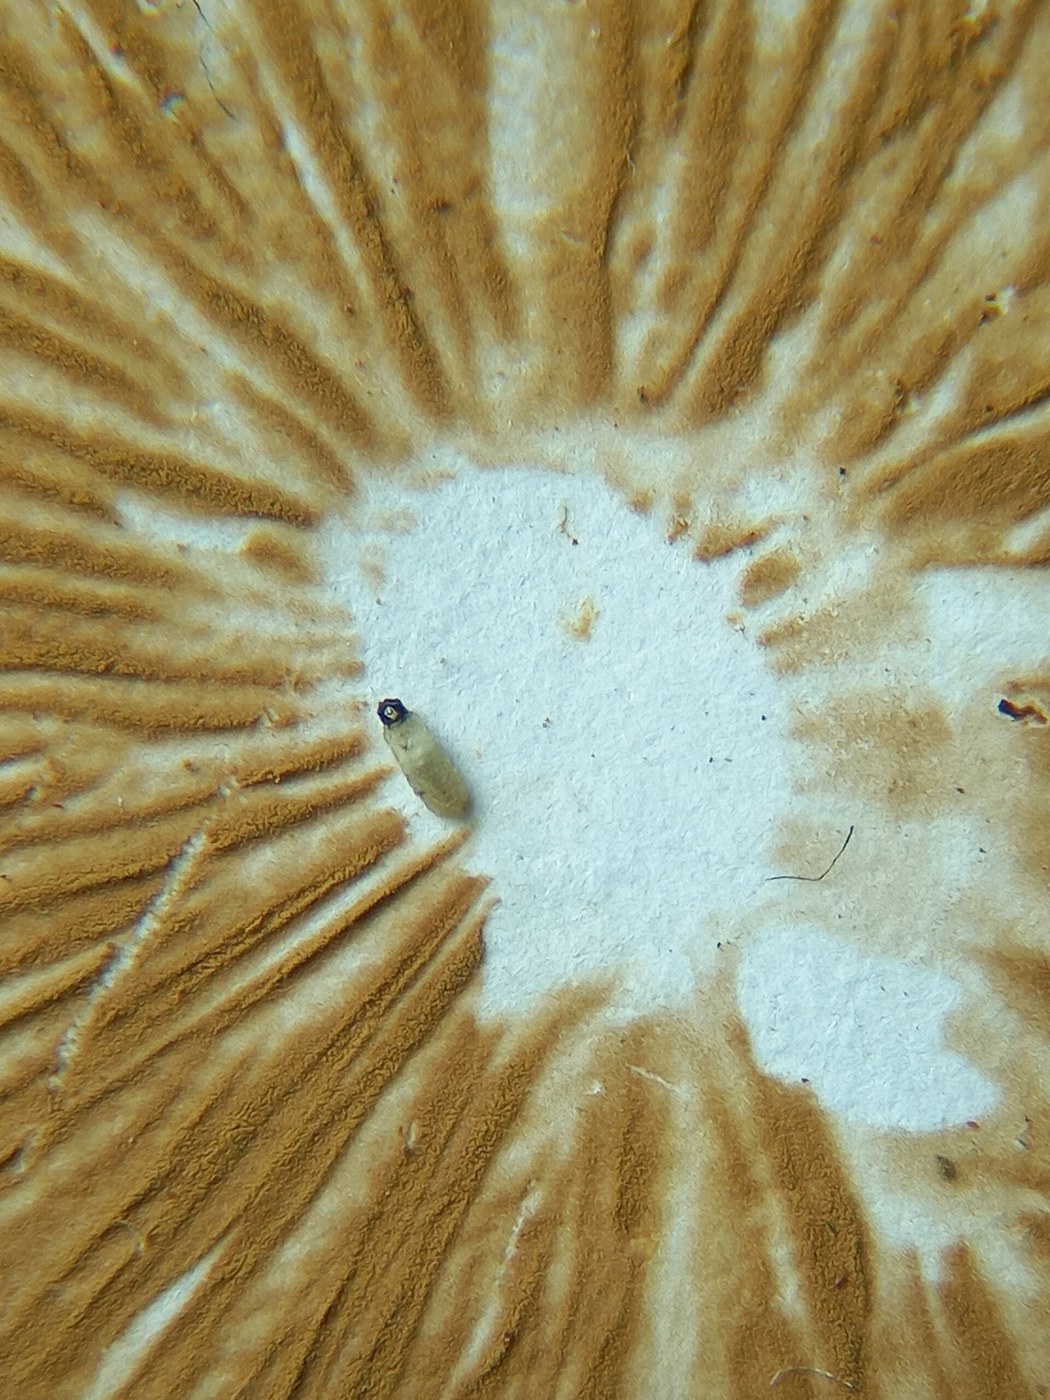
A mushroom is the fruiting body of a fungus, and its job is to drop spores. Millions of them, from the gills or pores under the cap. They are far too small to see individually — but let them fall onto paper for a few hours and they accumulate into a visible deposit that reproduces the pattern of the gills, in the colour of the spores themselves.
That colour is not a curiosity. Spore colour is one of the primary characters used to place a mushroom in a family, and it frequently cannot be guessed from the mushroom's own appearance — a white-gilled cap can drop rust-brown spores, and species that look nearly identical in the field can separate cleanly on spore colour. Taking a print costs you a sheet of paper and a night's patience, and it is the single most informative thing a beginner can do with a specimen.
The method is almost nothing: cut the stem flush, set the cap gills-down on paper, cover it with a bowl so draughts cannot scatter the spores, and wait 2 to 24 hours. Half on white paper and half on black, because pale spores vanish on white and dark spores vanish on black.
⚠ Read this before you start, whatever your age. A spore print is an identification step, not an identification. You cannot identify a mushroom from its spore print alone, and several deadly species share a spore colour with common edible ones. This blueprint is about making a scientific record. Nothing here qualifies anybody to eat anything.
ការណែនាំ
Record the specimen before you cut it
Record the specimen before you cut it
Photograph the mushroom from above, from the side and from underneath, in place. Note the date, the habitat, and what it was growing on — soil, wood, dung, and which tree species are nearby.
Then collect the whole fruiting body, base included, by digging rather than snapping.
The base is diagnostic and is the part beginners destroy. A cup-like volva at the base is a critical character, and it is underground.
ឧបករណ៍ដែលត្រូវការ៖
 សៀវភៅកត់ត្រាទីវាលធន់គ្រប់អាកាសធាតុ
Set the cap on half-white, half-black paper
Set the cap on half-white, half-black paper
Cut the stem off flush with the gills. Lay a sheet of white card beside a sheet of black, and set the cap gills-down straddling the join.
Add one drop of water on top of the cap.
Straddling both colours is the whole reason this works first time. A white spore print is invisible on white paper, and a beginner concludes the mushroom dropped nothing.
សម្ភារៈសម្រាប់ជំហាននេះ៖
 ក្រដាសក្រាសពណ៌ខ្មៅ1 កញ្ចប់
Cover it and leave it alone
Cover it and leave it alone
Invert a glass bowl or cup over the cap to trap humidity and block draughts. Leave somewhere still and out of direct sun for 2 to 24 hours.
Lift the cap straight up, without sliding.
Expect a radial pattern of the gills reproduced in spores.
A draught is the second commonest failure — spores are light enough to be carried off before they land, and the print comes out faint and smeared.
ឧបករណ៍ដែលត្រូវការ៖
 ចានកញ្ចក់
Judge the colour properly
Judge the colour properly
Assess the print in daylight, against both backgrounds, and where the deposit is thick.
Place it in a broad class: white/cream, pink, yellow-brown, rust-brown, purple-brown, or black.
Expect a thin deposit to look paler and less saturated than a thick one — judge the darkest part. Artificial light shifts warm colours badly, and rust-brown against purple-brown is exactly the distinction that separates whole genera.
ឧបករណ៍ដែលត្រូវការ៖
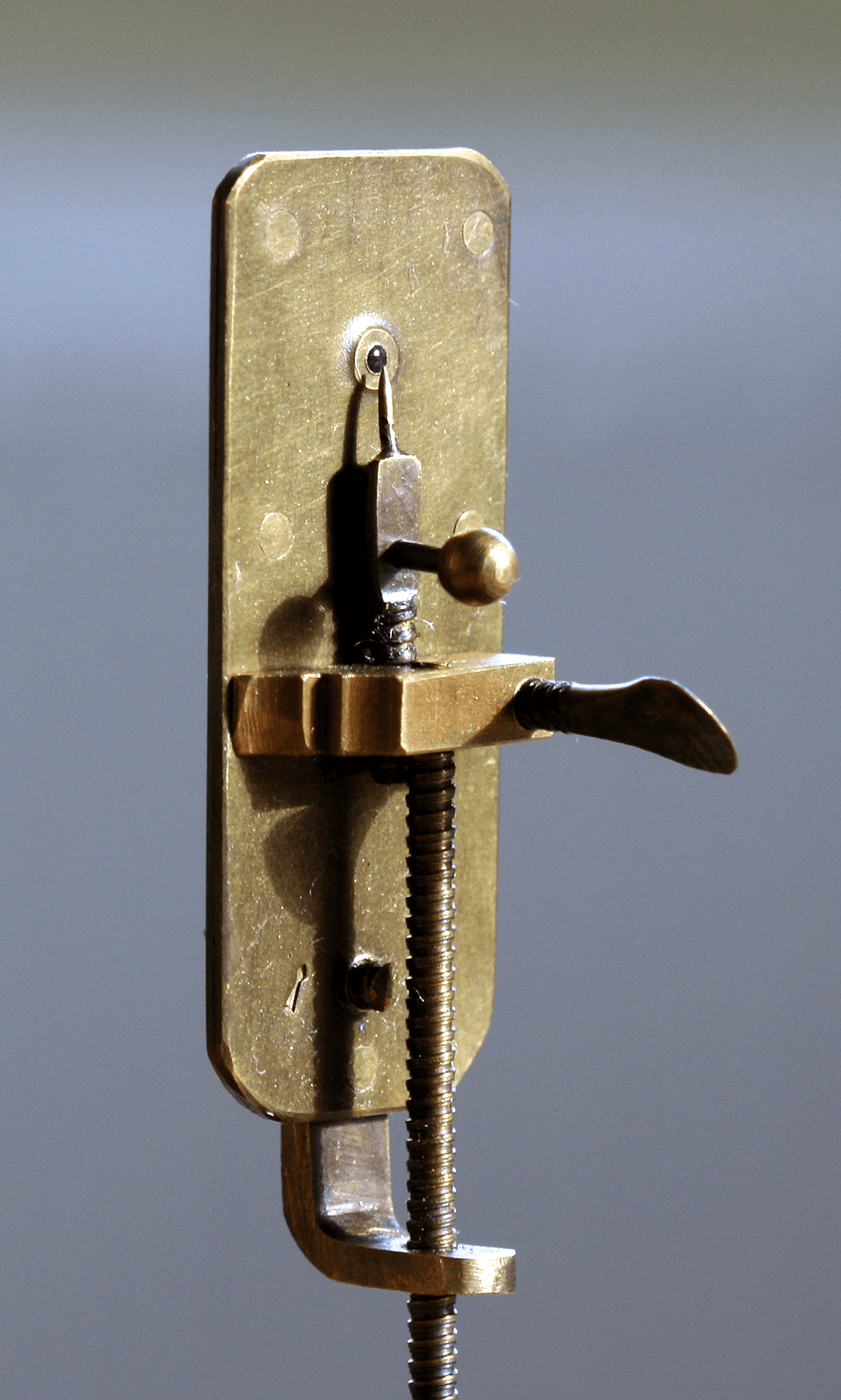
 កែវពង្រីកជាងពេជ្រ
Look at individual spores
Look at individual spores
Scrape a trace of the print onto a slide with a drop of water, cover it, and view at the highest magnification you have.
Record shape (round, elliptical, spiny, warty), whether they are smooth, and roughly how large.
Expect them to be a few micrometres — hundreds would fit across a full stop.
Spore shape and ornamentation are as diagnostic as colour, and this is the step that turns a pretty print into real data.
ឧបករណ៍ដែលត្រូវការ៖
កែវពង្រីកជាងពេជ្រArchive it as a record
Archive it as a record
Fold the print inside a sheet of paper, or fix it with a light spray of artist's fixative. Label it with date, place, habitat, substrate, cap and gill description, spore colour, and your photographs' reference.
File it.
An unlabelled print is worthless within a week. The specimen rots; the record is the thing that lasts, and a print with full collection data is a genuine contribution a local mycological society will take seriously.
Compendium — and the safety this subject demands
Compendium — and the safety this subject demands
🔴 The safety point first, because it is the most important thing on this page. A spore print is one character. Identification of a fungus requires cap and gill structure, stem features, the presence or absence of a ring and a volva, flesh colour and any colour change on cutting, smell, substrate, habitat, season, and often microscopy or chemical spot tests. Deadly species share spore colours with common edibles — the Amanita species responsible for most fatal mushroom poisonings worldwide drop a white print, exactly like many harmless field mushrooms, and young specimens can be mistaken for puffballs before the cap opens. Amatoxin poisoning is additionally cruel in that symptoms are typically delayed by many hours and may briefly appear to improve while liver damage continues. Never eat a wild fungus on the basis of anything in this blueprint. Identification for the table is a matter for an experienced local expert with the specimen in hand.
Why fungi bother with spores at all. The visible mushroom is a small and temporary part of the organism; the fungus itself is a network of mycelium threaded through soil or wood, sometimes for hectares and decades. The fruiting body exists to lift spores into moving air. A single large cap can release billions over a few days, and the release mechanism is remarkable in its own right: many gilled fungi fire each spore off its stalk using a droplet of condensed water that suddenly coalesces, flicking the spore clear of the gill surface into the still air below, from where it drifts out. Your print is that mechanism, running for hours.
Spore colour groups roughly track relatedness, which is why it works. It is not an arbitrary key character: pigment chemistry and spore wall structure are conserved features, so "white-spored", "pink-spored", "rust-spored" and "dark-spored" groupings correspond loosely to real evolutionary groups and were the backbone of fungal classification long before DNA sequencing. Modern molecular work has redrawn many boundaries — several classical genera turned out not to be natural groups at all — but spore colour remains the fastest way to narrow a specimen from thousands of possibilities to dozens.
Other uses of the same technique. Spore prints are how mushroom cultivators start a culture, and how herbaria and museums archive fungal collections; a labelled print stored dry can remain viable and identifiable for years. Amateur records with good collection data feed national fungal databases and genuinely contribute to distribution mapping. Fungi are among the most under-recorded groups of organisms, and a careful amateur with paper and a notebook is doing real science.
Practical notes. Old or dried caps often drop nothing — collect fresh. Very young caps may not have started. Handle specimens with clean hands and wash afterwards as a matter of routine; some species irritate skin, and a few are toxic enough that you should not be casual about touching your face. And leave rare or single specimens where they are — take a photograph instead.
សម្ភារៈ
3- 1 កញ្ចប់កន្លែងទុក
- 1 កញ្ចប់កន្លែងទុក
- 1 លីត្រកន្លែងទុក
ឧបករណ៍ចាំបាច់
6- កន្លែងទុក
- កន្លែងទុក
- កន្លែងទុក
- កន្លែងទុក
- កន្លែងទុក
- កន្លែងទុក
សម្ភារៈប្លង់ដែលបានភ្ជាប់
ប្លង់ពាក់ព័ន្ធ
ប្លង់ទាំងនេះចែករំលែកចំណេះដឹង — បច្ចេកទេស សម្ភារៈ ឬគោលការណ៍

CC0 សាធារណៈ
ប្លង់នេះត្រូវបានចេញផ្សាយក្រោម CC0។ អ្នកមានសិទ្ធិចម្លង កែប្រែ ចែកចាយ និងប្រើប្រាស់ដោយមិនចាំបាច់សុំអនុញ្ញាត។
គាំទ្រអ្នកបង្កើតដោយទិញផលិតផលតាមរយៈប្លង់របស់ពួកគេ ដែលពួកគេទទួលបាន កម្រៃជើងសារអ្នកបង្កើត កំណត់ដោយអ្នកលក់ ឬបង្កើតកំណែថ្មីនៃប្លង់នេះ ហើយបញ្ចូលជាការតភ្ជាប់ក្នុងប្លង់របស់អ្នកដើម្បីចែករំលែកចំណូល។