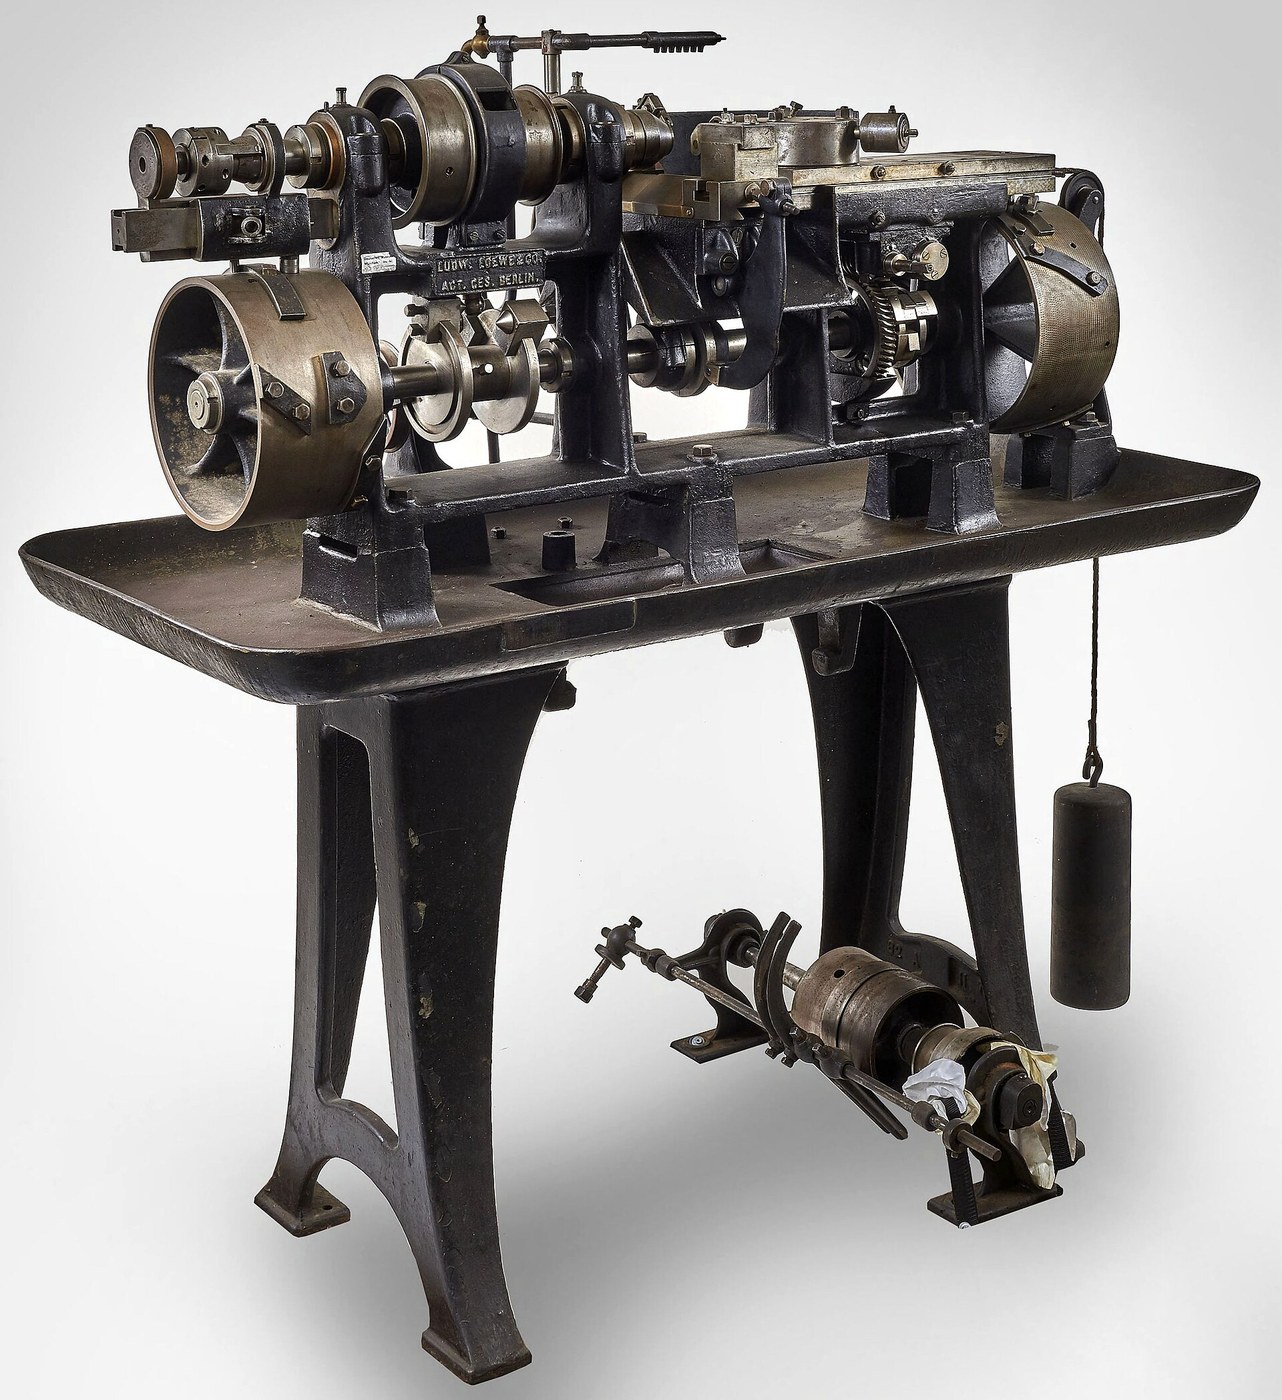


Turret Lathe
ការណែនាំ
Build the turret head with six stations
Build the turret head with six stations
A hexagonal block that carries every tool the job needs.
- Cut a hexagonal turret 120 mm across flats from 18 mm ply faced with 6 mm aluminium, or from solid aluminium bar.
- Bore each of the six faces 12 mm to take a tool holder shank.
- Bore the centre 8.0 mm for its pivot.
- Fit a M5 cup point set screw in each face to clamp its tool.
- Check every bore is the same distance from the centre with the caliper.
Equal radius from the centre is what makes indexing meaningful. If one station sits 0.5 mm further out than the rest, the tool in it cuts 0.5 mm deeper on every part — and because the machine is doing the same thing every cycle, that error repeats perfectly. A turret lathe converts a setup error into a production run of identical wrong parts.
Bore the six faces in one setup if you possibly can, rotating the blank rather than moving the drill. That is the same stack-drilling logic used on the linkages, applied around a circle.សម្ភារៈសម្រាប់ជំហាននេះ៖
 ក្តារបន្ទះប៊ែកបាល់ទិក1 សន្លឹក
 បន្ទះអាលុយមីញ៉ូមរាបស្មើ1 ដុំ
 វីសរឹតក្បាលរូងចាន6 ដុំ
ឧបករណ៍ដែលត្រូវការ៖
 រណារកាត់ខ្សែកោង
 ស្វានឥតខ្សែ
 សំណុំក្បាលខួង
 សំណុំដែកកិន
 ជញ្ជីងវាស់ឌីជីថល ៦ អ៊ីញ
 ជ្រុងវាស់រួម
 ដែកគូសចំណុចកណ្តាល
Make the indexing detent — repeatability is the product
Make the indexing detent — repeatability is the product
The turret must return to precisely the same six positions, every cycle, for years.
- Drill six detent holes in the turret's underside, 60 degrees apart, on a common radius.
- Fit a spring-loaded tapered plunger in the saddle beneath, to drop into each hole.
- Make the plunger's taper match the hole's chamfer so it pulls the turret into position as it seats.
- Add a lock lever that clamps the turret once indexed.
A tapered detent is self-centring; a cylindrical one is not. A parallel pin in a parallel hole can sit anywhere within the clearance, so each index lands slightly differently. A taper wedges into the hole and forces it to the same place every time, taking up its own wear as it goes. That distinction is the difference between a machine that makes identical parts and one that nearly does.
Test it by indexing a full turn six times and measuring the same station's position each time. The spread of those readings is your machine's repeatability, and it is the number that decides what the machine is worth.សម្ភារៈសម្រាប់ជំហាននេះ៖
 សំណុំរ៉ឺស័របង្ហាប់1 ឈុត
 ដុំមូលអាលុយមីញ៉ូម1 ដុំ
 រ៉ុនដែលរាបស្មើ4 ដុំ
 ខ្ចៅប្រាំមួយជ្រុង2 ដុំ
ឧបករណ៍ដែលត្រូវការ៖
ស្វានឥតខ្សែសំណុំក្បាលខួង ឈុតក្បាលស្វានពង្រីកមាត់រន្ធសំណុំដែកកិនជញ្ជីងវាស់ឌីជីថល ៦ អ៊ីញ
 សំណុំកូនសោប្រាំមួយជ្រុង
Mount the turret on a saddle with adjustable stops
Mount the turret on a saddle with adjustable stops
Each tool must advance to its own depth and stop there without measurement.
- Build a saddle sliding on bed ways of aluminium angle, fixed with M5 × 30 socket head cap screws × 6, M5 flat washers × 12 and M5 hex nuts × 6.
- Fit a lever or screw feed to advance the saddle toward the work.
- Make a stop bar with six adjustable stops, one per turret station.
- Set each stop so its tool reaches exactly the right depth and goes no further.
The stops are what remove the operator's judgement. Without them, the depth of every hole and every bore depends on someone watching a dial. With them, the machine physically cannot go too far, so an unskilled operator produces the same part as a skilled one. That transfer of skill from the person into the machine's setup is what mass production actually is.
Setting the six stops is the setup, and it takes far longer than making one part. Turret lathes only pay off in quantity — which is the honest economic limit of the whole approach.សម្ភារៈសម្រាប់ជំហាននេះ៖
 ជ្រុងអាលុយមីញ៉ូម1 ដុំក្តារបន្ទះប៊ែកបាល់ទិក1 សន្លឹករ៉ុនដែលរាបស្មើ12 ដុំខ្ចៅប្រាំមួយជ្រុង6 ដុំវីសរឹតក្បាលរូងចាន6 ដុំ
ឧបករណ៍ដែលត្រូវការ៖
 រណាររាង (ជីកសោ)ស្វានឥតខ្សែសំណុំក្បាលខួងសំណុំកូនសោប្រាំមួយជ្រុងជ្រុងវាស់រួមជញ្ជីងវាស់ឌីជីថល ៦ អ៊ីញ
Run a batch and measure what repetition buys
Run a batch and measure what repetition buys
The claim is consistency. Prove it with a batch and a caliper.
- Set up a simple part needing three operations — face, drill, chamfer.
- Make one part the conventional way, resetting the tool between operations. Time it.
- Now make ten parts on the turret, indexing between operations.
- Measure the same dimension on all ten and compute the spread.
- Compare that spread with the single hand-set part's accuracy, and compare the times.
សម្ភារៈសម្រាប់ជំហាននេះ៖
ដុំមូលអាលុយមីញ៉ូម1 ដុំឧបករណ៍ដែលត្រូវការ៖
ជញ្ជីងវាស់ឌីជីថល ៦ អ៊ីញ នាឡិកាបញ្ឈប់សំណុំកូនសោប្រាំមួយជ្រុង
What it started, and history
What it started, and history
Stephen Fitch built an eight-station turret lathe in 1845 in Middletown, Connecticut, for making percussion locks — a government contract for interchangeable firearm parts. That context matters: the American arms industry drove interchangeable manufacture because armouries needed parts that fitted without hand fitting, and the turret lathe was one of the machines that made it possible.
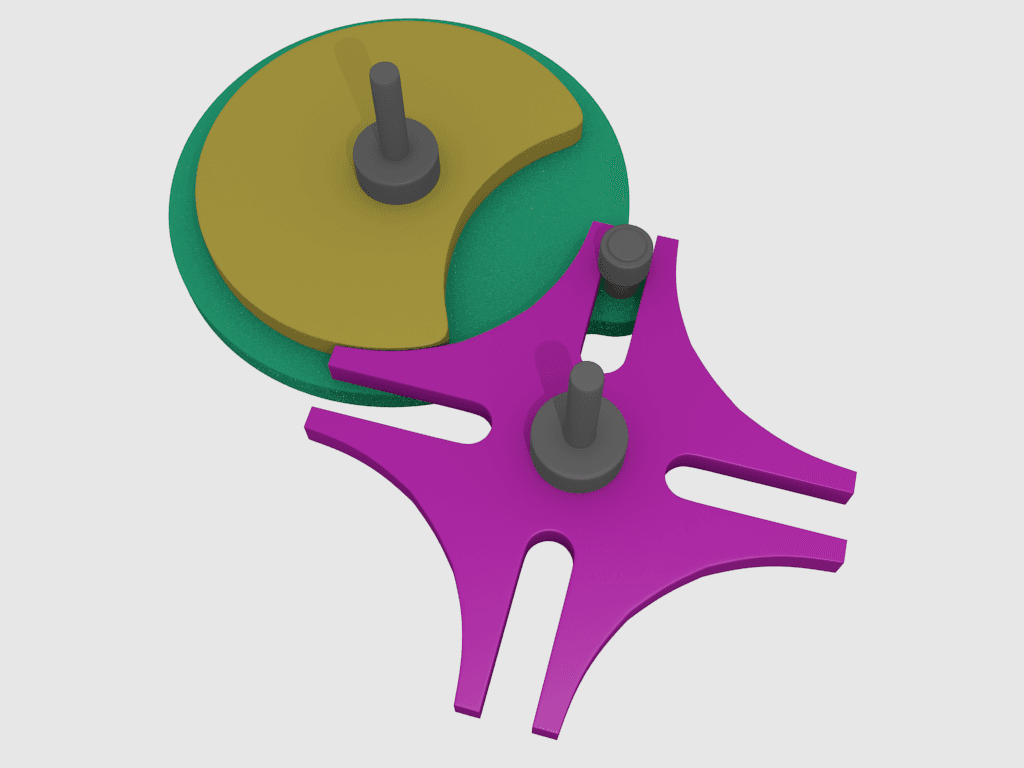
What it inherited. Maudslay's screw-cutting lathe gave it the slide rest, the leadscrew and the idea that a tool should be carried by the machine rather than the hand. The turret adds only one thing to that: several tools, indexed, each returning to a repeatable position. The indexing detent is the same self-centring principle as the dividing head's tapered plunger, and the Geneva drive in this catalogue solves the same problem for continuous motion.
What it led to. Add automatic indexing, automatic feed and a cam drum to sequence the operations, and the turret lathe becomes the automatic screw machine — Spencer's, already in this catalogue, from 1873. Replace the cam drum with a stored program and it becomes the CNC lathe. The whole line of descent is visible from this machine, and every step is about moving decisions out of the operator and into the setup.
Its honest limits: long setup, so it is uneconomic below a certain quantity; limited to work that suits a fixed sequence of tools; and the setup skill it demands is considerable even though the operation skill is not. It moved the skill rather than eliminating it — which is a more accurate description of most automation than the one usually offered.
ឧបករណ៍ដែលត្រូវការ៖
ជញ្ជីងវាស់ឌីជីថល ៦ អ៊ីញសម្ភារៈ
8- 1 សន្លឹកកន្លែងទុក
- កន្លែងទុក
- 6 ដុំកន្លែងទុក
- 1 ឈុតកន្លែងទុក
- 1 ដុំកន្លែងទុក
- 16 ដុំកន្លែងទុក
- 8 ដុំកន្លែងទុក
- 1 ដុំកន្លែងទុក
ឧបករណ៍ចាំបាច់
11- កន្លែងទុក
- 1 vendor sell this, none ship to you yetកន្លែងទុក
- កន្លែងទុក
- កន្លែងទុក
- កន្លែងទុក
- កន្លែងទុក
- កន្លែងទុក
- កន្លែងទុក
- កន្លែងទុក
- 1 vendor sell this, none ship to you yetកន្លែងទុក
- កន្លែងទុក
ប្លង់ពាក់ព័ន្ធ
ប្លង់ទាំងនេះចែករំលែកចំណេះដឹង — បច្ចេកទេស សម្ភារៈ ឬគោលការណ៍



CC0 សាធារណៈ
ប្លង់នេះត្រូវបានចេញផ្សាយក្រោម CC0។ អ្នកមានសិទ្ធិចម្លង កែប្រែ ចែកចាយ និងប្រើប្រាស់ដោយមិនចាំបាច់សុំអនុញ្ញាត។
គាំទ្រអ្នកបង្កើតដោយទិញផលិតផលតាមរយៈប្លង់របស់ពួកគេ ដែលពួកគេទទួលបាន កម្រៃជើងសារអ្នកបង្កើត កំណត់ដោយអ្នកលក់ ឬបង្កើតកំណែថ្មីនៃប្លង់នេះ ហើយបញ្ចូលជាការតភ្ជាប់ក្នុងប្លង់របស់អ្នកដើម្បីចែករំលែកចំណូល។