협업
예술
뷰티 및 웰니스
공예
문화 및 역사
엔터테인먼트
환경
음식 및 음료
역공학
과학
스포츠
기술
웨어러블
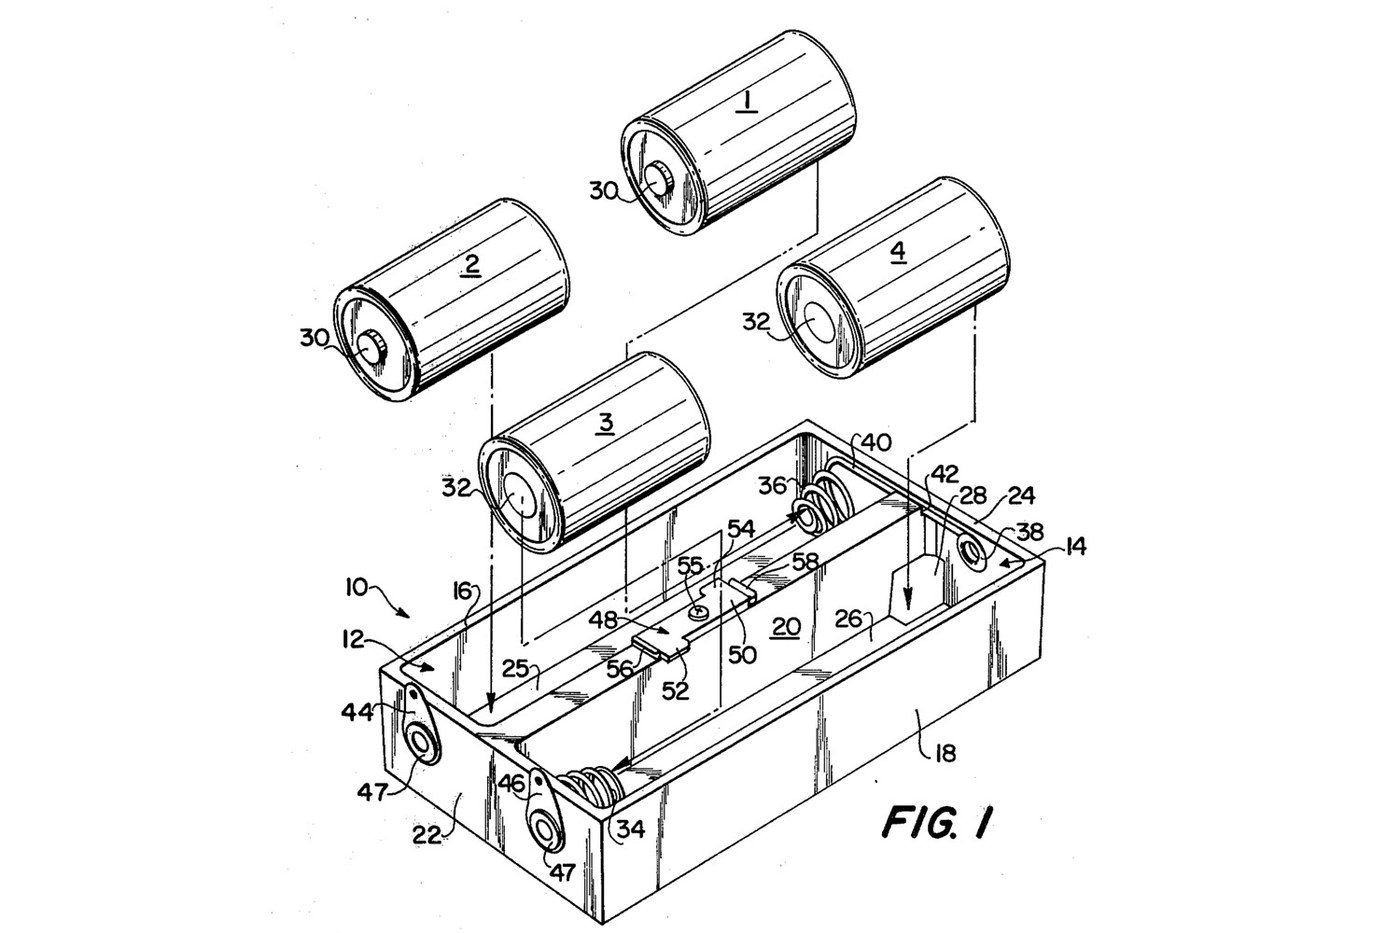


Battery Holder: Four C Cells in Two Sprung Compartments with a Z-Shaped Retainer (Lund 1979)
A tray for four C cells in series, made for an instrument that gets knocked about. Each compartment holds two cells end to end, pressed together by a cone-shaped coil spring. The cells can shift a little under a blow and spring back without losing contact. A small Z-shaped retainer holds down one cell in each row and still lets every cell be taken out.
Source: John Lund, US 4,161,568 (Schonstedt Instrument Co., 1979), with all sizes. Unknown: the plastic, the metals and the spring wire size. Lund names none of them, and nothing makes a self-tapping screw yet, so these are linked to unknown heads. The tools are ours. Picture: the patent's Fig. 1.
중급
1 day
안내
1
1
Mould the tray
Mould the tray
Mould a tray 4.325 × 2.500 × 0.875 in (109.9 × 63.5 × 22.2 mm) with two parallel open-top compartments, each 4.125 in long, 1.025 in wide and 0.800 in deep inside (104.8 × 26.0 × 20.3 mm). The middle wall is 0.300 in (7.6 mm) thick, with a notch at one end. Mould two small abutments on the middle wall, 1.000 in (25.4 mm) apart. Unknown: the plastic.
이 단계의 재료:
 알 수 없는 절연 재료1 as required
필요한 도구:
 압축 성형 금형
 버니어 캘리퍼스
2
2
Wind the two spring contacts
Wind the two spring contacts
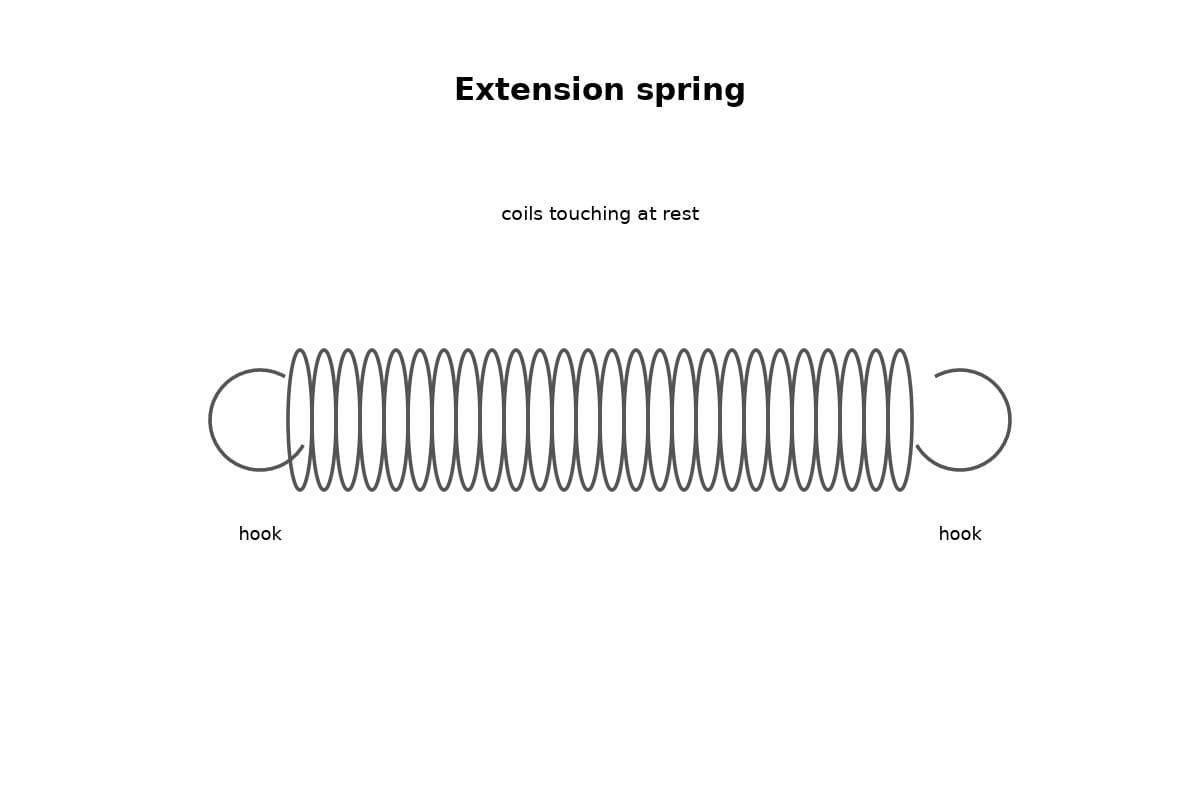
Wind two cone-shaped coil springs: 0.562 in (14.3 mm) outside diameter at the large end, 0.312 in (7.9 mm) inside at the small end, 1/2 in (12.7 mm) long free, closing to 1/8 in (3.2 mm). Each has three active turns, and the end turns are wound flat. Leave one spring with a long straight tail. Unknown: the metal and the wire size.
이 단계의 재료:
 알 수 없는 금속1 as required
필요한 도구:
 둥근 코 펜치
 평집게버니어 캘리퍼스
3
3
Fit the contacts and terminals
Fit the contacts and terminals
Put one spring at the far end of the first compartment, with its straight tail, and the other at the near end of the second. Set an eyelet contact in the end wall opposite each spring. Run the tail through the notch in the middle wall to the eyelet contact at the far end of the second compartment. Fix two terminals to the near end wall with eyelets, each holding its contact.
이 단계의 재료:
알 수 없는 금속1 as required필요한 도구:
 판금 가위평집게
 손줄
4
4
Make and fix the retainer
Make and fix the retainer
Cut a flat Z-shaped retainer of plastic, 0.062 in (1.6 mm) thick and 0.980 in (24.9 mm) long. It is 0.430 in (10.9 mm) wide at each branched end. Each branch sticks out 0.130 in (3.3 mm) from the stem and runs 0.365 in (9.3 mm) along it. Screw it with a single self-tapping screw through the middle of the stem onto the top of the middle wall, between the abutments, so it cannot turn. Each branch reaches over one compartment.
이 단계의 재료:
알 수 없는 절연 재료1 as required 태핑 나사1 pc
필요한 도구:
판금 가위손줄 드라이버 세트버니어 캘리퍼스
5
5
Wire it
Wire it
Solder lead wires to the two terminals. With the cells in, the four make one series supply between these terminals.
이 단계의 재료:
 배선용 전선1 as required
 땜납 선1 as required
필요한 도구:
 인두
6
6
Load the cells
Load the cells
Put cell 1 into the free end of the first compartment, slide it along under the retainer until it meets the spring, then drop cell 2 in behind it, pressing the spring a little. Load the second compartment from its other end the same way. To unload, lift out the two free cells, then slide the held cells along into their places and lift them out. Ours: check the voltage across the terminals with a meter.
필요한 도구:
 멀티미터
재료
5- 1 as required플레이스홀더
- 1 as required플레이스홀더
- 1 pc플레이스홀더
- 1 as required플레이스홀더
- 1 as required플레이스홀더
이 블루프린트로 만드는 것

관련 블루프린트
이 블루프린트들은 지식을 공유합니다 — 기술, 재료 또는 원리

CC0 퍼블릭 도메인
이 블루프린트는 CC0로 공개되었습니다. 어떤 목적으로든 자유롭게 복사, 수정, 배포 및 사용할 수 있습니다.
제품 구매를 통해 메이커를 지원하세요. 판매자가 설정한 메이커 커미션 을 받거나, 이 블루프린트의 새로운 반복을 만들어 연결로 포함시킬 수 있습니다.