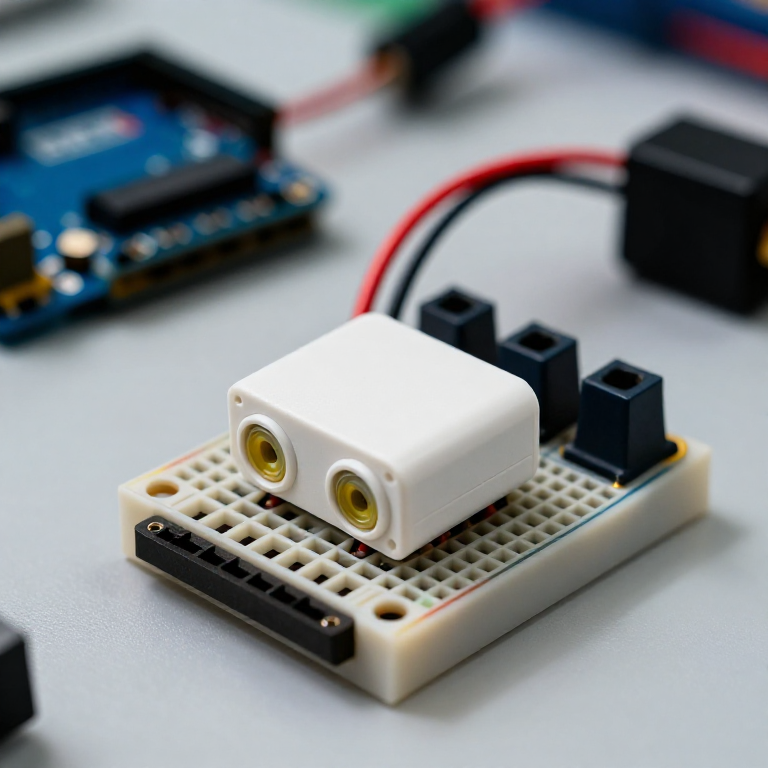


Building an Ultrasonic Parking Sensor
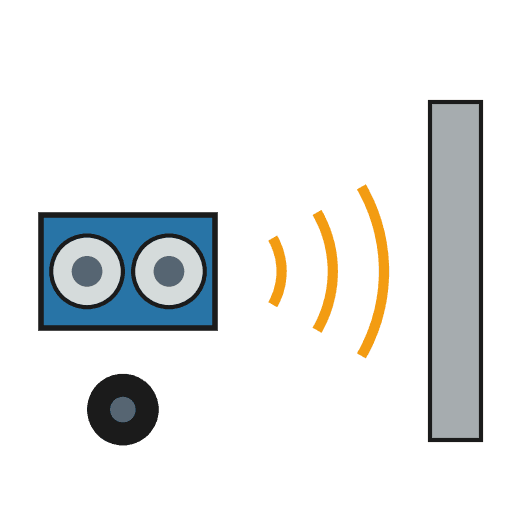
Measure distance with sound. An HC-SR04 ultrasonic sensor sends out a pulse of sound and times its echo, and the Arduino turns that into a distance in centimetres. Wire it to a buzzer that beeps faster as something gets closer — a car parking sensor, a reversing aid, or a doorway proximity alarm.
안내
Wire the sensor and buzzer
Wire the sensor and buzzer
Push the HC-SR04 and the active buzzer into the breadboard. Wire the sensor: VCC to Arduino 5V, GND to GND, Trig to pin 9, Echo to pin 10. Wire the buzzer: + to pin 8, - to GND.
이 단계의 재료:
 Arduino Uno R31 개
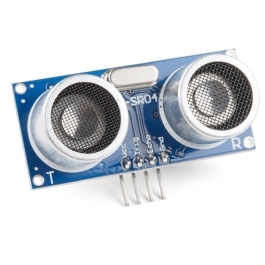 HC-SR04 Ultrasonic Distance Sensor (5-Pack)1 개
 능동 부저 모듈1 개
 Breadboard1 개
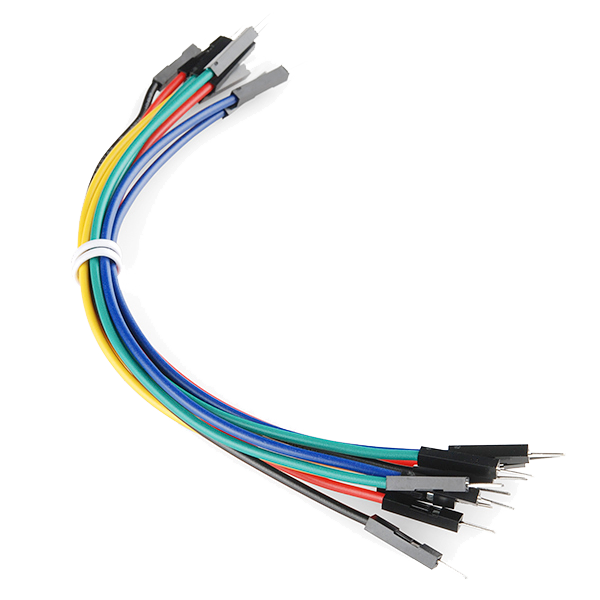 Jumper Wires (Male-to-Male)1 팩
Connect and open the IDE
Connect and open the IDE
Plug the Arduino into your computer with the USB cable, open the Arduino IDE, and select Arduino Uno and its serial port.
이 단계의 재료:
 USB-B Cable1 개
필요한 도구:
 Arduino IDE가 설치된 컴퓨터
Upload the parking-sensor sketch
Upload the parking-sensor sketch
Paste this sketch and upload. It measures the distance and beeps faster the closer an object is. Open the Serial Monitor to see the distance in centimetres.
Test and set the range
Test and set the range
Move your hand toward the sensor — the buzzer beeps faster as you get closer and nearly solid when very near. Change the 50 in the sketch to set how far away it starts reacting, and the * 6 to change how quickly the beeping speeds up.
Mount it
Mount it
Fix the sensor facing outward on a bracket or in a small box and power the Arduino from a USB power bank or a 9 V adapter. Aim it at your parking spot, garage wall or doorway.
재료
6- Arduino Uno R3 SMD10% 수수료1 개₩361
- Ultrasonic Sensor - HC-SR0410% 수수료1 개₩56
- 1 개플레이스홀더
- Breadboard - Classic10% 수수료1 개₩127
- 1 개₩76
필요 도구
2- 플레이스홀더
- Breadboard - Classic10% 수수료₩127
이 블루프린트로 만드는 것
관련 블루프린트
이 블루프린트들은 지식을 공유합니다 — 기술, 재료 또는 원리


CC0 퍼블릭 도메인
이 블루프린트는 CC0로 공개되었습니다. 어떤 목적으로든 자유롭게 복사, 수정, 배포 및 사용할 수 있습니다.
제품 구매를 통해 메이커를 지원하세요. 판매자가 설정한 메이커 커미션 을 받거나, 이 블루프린트의 새로운 반복을 만들어 연결로 포함시킬 수 있습니다.