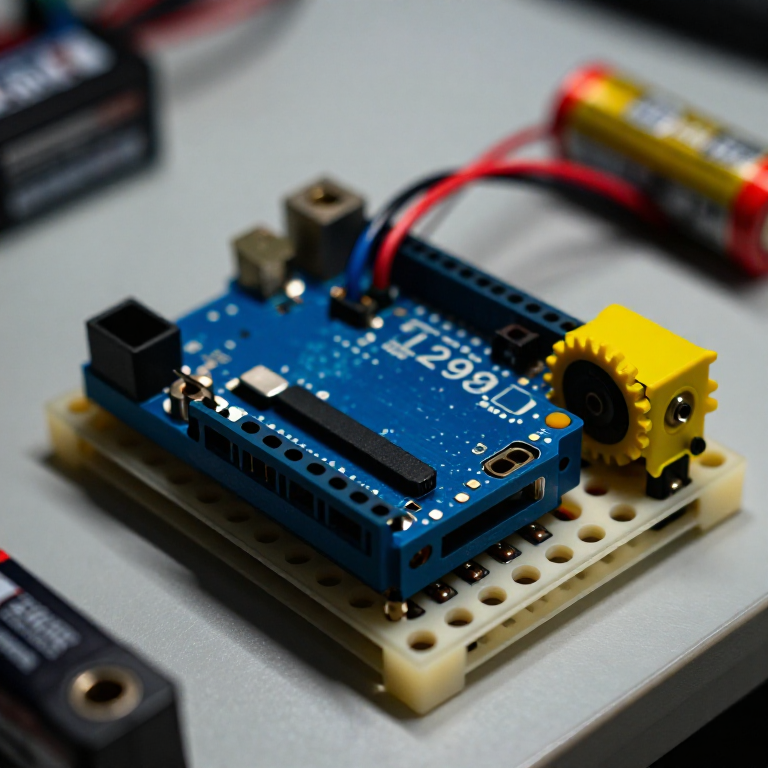


Controlling a DC Motor with an L298N Driver
An Arduino pin can't power a motor directly — it can't supply enough current, and it can't reverse the flow. An L298N H-bridge solves both: the Arduino sends low-power control signals, and the driver switches the motor's own battery to run it forwards, backwards and at any speed. This is the core building block of every wheeled robot.
안내
Wire the driver, motor and battery
Wire the driver, motor and battery
Push the L298N's control header into the breadboard. From the Arduino, jumper pin 8 to IN1, pin 9 to IN2, and pin 10 to ENA. Connect the DC motor's two wires to the OUT1/OUT2 screw terminals, and a 4×AA battery pack to the +12V and GND motor terminals. IMPORTANT: join all the grounds together — Arduino GND, driver GND and battery GND — or the motor won't run.
이 단계의 재료:
 Arduino Uno R3 SMD1 개
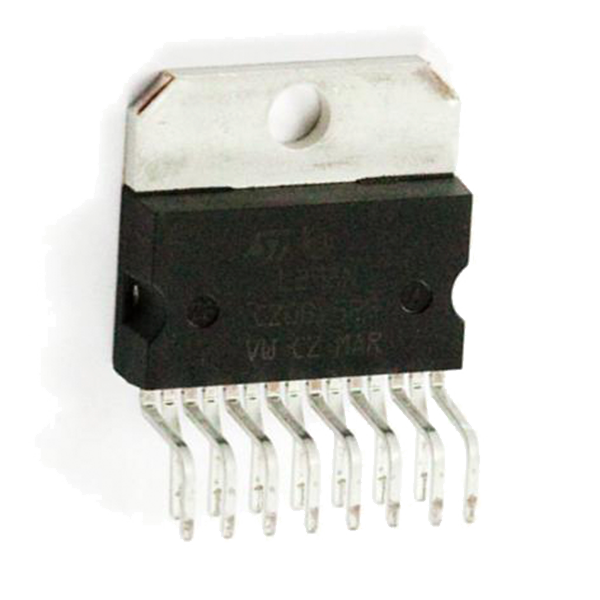 Full-Bridge Motor Driver Dual - L298N1 개
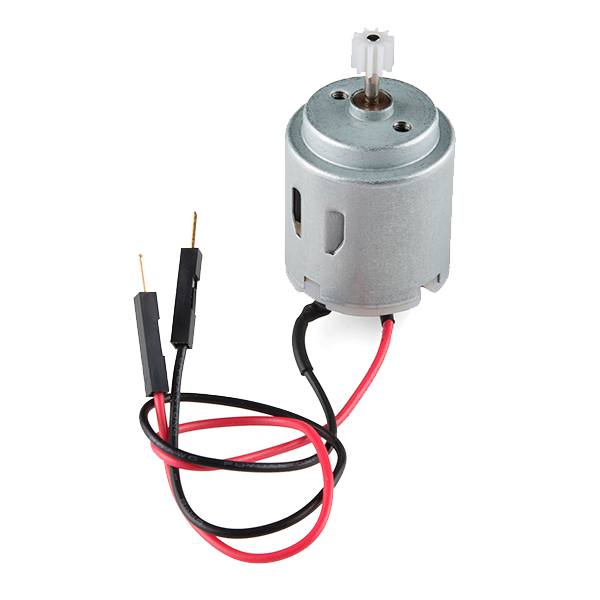 Hobby Motor - Gear1 개
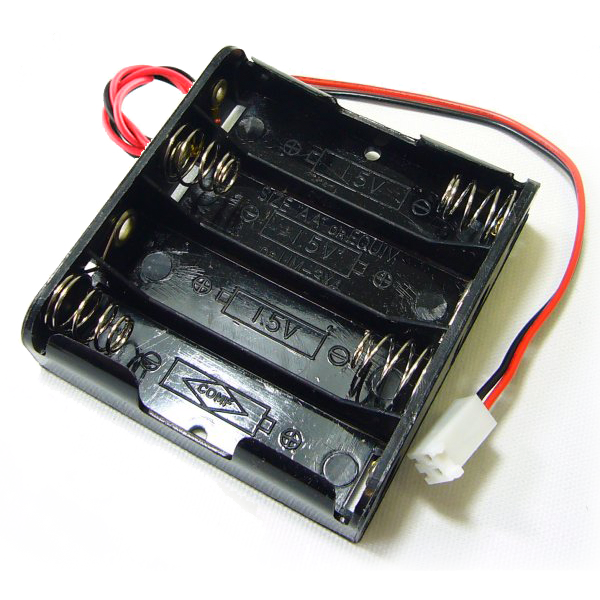 Battery Holder - 4xAA Square Terminated1 개
 Breadboard - Classic1 개
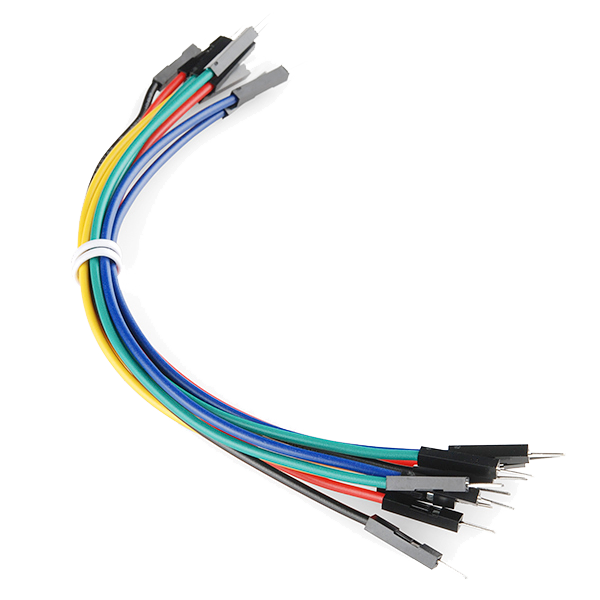 Jumper Wires Premium M/M 20 AWG - 15.5 cm1 팩
Connect and open the IDE
Connect and open the IDE
Plug the Arduino into your computer with the USB cable, open the Arduino IDE, and select Arduino Uno and its serial port. Leave the motor battery switched off until the code is uploaded.
이 단계의 재료:
 SparkFun Cerberus USB Cable - 1.8 meter1 개
필요한 도구:
 Arduino IDE가 설치된 컴퓨터
Upload the motor sketch
Upload the motor sketch
Paste this sketch and upload, then switch on the battery. The motor runs forward, stops, reverses, and stops — on a loop.
Test and control it
Test and control it
Watch the motor go forward, stop, reverse. IN1/IN2 set the direction (swap which is HIGH to flip it); the number in analogWrite(ENA, ...) sets the speed from 0 (off) to 255 (full). If the motor doesn't spin, check that all three grounds are joined and the battery is on.
Make it a robot
Make it a robot
The L298N drives TWO motors. Wire a second motor to OUT3/OUT4 and control it with IN3, IN4 and ENB on three more Arduino pins. Two motors on a chassis with wheels gives you a robot base you can drive — turn by running the wheels at different speeds or directions.
재료
7- Arduino Uno R3 SMD10% 수수료1 개₩361
- 1 개₩48
- Hobby Motor - Gear10% 수수료1 개₩34
- 1 개₩56
- Breadboard - Classic10% 수수료1 개₩127
- 1 개₩76
필요 도구
1- 플레이스홀더
관련 블루프린트
이 블루프린트들은 지식을 공유합니다 — 기술, 재료 또는 원리


CC0 퍼블릭 도메인
이 블루프린트는 CC0로 공개되었습니다. 어떤 목적으로든 자유롭게 복사, 수정, 배포 및 사용할 수 있습니다.
제품 구매를 통해 메이커를 지원하세요. 판매자가 설정한 메이커 커미션 을 받거나, 이 블루프린트의 새로운 반복을 만들어 연결로 포함시킬 수 있습니다.