협업
예술
뷰티 및 웰니스
공예
문화 및 역사
엔터테인먼트
환경
음식 및 음료
역공학
과학
스포츠
기술
웨어러블
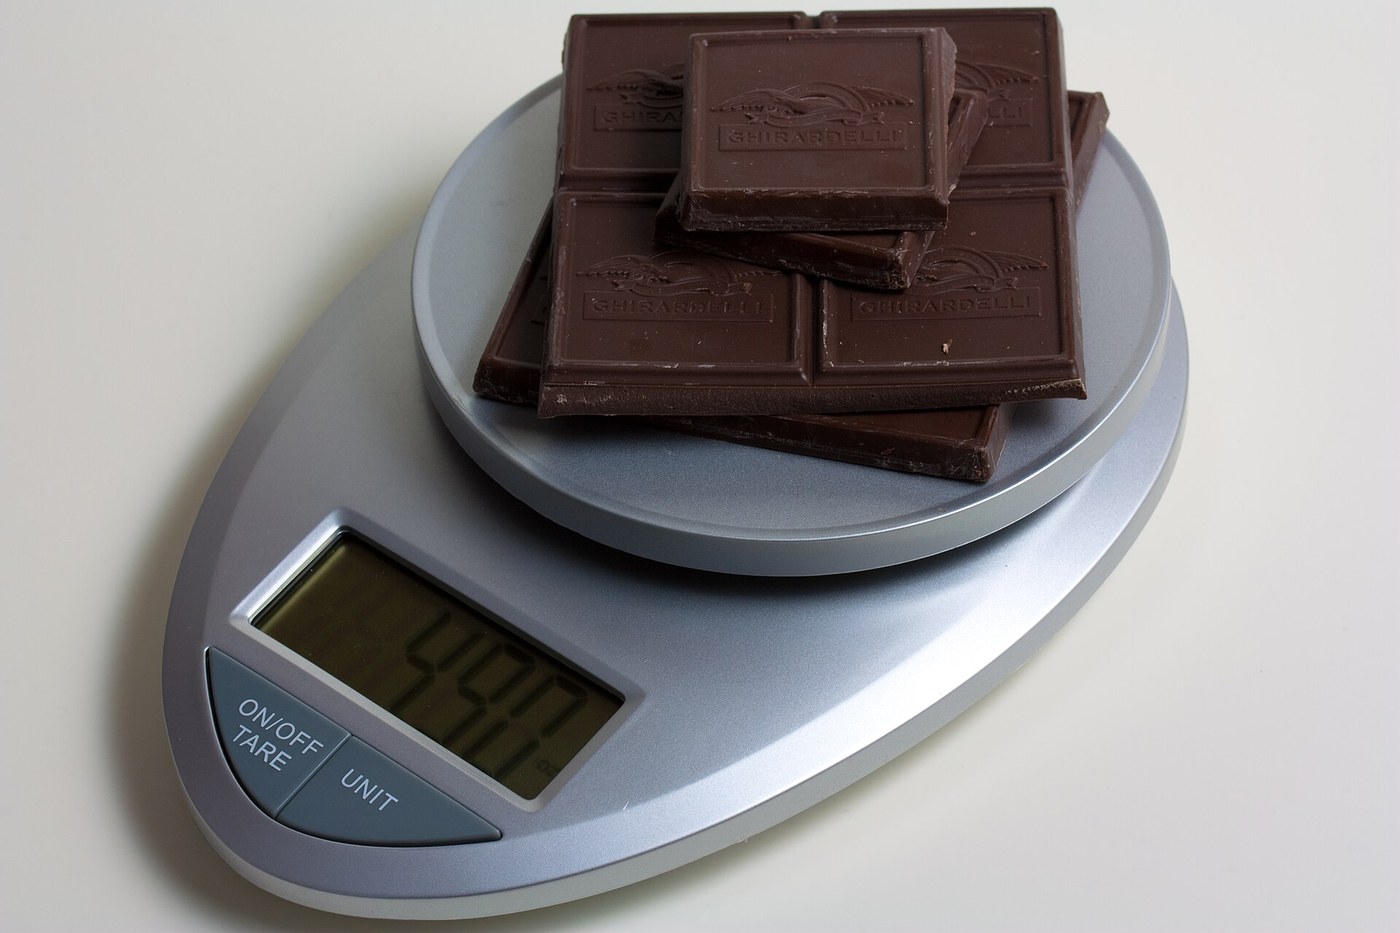


Digital Kitchen Scale: a Cantilever Load Cell in a Sealed Dual Housing (Edlund, 2009)
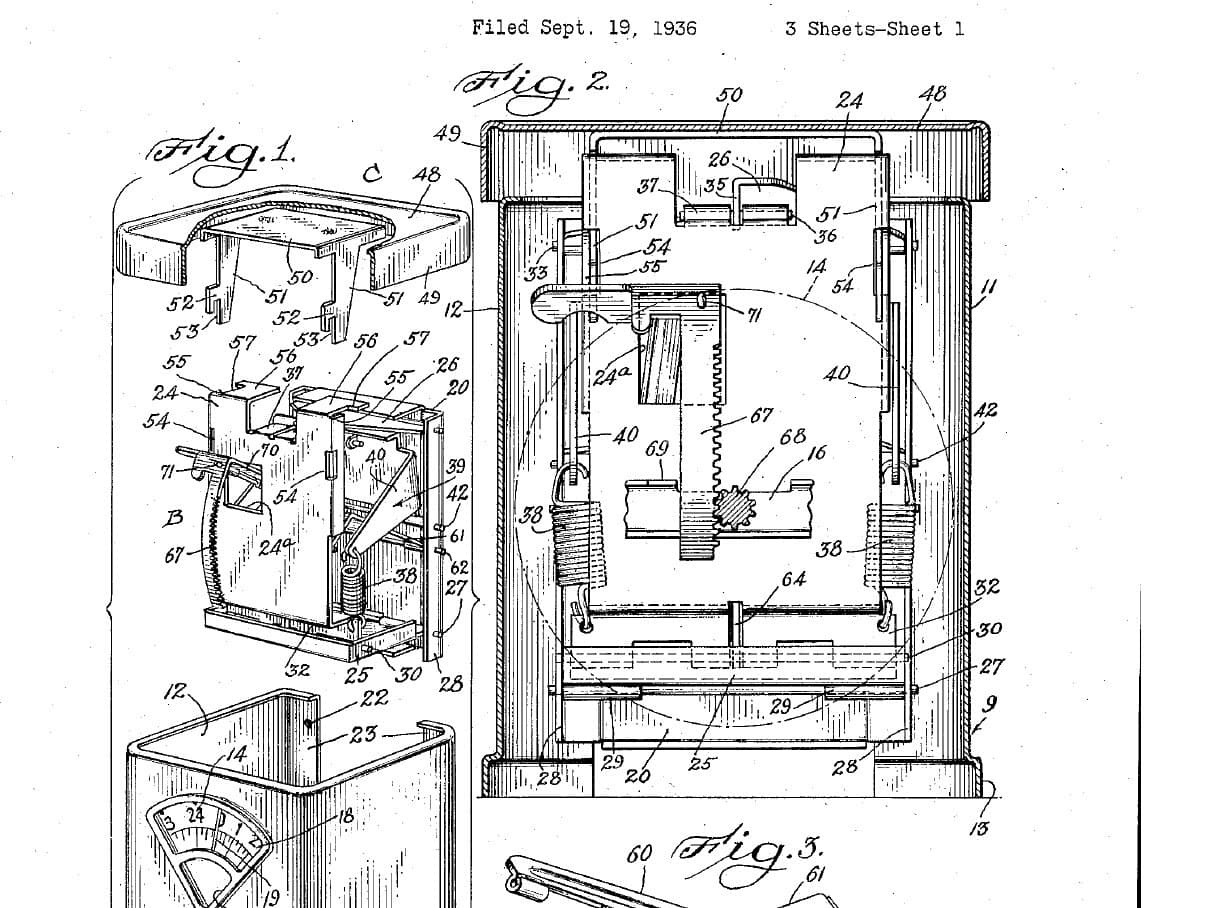
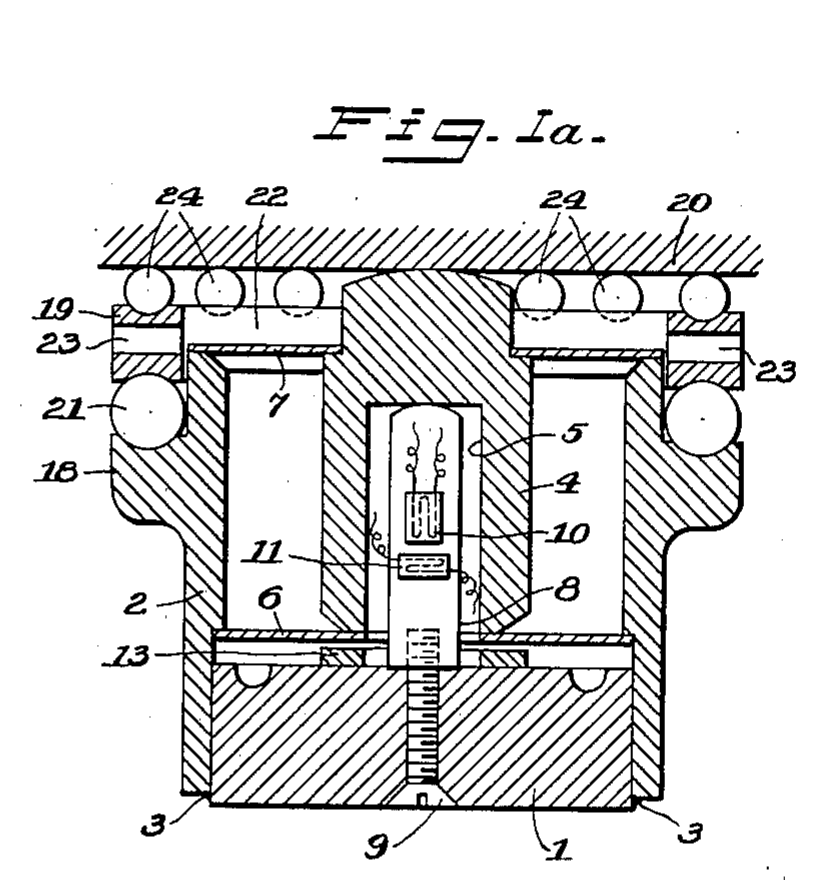
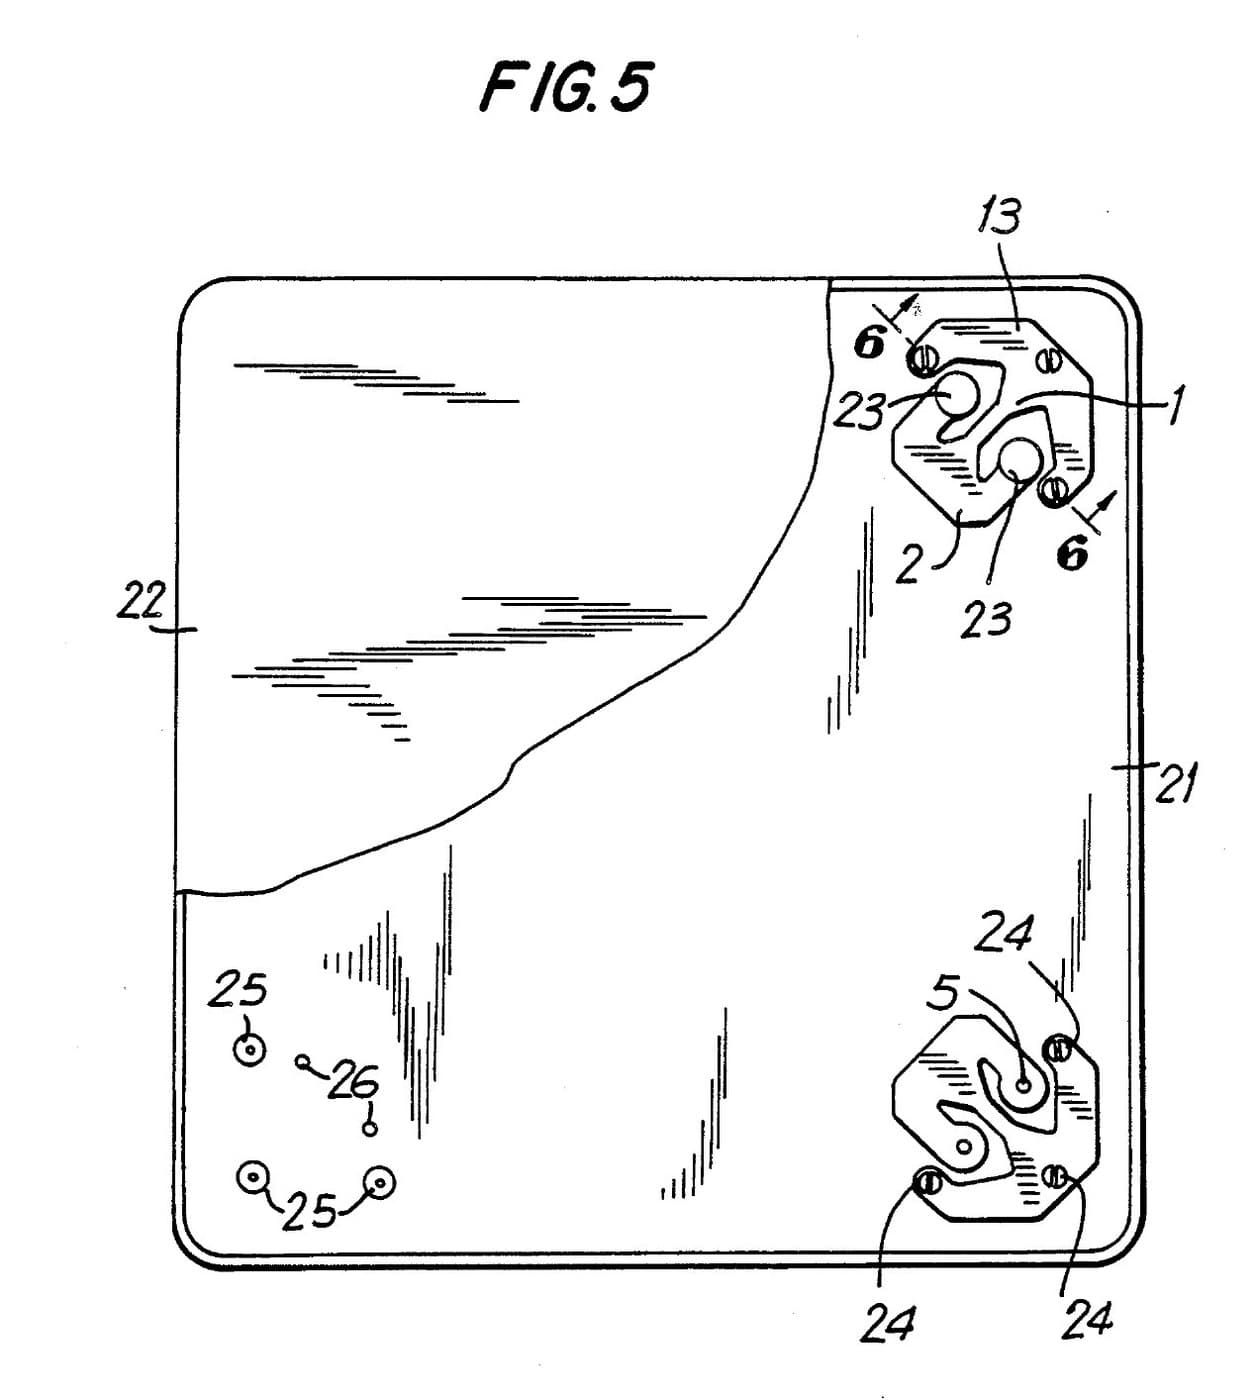
A digital scale built to survive a kitchen: spills, washing and being dropped. The load cell is a short cantilever with a strain sensor on top, and the electronics sit in a sealed compartment. Both are in a plastic chassis held loosely inside a second, outer housing of stainless steel and plastic, with crushable spacers between the two.
Result: a digital kitchen scale with a removable pan, sealed display and touchpad, battery power and an overload stop under the load cell.
Source: R. S. Whitney (Edlund Company), US Patent 7,554,043 (2009). Unknown: sizes, capacity, resolution and the electronics; the patent says suitable force transducers are readily available. Ours: the display and button types. Picture: Wikimedia Commons.
고급
2 days
안내
1
1
Mount the cantilever load cell
Mount the cantilever load cell
In the load-cell cavity of the plastic chassis, screw a base plate to the cavity floor. Screw the cantilever support to the base plate; a support plate on the cantilever carries the posts for the pan. A strain transducer on top of the cantilever senses the top stretching as it bends under a load. A window in the base plate leaves the cavity floor just below the free end, so an overload bottoms out there instead of breaking the transducer.
이 단계의 재료:
 로드셀1 cantilever type
 플라스틱1 chassis
 기계 나사1 세트
필요한 도구:
 드라이버 세트
 알 수 없는 치수
2
2
Seal in the electronics
Seal in the electronics
On the other side of the chassis, fit the display electronics behind one opening and the touchpad electronics behind another, wired to the strain transducer through sealing bushings. Fit a battery holder. Close the compartment with its cover on gaskets, so the electronics stay dry. Not given: the circuit, the display and the battery. Ours: a segment LCD and push buttons.
이 단계의 재료:
 집적 회로(IC)1 weighing and display electronics
 세그먼트 액정 패널1 개
 푸시 버튼1 touchpad keys
 전지1 개
 개스킷2 개
 배선용 전선1 short
 땜납 선1 a little
필요한 도구:
 인두드라이버 세트
3
3
Close it in the outer housing
Close it in the outer housing
Place the chassis, unfastened, between the two halves of the outer housing: a stainless-steel top with downturned sides, and a plastic bottom. Spacers moulded on the chassis sides press against the housing sides. They take a blow if the scale is dropped, and may crush on purpose to save the load cell and electronics. A sealed window of plastic or glass shows the display. A flexible sheet covers the touchpad. Fit four height-adjustable feet.
이 단계의 재료:
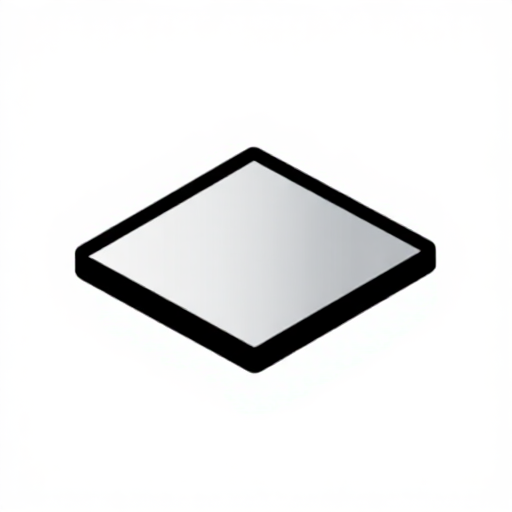 스테인리스강 판1 upper housing플라스틱1 lower housing
 알 수 없는 재료1 window, touchpad sheet, four feet
필요한 도구:
드라이버 세트알 수 없는 치수4
4
Fit the pan and check
Fit the pan and check
Screw the pan support to the four supports of the load cell. Rest the removable pan on it, or snap it on, so it lifts off for washing. A flexible boot can seal each support where it passes through the housing. Ours: check the reading with calibration weights.
이 단계의 재료:
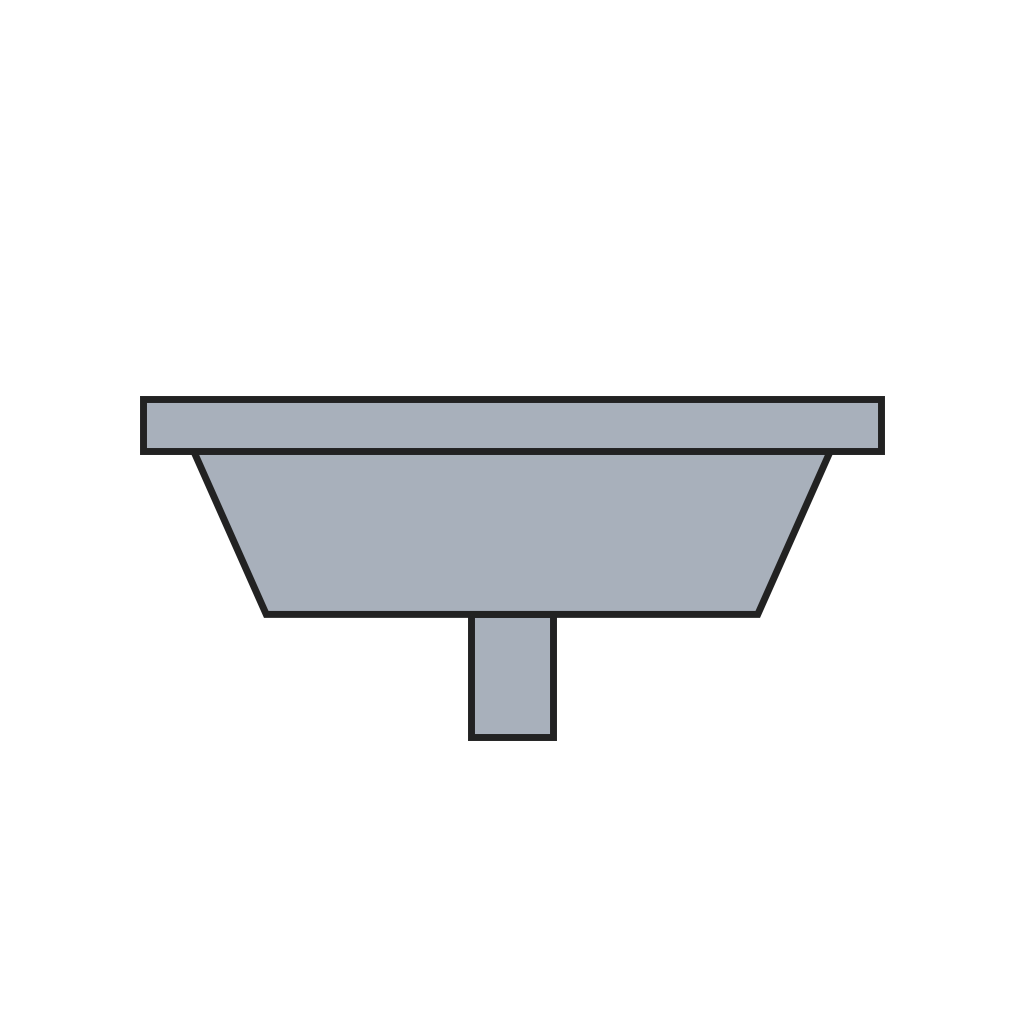 계량 접시1 metal or plastic기계 나사1 세트
필요한 도구:
드라이버 세트 교정용 분동 세트
재료
13- 1 cantilever type플레이스홀더
- 1 lower housing플레이스홀더
- 2 세트플레이스홀더
- 1 weighing and display electronics플레이스홀더
- 1 개플레이스홀더
- 플레이스홀더
- 1 개플레이스홀더
- 2 개플레이스홀더
- 1 short플레이스홀더
- 1 a little플레이스홀더
- 1 upper housing플레이스홀더
- 1 window, touchpad sheet, four feet플레이스홀더
- 1 metal or plastic플레이스홀더
연결된 블루프린트 재료
이 블루프린트로 만드는 것

관련 블루프린트
이 블루프린트들은 지식을 공유합니다 — 기술, 재료 또는 원리
CC0 퍼블릭 도메인
이 블루프린트는 CC0로 공개되었습니다. 어떤 목적으로든 자유롭게 복사, 수정, 배포 및 사용할 수 있습니다.
제품 구매를 통해 메이커를 지원하세요. 판매자가 설정한 메이커 커미션 을 받거나, 이 블루프린트의 새로운 반복을 만들어 연결로 포함시킬 수 있습니다.