예술
뷰티 및 웰니스
공예
문화 및 역사
엔터테인먼트
환경
음식 및 음료
역공학
과학
스포츠
기술
웨어러블


Finding the Fault: What to Do When the Circuit Just Sits There
A circuit that does nothing is the most common outcome of a first build, and the point where most people give up. It feels like there is nowhere to start, because the board gives no clue where the problem is.
But it does. Fault-finding is not inspiration — it is a fixed sequence of cheap checks in a deliberate order, each of which eliminates a whole class of causes. Done in order, most faults fall out in under ten minutes.
The order matters more than the cleverness. Almost everyone starts by suspecting the most interesting component and works backwards, when the fault is nearly always power, a connection, or something in backwards.
중급
4 hours
안내
1
1
Before anything: look, and smell
Before anything: look, and smell
Power off. Look across the board at a low angle under good light, and smell it.
You are looking for the obvious: a component in backwards, a leg not in the hole it should be, two legs in the same row, a wire in the wrong rail, a solder bridge between adjacent pads. A lens helps enormously. The hot, sharp smell of a cooked component or scorched board tells you immediately that this is a repair, not a wiring error.
Do this first every time, because it costs thirty seconds and it finds a large fraction of faults outright. Electrolytic capacitors in backwards and LEDs the wrong way round are the two most common build errors there are.
필요한 도구:
 돋보기
돋보기2
2
Check power AT THE CHIP, not at the supply
Check power AT THE CHIP, not at the supply
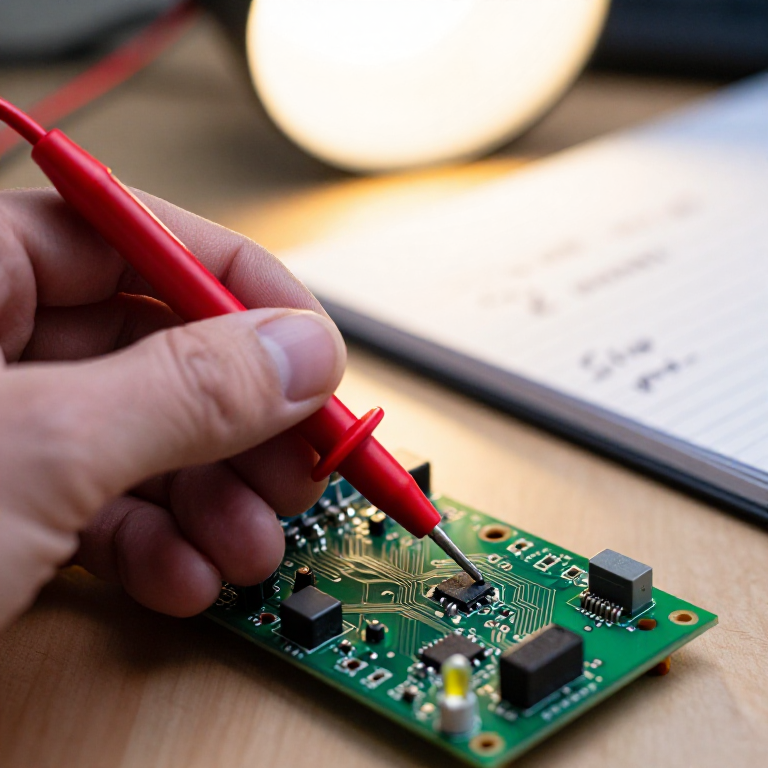
Power on. Black probe on the circuit's ground, red probe on the supply pin of the component that should be working — not on the power supply's own terminals.
The supply can read a perfect 5 volts while the chip sees nothing, because the fault is the wire between them, a split breadboard rail, or a switch you forgot. Measuring at the source tells you about the source; measuring at the load tells you about the circuit.
Check ground the same way — continuity from the chip's ground pin back to the supply's negative. A missing ground behaves exactly like a missing supply and is far less often suspected. Between them these two checks account for an enormous share of dead circuits.
필요한 도구:
 멀티미터
멀티미터 직류 전원 공급기
3
3
Halve the circuit, then halve it again
Halve the circuit, then halve it again
Pick a point in the middle of the signal path and ask: is the signal correct HERE? If yes, the fault is downstream; if no, upstream. Repeat on whichever half remains.
This is binary search, and it is why the method scales. A twenty-component signal path takes about five measurements to localise instead of twenty, and the number of measurements grows with the LOGARITHM of the circuit size — so the bigger the board, the more the method wins.
It only works if you know what 'correct' looks like at the point you chose, which is exactly why the schematic rung asks you to annotate expected voltages before powering up. Without that, every measurement is a number with nothing to compare it to.
필요한 도구:
멀티미터4
4
The order, and why it is that order
The order, and why it is that order
Jupyter 노트북 불러오는 중…
필요한 도구:
멀티미터 계산기
계산기5
5
Change one thing at a time, and write down what you changed
Change one thing at a time, and write down what you changed
When you start altering the circuit, change exactly one thing, test, and write the change down. Then the next.
Change three things and it works, and you have learned nothing — you cannot say which one mattered, and you may have introduced a second fault that the third change happens to mask. That is how a circuit ends up working on the bench and failing in the case.
The written list also stops the loop everyone falls into at hour two, where you re-check something you already proved good half an hour ago. If it is on the list with a tick, believe yourself and move on.
필요한 도구:
멀티미터6
6
When the fault comes and goes
When the fault comes and goes
An intermittent fault is a mechanical fault until proven otherwise. Press gently on each component and each wire in turn with the circuit running and watch for it to change.
A cracked solder joint, a stretched breadboard clip, a wire broken inside its insulation — all behave identically: perfect until something flexes. Freeze spray and a heat source find the temperature-dependent ones, which are usually a marginal component rather than a connection.
Resist the urge to call it 'solved' when it starts working during the poking. You have found the LOCATION, not the fault. Reflow or replace whatever you were touching, then confirm it stays fixed under the same poking.
필요한 도구:
 납땜 스테이션멀티미터돋보기
관련 블루프린트
이 블루프린트들은 지식을 공유합니다 — 기술, 재료 또는 원리

CC0 퍼블릭 도메인
이 블루프린트는 CC0로 공개되었습니다. 어떤 목적으로든 자유롭게 복사, 수정, 배포 및 사용할 수 있습니다.
제품 구매를 통해 메이커를 지원하세요. 판매자가 설정한 메이커 커미션 을 받거나, 이 블루프린트의 새로운 반복을 만들어 연결로 포함시킬 수 있습니다.