Making Wooden Shingles — Riving Roof Tiles from a Bolt of Timber
Before fired clay tiles or slate became affordable, every roof in the temperate world was covered in wooden shingles — thin, flat pieces of riven timber that overlap like fish scales to shed rain. A single roof might need a thousand shingles, but a skilled worker with a froe and mallet can produce several hundred in a day. Shingles made from durable heartwood — oak, cedar, chestnut, or larch — last 30 to 50 years without treatment.
Shingles must be riven, never sawn. A riven shingle has intact grain running from top to bottom — water runs along the fibres and drips off the bottom edge without soaking in. A sawn shingle has cut fibres that act like tiny straws, wicking water into the wood and rotting it within a few years. This is the fundamental reason riving survived alongside sawmills for centuries — shingles were one product where the old method was simply better.
The technique requires a bolt (a short log section) of straight-grained wood and a froe — an L-shaped cleaving blade that gives precise control over the split line. Each shingle is split from the bolt, then shaved smooth on one face with a drawknife. The result is a lightweight, weather-resistant roof tile produced entirely from hand tools and local timber.
안내
Select and crosscut a bolt
Select and crosscut a bolt
Split the bolt into halves and quarters
Split the bolt into halves and quarters
Rive shingles with a froe
Rive shingles with a froe
필요한 도구:
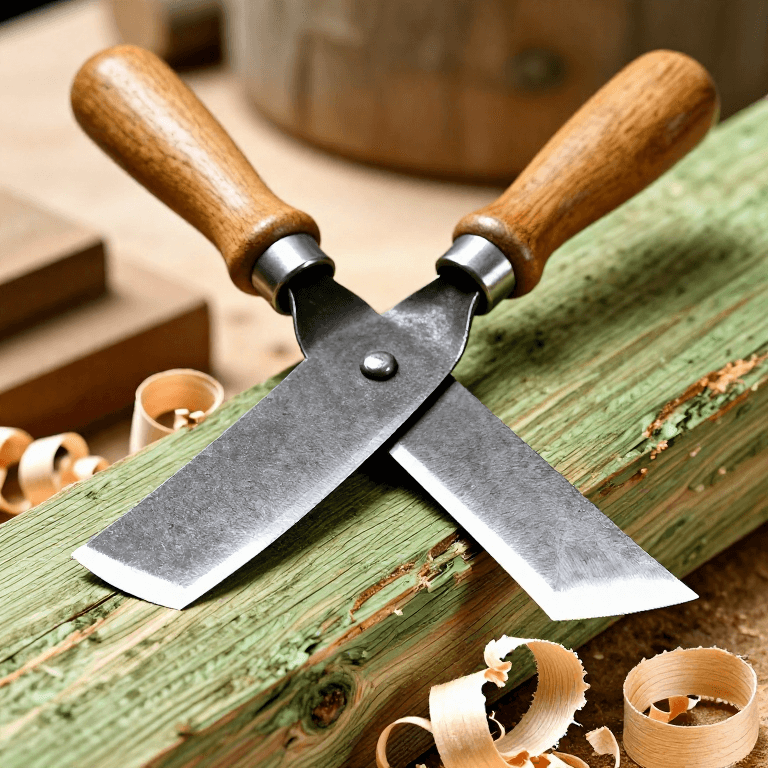
 Froe
Froe Wooden Mallet
Dress the face with a drawknife
Dress the face with a drawknife
필요한 도구:
 Drawknife
Taper the top edge
Taper the top edge
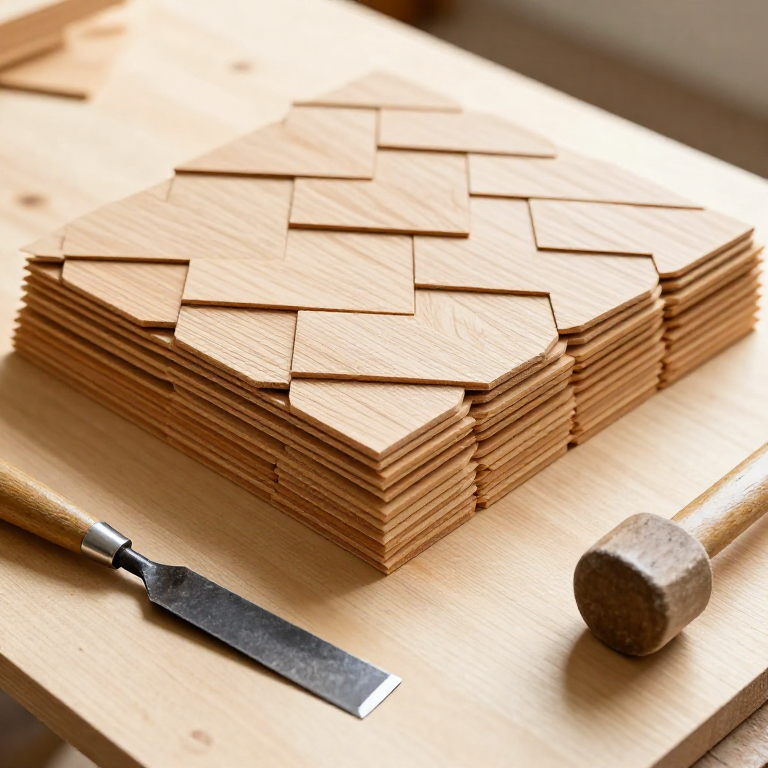
Stack and season before installation
Stack and season before installation
연결된 블루프린트 재료

관련 블루프린트
이 블루프린트들은 지식을 공유합니다 — 기술, 재료 또는 원리


CC0 퍼블릭 도메인
이 블루프린트는 CC0로 공개되었습니다. 어떤 목적으로든 자유롭게 복사, 수정, 배포 및 사용할 수 있습니다.
제품 구매를 통해 메이커를 지원하세요. 판매자가 설정한 메이커 커미션 을 받거나, 이 블루프린트의 새로운 반복을 만들어 연결로 포함시킬 수 있습니다.