Casting a Pewter Spoon in a Soapstone Mould — Low-Temperature Metal Casting
Pewter — an alloy of roughly 92% tin with small amounts of antimony and copper — melts at just 230°C, making it the most accessible metal for casting. Medieval spoon-makers carved two-part moulds from soapstone, poured molten pewter, and finished the castings with files and burnishing. The result is a bright, food-safe utensil that lasts generations. This blueprint covers carving the soapstone mould, melting the pewter over a simple charcoal fire, casting, and finishing.
안내
Select the soapstone
Select the soapstone
이 단계의 재료:
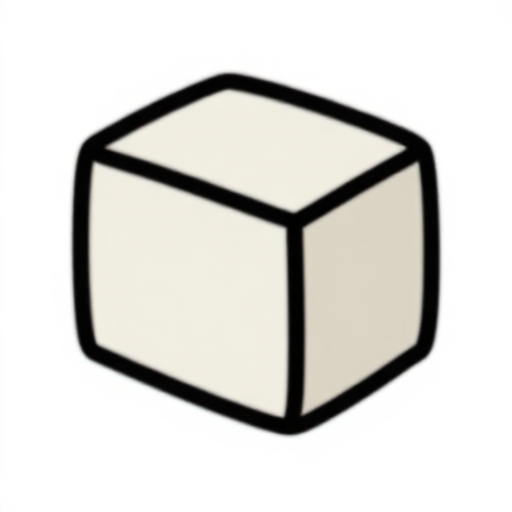 Soapstone Block1 개
Flatten the mould faces
Flatten the mould faces
Draw the spoon pattern
Draw the spoon pattern
Carve the bowl cavity
Carve the bowl cavity
필요한 도구:
 Wood Gouge
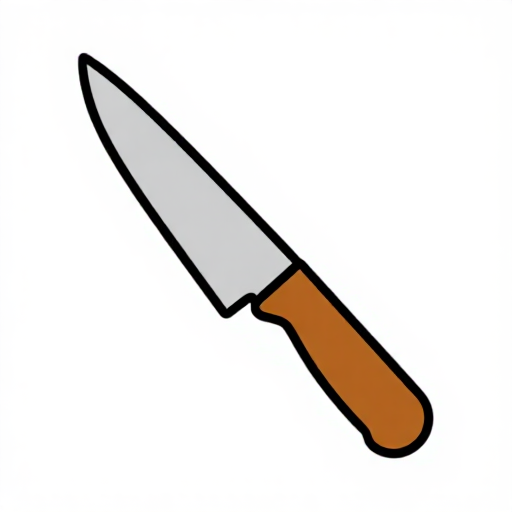 Carving Knife
Carve the matching half
Carve the matching half
Carve alignment keys and pour gate
Carve alignment keys and pour gate
Pre-heat the mould
Pre-heat the mould
Melt the pewter
Melt the pewter
이 단계의 재료:
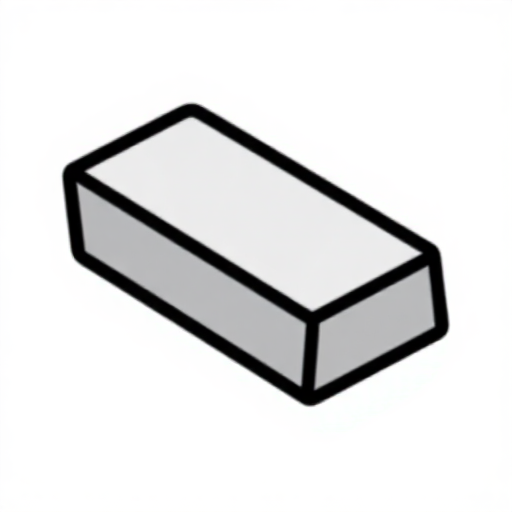 Pewter Ingot200 g
필요한 도구:
 Steel Crucible (small)
 Crucible Tongs (long-handled)
Pour the casting
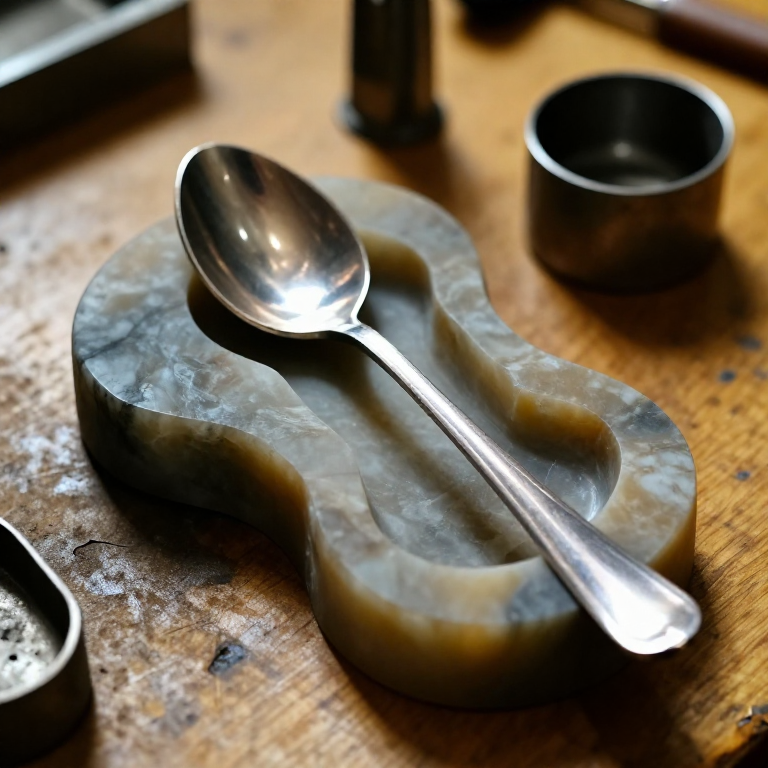
Pour the casting
Cool and open the mould
Cool and open the mould
Remove the gate and flash
Remove the gate and flash
필요한 도구:
 Needle File Set
Shape and refine the spoon
Shape and refine the spoon
Burnish to a bright finish
Burnish to a bright finish
재료
2- 플레이스홀더
- 200 g플레이스홀더
필요 도구
5- 플레이스홀더
- 플레이스홀더
- 플레이스홀더
- 플레이스홀더
연결된 블루프린트 재료
관련 블루프린트
이 블루프린트들은 지식을 공유합니다 — 기술, 재료 또는 원리
Related blueprints
Other builds that share materials, tools, or techniques with this one.


CC0 퍼블릭 도메인
이 블루프린트는 CC0로 공개되었습니다. 어떤 목적으로든 자유롭게 복사, 수정, 배포 및 사용할 수 있습니다.
제품 구매를 통해 메이커를 지원하세요. 판매자가 설정한 메이커 커미션 을 받거나, 이 블루프린트의 새로운 반복을 만들어 연결로 포함시킬 수 있습니다.