예술
뷰티 및 웰니스
공예
문화 및 역사
엔터테인먼트
환경
음식 및 음료
역공학
과학
스포츠
기술
웨어러블
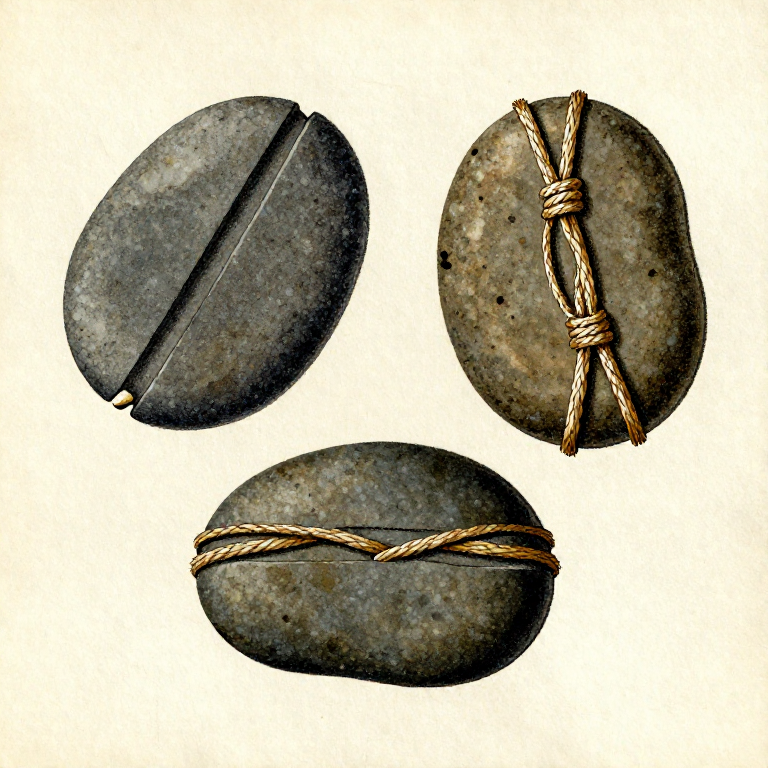


Making Grooved Stone Net Sinkers — Weighted Stones for Fishing Nets
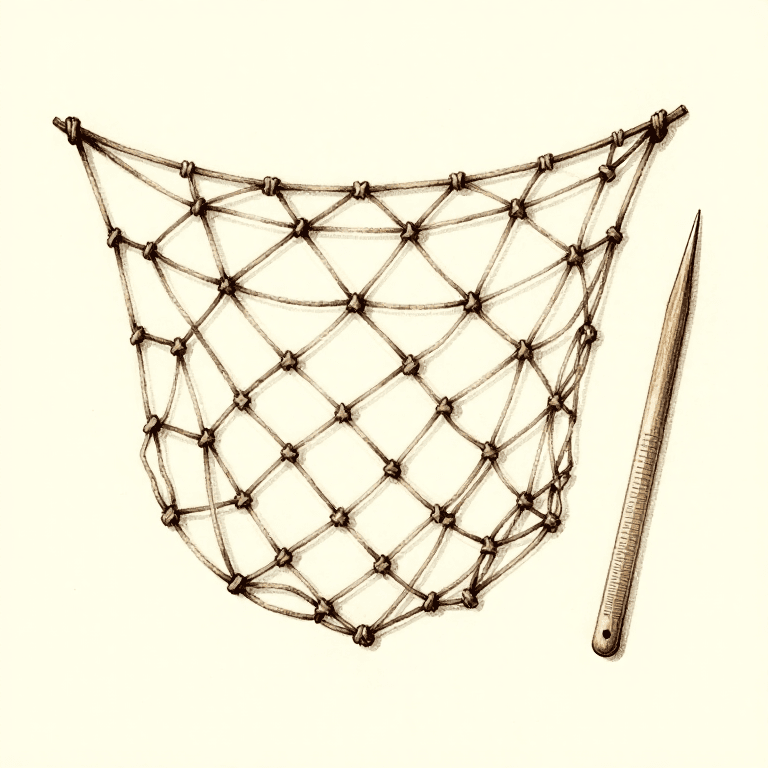
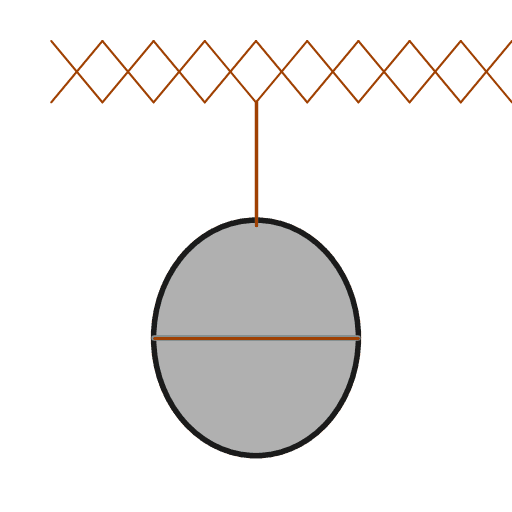
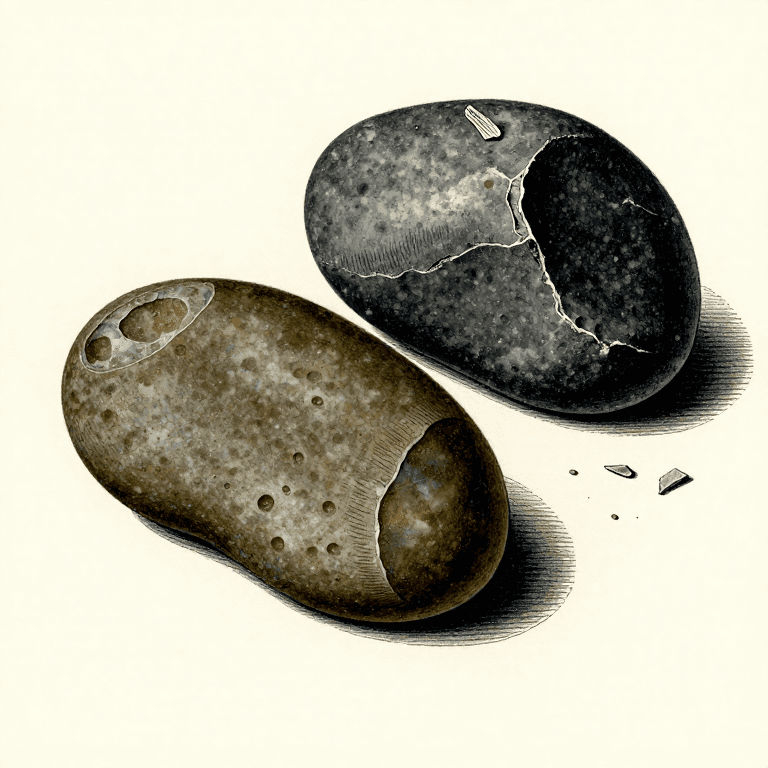
Stone net sinkers are among the most common artefacts at prehistoric fishing sites — simple flat or oval stones with a groove pecked around the circumference so a cord can be tied securely without slipping. Attached to the bottom edge of a fishing net, they pull the net down through the water column while floats hold the top edge at the surface, creating a vertical wall that intercepts fish. Sinkers are also tied to individual fishing lines to keep bait at depth. The groove is the key innovation: without it, the cord slides off a smooth stone and the sinker is lost. The groove only needs to be deep enough to seat the cord — 2-3mm — and is created by patient pecking with a pointed hammerstone along the stone's equator.
초급
1 hour
안내
1
1
Select Flat, Oval River Cobbles
Select Flat, Oval River Cobbles
Select flat, oval river cobbles 6-10cm long and 1-2cm thick — slate, basalt, or fine sandstone work well.
이 단계의 재료:
 매끄러운 돌10 개
2
2
Check the Weight
Check the Weight
The stone should be heavy enough to sink the net but light enough not to tear it (100-300g per sinker).
3
3
Mark the Groove Line
Mark the Groove Line
Mark a line around the narrowest circumference of the stone.
4
4
Peck the Groove
Peck the Groove
Peck a groove along this line using the point of a small hammerstone, rotating the stone as you work.
필요한 도구:
 망치돌
망치돌5
5
Achieve the Correct Groove Depth
Achieve the Correct Groove Depth
The groove should be 2-3mm deep and 4-5mm wide — deep enough to seat cordage firmly.
6
6
Smooth the Groove
Smooth the Groove
Smooth the groove with a piece of sandstone to remove sharp edges that could cut the cord.
7
7
Test the Groove
Test the Groove
Test by wrapping cord around the groove and tugging — the cord should not slip off.
8
8
Make Multiple Sinkers
Make Multiple Sinkers
Make 6-10 sinkers for a standard fishing net.
9
9
Attach Sinkers to the Net
Attach Sinkers to the Net
Attach to the net's bottom edge at regular intervals with a clove hitch or simple lashing.

이 블루프린트로 만드는 것
관련 블루프린트
이 블루프린트들은 지식을 공유합니다 — 기술, 재료 또는 원리

CC0 퍼블릭 도메인
이 블루프린트는 CC0로 공개되었습니다. 어떤 목적으로든 자유롭게 복사, 수정, 배포 및 사용할 수 있습니다.
제품 구매를 통해 메이커를 지원하세요. 판매자가 설정한 메이커 커미션 을 받거나, 이 블루프린트의 새로운 반복을 만들어 연결로 포함시킬 수 있습니다.