예술
뷰티 및 웰니스
공예
문화 및 역사
엔터테인먼트
환경
음식 및 음료
역공학
과학
스포츠
기술
웨어러블
Building a Wattle-and-Daub Wall — The Universal Prehistoric Construction Technique
Wattle and daub is a composite wall-building method where a woven lattice of sticks (wattle) is plastered with a wet mixture of clay, organic fibre, and dung (daub) to create a solid, weather-resistant wall. This technique is one of the most widespread building technologies in human history — independently developed across every inhabited continent from the Neolithic period onward. Archaeological evidence of wattle-and-daub construction dates to at least 6000 BCE at Catalhoyuk in modern Turkey, and the technique was standard throughout Neolithic Europe, pre-Columbian Americas, sub-Saharan Africa, and Southeast Asia. It remains in active use today in parts of West Africa (where it is called banco), South America, and rural Southeast Asia. The genius of the system lies in how the two components compensate for each other's weaknesses: the wattle lattice provides tensile strength and a scaffold for the daub to grip, while the daub provides compressive strength, thermal mass, and weather-sealing. A properly built wattle-and-daub wall can last for centuries if the roof keeps rain off the top edge and the base is raised above ground moisture. The daub mixture is the critical element — the proportions of clay, chopped fibre (straw, grass, or hair), and dung must be balanced so the daub does not crack as it dries. This blueprint teaches the complete process from building a wattle framework to mixing, applying, and curing the daub.
중급
4-6 hours
안내
1
1
Set the Upright Stakes (Staves)
Set the Upright Stakes (Staves)
Cut sturdy hardwood stakes (oak, ash, or hazel) approximately 5 to 8 cm in diameter and 10 to 20 cm longer than the desired wall height. Sharpen the bottom ends to a point. Drive the stakes vertically into the ground to a depth of at least 15 to 20 cm, spacing them 20 to 30 cm apart in a straight line. These upright staves are the structural backbone of the wattle — they must be firmly anchored because the weight of wet daub will push outward on the lattice. For a doorway, leave a gap in the stake line and frame the opening with thicker posts.
이 단계의 재료:
 Hardwood Sapling12 개
필요한 도구:
 Hammerstone
2
2
Harvest Flexible Withies for Weaving
Harvest Flexible Withies for Weaving
Cut 30 to 50 long, flexible shoots (withies) of willow, hazel, or any flexible green wood — each at least 150 cm long and 1.5 to 2.5 cm in diameter. These must be freshly cut and green; dried withies snap rather than bend. Willow is the traditional first choice because it stays flexible longest, roots easily (living willow fences are a related tradition), and grows abundantly near water. Strip the leaves but leave the bark on — it adds grip when woven. Sort the withies by thickness: thicker ones for the bottom courses (which bear more weight) and thinner ones for the top.
이 단계의 재료:
Hardwood Sapling40 개필요한 도구:
 Flint Knife
3
3
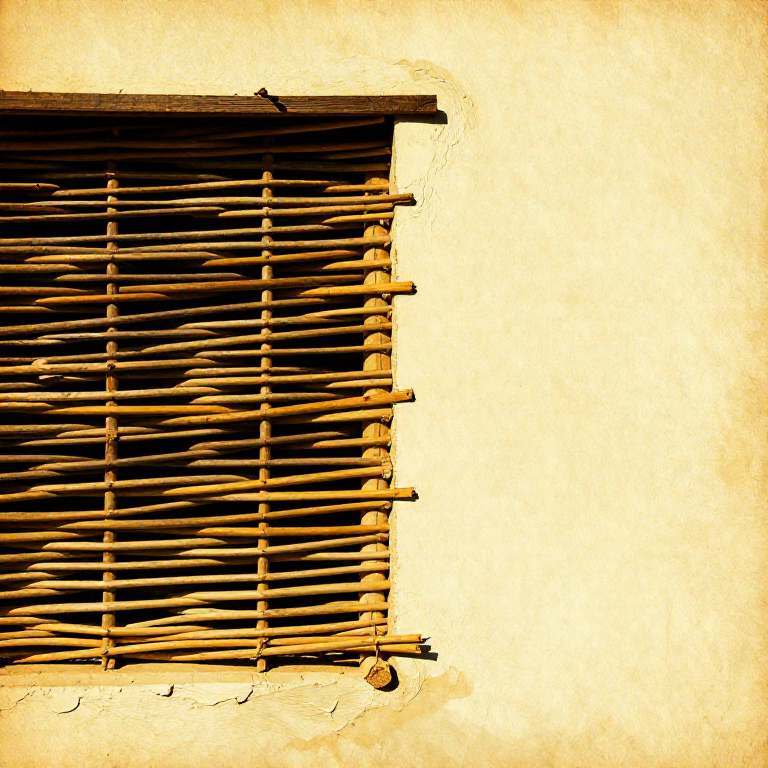
Weave the Wattle Lattice
Weave the Wattle Lattice
Starting at the base, weave the first withy horizontally through the upright stakes — passing in front of one stake, behind the next, in front of the next, and so on, just like weaving cloth. Push the withy down tight against the ground. Start the next withy from the opposite side so its over-under pattern is reversed from the first — this locks the stakes in place. Continue weaving upward, pushing each new course firmly down against the one below. When a withy runs out, overlap the new one by at least 15 cm behind a stake. The finished wattle should be a tight, springy lattice with no gaps larger than 3 to 4 cm.
4
4
Dig and Test the Clay
Dig and Test the Clay
Collect raw clay from a riverbank, stream bed, or subsoil deposit — dig below the topsoil layer (which contains too much organic matter) to reach the sticky, plastic clay underneath. You need approximately 60 to 80 kg of clay for a single wall panel 2 metres long by 1.5 metres high. Test the clay quality by rolling a handful into a rope 1 cm thick and 15 cm long: if it bends into a U shape without cracking, the clay has good plasticity. If it cracks, it contains too much sand and needs richer clay mixed in. If it is very sticky and hard to handle, it has too much clay and will crack badly when drying — add sand.
이 단계의 재료:
 Raw Clay70 kg
5
5
Prepare the Chopped Fibre
Prepare the Chopped Fibre
Cut dry straw, dried grass, or dried cattail leaves into lengths of 5 to 10 cm. You need a volume of fibre roughly equal to one-quarter to one-third the volume of the clay. The fibre serves the same function as rebar in concrete — it provides tensile reinforcement that prevents the daub from cracking as it shrinks during drying. Longer fibres bridge wider cracks, but fibres longer than 10 cm are hard to mix evenly into the daub. If straw is unavailable, dried animal hair, shredded bark fibre, or chopped dried ferns all work. The fibre must be completely dry — wet fibre rots inside the wall.
필요한 도구:
Flint Knife6
6
Mix the Daub
Mix the Daub
In a shallow pit or on a flat area of ground, combine the clay with water and tread it with bare feet until it reaches a thick, smooth consistency — like heavy bread dough. Gradually add the chopped fibre, continuing to tread and turn the mixture until the fibre is evenly distributed throughout. Then add fresh animal dung (cow or horse dung is traditional) at approximately one-fifth the total volume. The dung serves multiple purposes: its long fibres add reinforcement, its natural oils improve water resistance, and the fermentation process produces compounds that increase plasticity and reduce cracking. The final mix should hold its shape when squeezed into a ball but spread easily when pressed against the wattle.
7
7
Apply the First Coat of Daub
Apply the First Coat of Daub
Take handfuls of the mixed daub and press them firmly into the wattle from one side, pushing the material through the gaps between the withies so it squeezes out the other side. This keying-through is critical — daub that only sits on one face of the wattle will eventually delaminate and fall off. Work from the bottom upward, building up a layer approximately 2 to 3 cm thick on the first pass. Push the daub deep into every gap and around every stake. The woven lattice should be completely embedded in daub with no bare wood visible.
8
8
Fill the Opposite Side
Fill the Opposite Side
Move to the other side of the wall and fill in the daub to match the first side. Press firmly to merge the daub from both sides into a continuous mass that encases the wattle. The total wall thickness after both sides are filled should be 8 to 12 cm — thin enough to be practical but thick enough to provide insulation and structural mass. Use a flat piece of wood or bark as a trowel to smooth the surface and compress the daub against the wattle. Compressing removes air pockets that weaken the dried wall.
9
9
Let the First Coat Dry Partially
Let the First Coat Dry Partially
Allow the first coat to dry for 24 to 48 hours until it is firm to the touch but not completely hard. Small shrinkage cracks will appear — this is normal and expected. Do not attempt to fill these cracks yet. The partially dried surface provides excellent grip for the second coat. If the weather is hot and dry, cover the wall loosely with damp cloth or leafy branches to slow the drying — rapid drying causes deep cracks that compromise structural integrity. The ideal drying condition is warm, shaded, and well-ventilated.
10
10
Apply the Second (Finishing) Coat
Apply the Second (Finishing) Coat
Mix a finer batch of daub for the finishing coat — use the same clay and water but with shorter, finer fibre (chopped grass or animal hair rather than straw) and no large dung chunks. Apply this smoother mix over the dried first coat in a layer 1 to 2 cm thick, pressing it firmly into all the shrinkage cracks from the first coat. Smooth the surface with a wet hand or a flat wooden trowel, drawing it across the surface in sweeping motions. The second coat fills all defects and creates a uniform, smooth wall surface that sheds rain better than a rough one.
11
11
Cure the Wall Slowly
Cure the Wall Slowly
Allow the finished wall to dry and cure for 5 to 10 days, depending on weather conditions. Protect it from direct rain during this period — a temporary lean-to of branches and bark over the wall is sufficient. The wall is fully cured when tapping it with a knuckle produces a solid, ringing sound rather than a dull thud. A properly cured wattle-and-daub wall is remarkably strong — it can support a heavy thatched roof, resist moderate wind loads, and last for decades or even centuries if kept dry above and below. Hairline surface cracks after curing can be filled with a thin wash of clay and water.
12
12
Protect the Base from Ground Moisture
Protect the Base from Ground Moisture
The primary enemy of wattle-and-daub is prolonged moisture contact at the base, which softens the clay and rots the wattle. Place flat stones or a row of packed gravel along the base of the wall to lift the daub above standing water and splash-back from rain hitting the ground. If possible, build the wattle-and-daub on top of a low stone or rammed-earth foundation wall (a plinth) at least 15 to 20 cm high. Ensure the roof overhangs the wall by at least 30 cm on each side to keep rain off the upper surface. With these moisture protections, wattle-and-daub walls have been documented lasting over 500 years in medieval English timber-frame buildings.
재료
2- 52 개플레이스홀더
- 플레이스홀더
필요 도구
2- 플레이스홀더
- 플레이스홀더
연결된 블루프린트 재료
관련 블루프린트
이 블루프린트들은 지식을 공유합니다 — 기술, 재료 또는 원리
Related blueprints
Other builds that share materials, tools, or techniques with this one.
Carving a Bone Flute — Prehistoric Musical Instrumentwoodworking
Carving a Tally Stick — Humanity's Oldest Record-Keeping Technologywoodworking
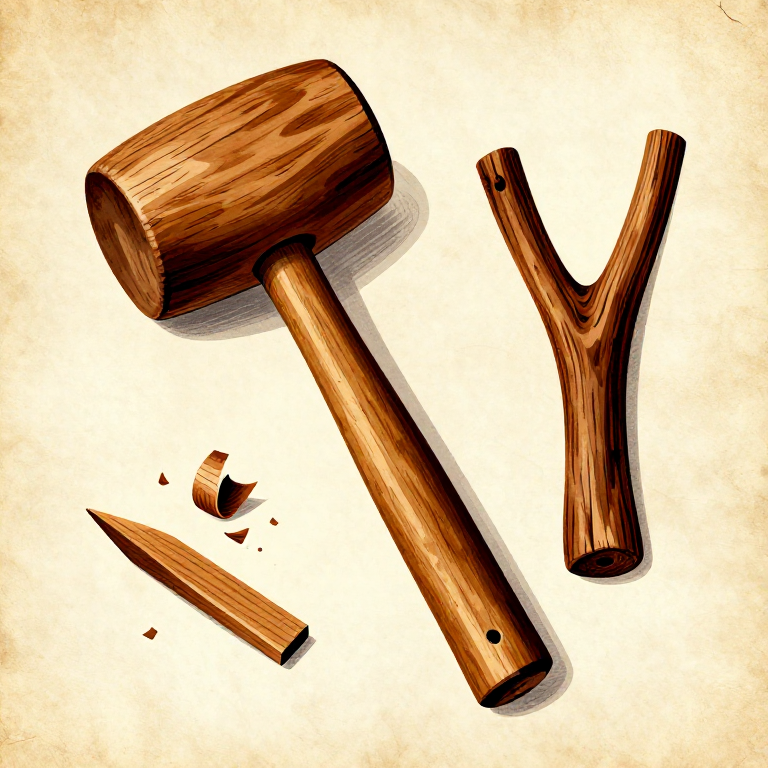
Making a Wooden Mallet — The Percussive Tool That Does Not Damagewoodworking
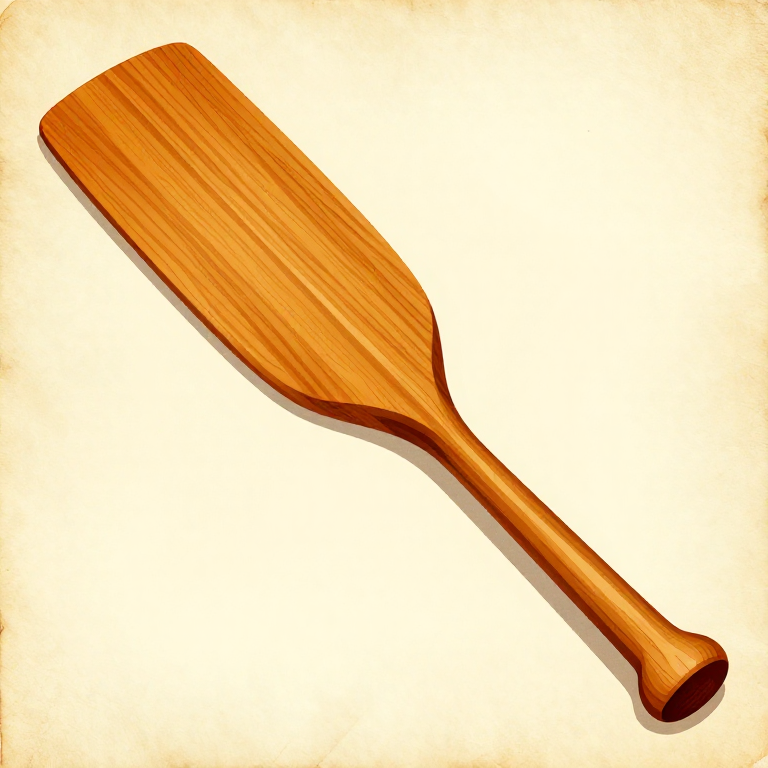
Carving a Wooden Paddle from a Single Piece of Hardwood — Prehistoric Watercraft Propulsionwoodworking
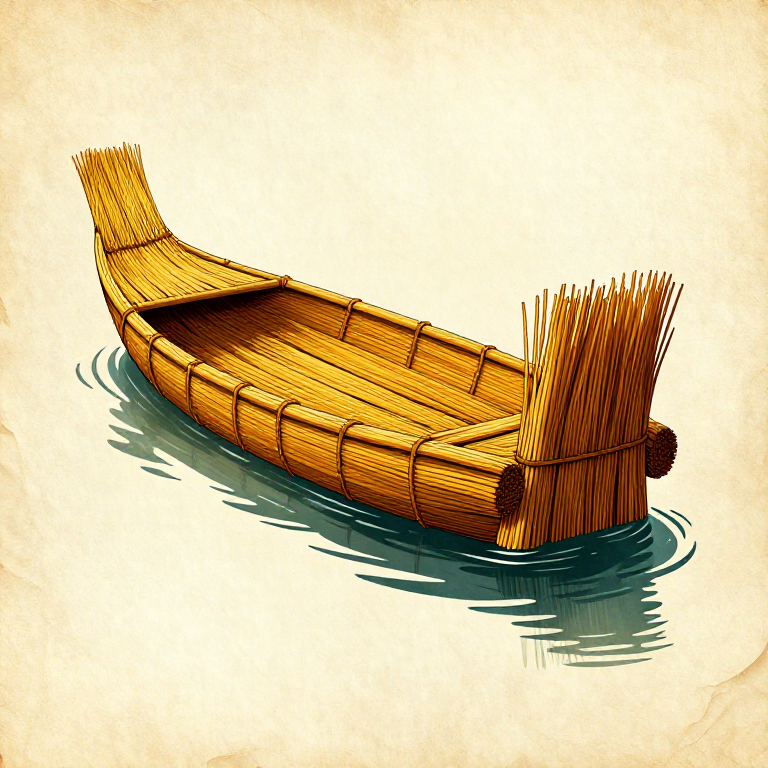
Building a Reed Bundle Raft — Buoyant Watercraft from Wetland Plantswoodworking
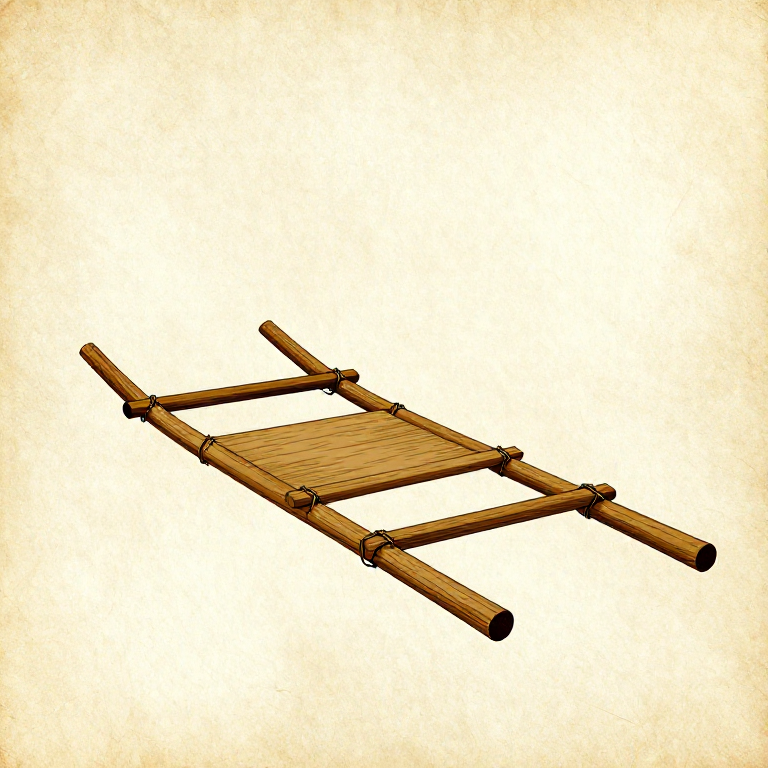
Building a Travois — Pole-Frame Load Carrierwoodworking
CC0 퍼블릭 도메인
이 블루프린트는 CC0로 공개되었습니다. 어떤 목적으로든 자유롭게 복사, 수정, 배포 및 사용할 수 있습니다.
제품 구매를 통해 메이커를 지원하세요. 판매자가 설정한 메이커 커미션 을 받거나, 이 블루프린트의 새로운 반복을 만들어 연결로 포함시킬 수 있습니다.