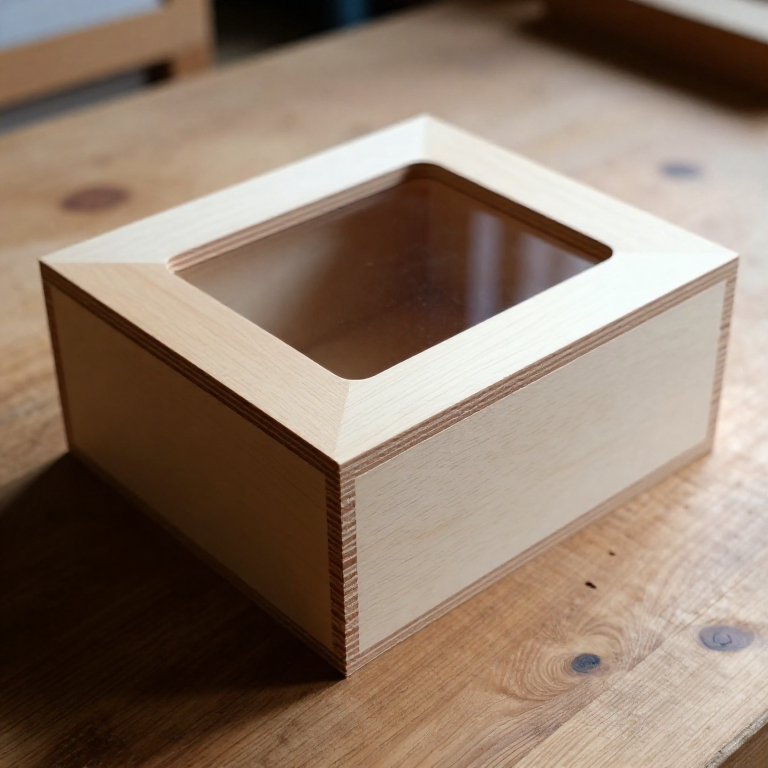


Router-Cut Project Enclosure
안내
Measure the stack and mark the template
Measure the stack and mark the template
Measure the assembled board stack including the cables, then add clearance on every face.
- An Uno with one shield is roughly 70 × 55 mm in plan and about 35 mm tall once stacked.
- Add 5 mm clearance all round, and more at the USB end where a plug sits proud.
- Mark the window on quarter-inch plywood with the speed square and pencil.
이 단계의 재료:
 발트 자작나무 합판1 장
필요한 도구:
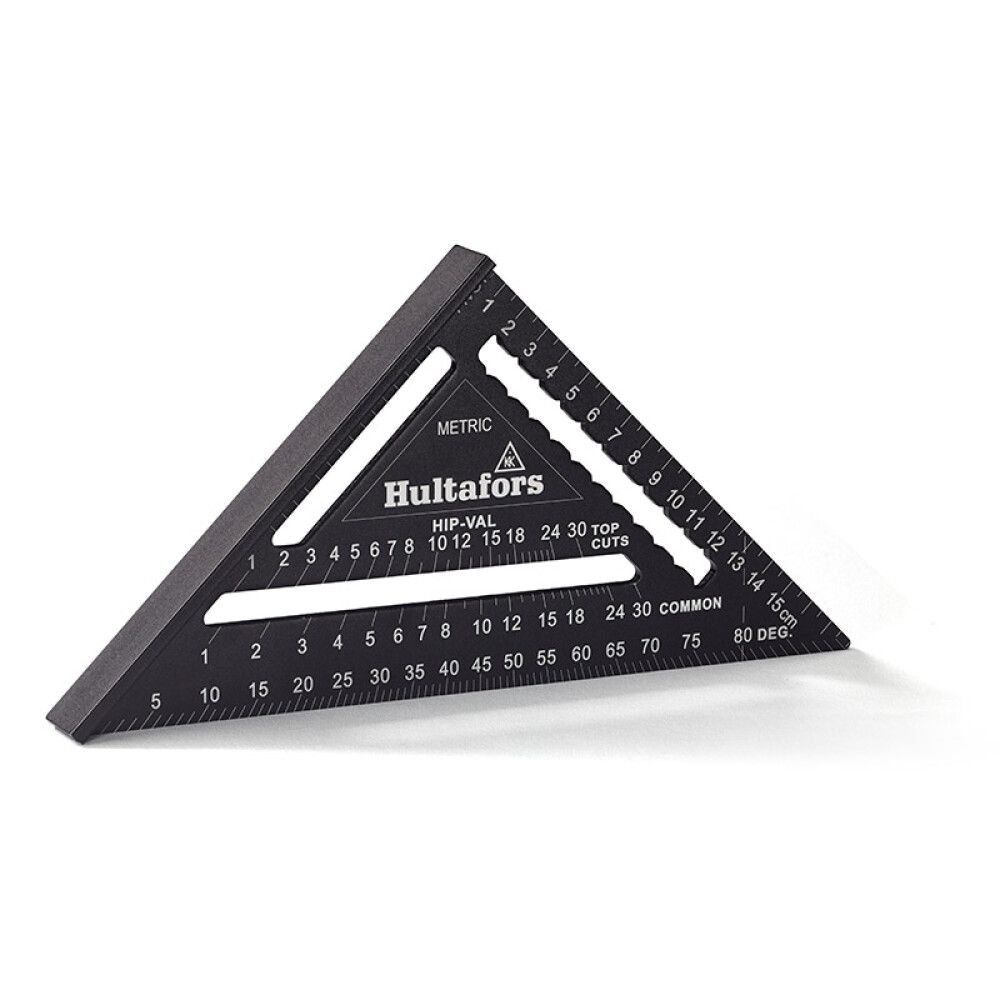 Hultafors MRS 18 Speed Square — Metric
 Hultafors Carpenter's Pencil HB
 Ryobi RTM8M Tape Measure 8 m
Cut the template opening and finish it to the line
Cut the template opening and finish it to the line
Cut just inside the line, then work back to it with a sanding block.
- Rough the opening out with the jigsaw, staying about 1 mm shy of the line.
- Sand to the line, checking with the speed square that the corners stay square.
- Test-fit the board stack through the opening before going any further.
이 단계의 재료:
 사포1 장
사포1 장필요한 도구:
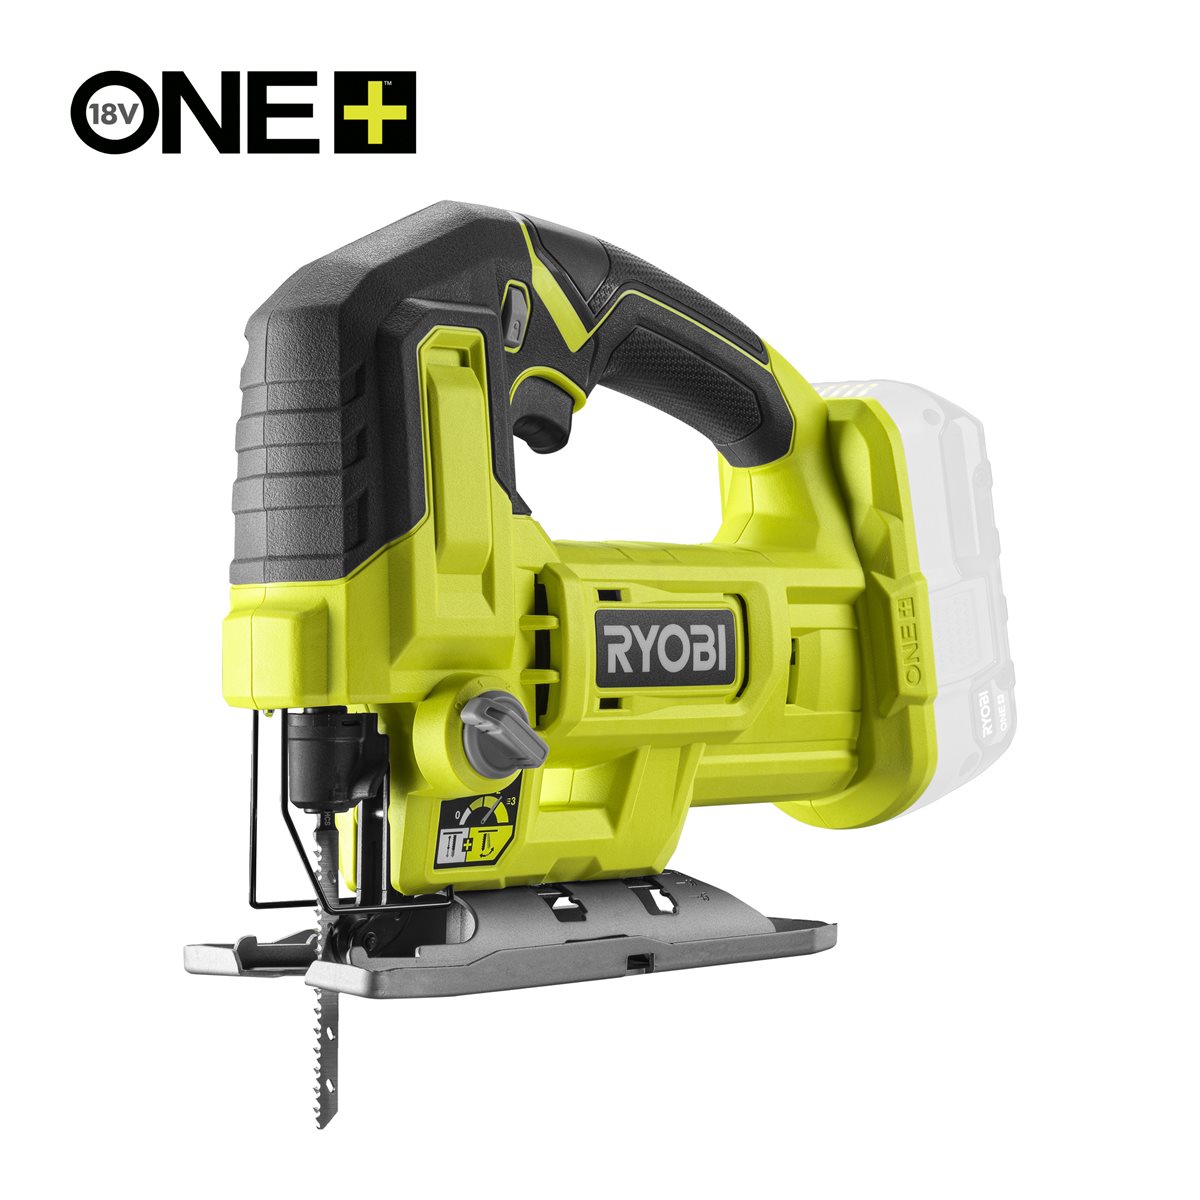 Ryobi ONE+ RJS18-0 Cordless Jigsaw
Cut the six case panels
Cut the six case panels
Cut the panels from three-quarter-inch plywood: two sides, two ends, a base and a removable face.
- Set the mitre saw to a true 90° and confirm it against the speed square, not the scale printed on the saw.
- Cut all like parts in one setup without moving the fence, so opposite faces come out identical.
- Label each panel on its inside face as it comes off the saw.
이 단계의 재료:
발트 자작나무 합판1 장필요한 도구:
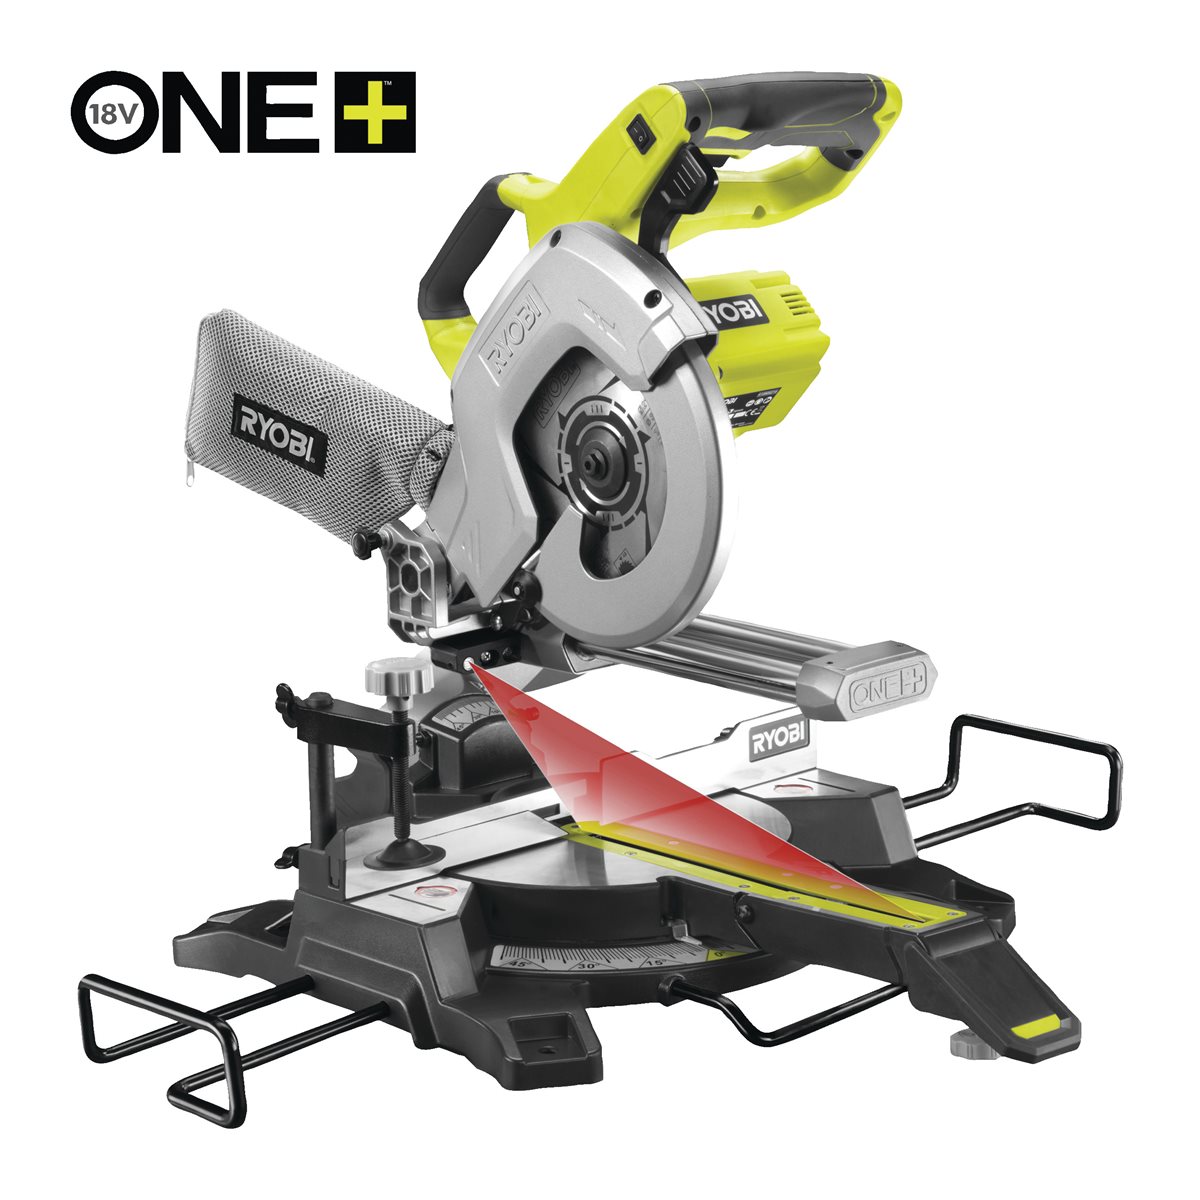 Ryobi ONE+ R18MS216-0 Cordless Mitre Saw 216 mm
 Ryobi ONE+ RB1850X 18V Lithium+ Battery 5.0 Ah
Rout the opening against the template
Rout the opening against the template
Clamp the template to the face panel and follow it with a bearing-guided flush-trim bit.
- Clamp both template and workpiece to the bench — never hold either by hand.
- Set the bit so the bearing runs on the template edge and the cutter clears the workpiece.
- Take the depth in two or three passes, not one.
- Feed the router against the bit's rotation — left to right on the near edge of the work.
필요한 도구:
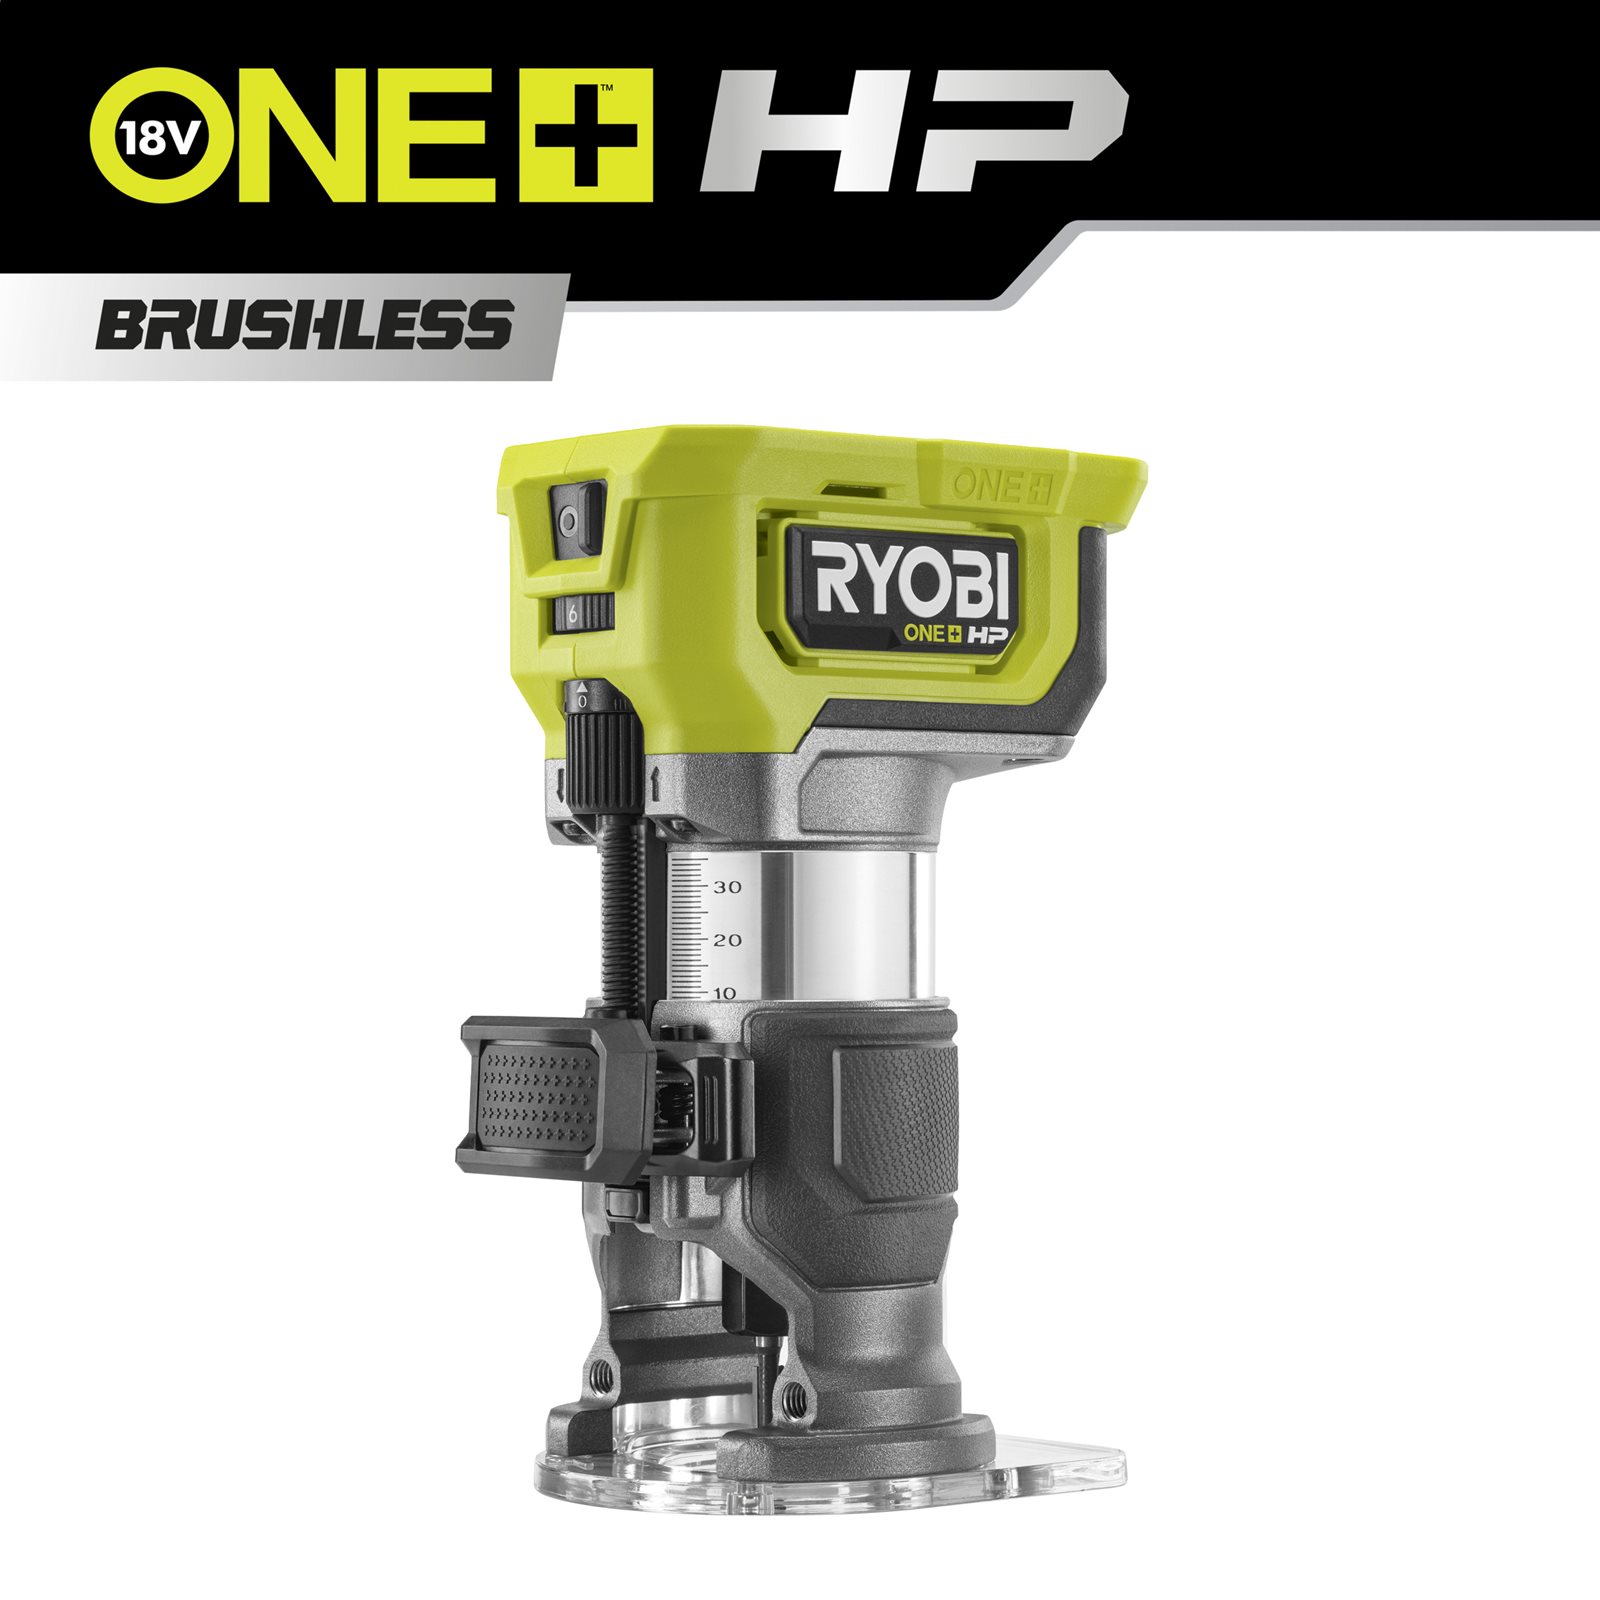 Ryobi ONE+ HP RTR18C-0 Cordless Trim Router
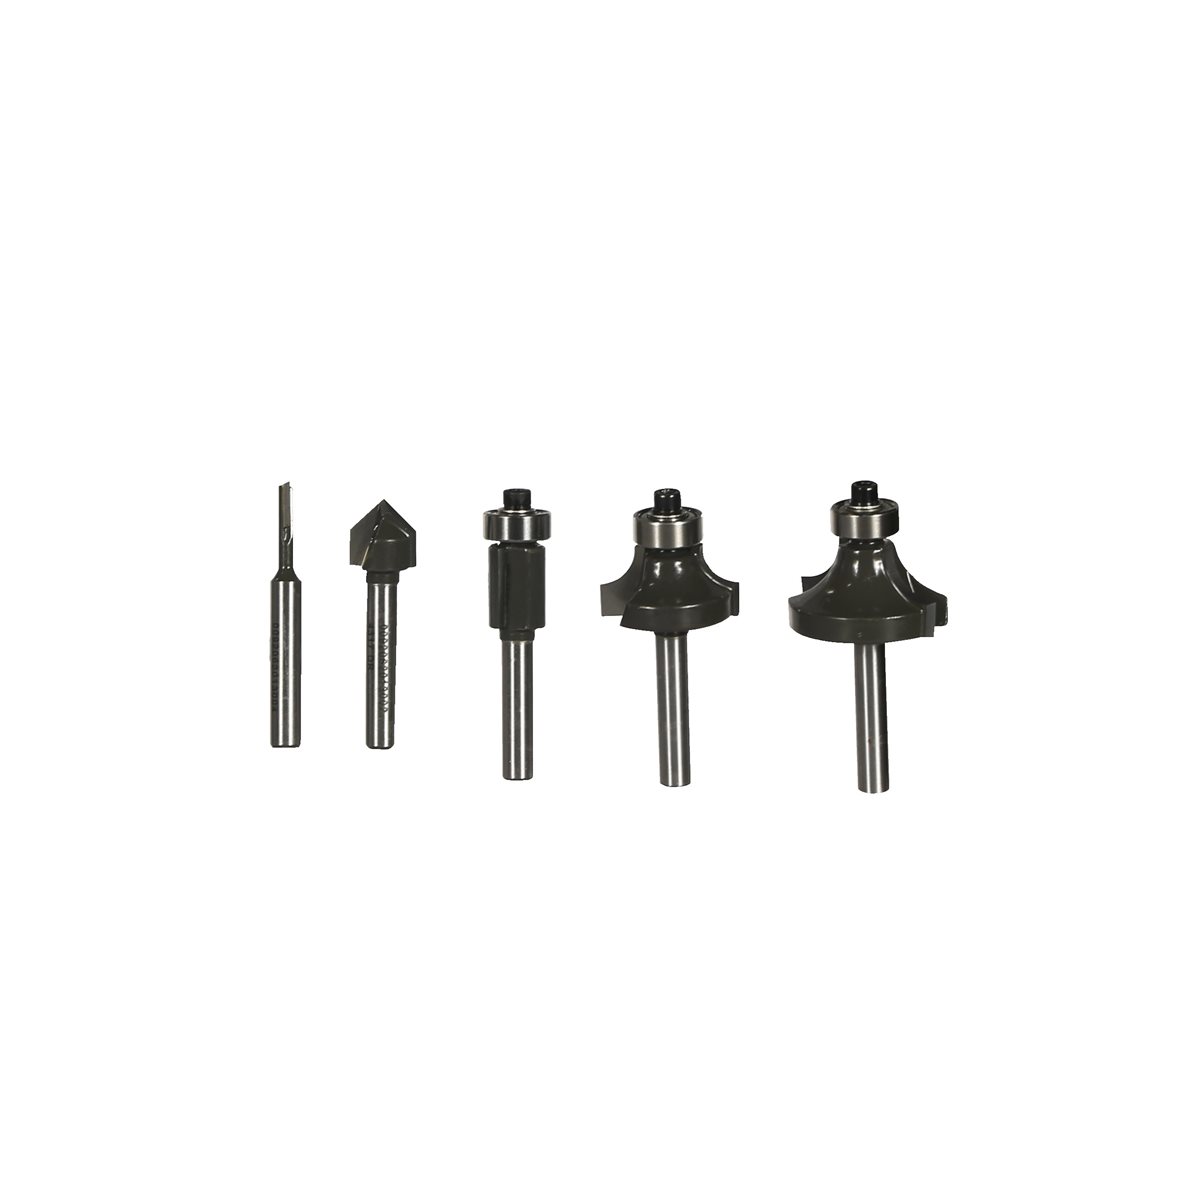 Ryobi RAKRBS5 Router Bit Set 5 Pieces
Glue and screw the carcass
Glue and screw the carcass
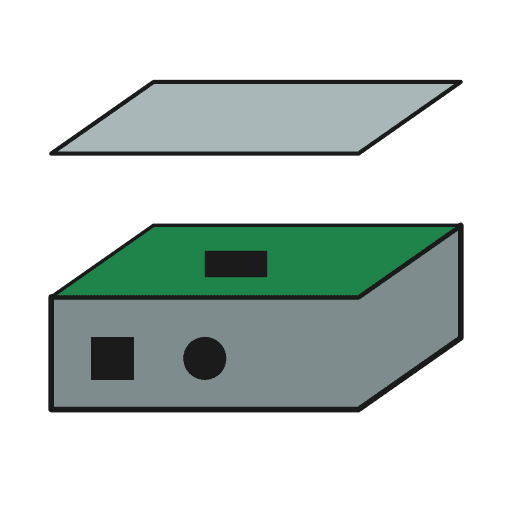
Assemble five panels into a box and leave the face panel removable so the electronics can come out.
- Glue and clamp the base, sides and ends. Check the diagonals: equal diagonals mean a square box.
- Drill a clearance hole first — plywood edge grain splits readily and takes a screw poorly.
- Drive the screws once the glue has grabbed.
- Leave the face panel dry-fitted, held by four screws only.
이 단계의 재료:
 PVA 목공용 접착제1 병
 #8 × 1인치 나무 나사16 개
필요한 도구:
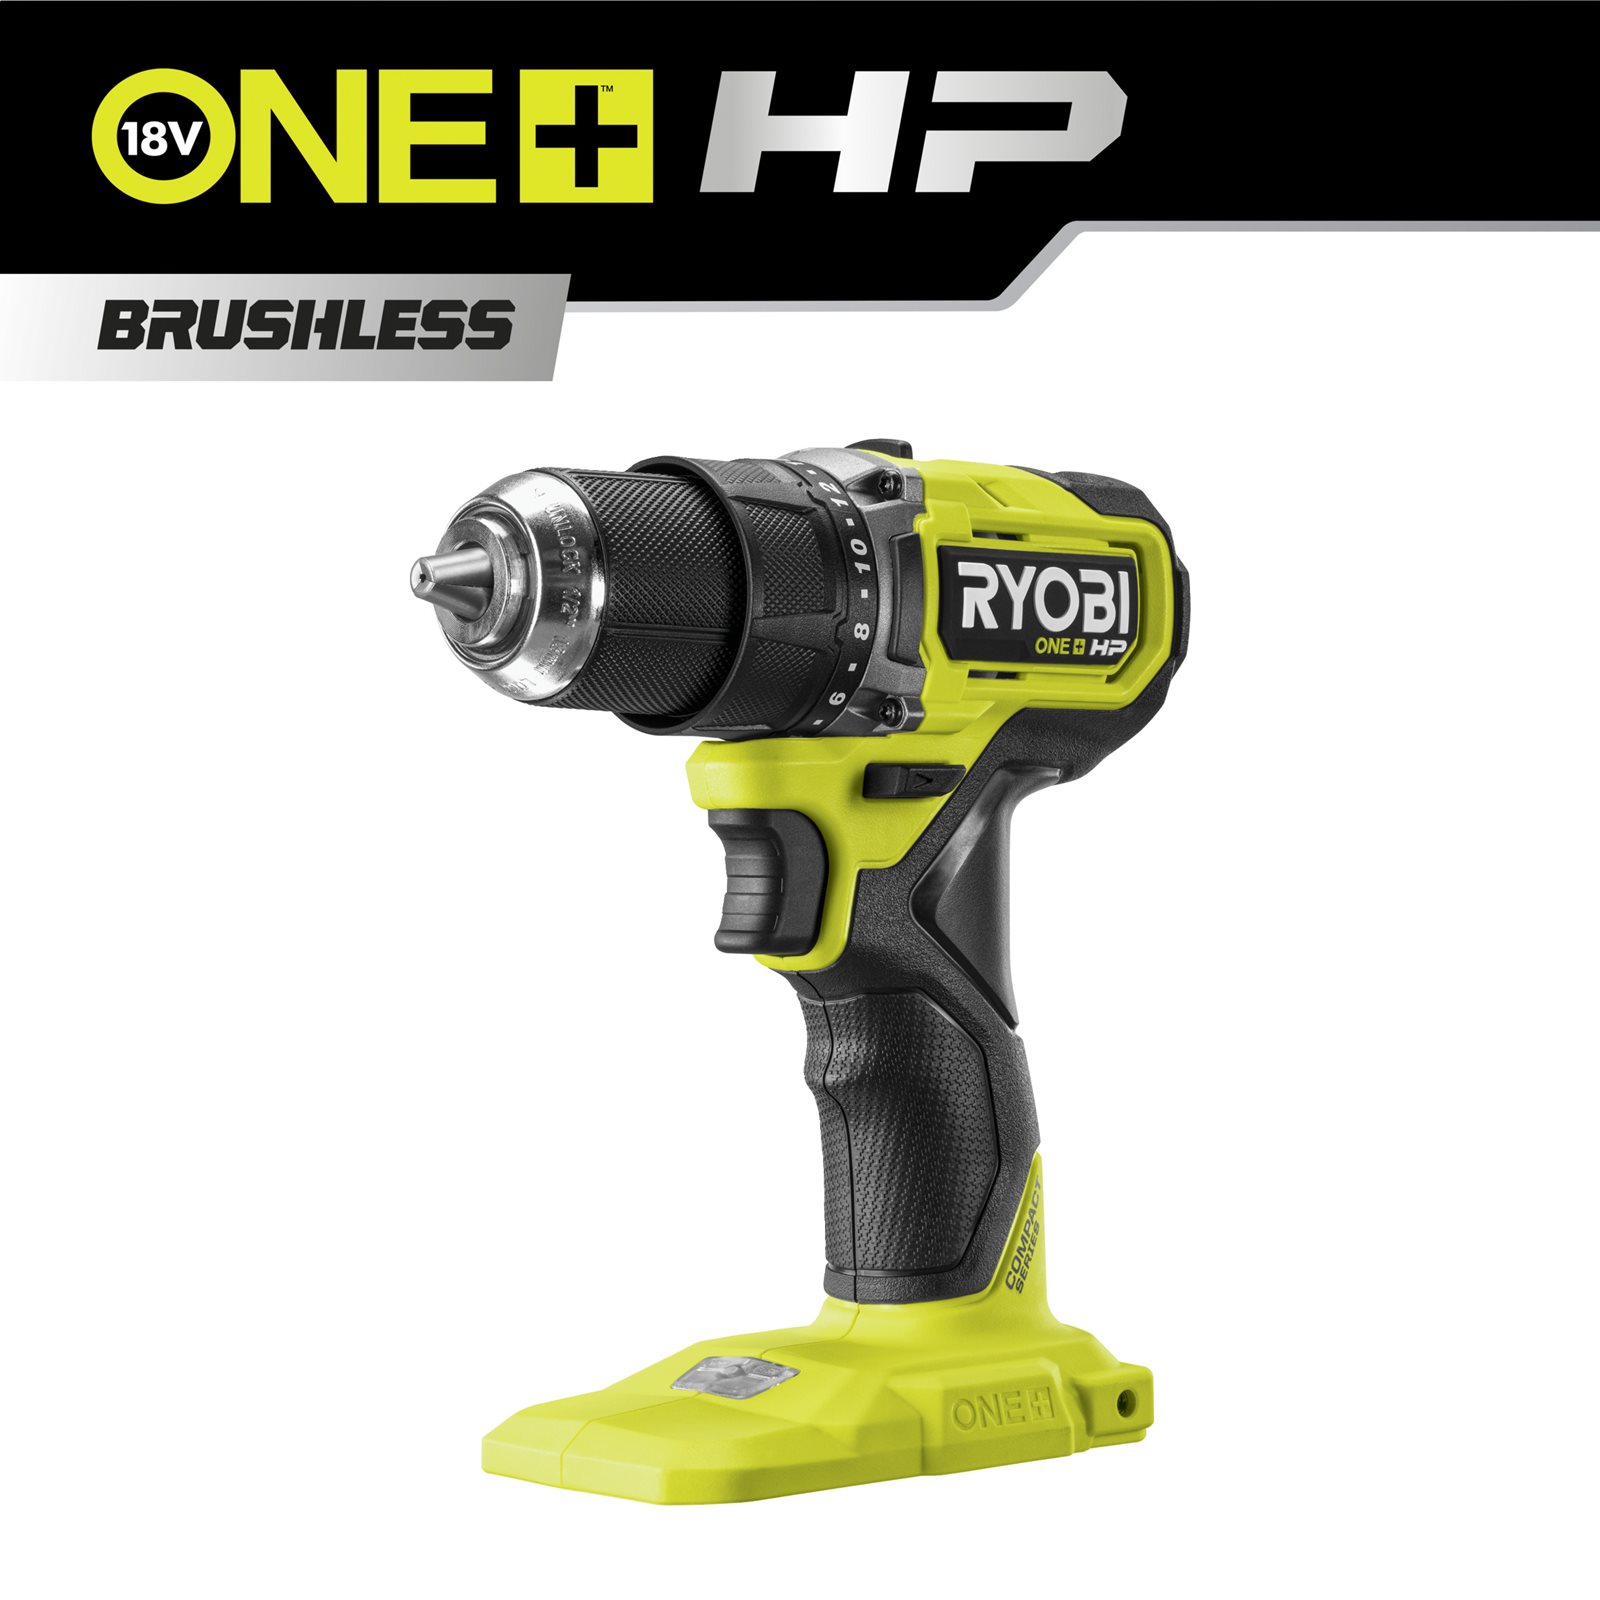 Ryobi ONE+ HP RDD18C1-0 Cordless Drill Driver
Sand, then fit the electronics before any finish
Sand, then fit the electronics before any finish
Sand the outside smooth and break every edge so nothing is sharp to the hand.
- Work up through the grits, finishing around 180.
- Ease the arrises with a few strokes by hand.
- Fit the board stack and check every opening lines up.
이 단계의 재료:
사포1 장필요한 도구:
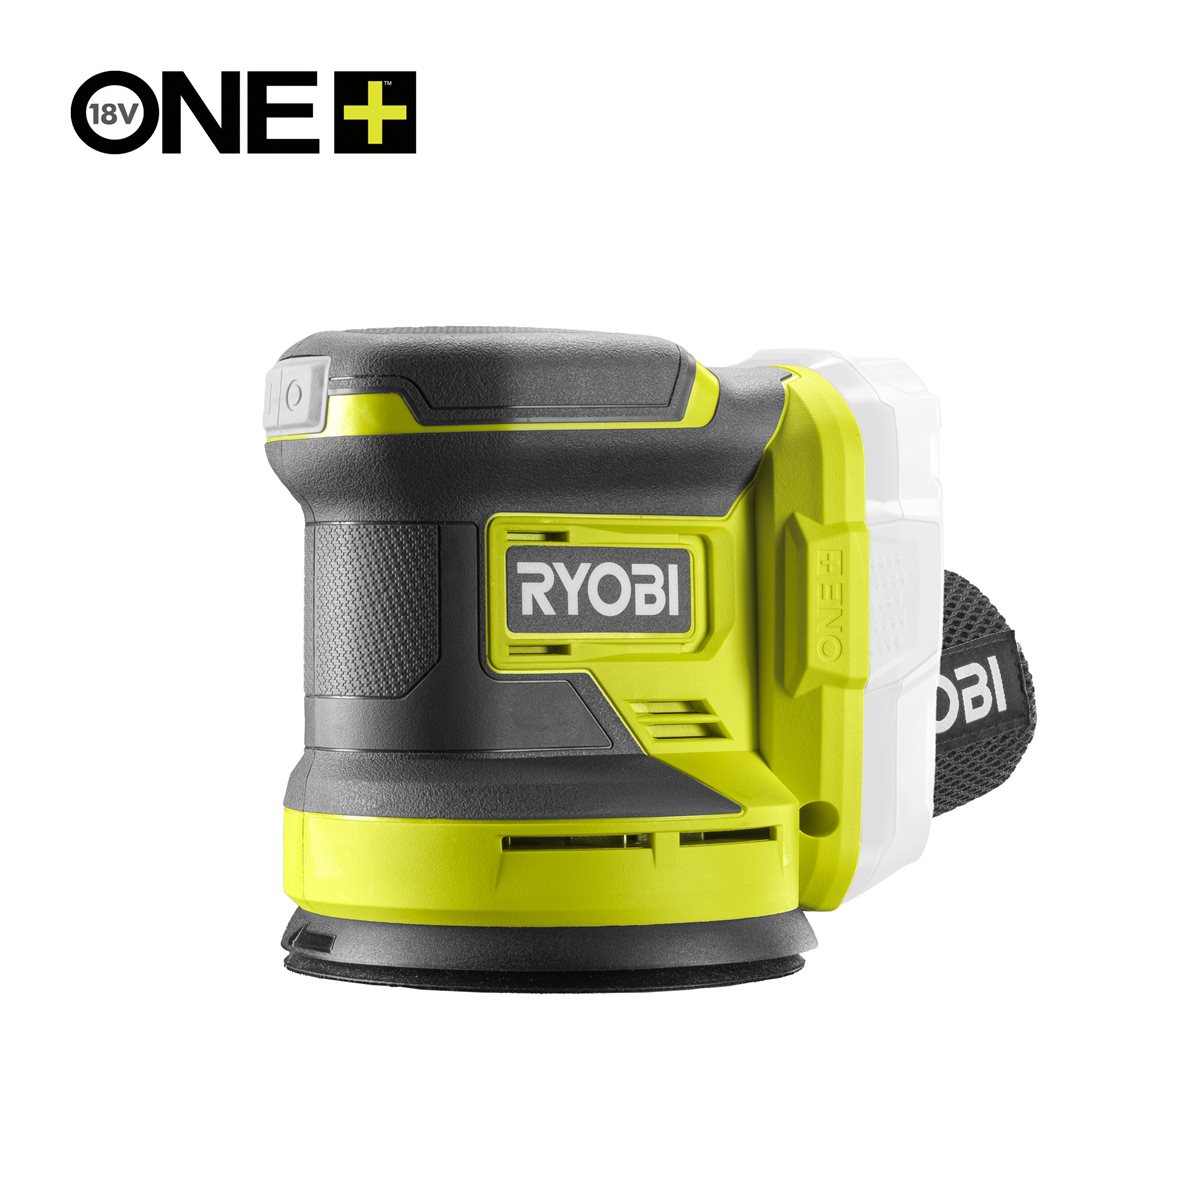 Ryobi ONE+ R18ROSN-0 Cordless Random Orbit Sander
재료
5- 1 장플레이스홀더
- 1 장플레이스홀더
- 1 장플레이스홀더
- 1 병플레이스홀더
- 16 개플레이스홀더
필요 도구
10- ₩372
- ₩23
- ₩326
- ₩1,707
- ₩2,018
- ₩3,888
- ₩496
- ₩2,158
이 블루프린트로 만드는 것
관련 블루프린트
이 블루프린트들은 지식을 공유합니다 — 기술, 재료 또는 원리

CC0 퍼블릭 도메인
이 블루프린트는 CC0로 공개되었습니다. 어떤 목적으로든 자유롭게 복사, 수정, 배포 및 사용할 수 있습니다.
제품 구매를 통해 메이커를 지원하세요. 판매자가 설정한 메이커 커미션 을 받거나, 이 블루프린트의 새로운 반복을 만들어 연결로 포함시킬 수 있습니다.