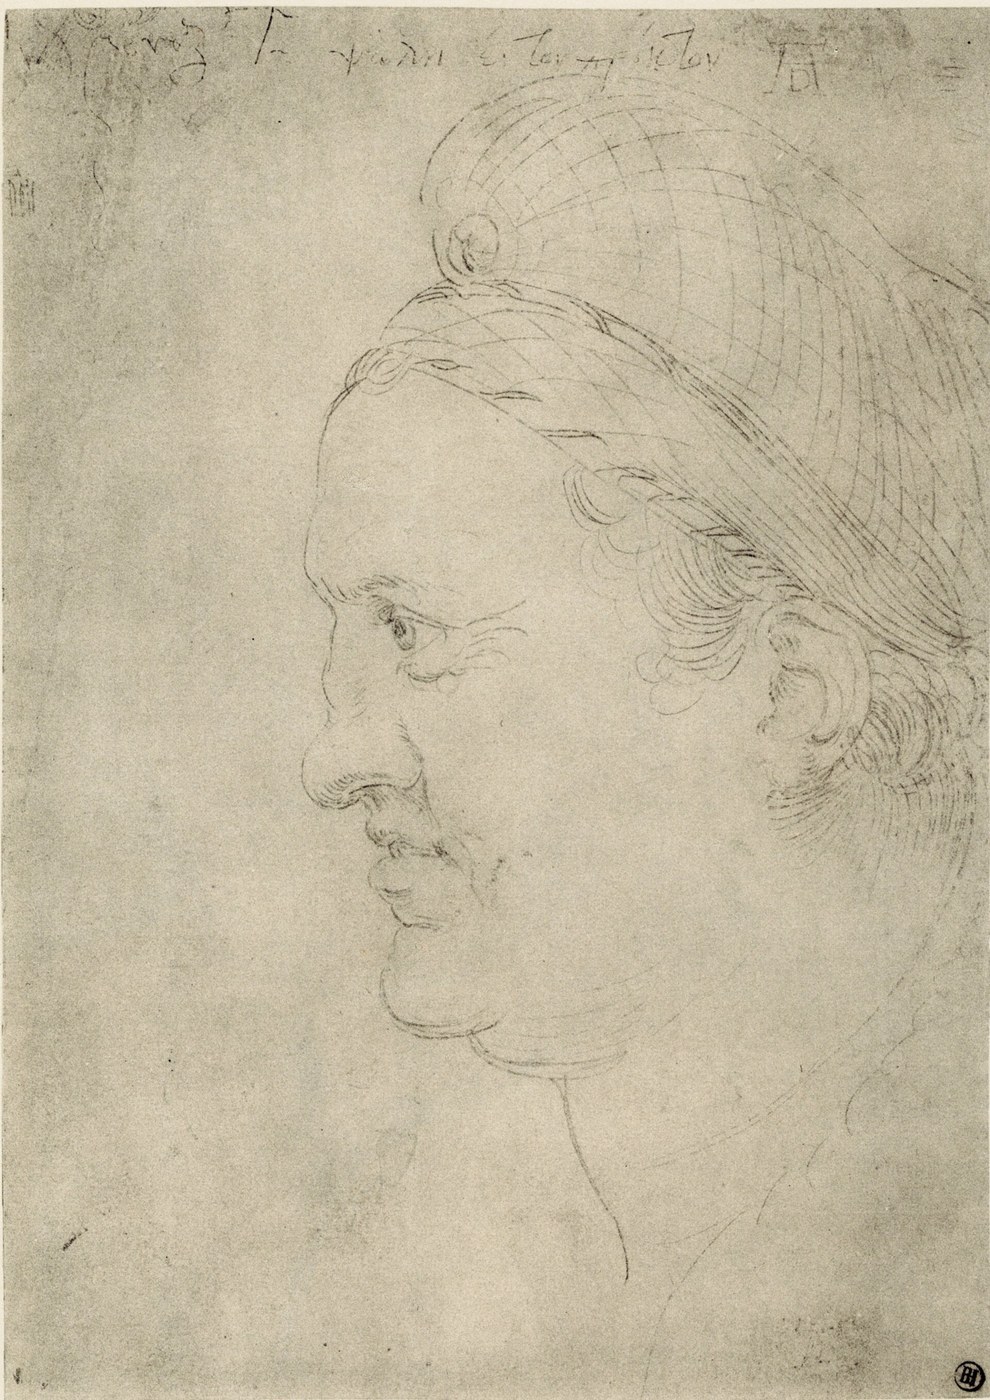


Silverpoint Drawing
Draw on paper with a silver wire and nothing happens. The metal is harder than the paper and simply slides. Silverpoint only works because of what is under the line: a ground of finely powdered bone ash or chalk bound in glue, just abrasive enough to shave microscopic particles of silver off the stylus and hold them.
The line cannot be erased and it cannot be varied in weight. Every tone is built by hatching — more lines, closer together — which is why Renaissance silverpoint drawings look the way they do. Leonardo, Dürer and Raphael all trained on it, and the discipline is exactly the point.
Then it changes on you: a fresh silverpoint line is faint grey, and over months it tarnishes to warm brown.
안내
Choose a rigid support
Choose a rigid support
Use heavy paper, card or a thin wooden panel. The ground is brittle once dry, and a support that flexes will craze it.
이 단계의 재료:
 색상 카드지 모음1 팩
Sieve the bone ash or chalk fine
Sieve the bone ash or chalk fine
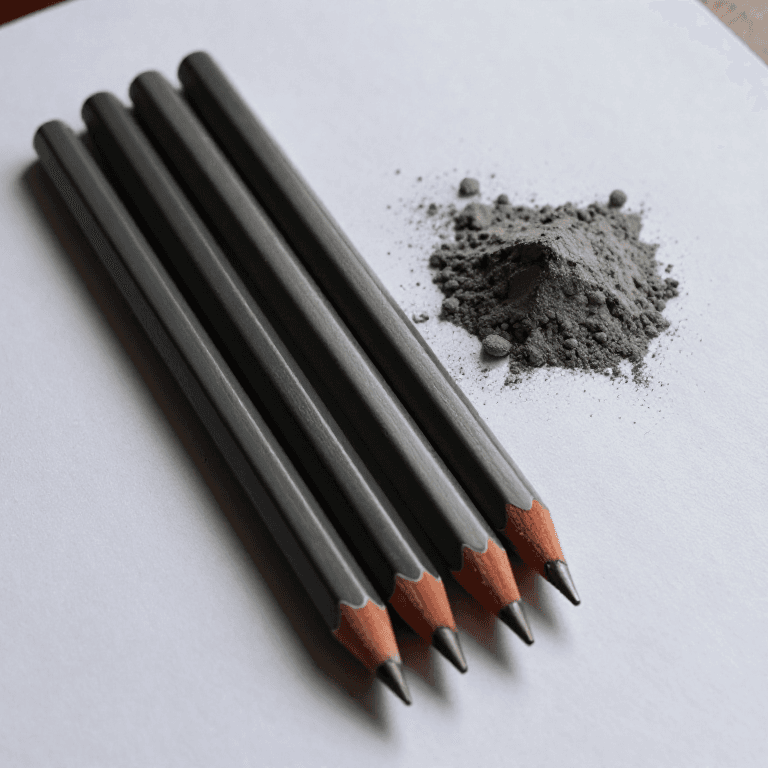
Pass the powder through a fine sieve. Any grit becomes a scratch that catches the stylus and tears the line.
이 단계의 재료:
 볼클레이 가루50 g
필요한 도구:
 고운 체
고운 체Mix the ground with dilute glue size
Mix the ground with dilute glue size
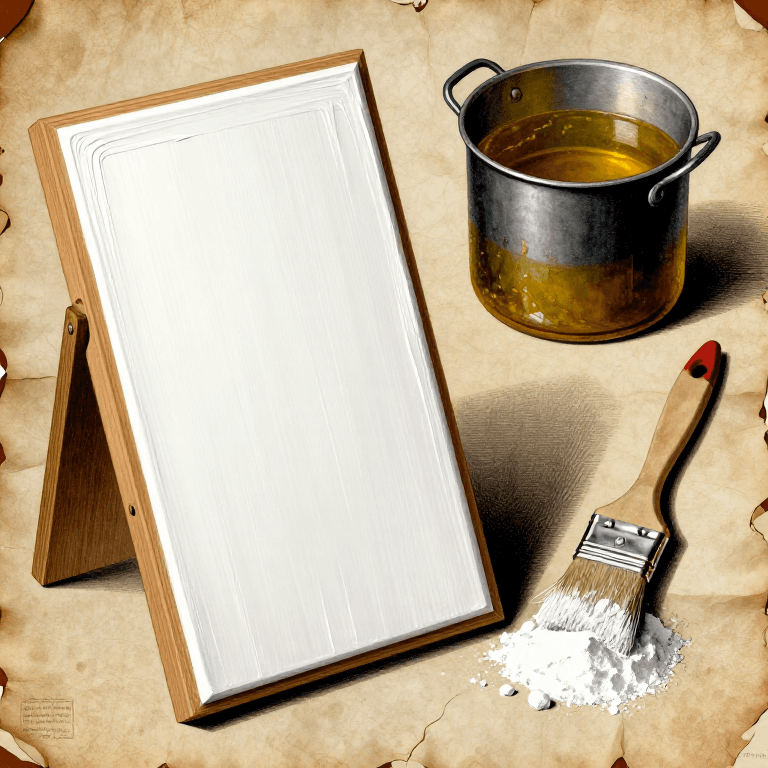
Stir the powder into warm dilute animal glue until it is the consistency of thin cream. Too much glue seals the surface and the silver will not mark it at all.
Test the binder strength on a scrap first
Test the binder strength on a scrap first
Coat a small offcut, dry it, and rub it with a fingertip. It should not dust off, and a silver wire should leave a mark. Adjust the glue before coating anything you care about.
Brush on three thin coats
Brush on three thin coats
Lay each coat in one direction and the next at right angles, letting each dry fully. Thin coats build an even ground; one thick coat cracks.
Tint the ground if you want the classic look
Tint the ground if you want the classic look
Add a little pigment to the last coat for a pale pink, grey or blue ground. Renaissance sheets were routinely tinted, which is why the drawings read as light on mid-tone.
Burnish the dry surface smooth
Burnish the dry surface smooth
Polish gently with a smooth stone or the back of a spoon. Aim for satin, not gloss — burnish too hard and the tooth disappears with it.
Make the stylus from fine silver wire
Make the stylus from fine silver wire
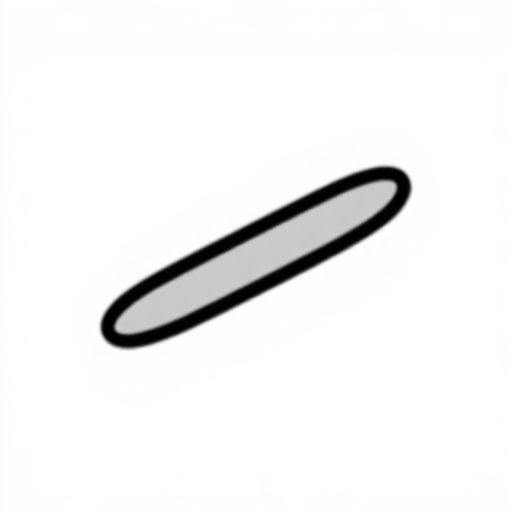
Set a short length of 1-2 mm pure silver wire into a wooden holder. Sterling works and tarnishes faster; fine silver gives a cooler, slower-changing line.
이 단계의 재료:
 순은 선1 개
Round the tip, do not sharpen it
Round the tip, do not sharpen it
File the end to a smooth dome. A pointed stylus cuts the ground instead of depositing metal on it — the mark comes from abrasion, not incision.
필요한 도구:
 줄 (손줄)
Draw with light, even pressure
Draw with light, even pressure
Press harder and the line does not darken — it just gouges. Silverpoint has one tone, and pressure is not a control you have.
Build tone by hatching
Build tone by hatching
Create darker areas with parallel strokes, then cross them. Spacing and layering are your only tonal controls, which is precisely why it teaches drawing.
Accept that nothing erases
Accept that nothing erases
A silverpoint line is permanent. Plan the drawing, commit to each stroke, and work from light to dark — the medium enforces the discipline whether you like it or not.
Keep skin off the ground
Keep skin off the ground
Rest your hand on a clean sheet of paper. Finger oils stop the silver depositing, and the blank patch only shows up once you draw over it.
Set it aside and watch it change
Set it aside and watch it change
Photograph the finished drawing, then look again after a month and after six. The grey warms toward brown as the silver tarnishes — the drawing finishes itself.
History & Context — the drawing that ages into itself
History & Context — the drawing that ages into itself
Why a metal point at all. Before the graphite pencil, drawing meant ink, chalk, charcoal or metalpoint. Metalpoint gives a fine, absolutely consistent line that does not smudge, which suited the underdrawing of panel paintings and the workshop practice of copying. Lead and copper points were also used and give different colours; silver became the prized one. Cennino Cennini's Il libro dell'arte, around 1400, describes preparing the grounds. The medium declined once graphite from Borrowdale arrived in the sixteenth century, because graphite marks paper directly, erases, and varies with pressure — everything silverpoint cannot do.
What is physically happening. This is not a stain or a dye. The ground is a mild abrasive held in a binder, and drawing across it shaves off submicroscopic particles of metal which lodge in the tooth. The line is literally a thin trail of silver. That is why the ground must be gritty enough to cut and why finger grease defeats it — no abrasion, no deposit.
The tarnish is the point, not a defect. Fresh silver reads cool grey. Over weeks and months it reacts with traces of sulphur compounds in the air to form silver sulphide, which is brown. Every surviving Renaissance silverpoint is therefore warmer now than the day it was drawn, and we have never seen one as its maker did. Conservators do not clean it off: the tarnish is the drawing.
What it teaches that pencil hides. With no erasing and no variable weight, structure has to be right first time and tone has to be constructed. That is why silverpoint was a training medium in Renaissance workshops, and why it is worth an afternoon now — it removes exactly the crutches that let a drawing look confident without being correct.
연결된 블루프린트 재료

관련 블루프린트
이 블루프린트들은 지식을 공유합니다 — 기술, 재료 또는 원리

CC0 퍼블릭 도메인
이 블루프린트는 CC0로 공개되었습니다. 어떤 목적으로든 자유롭게 복사, 수정, 배포 및 사용할 수 있습니다.
제품 구매를 통해 메이커를 지원하세요. 판매자가 설정한 메이커 커미션 을 받거나, 이 블루프린트의 새로운 반복을 만들어 연결로 포함시킬 수 있습니다.